makeup storage

Review: Makeup Organizers byAlegory

byalegorymakeuporganizers


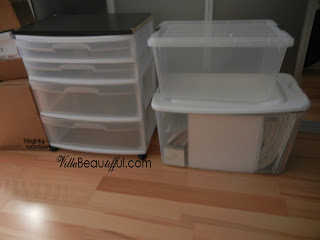
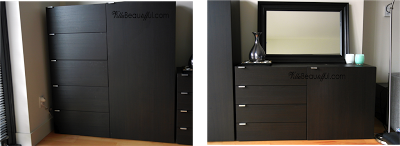
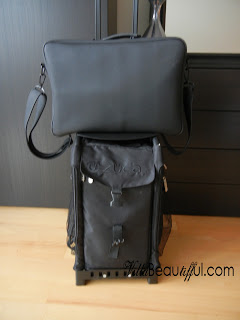
Being a makeup junkie my makeup is EVERYWHERE, seriously, it takes about a quarter of our 800 sq. ft. codo.  But hey, what am I supposed to do? I love makeup! As a junkie I am always organizing and cleaning my collection as I do this I am always on the lookout on products that would make everything look clean and neat.  If you want to see how I store all my makeup click here.

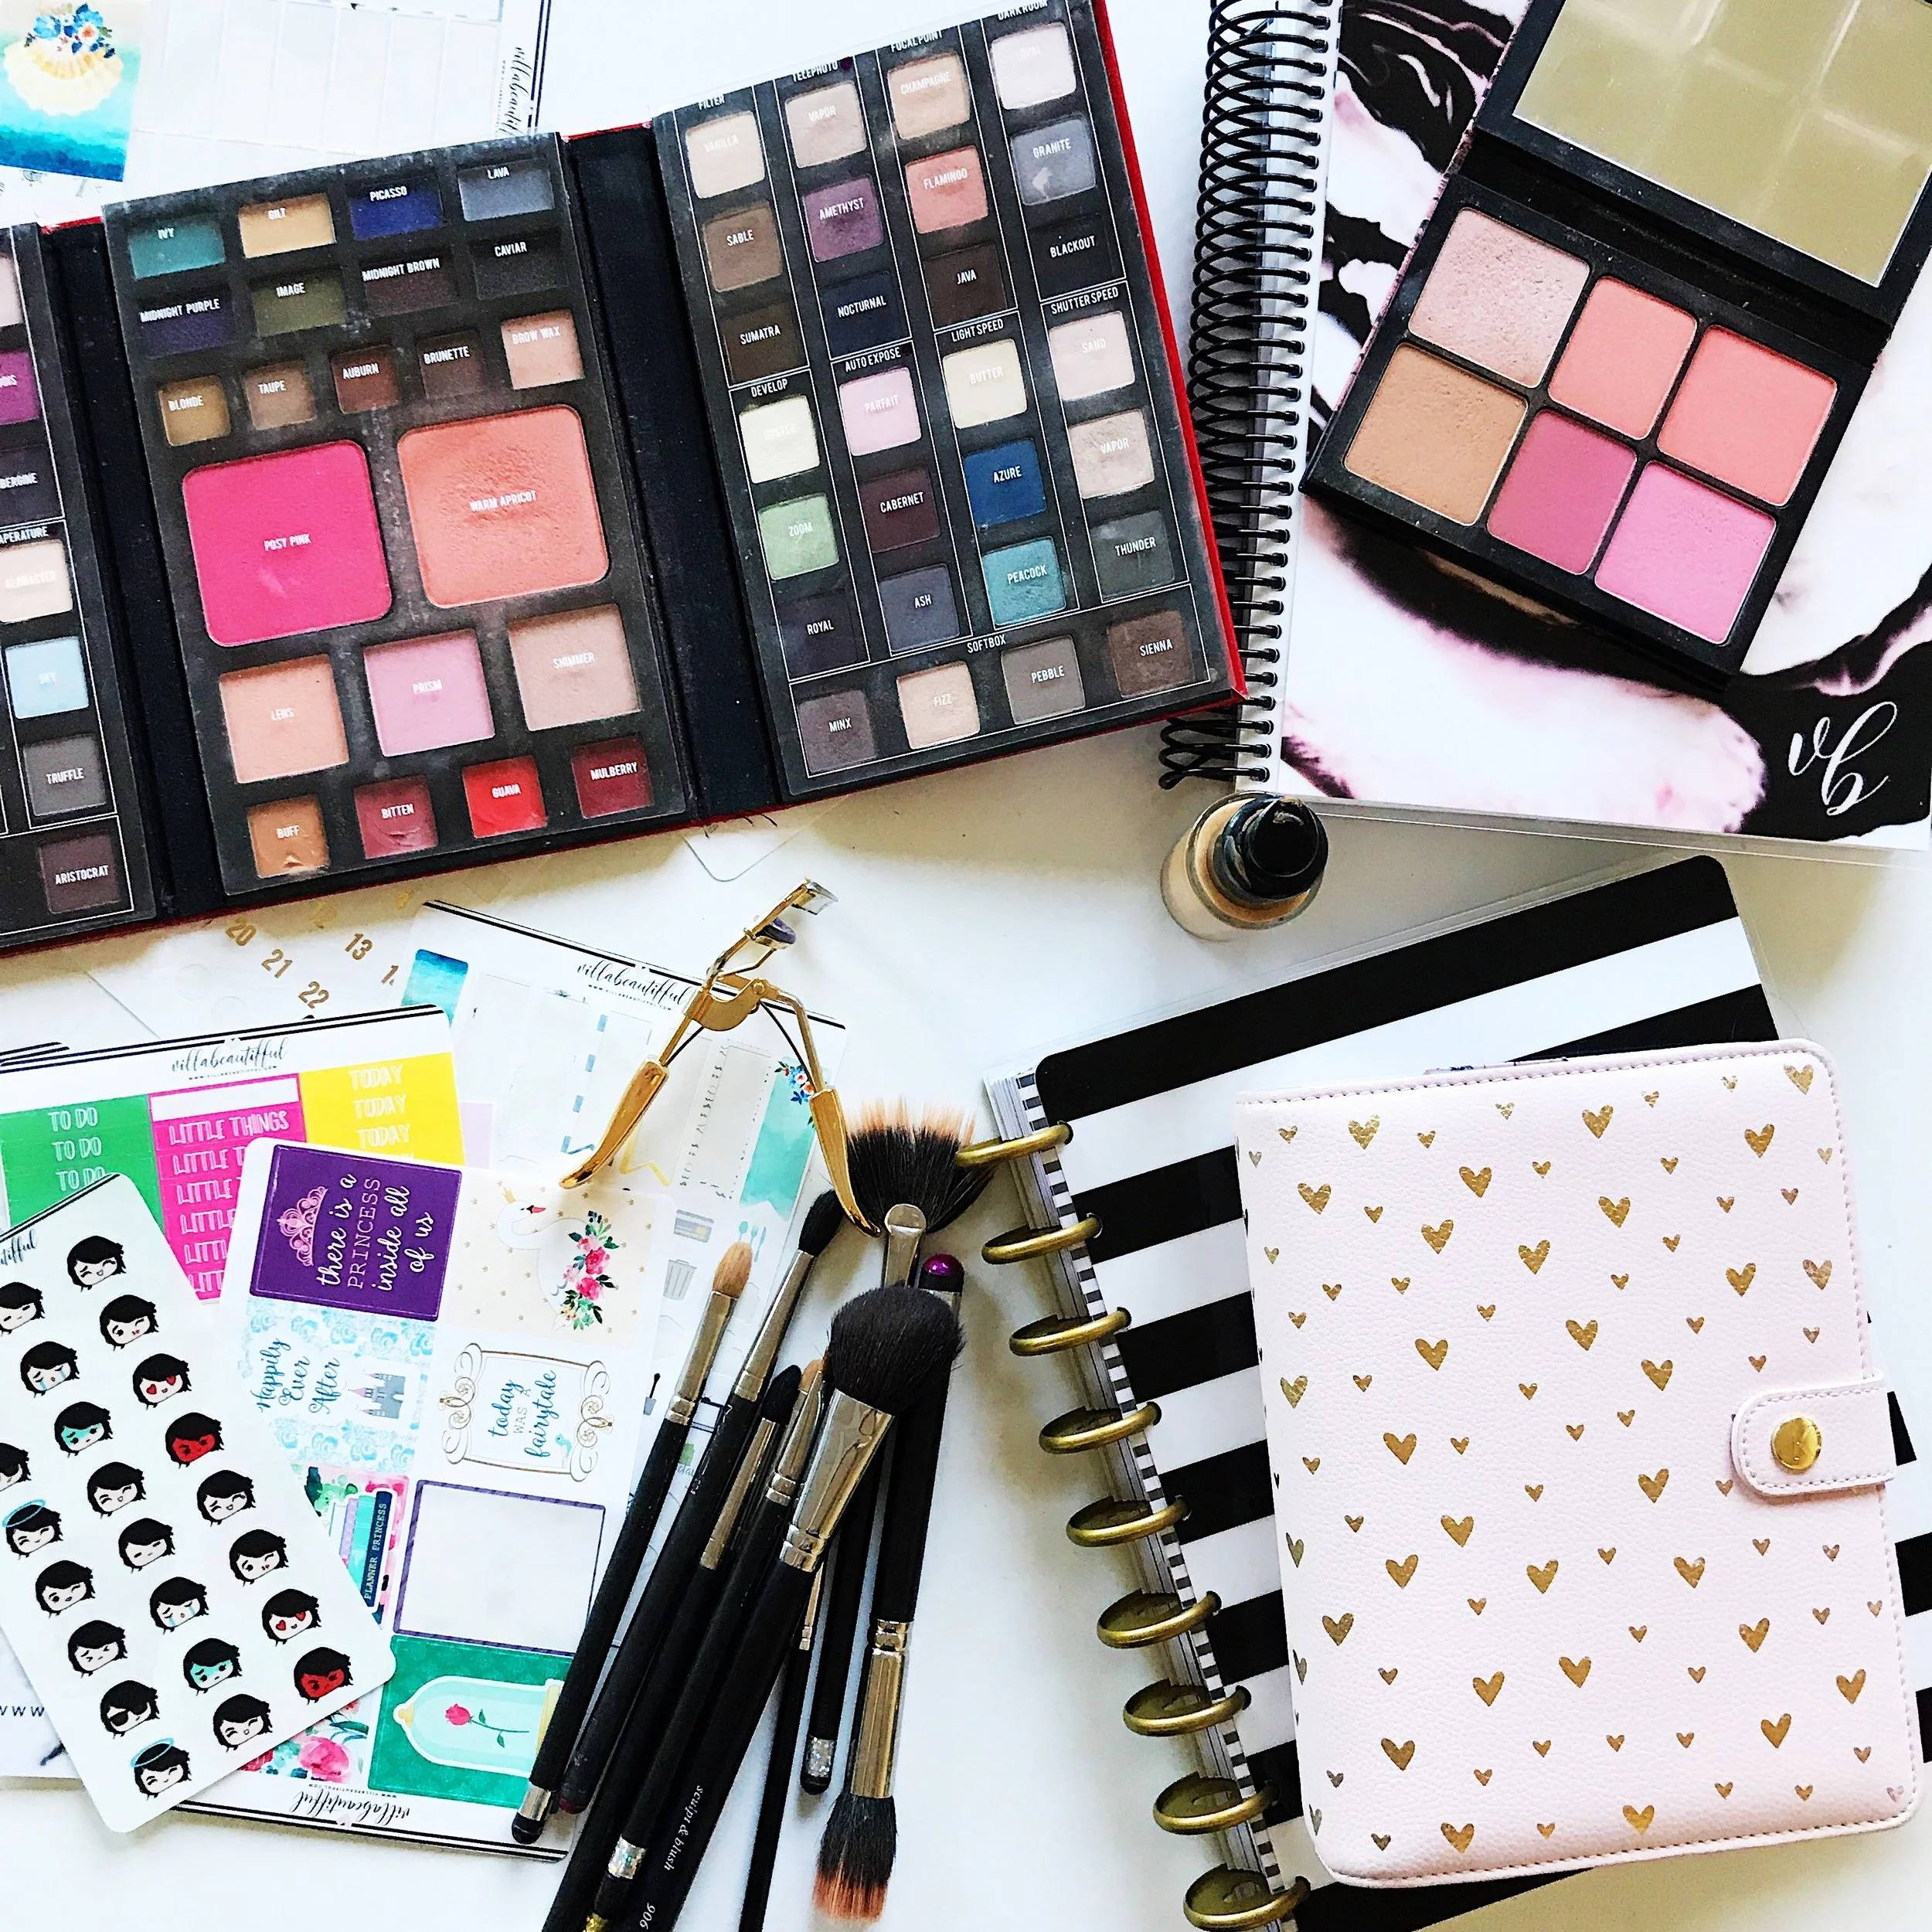
I love these acrylic makeup organizers from Byalegory, they come in a variety of styles and colors. The organizers are very sturdy and very well built.  It will surely protect your valuable products.  I chose the lipstick, lipgloss and compact clear organizers (i like the clear so I can see what I have and it matches with the existing organizers in my makeup armoire).

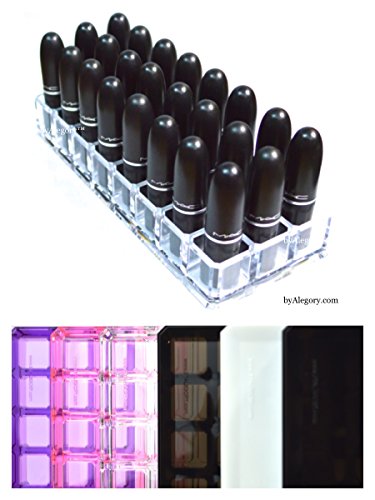
Lipstick Organizer  - I filled mine with all MAC Lipsticks including the ones in the black bullets and limited edition ones (I LOVE LIMITED EDITION PACKAGING!).

  • 24 slots to hold the lipstick
  • will fit any size of lipstick.   Even room for bigger lippies if you have fatter tubes.
  • Tube stands firmly in the allocated square.
  • Each single lipstick holder is about 1 in. x 1 in.

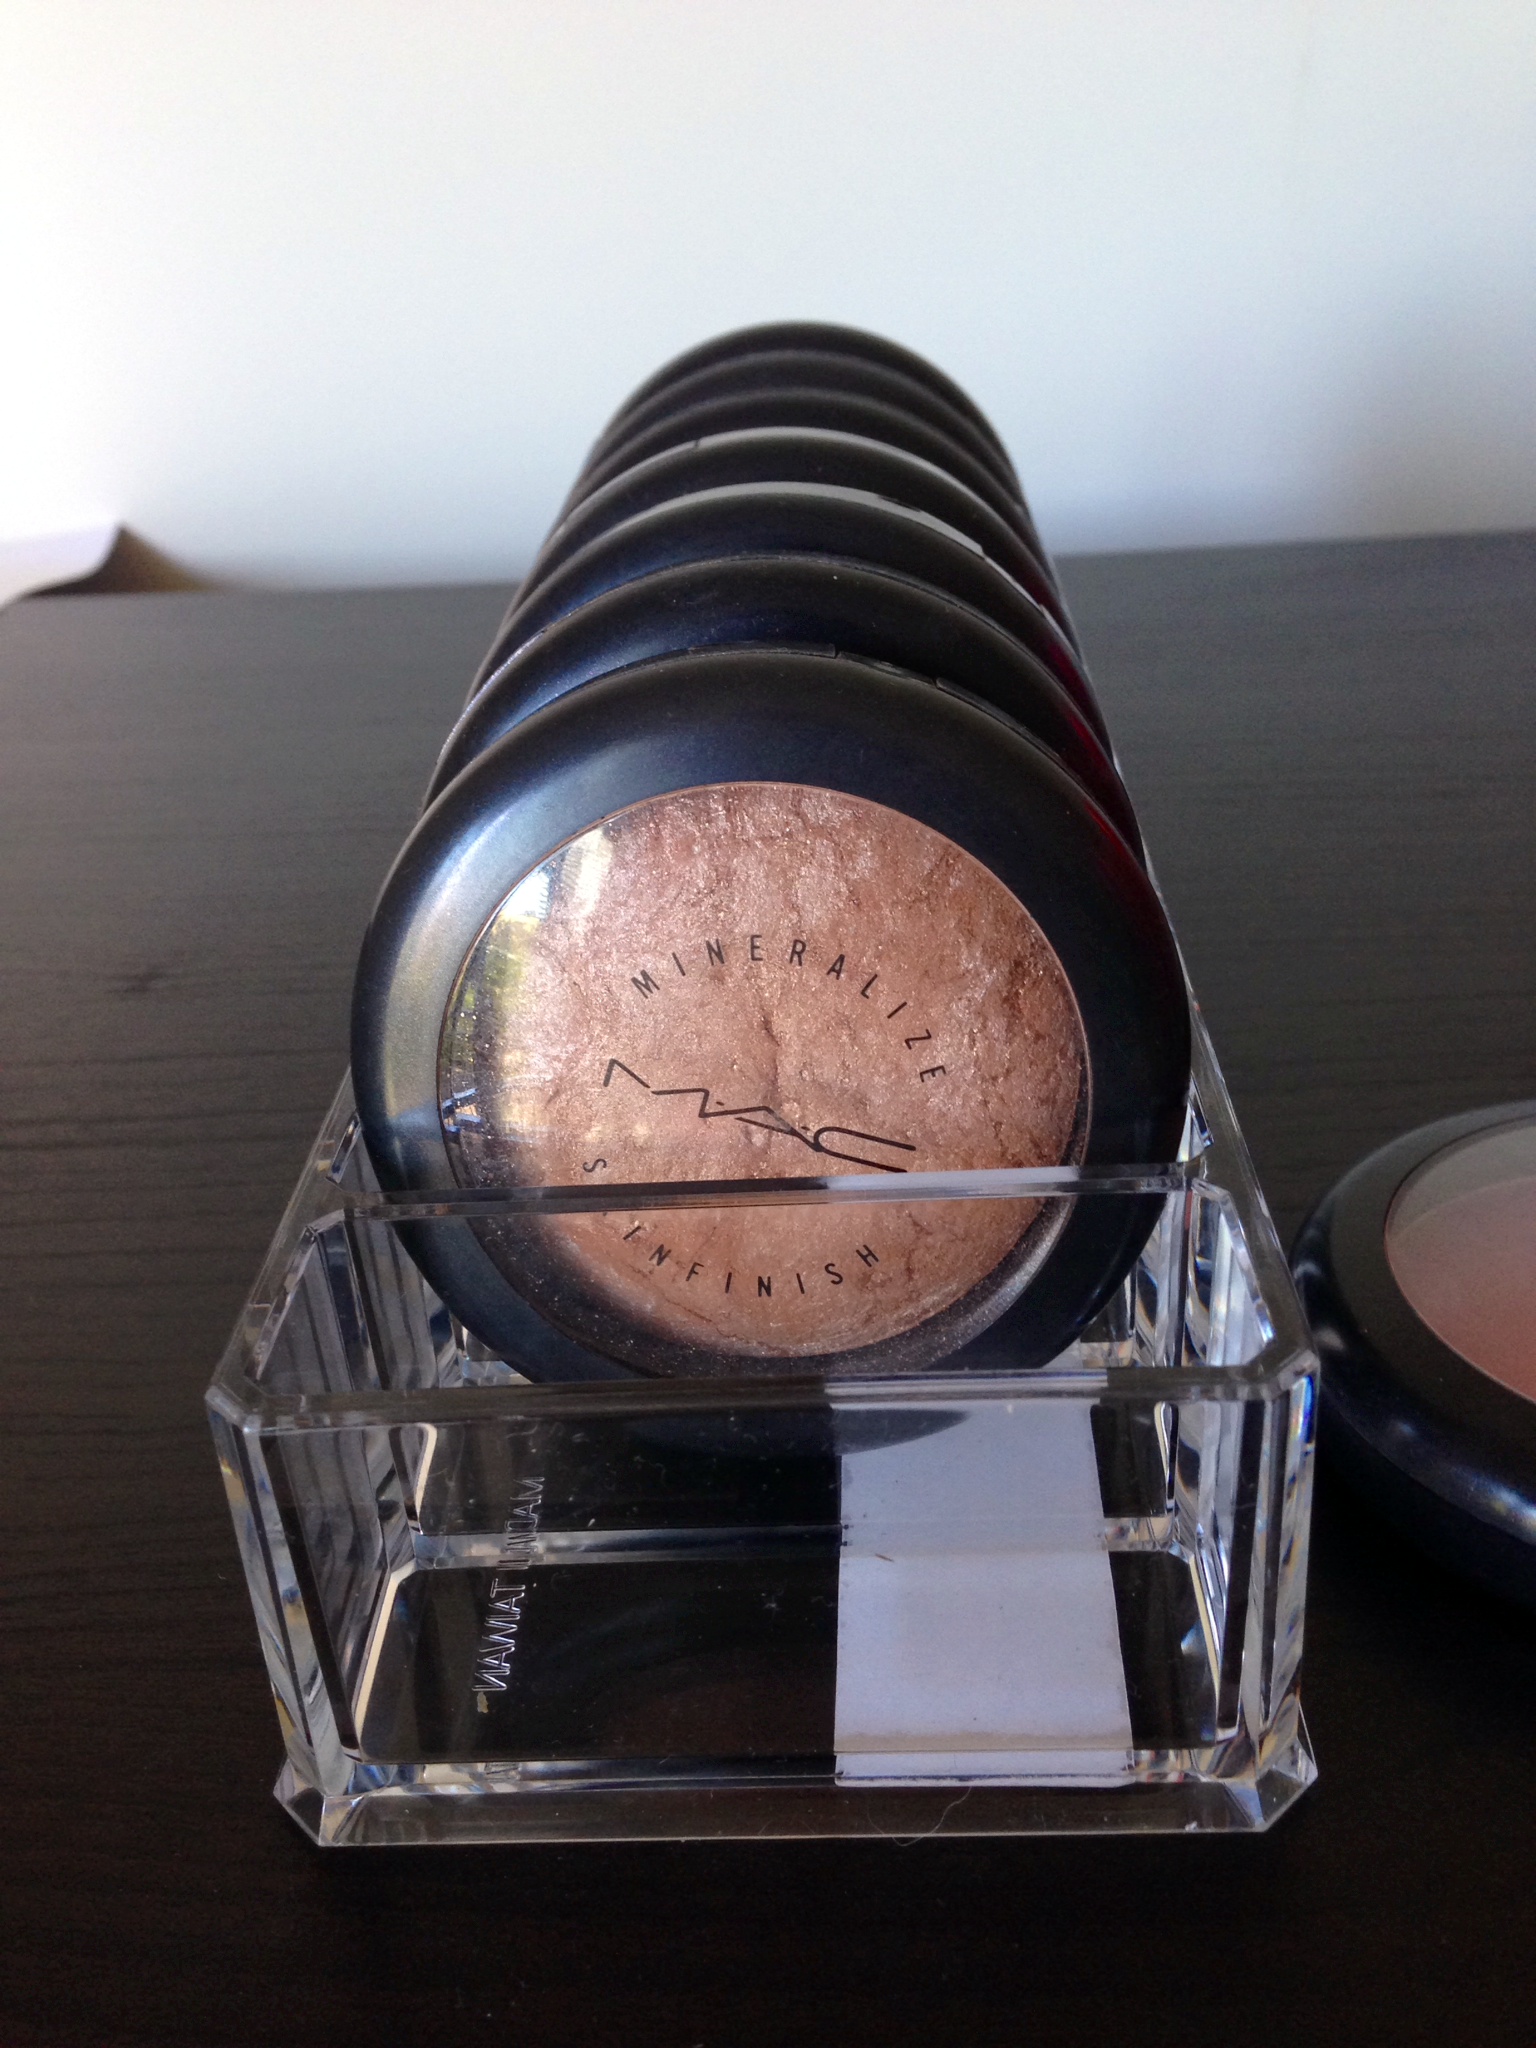
Compact Organizer - Filled with MAC Mineralize Skinfinishes and limited edition products colour face products.

  • Will hold 8 compacts
  • I love how these organizers hold the compacts.  You can see the top of the compact for the name/brand/ still in between the compacts
  • single compact slot is 3" in. x 1.5" in

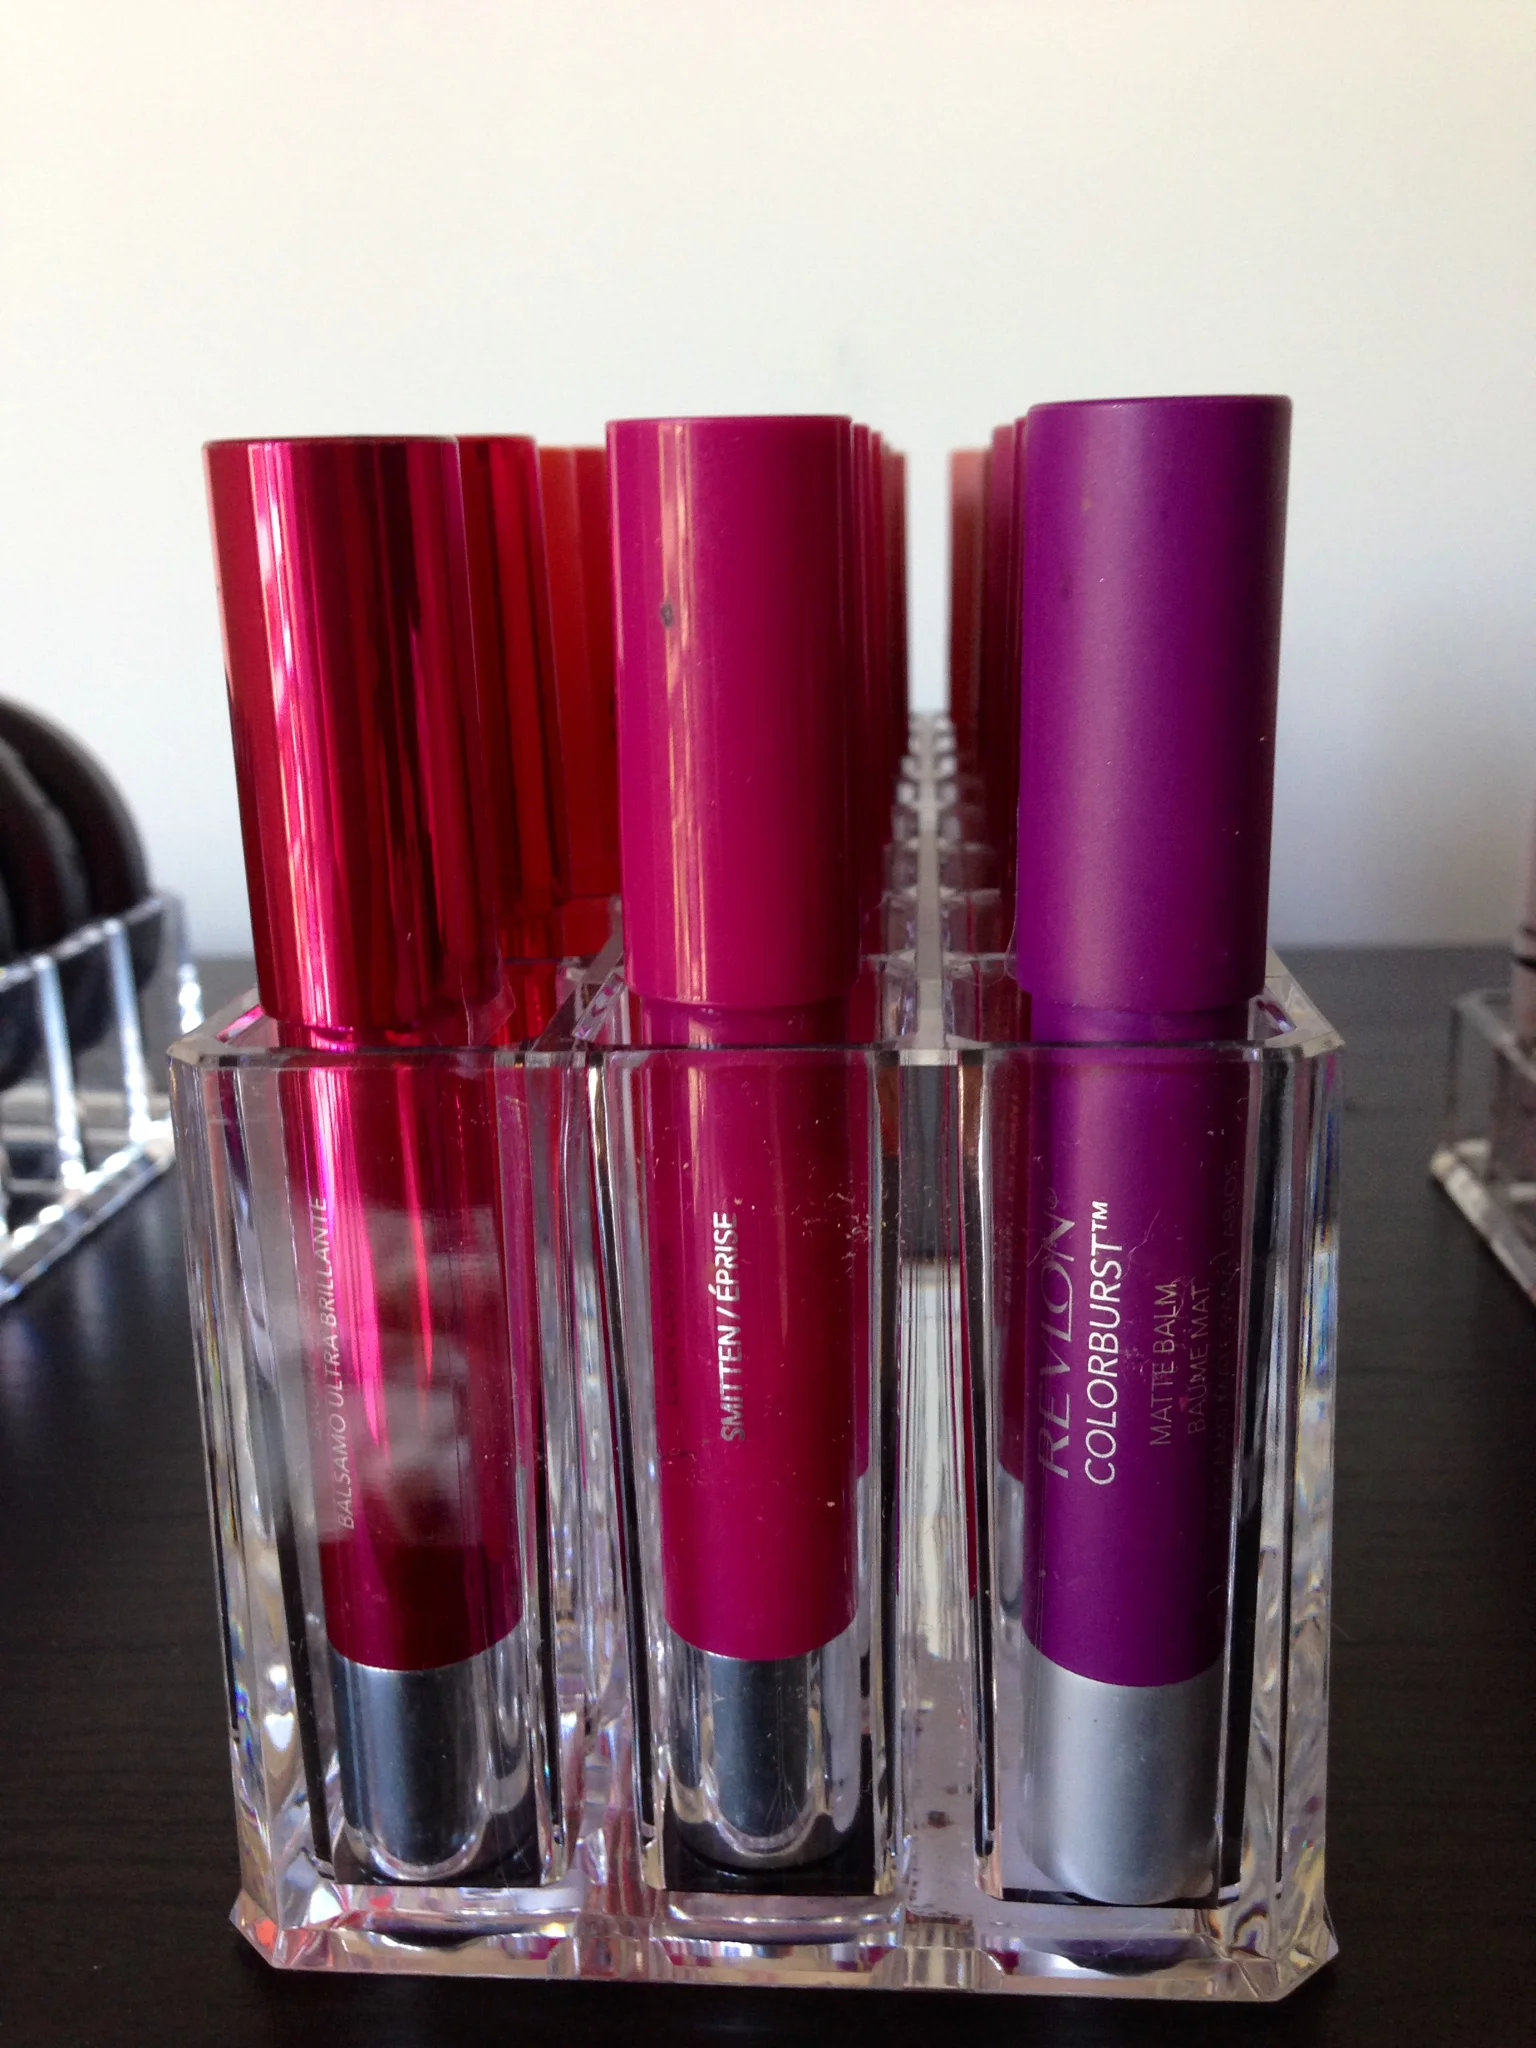
Lipgloss Organizer - Filled with Revlon Colorburst Matte and Lacquer Balms along with  Revlon Just Bitten Kissable Balm Stains. I have reviews on all these products, just click the links. I am so happy I ordered this organizer because it fits the Revlon Balms and Stains perfectly! I have pratically all the shades stored in a ziplock bag so this was nice to have to organize all of them. I think I need 2 more of these for my favorite lip glosses to have a new home.

  • Will fit any size lipgloss from short (MAC Lipglass) to tall (Nars Glosses and Pencil type glosses)
  • single gloss slot about 2.75 "in. x 1" in.
  • 24 slots to house your glosses

You can purchase these organizers from AMAZON and it's PRIME ( I LOVE PRIME!) Just click the link below to start shopping! Have fun organizing your makeup, beauties!

DIY Lipstick Palette

I am always looking for ways to improve my Pro Kit especially when it comes to organization.  I will definitely give you a tour of my kit so you can see what's all in it along with some of my favorite products that I take with me when I am on location.

I've always wanted to make a lipstick palette with magnetizable pans to condense my lipsticks since it's so hard to carry 30+ lipsticks with you.  I had some extra empty eye shadow pans that I use to press loose pigments so I decided to melt all my popular bridal lipsticks down into the pans and then placing them in  see-thru palettes (very similar to the Z-palettes) that I have been making (more about this later in a later post). 

Materials you will need

  • lipsticks - any brand, texture or finish will work
  • empty aluminum or tin pans - Personally I like to use tin because you don't need a magnet if you are using a magnetized palette.  I get all my pans at TKB TRADING you can get the traditional 26mm circle pan or other sizes and shapes they offer. 
  • palette knife 
  • labels - you can cut labels to fit the bottom of your pan or purchase pre sized labels
  • hair straightener - I purchased a cheap hair straightener just to use for projects such as eye shadow depotting and for melting. 
  • empty eye shadow palettes - many brands carry empty palettes from ELF to MAC which has dividers or Z-Palette.  I make my own, it's so fun to make! 

First take your lipstick and cut about 1/4 -1/2 of the stick to melt.   A palette knife or even a regular butter knife would work as well. The color that is shown is Wet N Wild Matte Lipstick 901B.  Swatches of my Wet N Wild Matte Lipsticks coming soon!

 Now smash the lipstick until you fill up the whole pan.  The palette knife helps smash and spread the product nicely.

 Place your pan on your hair straightener and watch it melt to a liquid constancy.  I keep the heat level on the lowest setting.  If you straightener does not give you option to change the heat levels just watch it carefully so it does not burn.  The pan will not harm your hair straightener just wipe it down before you use it on your hair. 

Naturally, you will see bubbles appearing, do not worry this is easy to solve.  Just take something sharp and pop them. Or move the bubbles to side and scoop them away. 

Once you feel the lipstick has melted, carefully remove the pan from the straightener.  The lipsticks is in liquid form, try to have a steady hand when doing this.  It is also very hot! Pretend the lipstick is a pizza and you are taking it out of the brick oven! A steady hand will do the trick.  You see there's a air bubble that I couldn't remove, once I took the pan away from the heat source it went away.  I spilled a little too. lol

 While you are waiting for your lipstick pan to dry, prepare your label.  Just found these labels at Office Depot.  You can even use a label maker such as a P-Touch, whatever you can find around the house will do. 

Once the  pan solidifies just add your label to the bottom.  Yay! You just created your own lipstick pan.  Be creative and create your own custom colors.  No more loose lipstick cases everywhere.  

 It's an addicting process, you literally want to melt down all your lipsticks you have into pans.  I have a ton of lipsticks but I really just wanted to have a set with all my bridal colors that I use regularly.

The completed project.  I know a lot of you are going to ask how I made the knock off Zpalette.. I will save this for a later post. :)

Have fun melting away!!!

Spring Cleaning

Look for a new blog layout soon! I was getting sooo bored with the current one and I thought it would be a nice change.

Last weekend I was cleaning out my makeup collection but didn't make much progress.   I usually cycle through my makeup.  This means I have 1 drawer with all my products that I use on a daily basis excluding the makeup that I use for MOTD (those are stored in the regular collection). So the "everyday drawer" has products from fall and winter now it's time to add some color with soft pastels and brighter washes of color to the drawer.  The past season colors go back to the collection to be brought back towards the end of the year.  My makeup collection is pretty heavy, I am a hoarder I will admit. I do not even use all of it, many products still in boxes and I do give a lot of it away to friends.  (hint hint... giveaway coming soon :) ) I do have a professional kit that always needs replenishment every couple of months due to wear and tear from on location events.  I love makeup enough said... lol

The clutter.. and it's still like this.. At least it's just 1 drawer

My Makeup Vanity/Storage/Armoire

Over a year ago my boyfriend and I moved in together, buying a condo in the city.  I love living in the city but finding room to fit both of our "things" in a 850 sq ft condo was very tricky.  I will admit I had a lot of "things" from clothes, makeup, and craft supplies scattered all over the condo, which then made our place look cluttered.  The biggest problem was my makeup collection and not having a place for me to sit down and get ready.  The lighting in the bathroom wasn't so great, I love doing makeup in natural daylight.  When we moved in I took over a little corner near the dining room table with all my plastic storage containers.  The boyfriend hated looking at all my makeup scattered all over the dining room table and not having  a place to eat.  Our 2 week project was set into action.  Both of us searched everywhere for something that would be practical, functional and at the same time look amazing out in the open in our condo.  I came across a website called

IKEA HACKERS

, a gentleman made a vanity makeup armoire for his hairstylist girlfriend.  They too had the same problem as ours, small space but need stylish storage. We twerked the design a little to fit all my needs; a place for me to get ready, storage for all my makeup and a nice area for me to do makeup on clients when they come over. 

I am completely in LOVE with the final outcome of my own little area, it is everything I ever wished for.  It took many trips back and forth to Ikea and a hefty amount of $$$ but it was all worth it.  This couldn't have been done without my loving, supportive boyfriend who puts up with me and my makeup collection.  Hope you enjoy my pictures!

The makeup armoire consist of 2 bookshelf type storage.  At Ikea you can customize the side of the frame, size, drawers, wood, and etc. The smaller unit with the mirror is where I have my clients sit in front of.  I use the top of the unit as a table to lay out all my products I will be using.  The mirror is a great add on for clients to see their new look. 

Behind the longer door is where you will find the "vanity" portion of my makeup booth.  The lights are powered by an outlet behind the unit, the boyfriend drilled a hole to wire the plugs to the back.  There is also a working power strip inside for me to plug in my curling iron and hair straightener, it is also wired to the outlet in the back of the unit.  The pull out table is so handy, and the magnetic brush board makes everything clutter free.  

The drawers filled with all sorts of makeup goodness! My palettes are organized by a CD/DVD liner to make the palettes stand.  

This is what is inside of the 2nd smaller unit.  Basically supplies, and surplus/brand new makeup.  The white storage containers are filled with MAC pigments.  

Can't forget my Zuca and MAC briefcase for on-location work.  I'll post pictures later of all the makeup that's inside this little guy. 

Now you know why I am so in love with my makeup armoire.  

Let me know what you guys think.