how to makeup

Tutorial: My Eyebrow Routine - easy, waterproof and long lasting

I decided to make a tutorial on a question that I get asked a lot - "how do you do your eyebrows? or "what products do you use for your eyebrows?" To tell you the truth I hate doing my eye brows.. yes I hate doing them.  If you have been following me from the very beginning you can tell my eye brows went through a transformation.  When I first started MOTD's on Instagram I  didn't really pay much attention to my brows, maybe just a light fill in but that was about it. There's just something about me and my brows.  I do not have a problem doing brows on other people, but on myself is a whole different story.  Since I was a teenager I have always been self conscious about my eyebrows.  I was the culprit of over tweezing my brows or being complete opposite of not doing anything with my brows.  Then BOOM the eyebrow Gods came to me and I was determined to have nice defined brows that I see all over Instagram.  After going through a few products I found the ones that worked the best for me.

Now it's time to watch the video, I make it easy I promise

Products used: 

Makeup Forever Aqua Brow Corrector 30

Anastasia Beverly Hills Brow Wiz Brunette 

MAC Studio Fix Concealer NC30

MAC Mineralize Concealer NW30

Would love to know what other tips/tricks you would like to learn!

MOTD: NYX Love In Rio Love Is A Cha Cha

I haven't posted a MOTD forever!!! Sorry for all of you have been waiting for some new looks with some step by step instructions. 

As you know I am really into purple eye shadows.  There is just something about purple that I love to wear on my eyes.  So here's another purple eye shadow combination that I just couldn't pass up on especically when the trio of shadows are so pigmented.

I love NYX Cosmetics not only for their amazing value but how well their products perform especially their eye products.  The

Jumbo Eye Pencils

are my favorite go to primer to make eye shadows POP! If you need a recommendation on which one to choose (they have several different colors) MILK is the #1 choice.  It's a matte white that will work with any color combination but I really like to use it for bright colors. 

  Here are the steps to create the look. 

1. NYX Jumbo Eye Pencil in Oyster as your base.  As your highlighter apply NYX Ultra Pearl Nude Loose Eye Shadow.

2. NYX Love In Rio Love Is A Cha Cha lighter color all over the lid

3. Middle color which is a deeper purple all over the crease.  Apply this shade with detailed definer brush and blend out with a blending brush.

4.  Take your detailer brush and apply the darker shade right in the outer corners of the eyes for definition.  For added drama add a matte black eye shadow.

5. Line your eyes top and bottom and give it a little wing.

6.  Lashes used for this look are

House Of Lashes

Siren.  OMG I am obsessed!!! They remind me of MAC 35 Lash!!!!

7.  Brows are 

Anastasia Beverly Hills

Tinted Brow Gel Espresso and Brow Genius Kit in Brunette.

To make this look complete NYX Strawberry Milk was used on the lips along with NYX Mocha Blush and NYX Narcissistic Illuminator right above it. 

 I used

Makeup Addiction

Brushes in The Detailer and The Blender

I hope you guys like this look, as it is one of my new favorites.  I will be posting new YouTube tutorials next month.  Don't forget to follow me on

Facebook

and

Instagram

!

Tutorial: Applying False Eyelashes 101

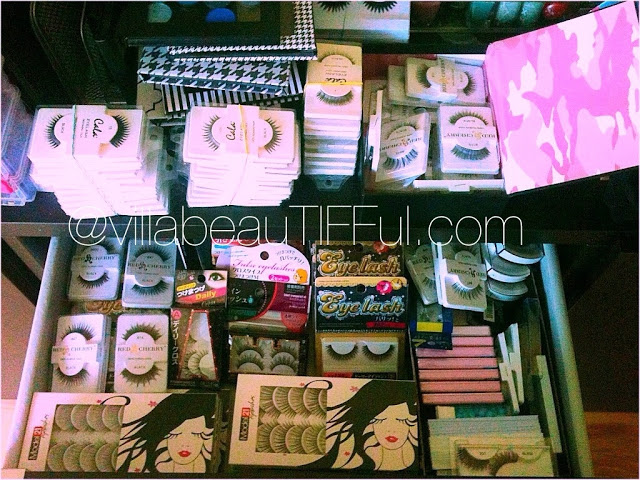
 *my eyelash drawer is out of control!!!*

I've been dying to make a video tutorial on how to apply false eyelashes. I have to say this must be the #1 requested video that everyone asks for. Applying falsies does take a lot of practice and patience but with a steady hand and the right kind of adhesive you will be a PRO in no time. Trust me, it's not easy, but once you get it down it's a piece of cake.

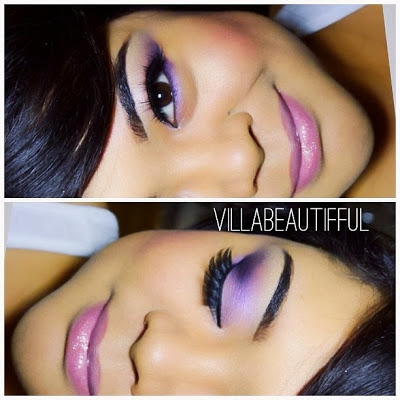
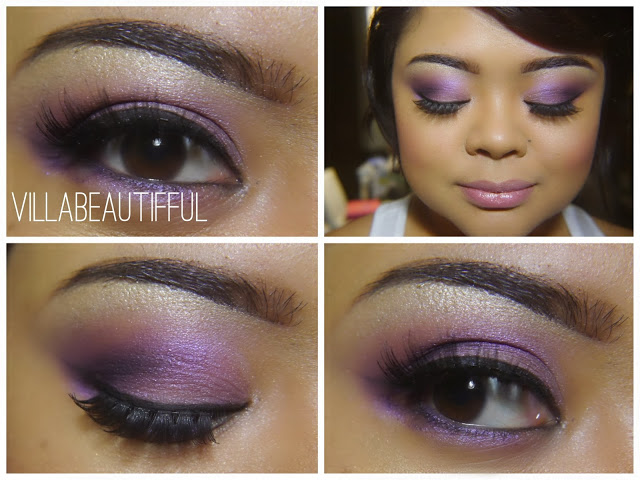
Applying false eyelashes really changes the style of your makeup, you can go from a natural beauty to diva glam just by selecting the perfect pair to compliment your makeup.  There's so many different styles out there that your possibilities are endless.

Falsies can be bought anywhere now a days find them at Target, any drugstore, beauty department store (Ulta and Sephora) and many cosmetic brands do carry their own line (MAC and Makeup Forever).  I buy my lashes online, I find that it's cheaper than the stores.  I do need a lot of them when I do makeup on location for brides so it's always great to find quality eyelashes are reasonably priced.  Two online sites that I recommend are:

Click here to visit madamemadeline.com

This site is great to find lashes that you would normally find at drugstores or beauty supply stores.  Brands they carry are Ardell, Red Cherry, Revlon,  Elise and Japonesque.  The more you buy of 1 style the more you save which is great if you need more than 1 pair.  You can find an assortment of styles from natural to theatrical styles and even individuals.  This is your one stop shop because they also have Duo Eyelash Adhesive.  I usually order the Red Cherry ($1.99) and Ardell Lashes (varies from $2.00 and +) for myself and my clients. This is my favorite site to shop for all sorts of different eyelashes.  With your order I always get an extra pair of free eyelashes, plus you get your package within a couple of days!

Click here to visit Model 21 Eyelashes

You can read all about these lashes from my previous post. 

/www.villabeautifful.com/llabeautifful.com/2011/11/my-favorite-false-eye-lashes.html

The blog post has pictures of all the lashes that I have purchased from Model21. All my brides love the 63, it is the perfect lash for a natural look.  I like to use these when I am doing a large bridal party or when I am creating my own falsies by layering different lashes together.  Pack of 10 lashes for under $10 but these lashes are synthetic.

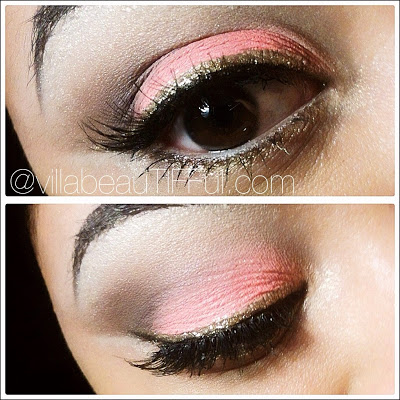
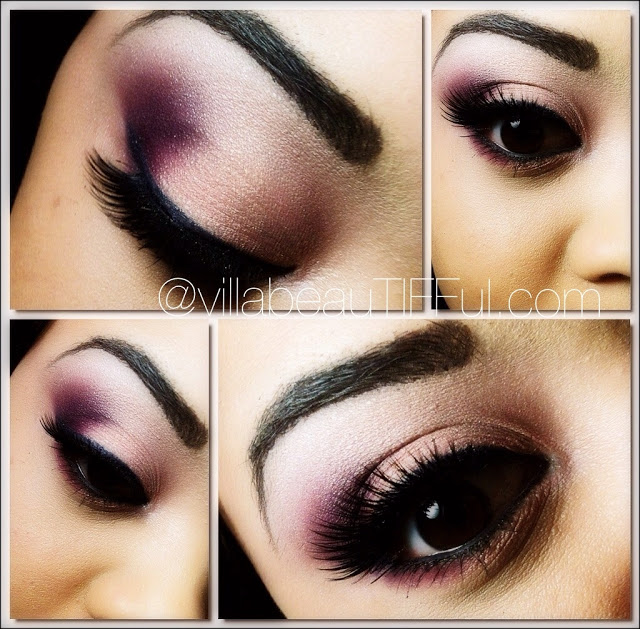
The two styles that I have featured in the video are from Red Cherry which I purchased from

Madammadeline.com

.  What I like about this brand is that their false eyelashes are real hair and not synthetic.  The eyelashes are softer and not so plastic looking. 

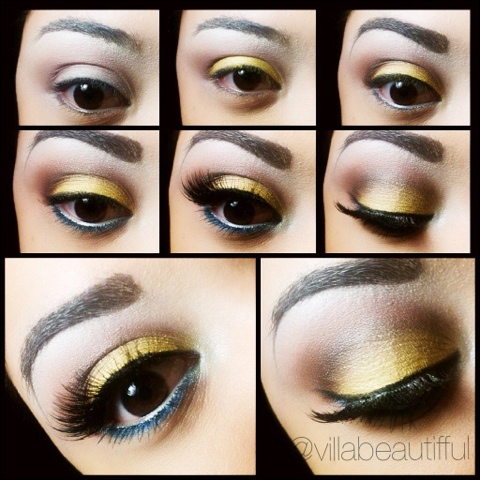
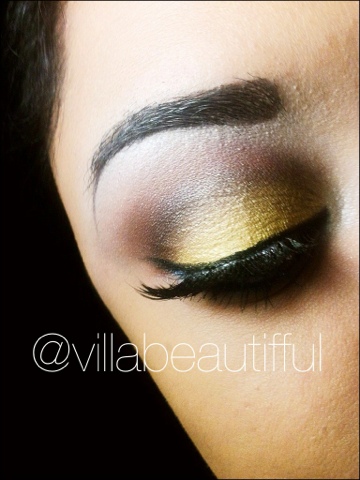
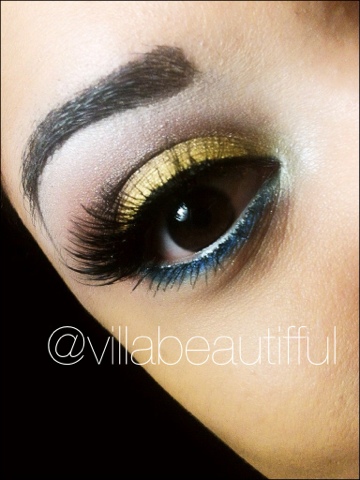
These are the two styles, I did edit the pictures a little bit so you can see the eyelashes better.

Red Cherry #600

Red Cherry #DW

I hope you guys enjoy the video!

MOTD: MAC Dynamic Duo 1

For today's MOTD I used  MAC Dynamic Duo 1 Eye Shadow x2 (from the Reel Sexy Collection) for the crease and lid. Vapour Eye Shadow (highlight) and  MAC Waveline Fluidline Eyeliner.  The tape help create a nice clean edge for the outer corner of the eye.

The two eye shadows remind me of Expensive Pink and Vibrant Grape, if you have these two colors I would skip on the duo.

MOTD: Yellow/brown with a touch of blue

For today's MOTD I decided to change it up a little bit with a different layout.  I thought it would  be nice change to do more of a tutorial picture layout to show all my followers the steps to achieve this look.  It has been a huge success and will be posting more MOTD'S like this from now on.  If you don't know already I take all my makeup pictures with my Iphone 3GS and use FrameMagic (layout the pictures) and BeFunkyPro (edit pictures). Many people cannot believe that I do, but YES I do! These two programs have made my MOTD'S amazing!  My lighting always helps and I will share that later. A post about the My MOTD Style process is long overdue.. I must share the background.  SOON!

I have used the color yellow for a lot of my MOTD'S, before I hated wearing this color but now I can't get enough of it.  Yellow is a color that you really need to pair with a darker shade to add a contrast and depth to your makeup.  Pairing it with another brighter color would also look great! Some colors that would compliment the yellow would be bright blue, teals, grass greens, and oranges/pinks/corals (this combination makes a lovely sunset look).  I haven't tried purple yet, but I am sure it would look great also.

MAC Shadows

Gesso (highlight)

Brown Down (upper crease) use with MAC #224 brush for more a diffused blending effect

Embark (crease) use with MAC #219 brush and then blend with either #224 or #217

Chrome Yellow (lid) wet your brush with MAC Fix+ and apply the yellow shadow to make it more intense

Freshwater (lower lash line) a q-tip helps create a soft blended look for a drop shadow.

The lashes are 2 pairs layered on top of each other.  I will have a post about this later.  No particular brand of lashes, just the ones that I get at the Japanese Dollar Store, Daiso.  I love layering lashes because you can create your own style and look.  Also the lashes are only $1.50!