Review: Olia Box - Jewelry Monthly Subscription Box

Olia Box

I am an active subscriber to monthly subscription beauty boxes (Starlooks, Ipsy and Birchbox Woman) also my husband is too (Birchbox Man).  It's such a great way to experience different brands and beauty products that you wouldn't normally purchase for yourself or from brands you haven't heard about.  But what about a monthly subscription box for trendy jewelry to match your wardrobe? Look no further, I bring you

OLIA BOX!

I was given the opportunity to review a box sent to me from Olga, the owner of Olia Box.  This was my first time that I even heard about a monthly jewelry box subscription.  What a great idea! Also free shipping and a money back guarantee.  Yes, you read that right!

Here is some details about Olia Box from the company.

  • OLIA BOX is a monthly subscription base box of personally selected accessories for each client.  Based on the individuals personal taste, seasoned Stylists work in synch with subscribers, to ensure the perfect bauble is paired to its customer. Olia Box is a fresh way to keep your looks updated with unique accessories, and affordable to any level of fashionista! Once you sign up with an account you will go through a questionnaire about your style.
  • OLIA BOX houses some of the top and most seasoned Stylists with over a decade of combined experience in the industry of fashion and accessories. The OLIA BOX Stylists are up to the minute on the latest trends bringing the top fashion styles to you, in a box delivered to your doorstep, monthly.
  • OLIA BOX jewelry is for the contemporary woman who is savvy, distinguished and finds expression through elegant touches and details. The vision of incorporating pieces from around the globe, and housing them under one umbrella brings the world to your door each month. The pieces are easy to layer, love and live in. Every design is the perfect marriage of sweet and sexy, keeping fashionistas and traditionalists alike delighted from season to season.  

 Now for pricing.. there are 2 different boxes based on your needs and price.

  •  For $25 a month you receive 2-3 pieces of hand selected pieces varying from bracelets, necklaces, rings and earrings each month!
  • For $35 a month you receive 3-4 pieces of hand selected pieces varying from bracelets, necklaces, rings and earrings each month! 

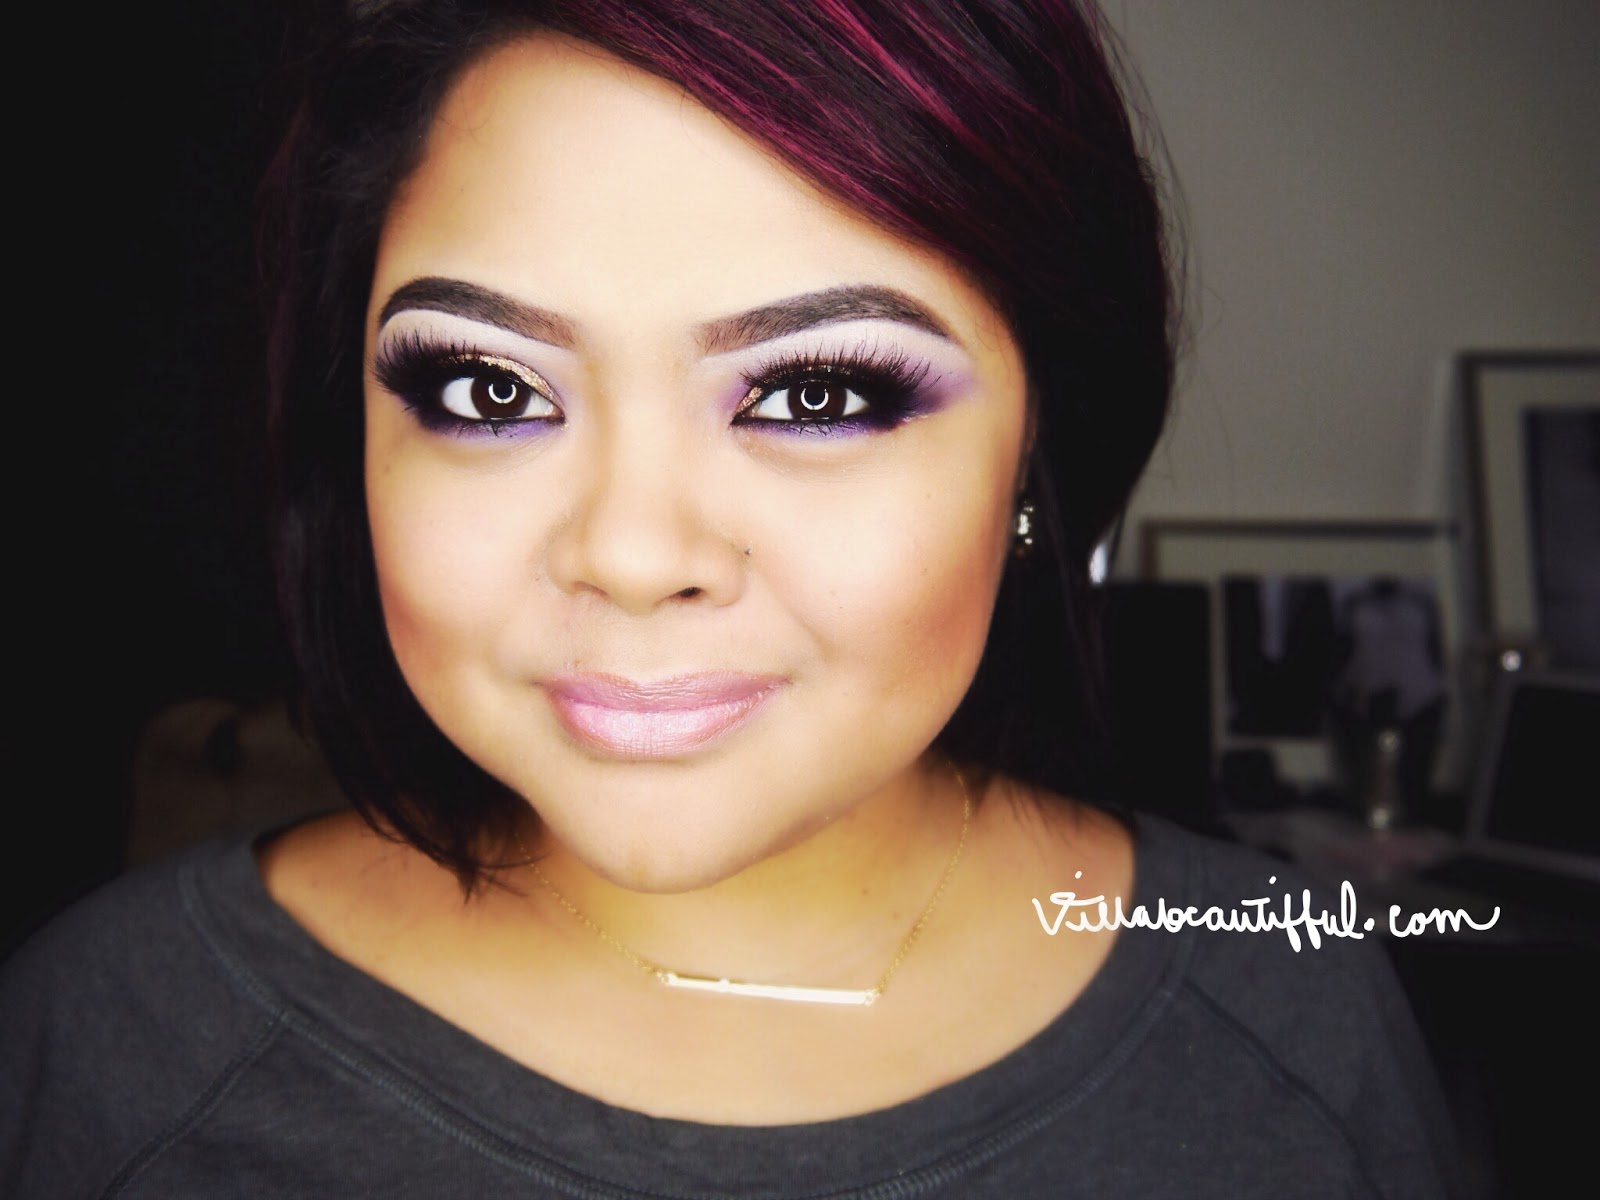
Want to see what I got? So excited to share with you my pieces that I received which I LOVE!

 This is how your jewlery will be sent to you.  A basic white decent sized box.  I always get excited when I receive boxes like these :) 

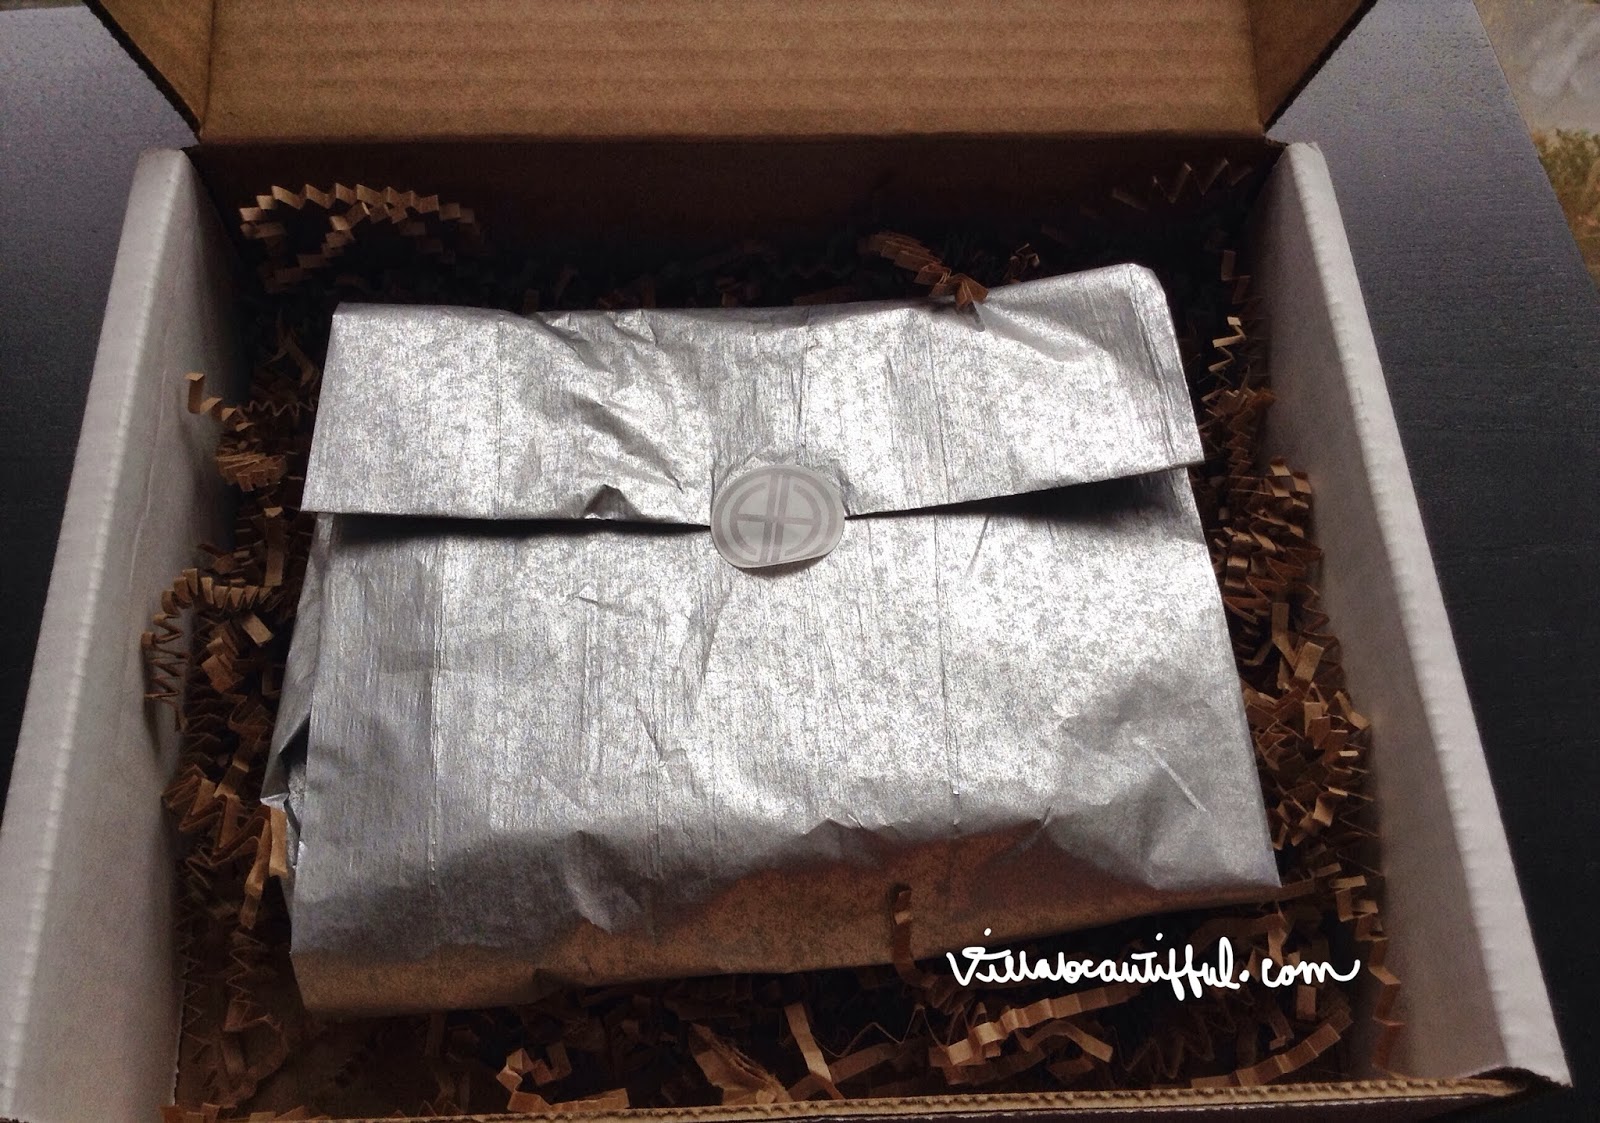
Right when you open the box you will see a nicely wrapped package with the Olia Box logo sealing the tissue paper.  Cute packaging is always a great first impression, but there's more ....

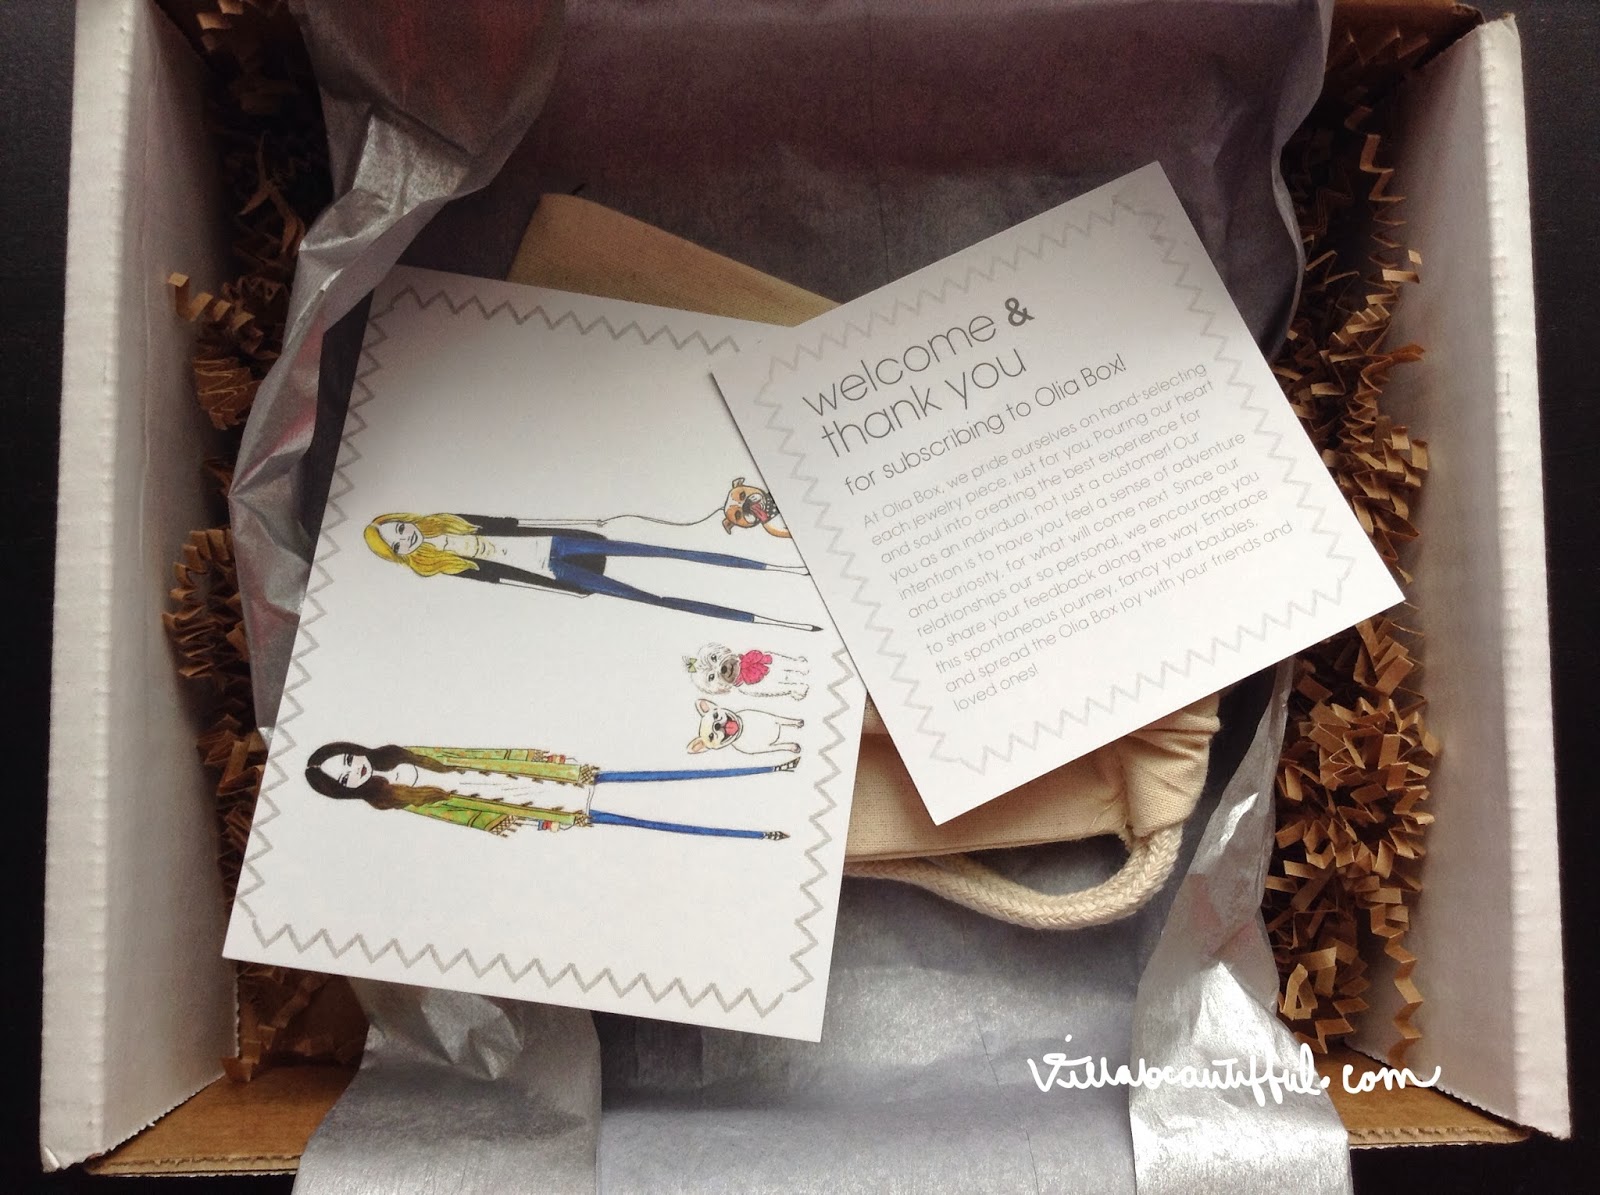
 When you unwrap the tissue paper you get little welcome and thank you card detailing your box. It's always nice when you have the company saying "thank you" for purchasing their product, makes me feel acknowledged.

The backside of the postcard with the picture of the two illustrated girls features a guide on how to care for your new jewelry.  I thought this was a great decision and very helpful for subscribers.  You want your new pieces of jewlery to be with you for a long time, right?

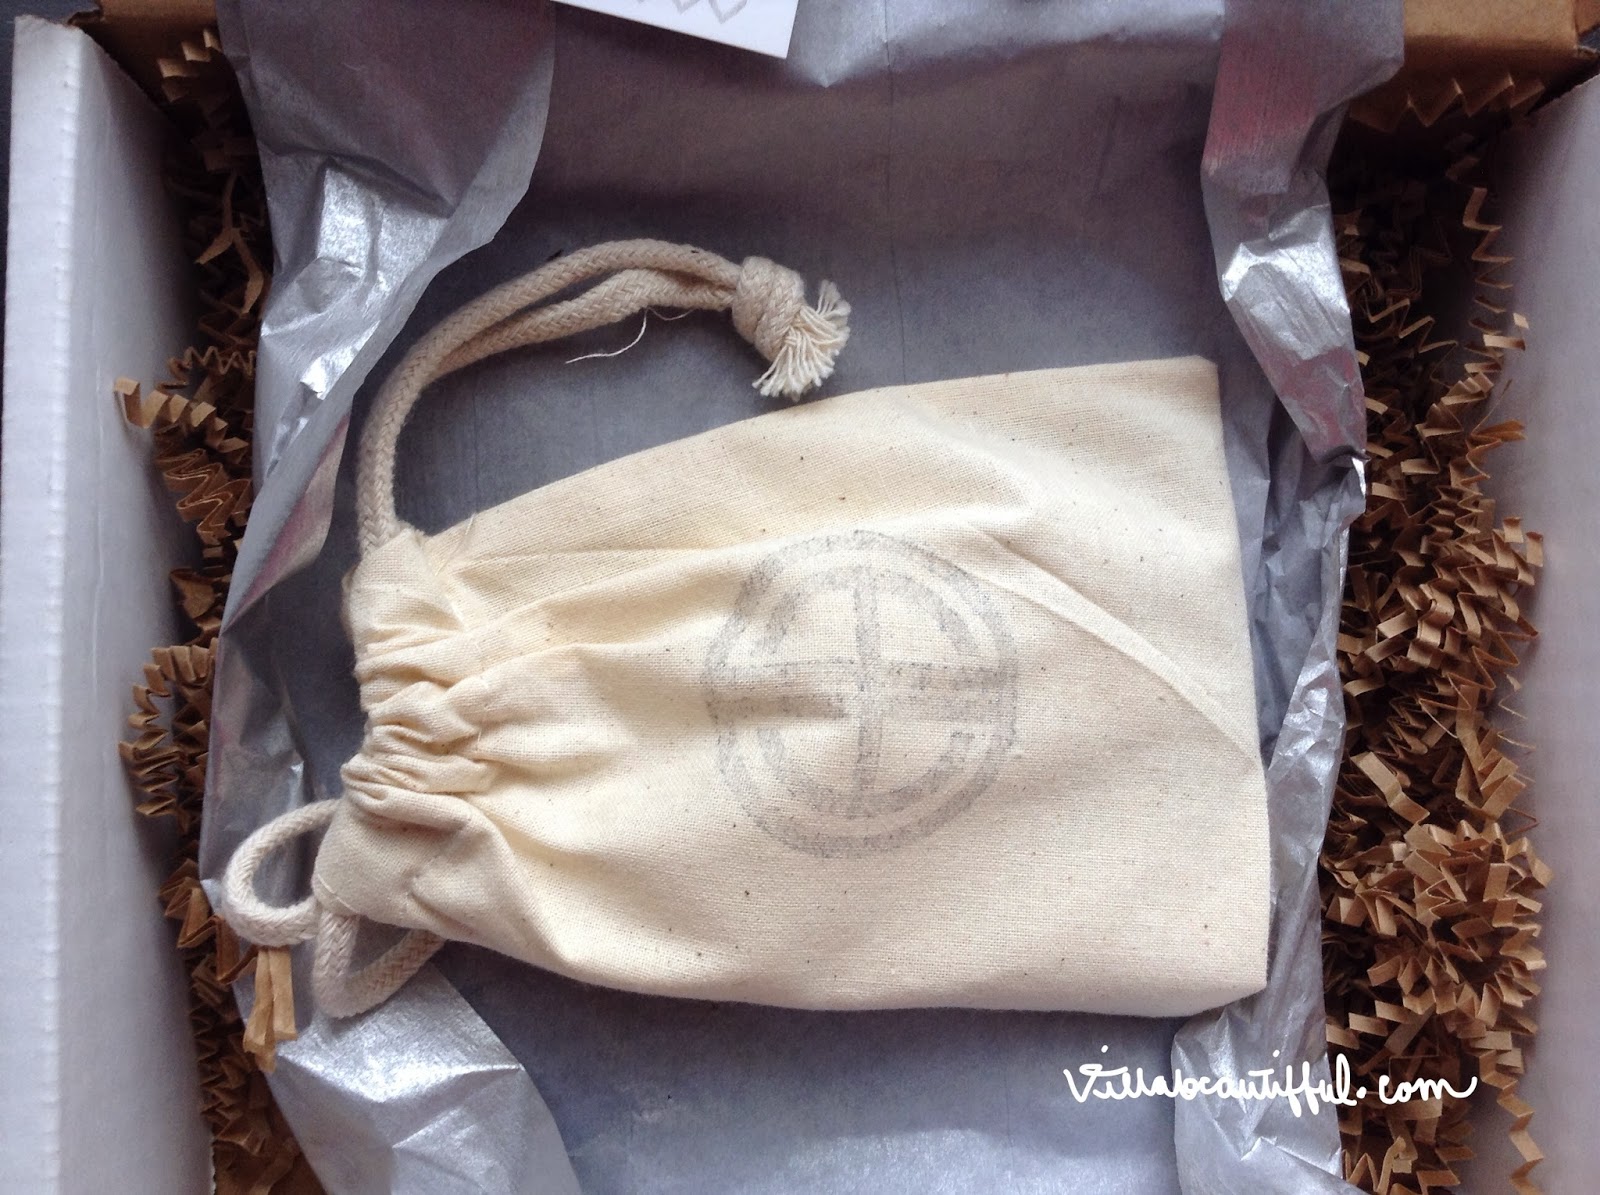
How cute is this linen bag! Perfect way to store your jewlery (esp. for travel) or reuse it to store ... makeup perhaps? ;)

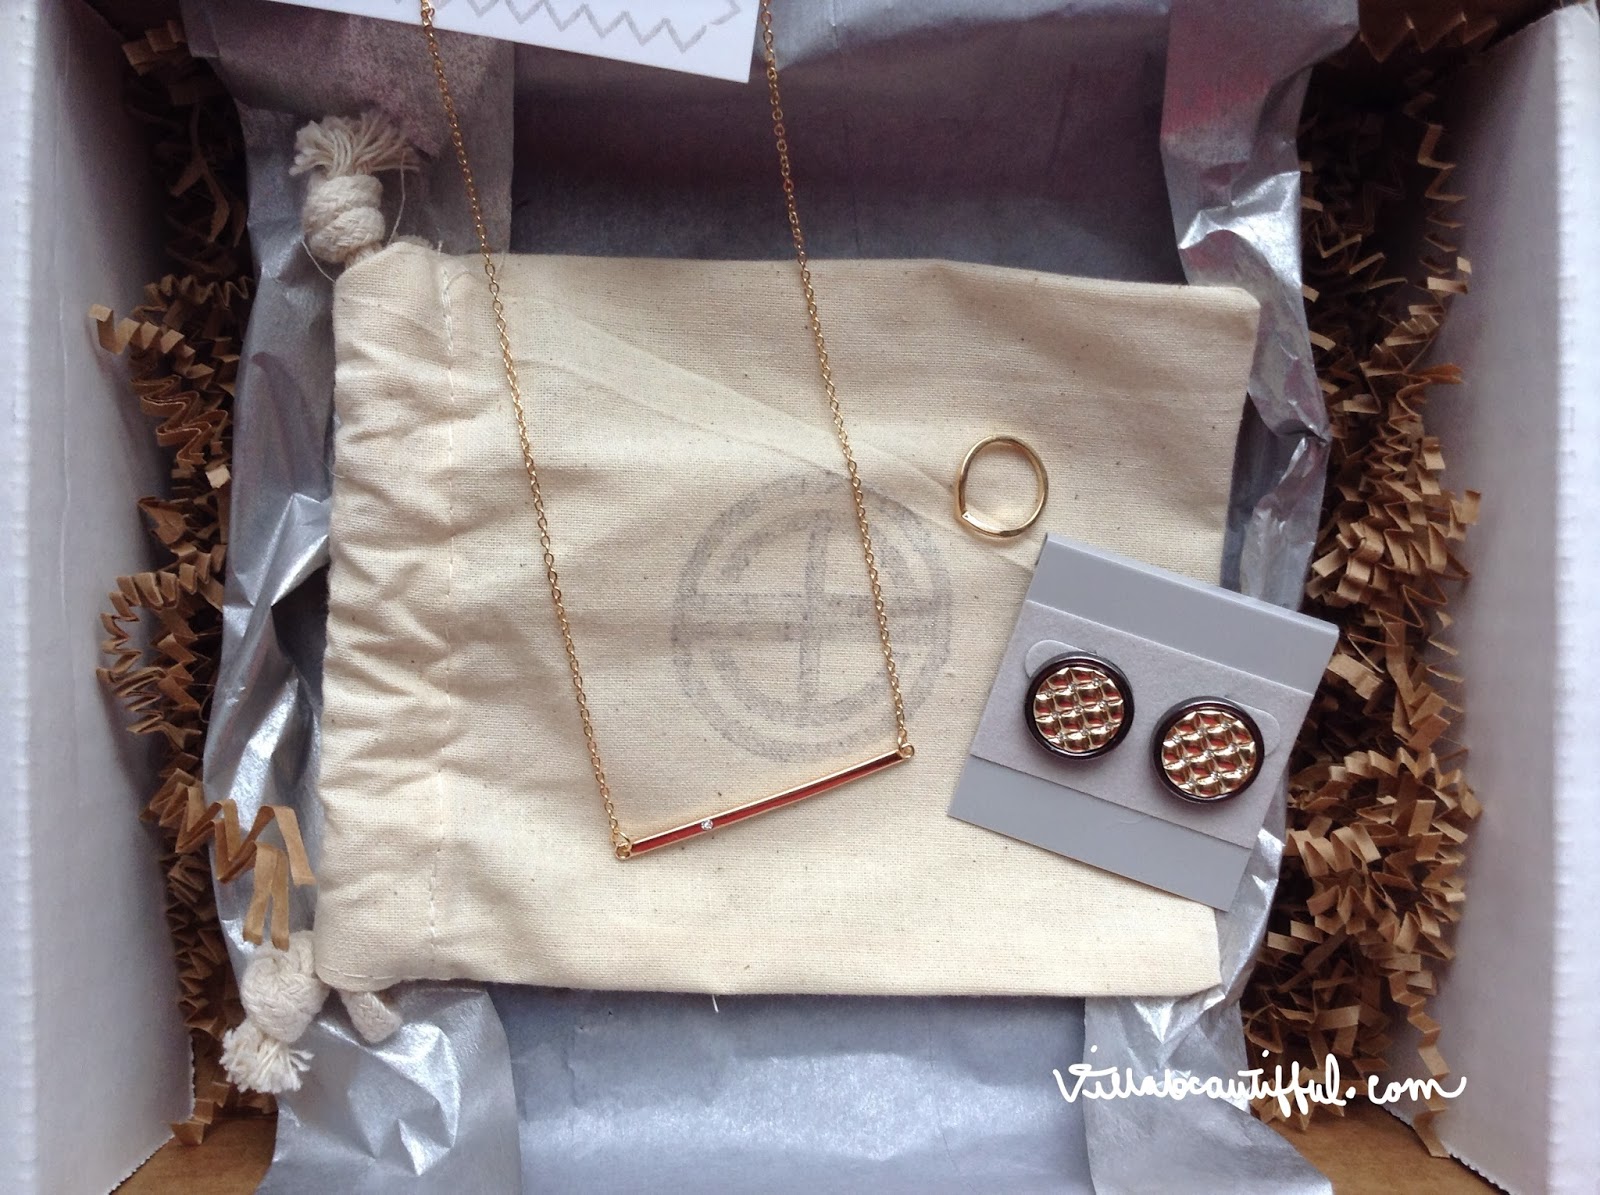
I received little items - necklace, ring and earrings with all of them complimenting each other.  I've always wanted a necklace like this and my favorite item are the earrings!

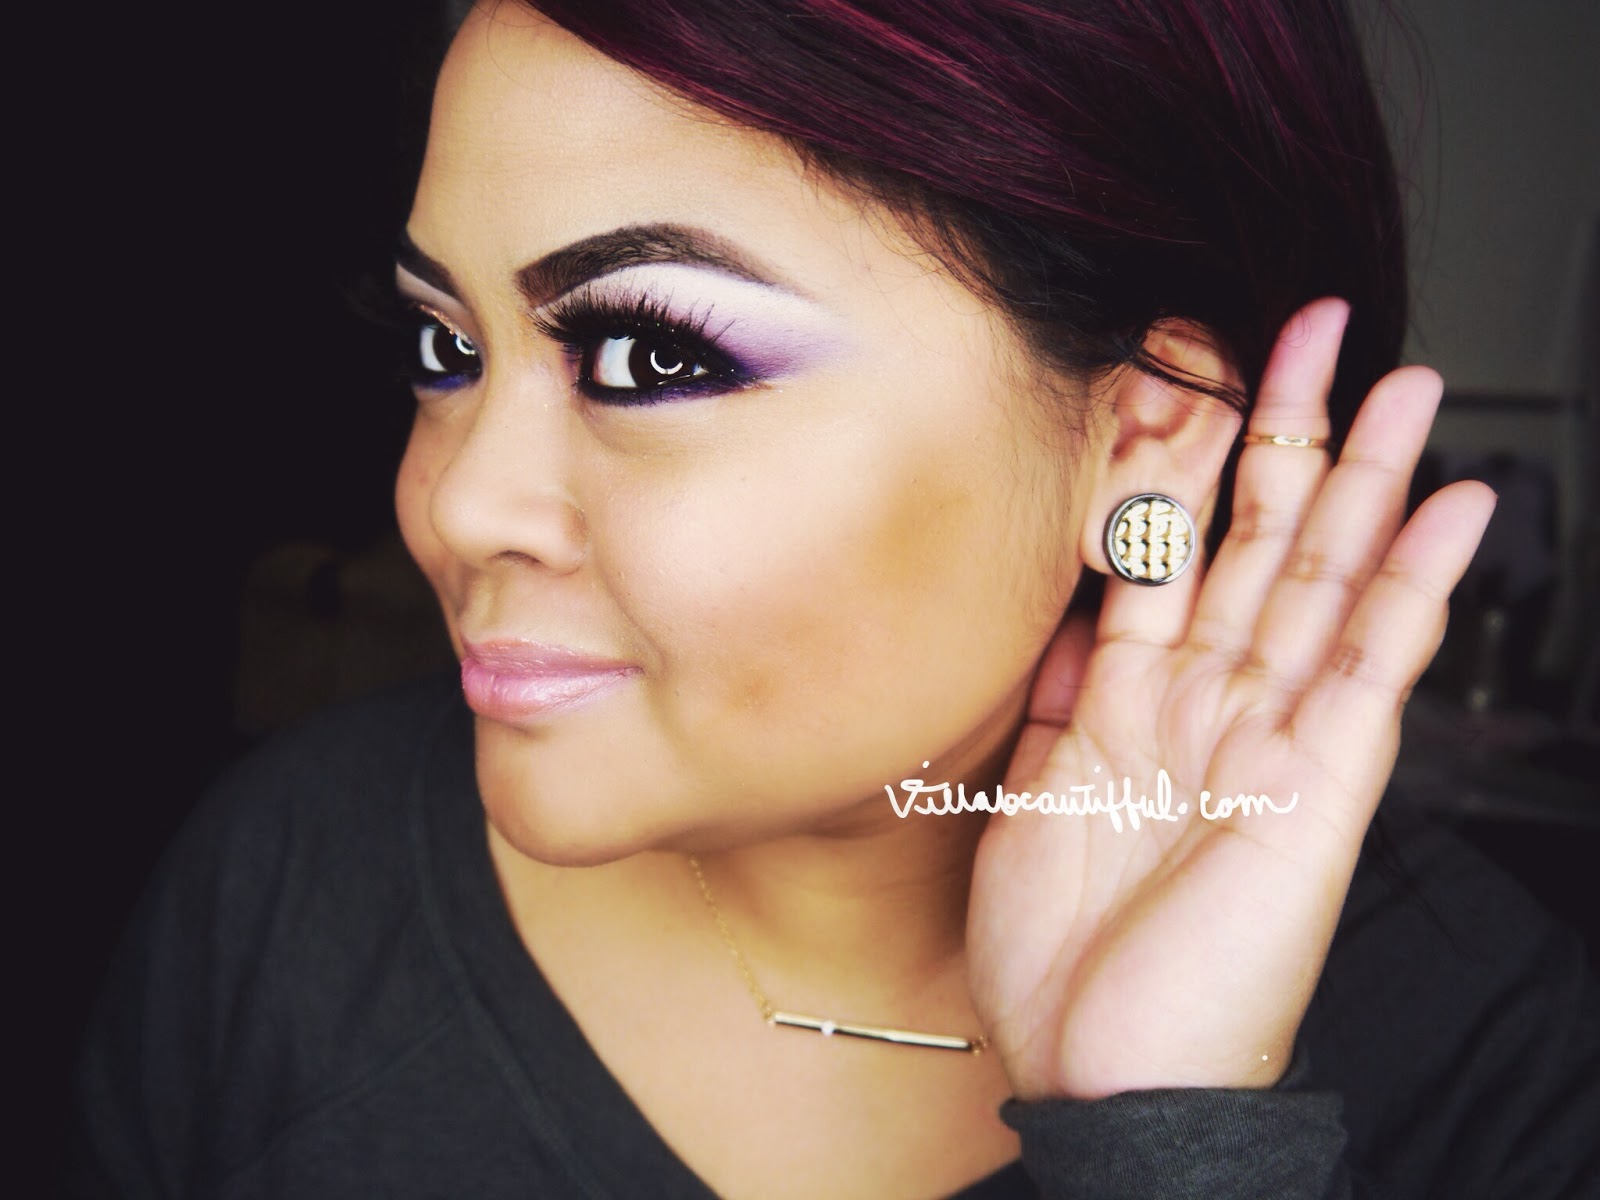
 I only wear stud earrings so these were just perfect. One of the backs to the earrings was a little loose but no worries I can replace it with another one. The center is gold texture pattern with gray outlining it.  Pretty combination of colors.  I totally see myself dressing this up and down.  Very versatile.

The necklace is very simple but trendy all at the same time. It is a gold bar with a little diamond towards the end. 

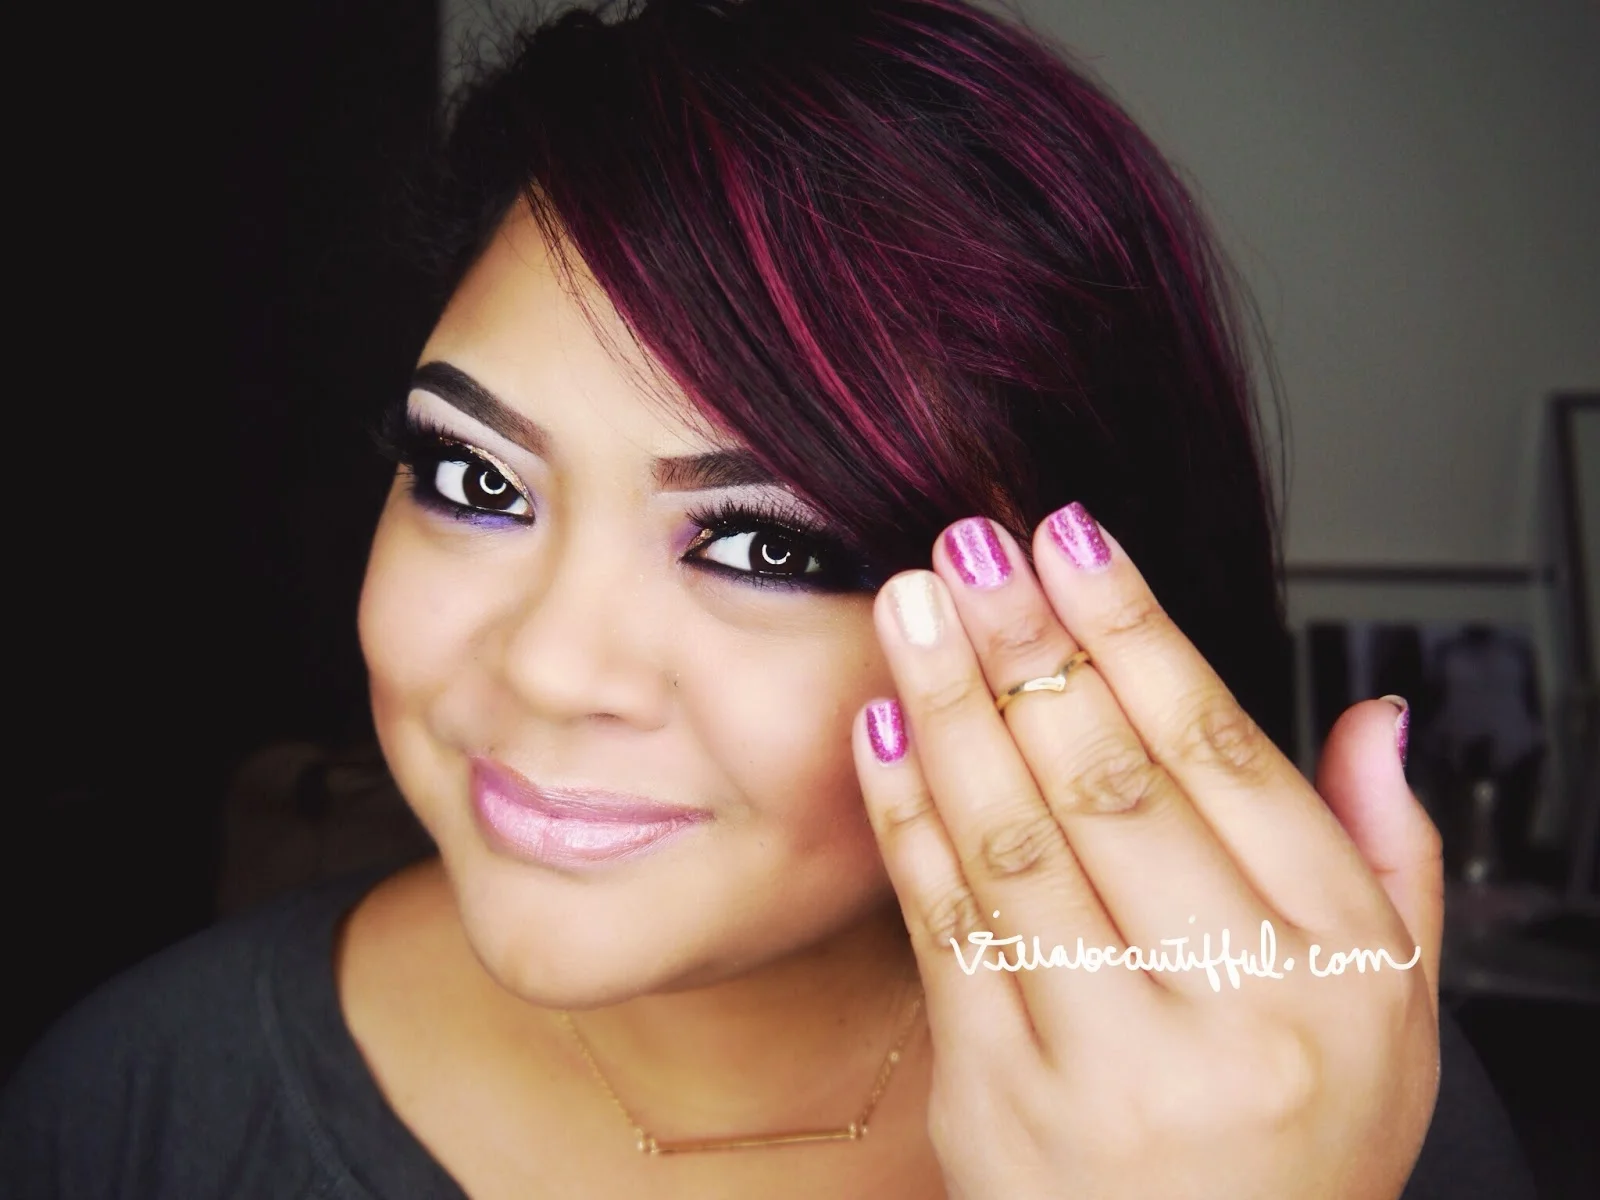
 This is what the ring looks like.  Dainty and oh so very trendy! 

I hope you guys enjoyed my review of the Olia Box! Check out their website and subscribe now!

www.oliabox.com 

P.S.  I didn't realize my DSLR was on this special filter mode until I was already finished taking all the photos.  Sorry if my face looks super bright and pale .. next time I'll make sure I check the settings :D

Wedding: T&C in Asia - honeymoon edition!

Hello loves! I know I haven't been posting for a very long time, I always neglect my blog! Hopefully, I can jump on blogging/reviewing and sharing pictures with all of you on a daily basis again (this will include new YouTube tutorials as well) . Thank you all for being so patient! 

After 6 months of being married my husband and I finally went on our honeymoon to Hong Kong and the Philippines (Manila, Cebu and Boracay). It was such an awesome vacation and happy I was able to share my homeland with my new husband.  I've been to the Philippines 3 times already but for the MR.  It was his first. I was scared to see how he would react especially in the Philippines but to my amazement he LOVES it! He wants us to find a condo as our vacation home. Yay! We had a great time and didn't want to go back home. 

Here are some highlights from our trip 

Our first stop for 3 days was Hong Kong. 

Skyline of Hong Kong - the day was overcast with some scattered showers. Major jet lag here!

Being a beauty junkie my favorite part of Hong Kong was Sasa!!! Oh my goodness. Literally every city block had a Sasa. If you don't know what Sasa is it's best described as an Asian Sephora - different Asian beauty brands (Japanese,  Korean, Chinese) skincare, haircare, makeup, nails, etc. it was so much fun going into each one everywhere we went. The MR. was so amazed how many there were in a short radiance from each other. The picture shows some of the products that I picked up. I wanted more but knew that I had to limit myself since we still have to make it to the Philippines. 

For a week and half we spent the majority of our time in the Philippines

The view from our hotel room at the Sofitel Manila Plaza. Such a beautiful hotel outside of Makati. Can you see the Ferris Wheel? That's Mall of Asia- one of the biggest malls in Asia less than 5 min from our hotel via taxi. The big building in front is the Manila Film Centre. 

The MR. and I like history and culture we spent some time at Corrigdor and Intramueros. 

Time for some fun times on the beach! 

Cebu Movenpick beautiful grounds and hotel! It was nice to lay out on the beach and enjoy the weather. 

The last stop was of course Boracay! 

Boracay Regency Lagoon was our home for 3 days. If you stay here make sure you get the 1st level rooms so you have direct access to the pool from your balcony. It is also a short walk away to the beach. 

Look at the beautiful water and sand! The water was so warm! Spent 2 days just lounging on the beach drinking fresh mango shakes.  

Back to Manila! 

Our last night in the Philippines the Sofitel upgraded us to the top floor with a few overlooking Manila Bay and a beautiful view of the pool. 

That's our trip in a nut shell! So sad it had to end but we enjoyed every second of it. We are already planning our next trip to Europe. Can't wait! 

MOTD: Holiday Inspired Makeup with NYX Cosmetics

I'm a little late figuring out the settings on my camera (1 year later) but I am so happy that I did! Pictures are clear and the colors are vibrant. I have been getting a lot of people asking me why I have a glowing ring in my eyeballs.  That is the reflection from my new lighting! Gotta have good lighting for makeup pictures/videos especially when you do everything at night around 11pm.

Anyways here's today's festive look!

 1. Prime lid with

NYX Cosmetics Jumbo Eye Pencil in Sparkle Green

.  This is how I achieved the vibrant green on the lid.  The green is gorgeous even used on it's own.

2.

NYX Cosmetics Love In Rio En Fuego Eye Shadow Palette

  The middle color (purple burgandy shade) used above the crease.

3.

NYX Cosmetics Love In Paris C'est La Vie  Eye Shadow Palette

for highlight, crease and lid.

4.

NYX Cosmetics Roll On Shimmer Nude

with

Liquid Crystal Liner Crystal Champagne

(the new color is now Crystal Silk) for bottom liner.

5. Line eye with

NYX Gel Liner in Jet Black

. I even used this product very lightly for my brows but I mixed it with the dark brown gel liner too.

5. Lashes are

House of Lashes Pixie Luxe

with Bohemian Princess stacked on top of each other

Can't forget about the @hairandmakeupaddiction brushes to create this look

Tutorial: Urban Decay Naked 3 Smokey Eye

Want some more Naked 3 looks? You got it! This look is all about a smokey eye using 2  of my favorite colors from the palette- Mugshot and Blackheart.   I also added a touch of glitter for a fun look for the holidays or any special occasion where you want to shine!

Take a peak at the video and all the products are listed below!

Urban Decay Naked 3 Palette

Strange, Nooner, Mugshot, Darkside, Blackheart

Urban Decay 27/7 Eyeliner Zero

Urban Decay Primer Potion

Ardell Double Up Lashes 204

MAC Day Gleam Pressed Pigment

Violet Voss Cosmetics Glitter Goldie

City Color Cosmetics Be Matte Toasted Coconut Bronzer

Urban Decay Naked Lipstick

Review: The Color Workshop Triple Play Train Case

I hope all of you have enjoyed my reviews regarding The Color Workshop Holiday 2013.  It was a lot of fun taking pictures and swatching the products for you, but I am not done yet! :)  One last set to share and this one is the big one!! Seriously, look at this set for only $24.99!!! YES!  I would really recommend this kit to the makeup ethusiast who is just starting out with makeup who's on a budget but would like something affordable.  With the past sets that I reviewed I have been overall very impressed with the products.  There's always the mindset that inexpensive makeup is not good makeup - because it's "cheap" their is lack of pigmentation and longevity.  This is not entirely true with many affordable brands out there.  People just need to give them a try!  As a makeup artist I am always on the hunt for good, affordable makeup for everyone from beginner to advanced.  With that being said, The Color Workshop is on my list for affordable brands to look for.

Now, I think it's time to show you the Triple Play Train Case through my pictures.  These photos have no filters or have not been altered in any way.  Pictures are taken in natural day light (thank goodness there's some sun in Seattle today!).

The train case is like a mini makeup briefcase or you can call it a traveling jewelry box filled with makeup!  The case is very sturdy and made very well.  When you open the case up there are 3 sections - lets go over these sections in more detail.

First Tray - Eye Shadows:

  The top tray are all eye shadows, 34 different colors/finishes to pick from.  The trays all the products sit in are plastic and a bit flimsy. This should only concern you if you plan on taking the trays out of the case. Just like from my previous post the shimmer overlays on the shadows do tend to disappear right after you use them for the 1st time.  Even with the shimmer overlay the shadows are still pigmented as you will see from the swatches.  However, I did find that the non-shimmery/frosty shades in this set did not have as much color payoff as the rest.  You will see from the swatches the matte shades compared to the shimmer/frosty ones as they really stand out with high pigmentation.

 Swatches

The swatches are broken up by diagonal column.  A sheer application of eye shadow primer was applied before each swatch.  Also each swatch was only applied once unless otherwise noted.

 For the white, silver and black I added the lonely 1 shadow at the end of the tray with these guys. Look how pigmented that frosty white is!! I did have to swatch the matte black about 2-3 times just for it to go deep dark for the camera to pick up.  I wasn't feeling the browns/golds they were very muted on my skin tone.

I really like the greens in this set! See how much the shimmer shadows stand out? Now for the pinks they kinda got lost except for the first frosty shade.  The last pink shade is a matte, I had to apply this several times but still no go for the camera. 

 The first shade for the top row (darker browns) did not show up at all on my skin tone.  The color was supposed to be a beige/bisque tone, it is a matte shade so this could be why.  Again, I find that the shimmer/frosty shades were better pigmented than the other finishes (this is my opinion).  Look at how vibrant the pinks are though!!! You will find the brighter colors have better color payoff.

For the purples I did find the darker purple (3rd swatch) to be a tad bit chalky and did not apply as smooth as the others.  Lets really talk about the blues!!! WHOA! Totally in love, need I say more? I think the picture explains it all. :) 

Did they save the best for last? GAH! AMAZING! I really like these colors together and the pigmentation is top notch! I will be doing a MOTD (makeup of the day) with these colors on my Instagram so make sure you follow me to see the look. From the picture it looks like the deep bluish/purple shadow is matte but actually it is not.  It has a little bit of reddish-pinkish sparkle very pretty!

Second Tray - Cream Eyeliners, Lip Glosses, Blushes and Shimmer Highlighters.

  When I first opened this drawer I was instantly mesmerized by the blushes and shimmer highlighters. Reminds me of a high-end cosmetic brand blush palette.  The design that is indented is striking! Also look at the variety of lip glosses, 16 different colors to choose from.  You will defintely not be bored with the same lippie combo.

SWATCHES

 I would totally purchase these blushes if they sold them separately or even in a blush palette.  The colors are gorgeous!  The highlighters do look very light in the picture but if applied with a fan brush for a light application it would give a nice glow.

The glosses are non-sticky sheer washes of color with little sparkle (some without) which is perfect for glosses (in my opinion).  I did find a bit of a lipstick-y smell (I really don't know how to describe the smell but it's not bad.  They did not have a taste to them.  I can't stand having a lip product with a strong smell that tastes like how it smells.  Yuck! Thank goodness in this case that is not a problem. Since there are only 2 lipsticks in the set (more about them later) it was nice to see a variety of colors in the glosses. 

The Cream Eyeliners are so creamy and smooth, would make great eye shadow bases for a bolder look.  I think I will incorporate these with my MOTD that I will post.  I don't think these will dry out in the tray, but I could be wrong.  They are pretty creamy.

Third Tray - Metallic Liquid Liner, Pencil Liners, Nail Polish, Glitter Creams and Lipsticks. 

I was totally surprised when I opened up this drawer! I was not expecting coordinating nail polishes with some glitter creams! 

SWATCHES

I knew that I would like the Metallic Liquid Liner based from the review of the

Art Of Eye Makeup Set. 

As for the pencil eyeliners I didn't have a good experience from the purple eyeliner featured in the

Drama Queen Complete Makeup Set

. I was totally surprised how different the pencil liners felt compared to the previous one that I reviewed.  They did not have a waxy feel and the color payoff was really good.  One swipe did the trick! 

 Please excuse my little nails!  I had Shellac on them and the removal process totally made my poor little nails all brittle and weak.  In the process of getting them nice and strong again.  I am lovin the colors so festive for this time of the year.  What really impressed me was the applicator - wide and not flimsy. 

I'll just be very straight forward with this one ... didn't like it.  I have seen these glitter creams from other companies before and haven't been in a fan.  Why? Well, they don't stay on and they get chunky.  If you want glitter eyelids use straight up cosmetic grade glitter (I use a lot of different brands for my MOTD's) with some adhesive.   I did not like how these went on - it did not evenly distribute.  I even had to use my finger to swatch these and the swatch wouldn't even leave my finger to make the swatch on my hand.  Not sure if this product was dried up but did not have a good experience. 

What is this? WHOA! Totally different from the first set.  Look how evenly these distributed! So the first set must be dried out (this is what I think). I wouldn't really really say glitter but more like a metallic shimmer cream.  I'm really liking the gold one! 

 These are the two lipsticks - light pink and a berry red.  Very creamy and smooth.  Think of all the lip combinations you can create when you add all the different lip glosses! You would be set!

Sorry for the picture heavy post for this review.  I just wanted to make sure you saw everything and knew everything you wanted to know about this set. Keep an eye on it at your local Walmart as they will be cutting the prices down closer to Christmas.  Hopefully you can snag yours as it is a great value for everything you are getting, especially for the shadows.

Now I can go finish my Christmas Cards .. YUCK I am sooooo behind. lol