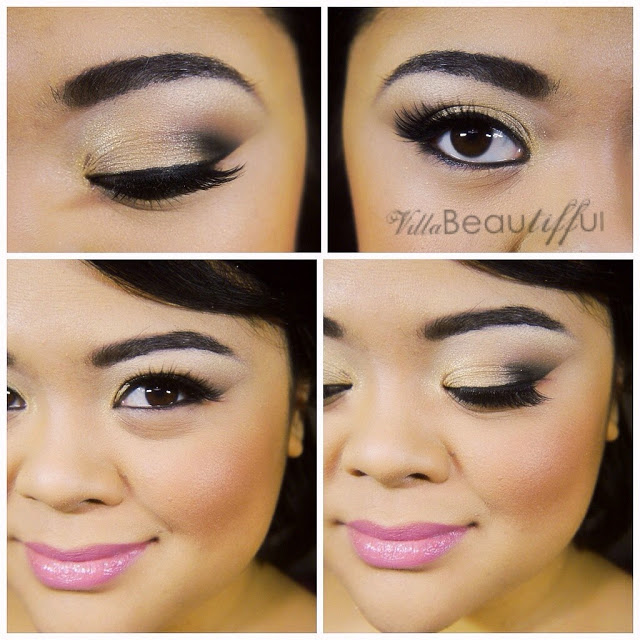
It's been a couple of years since the Urban Decay Naked 1 Palette has been released and to this very day it's still my favorite. The rich collection of metallic golds, bronzes and neutral browns make it my go-to palette for everyday wear and for an evening out. This is also the palette of choice by a lot my brides that I have worked with over the years.
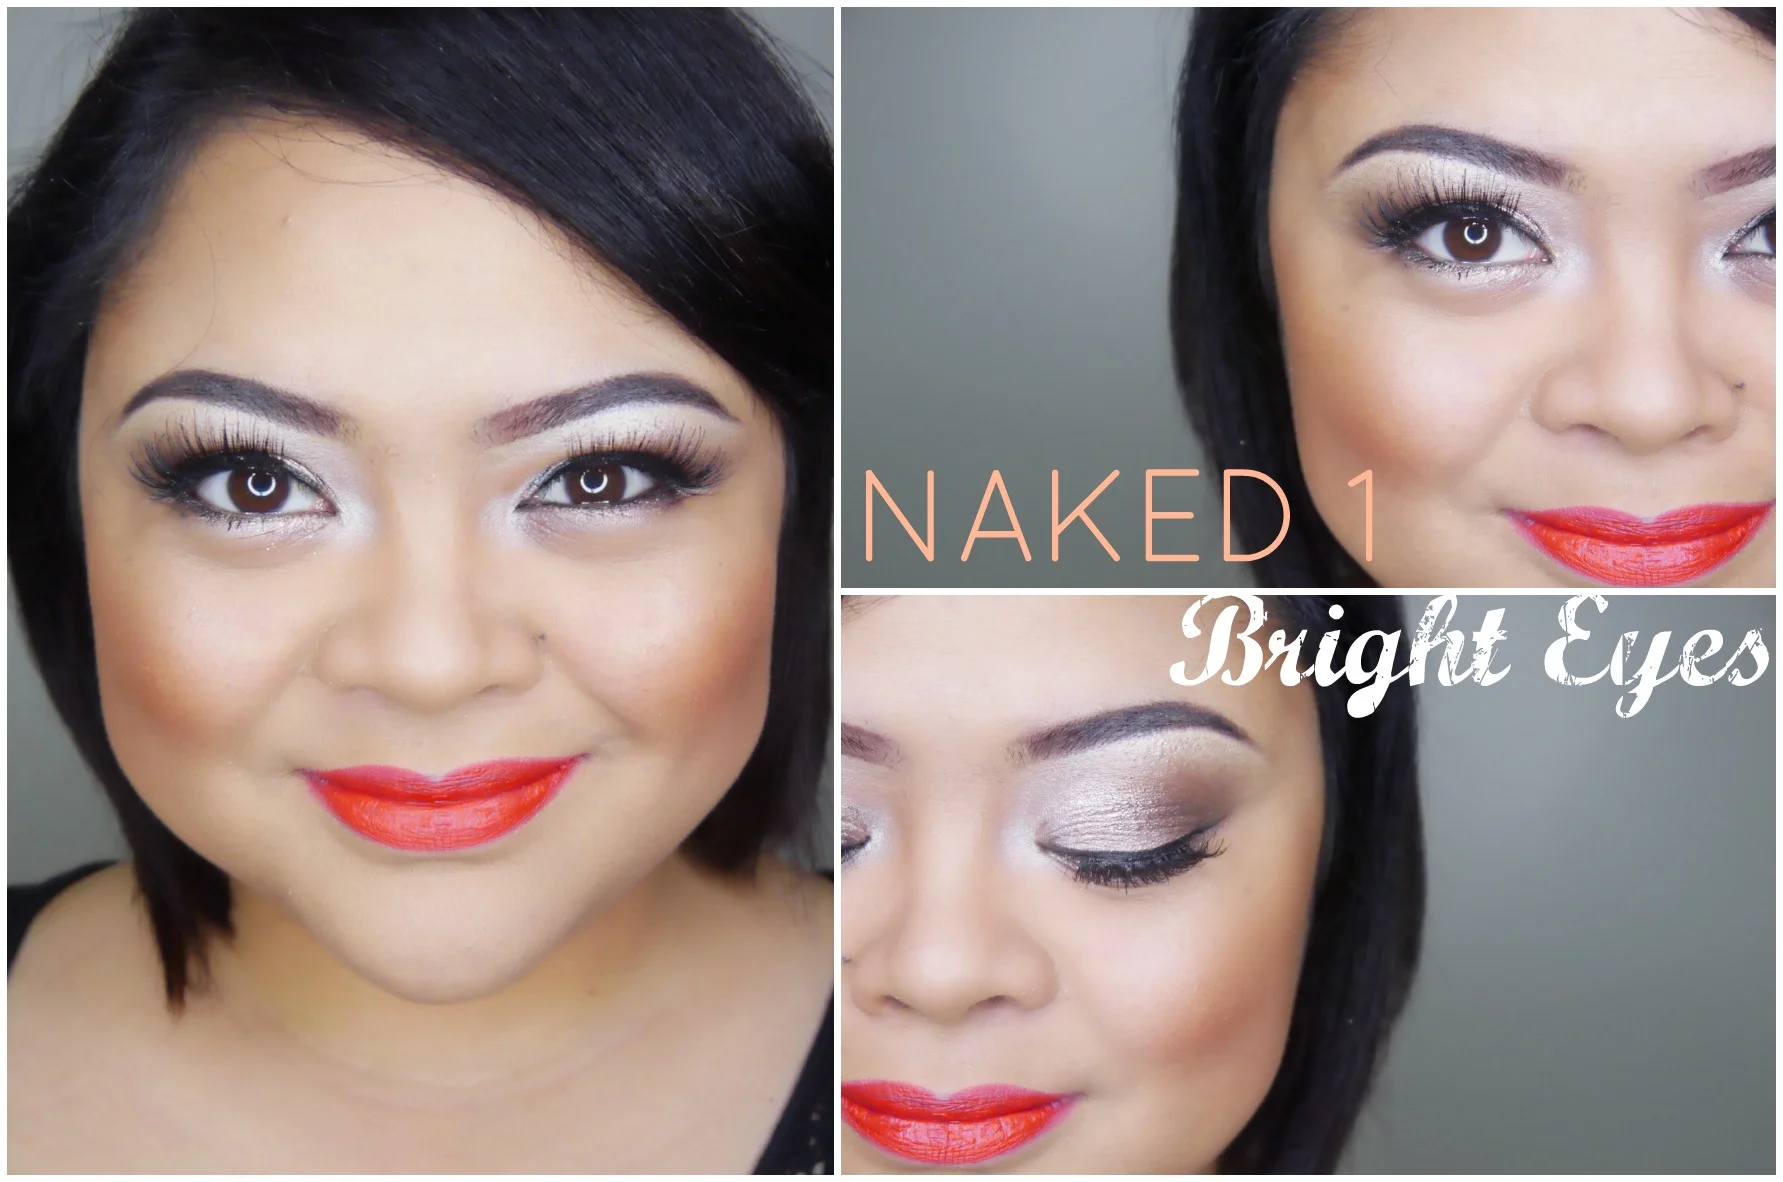
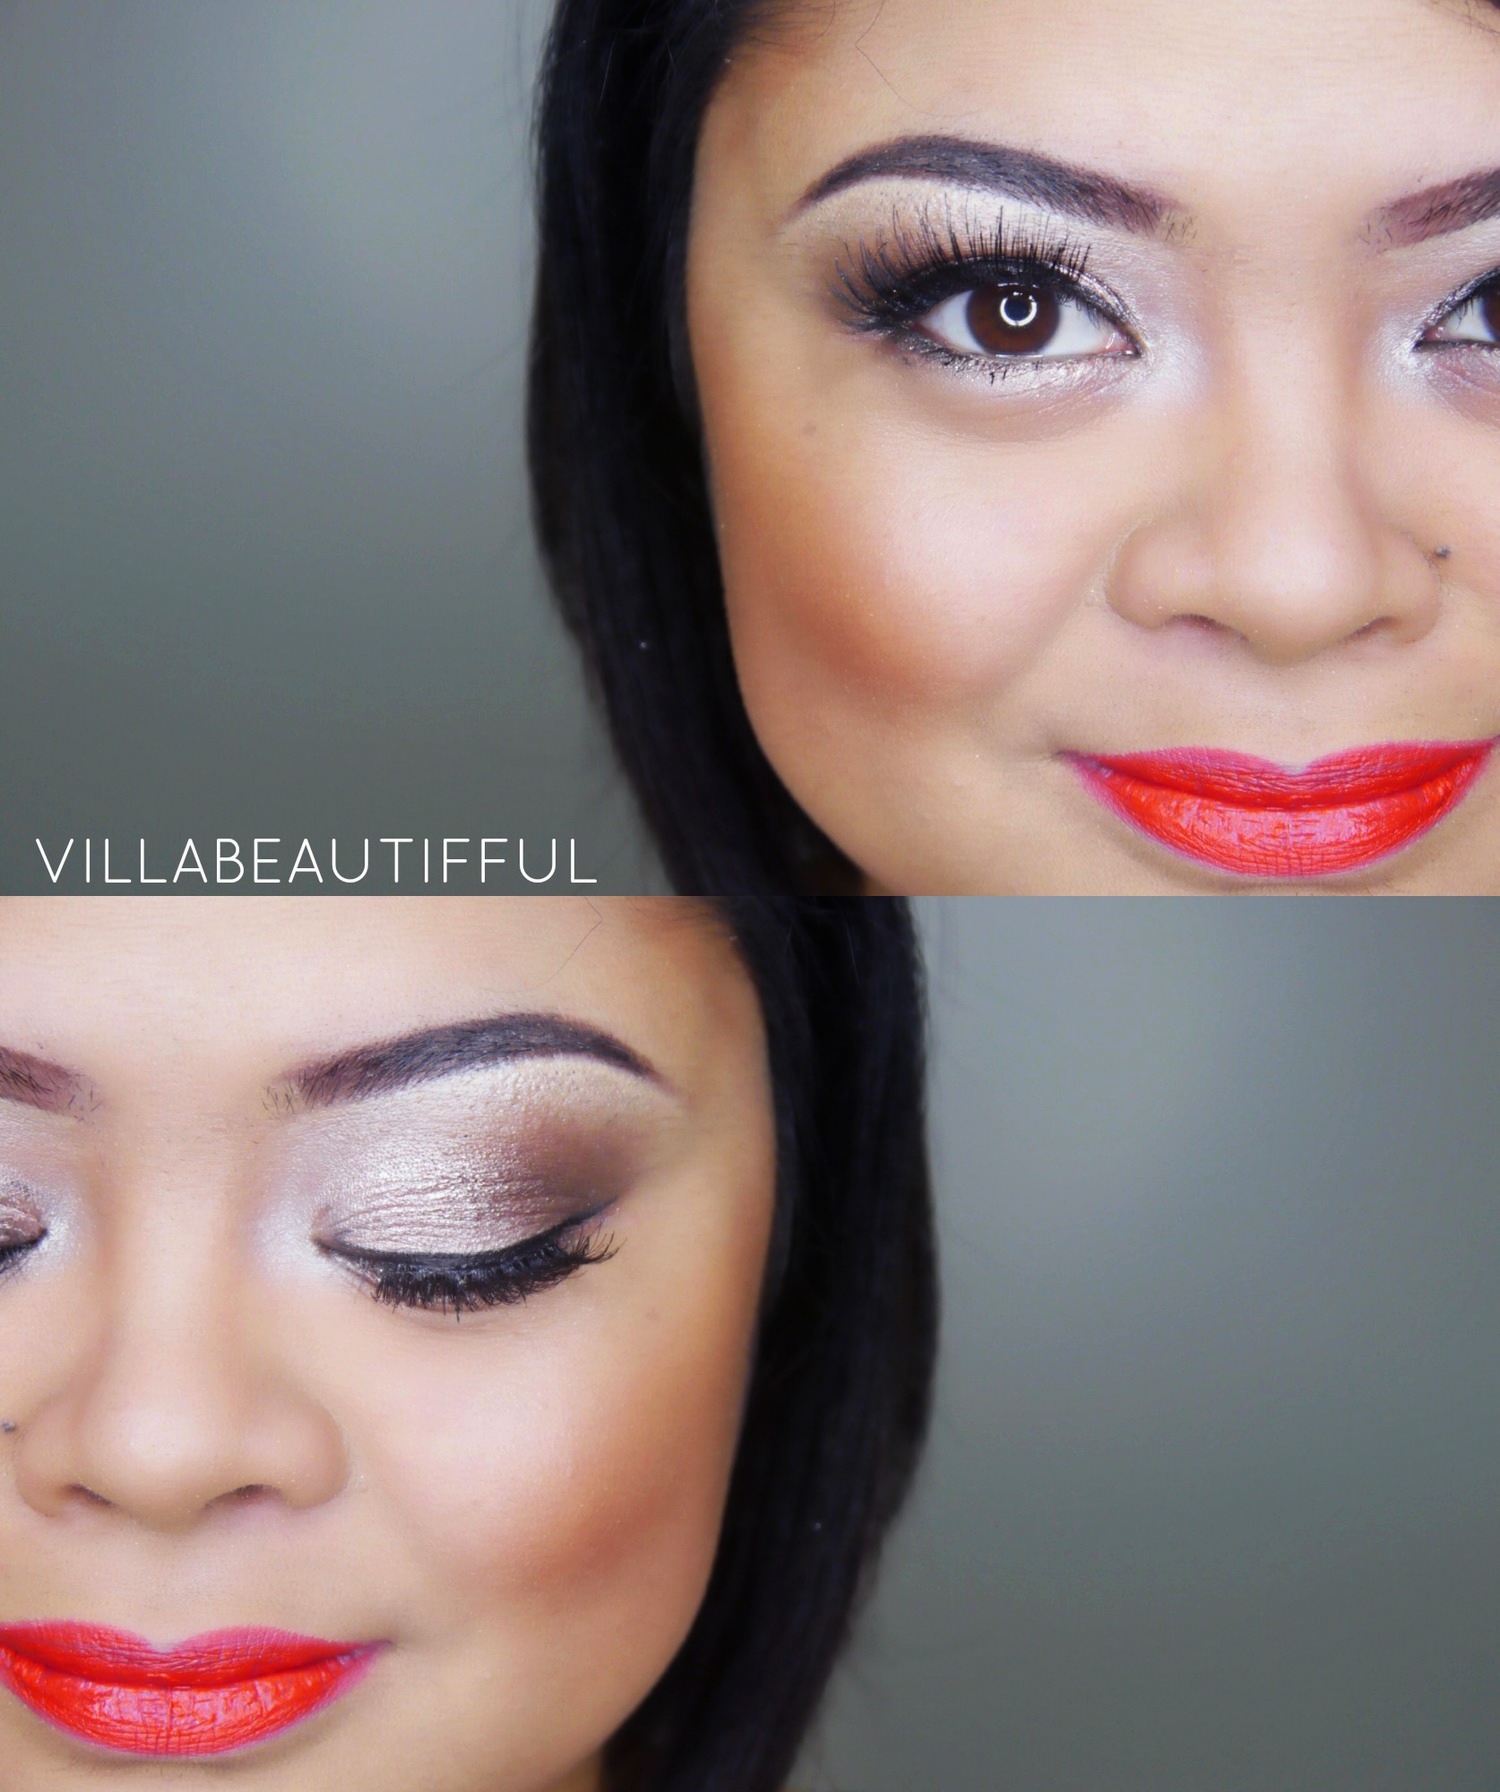
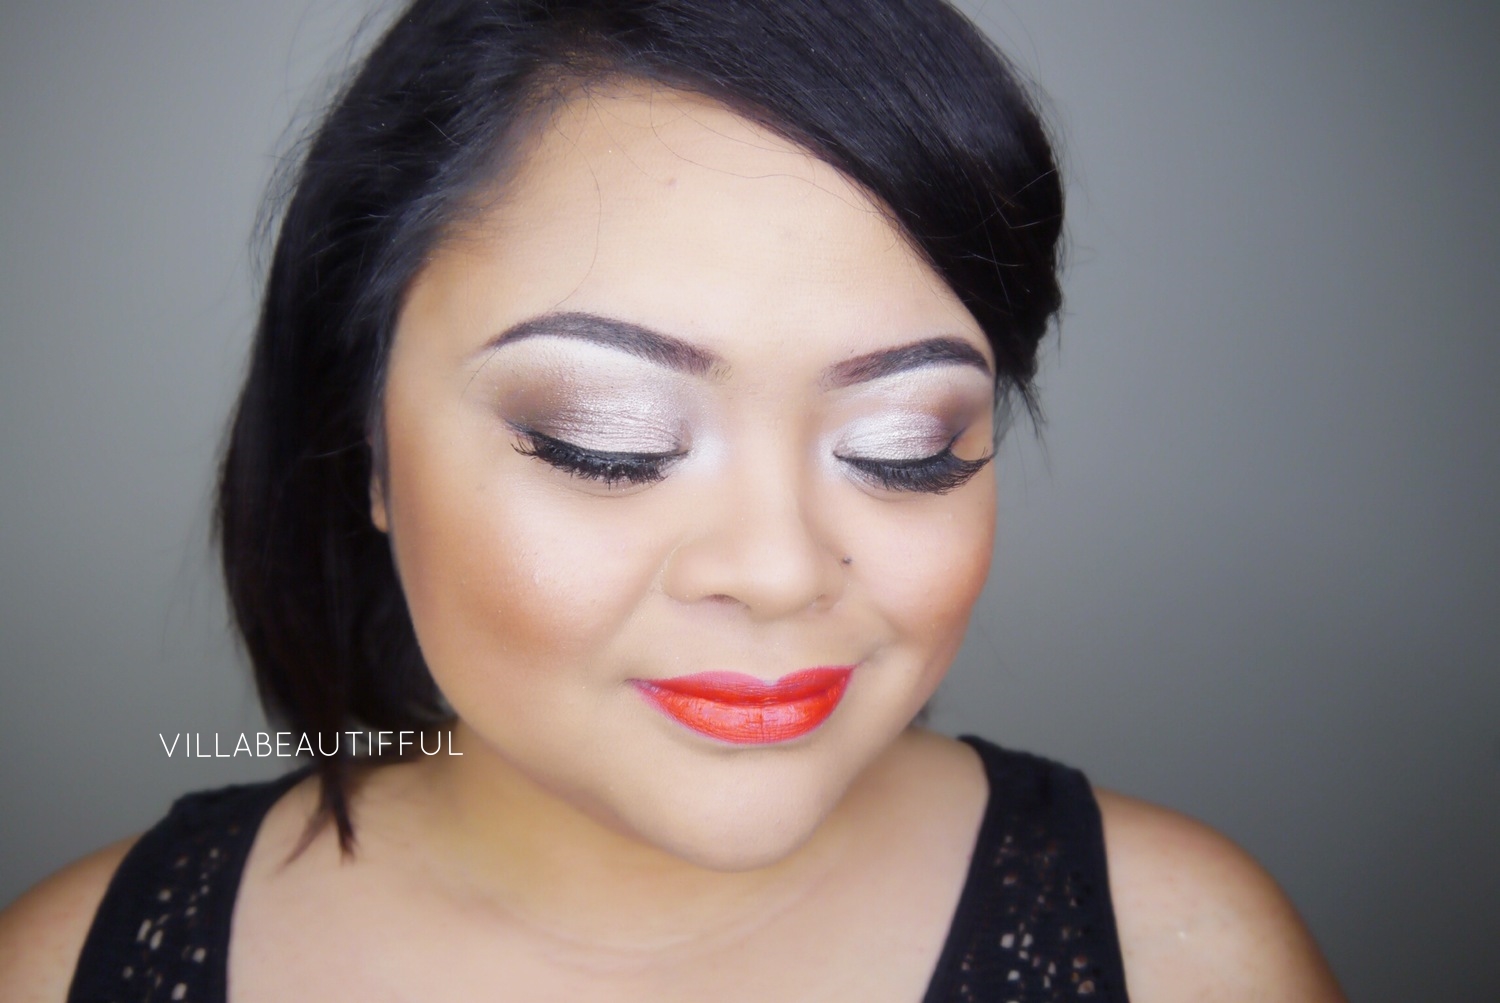
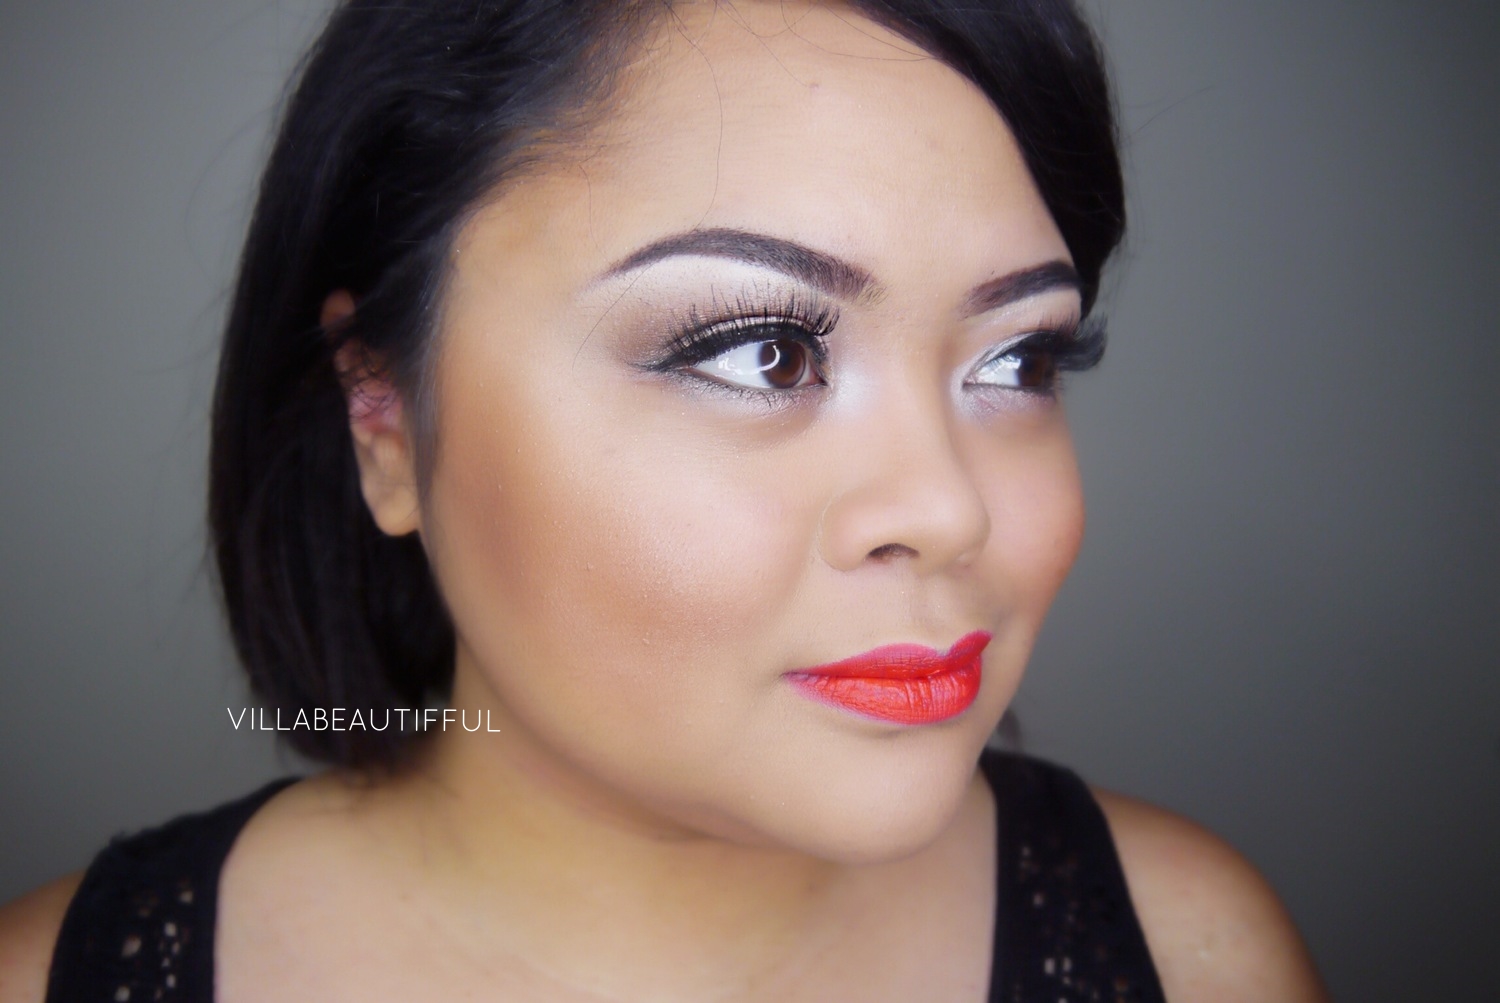
I totally forgot to post this look for the summer time since a bright lip (especially orange) is always on trend for the season. I didn't want it to go to waste and thought that the neutral eye shadow would be appropriate all year- just change up the lip shade. The Champagne L.A. Girl Glide Gel Liner with the shadow Sin from the palette really brighten up the eyes.
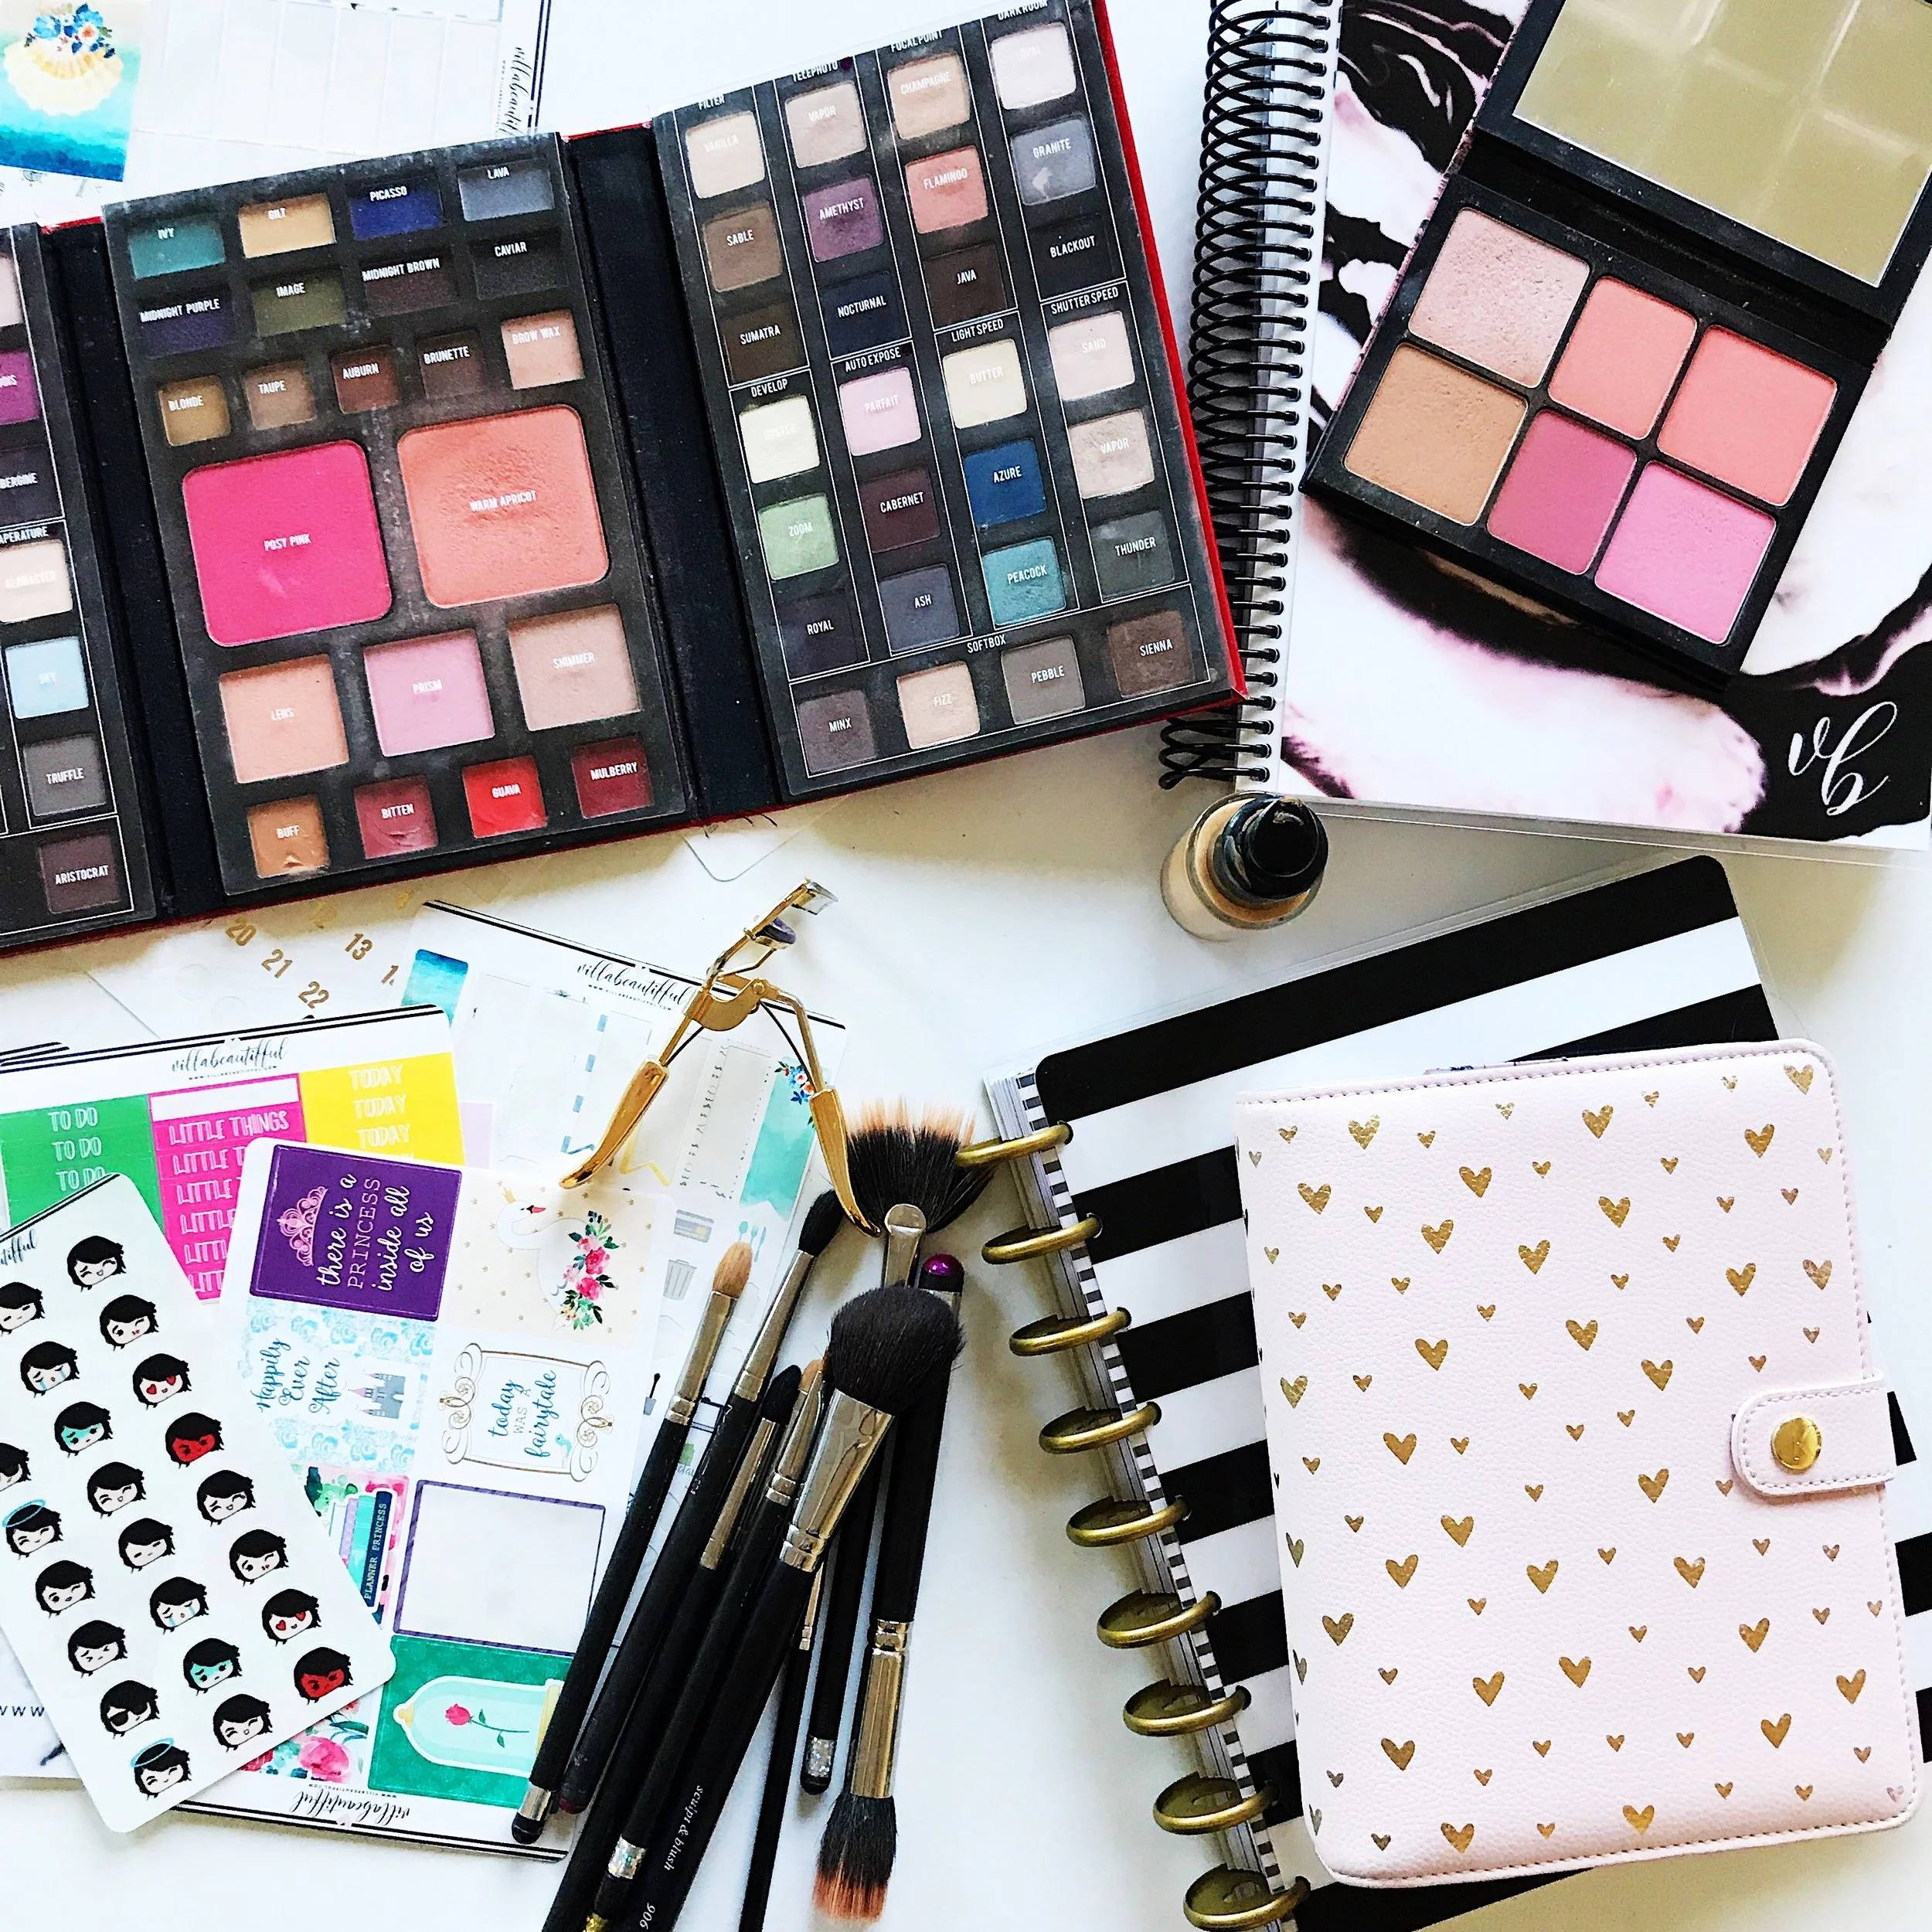
URBAN DECAY NAKED PALETTES IN A Z-PALETTE


In the video I show you a glimpse of my depotted Naked Palettes (1-3) and a limited edition Smashbox Soft Box Palette (wish this was available all the time). I love having all my "neutral" palettes in one place, easy for me to grab and create looks with all of the shades and keep my kit nicely condensed. The picture of all three palettes that I printed from my computer and taped to the back of the palette is from THE FABZILLA. Her blog is amazing and very detailed with swatches. If you would love to see how I did this please leave a comment below!

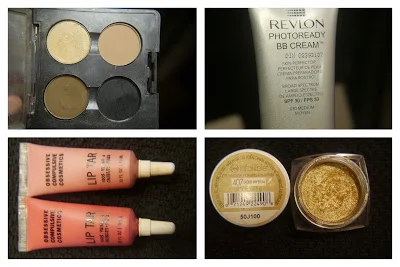
Here is the product breakdown of the products that I used to create the look
Face:
- MAC Cosmetics Studio Fix Fluid NC40
- MAC Cosmetics Face and Body Foundation C5
- Purely Cosmetics Diamond Perfect Finish Powder
- MAC Cosmetics Mineralize Skin Finish Global Glow
- Benefit High Beam Highlighter
Eyes:
- L.A. Girl Cosmetics HD PRO Primer Nude
- Urban Decay Naked Eye Shadow Palette {Virgin-highlight, Buck- crease, Smog- inner crease, Sin-lid)
- L.A. Girl Glide Gel Liner Champagne and Very Black <click here to view my review>
- Fairy Drops Mascara
- Temptress Lashes from House of Lashes
- MAC Cosmetics White Frost and Nylon Eye Shadow with the MAC #219 Pencil Brush
Lips:
- L.A. Girl Endless Semi Permanent Auto Lip Liner in Nectar
- MAC Cosmetics Lady Danger Lipstick