planner

Beauty Log Planner Using The "Hello Beautiful" Happy Planner™

BeautyLogHappyPlanner

I'm really excited about getting back into blogging and producing more YouTube content. However, I needed a way to organize all of my ideas that I stumble upon especially when I see inspiration from Instagram and Pinterest. Then I thought about it .. why not literally merge beauty and the love for planning together? Sure! Great idea! It was perfect timing when I saw some stamps on Waffleflower.com to help me with the memory keeping in my brand new "Hello Beautiful" Happy Planner™. 

Here are the three stamps that I knew I just had to have: Plan To Glow, Beauty Log and Skincare Routine

WaffleFlowerBeautyStamps

Want to see how it all came together? Watch my newest Youtube video below. 

 I hope you guys like my layout and the start of a new planner for me! I'll be updating you on my progress. 

Planner Society Oct Kit

ThePlannerSocietyOctKit

For those of you who are regular subscribers to The Planner Society Monthly Kits you'll agree with me that October was just beautiful! I'm a lover of florals and jewel toned hues so when I first laid my hands on the kit it was a match made in heaven. 

Each month Christy Tomlinson puts together the cutest embellishments from sticky notes, stickers and whatever her creative mind can think of. I'm always in awe when I receive my monthly kits. Even though I've been a Creative Team member from the very beginning I still sit down and look at each item and say to myself "I don't want to use this, it's too pretty!" 

I always get asked what's my favorite product or embellishment in each kit. For this month it would have to be the floral print papers (blue background one and the orange one). The colors just pop!

Take a look on how I used the kit to decorate my new black Kate Spade Planner and Traverler's Notebook Insert. 

PlannerSocietyOct
PlannerSocietyOCt2
PlannerSocietyOct3


Review: Me and My Big Ideas Create 365 Happy Planner

MAMBI Create 365 Happy Planner Review

A look inside the My Life MAMBI Create 365 Happy Planner. This is my first time using a planner that's on a disc binding system. I love all the different accessories that MAMBI offers for this planner. You can really personalize this planner based on your needs- either for memory planning or for daily planning 

To see a photo comparison of the Erin Condren and the Happy Planner together click here. 

Take a look inside the My Life Happy Planner to see how cute the pages are! I also added pictures of the accessories that I purchased with it also.  

#ListersGottaList April Challenge

ListersGottaList_Title

LISTERS GOTTA LIST! As a planner, I am consistently writing lists- grocery lists, to-do lists, shopping lists, etc. Why not take "lists" to a whole new level? Cory AKA THERESETGIRL has done exactly that.  Cori, is a favorite Instagramer of mine (as well as many others) and has created #listersgottalist a 30 day list challenge. Everyday there is a different prompt for you to create your list. Think of it as memory keeping (scrapbooking) but in list form.  For more info on the #listersgottalist 30 day challenge check out Cori's YouTube tutorial here which she explains in more details what the list challenge is all about and her website dedicated to #listersgottalist here (there's also a challenge sheet and heaters you can download). 

ListersGottaList_AprilNotebook
ListersGottaList_Notebook

Over the weekend I got all my supplies ready and made my little notebook to create all my lists. It doesn't have to be a notebook like mine (Midori insert blank pages notebook which I made myself) but can be a spiral notebook, 3-ring binder, notepad, pieces of scrap paper stapled together. Basically anything! Check out the other supplies I'll be using to decorate my pages to feature my lists. If you would like to see how I made my notebook let me know! It was very easy to create the basic notebook.  Use your creative skills and some of your favorite craft supplies to make the cover unique. 

ListersGottaList_insidenotebook

This is what the inside looks like of my Listers Gotta List notebook.  The left picture features the inside cover the the 1st page. The printable prompts list makes a easy reference to see what's to come for the next day. You can download the prompts on www.listersgottalist.com. On the other side I attached a Project Life card with a cute quote and some embellishments for a welcome page. I decided I wanted to use blank paper when I created my DIY notebook. I wanted to keep it blank with no grids or lines so I have an open space to create. To keep all my DIY embellishments like the gold numbers and the printed header prompts I made a long envelope with the help of my Silhouette Portrait. Man, I love my little machine. It does everything! I think I'll stop right here so we can chit-chat about that late. I again, embellished it to match the overall theme of the notebook. 

ListersGottaList_supplies

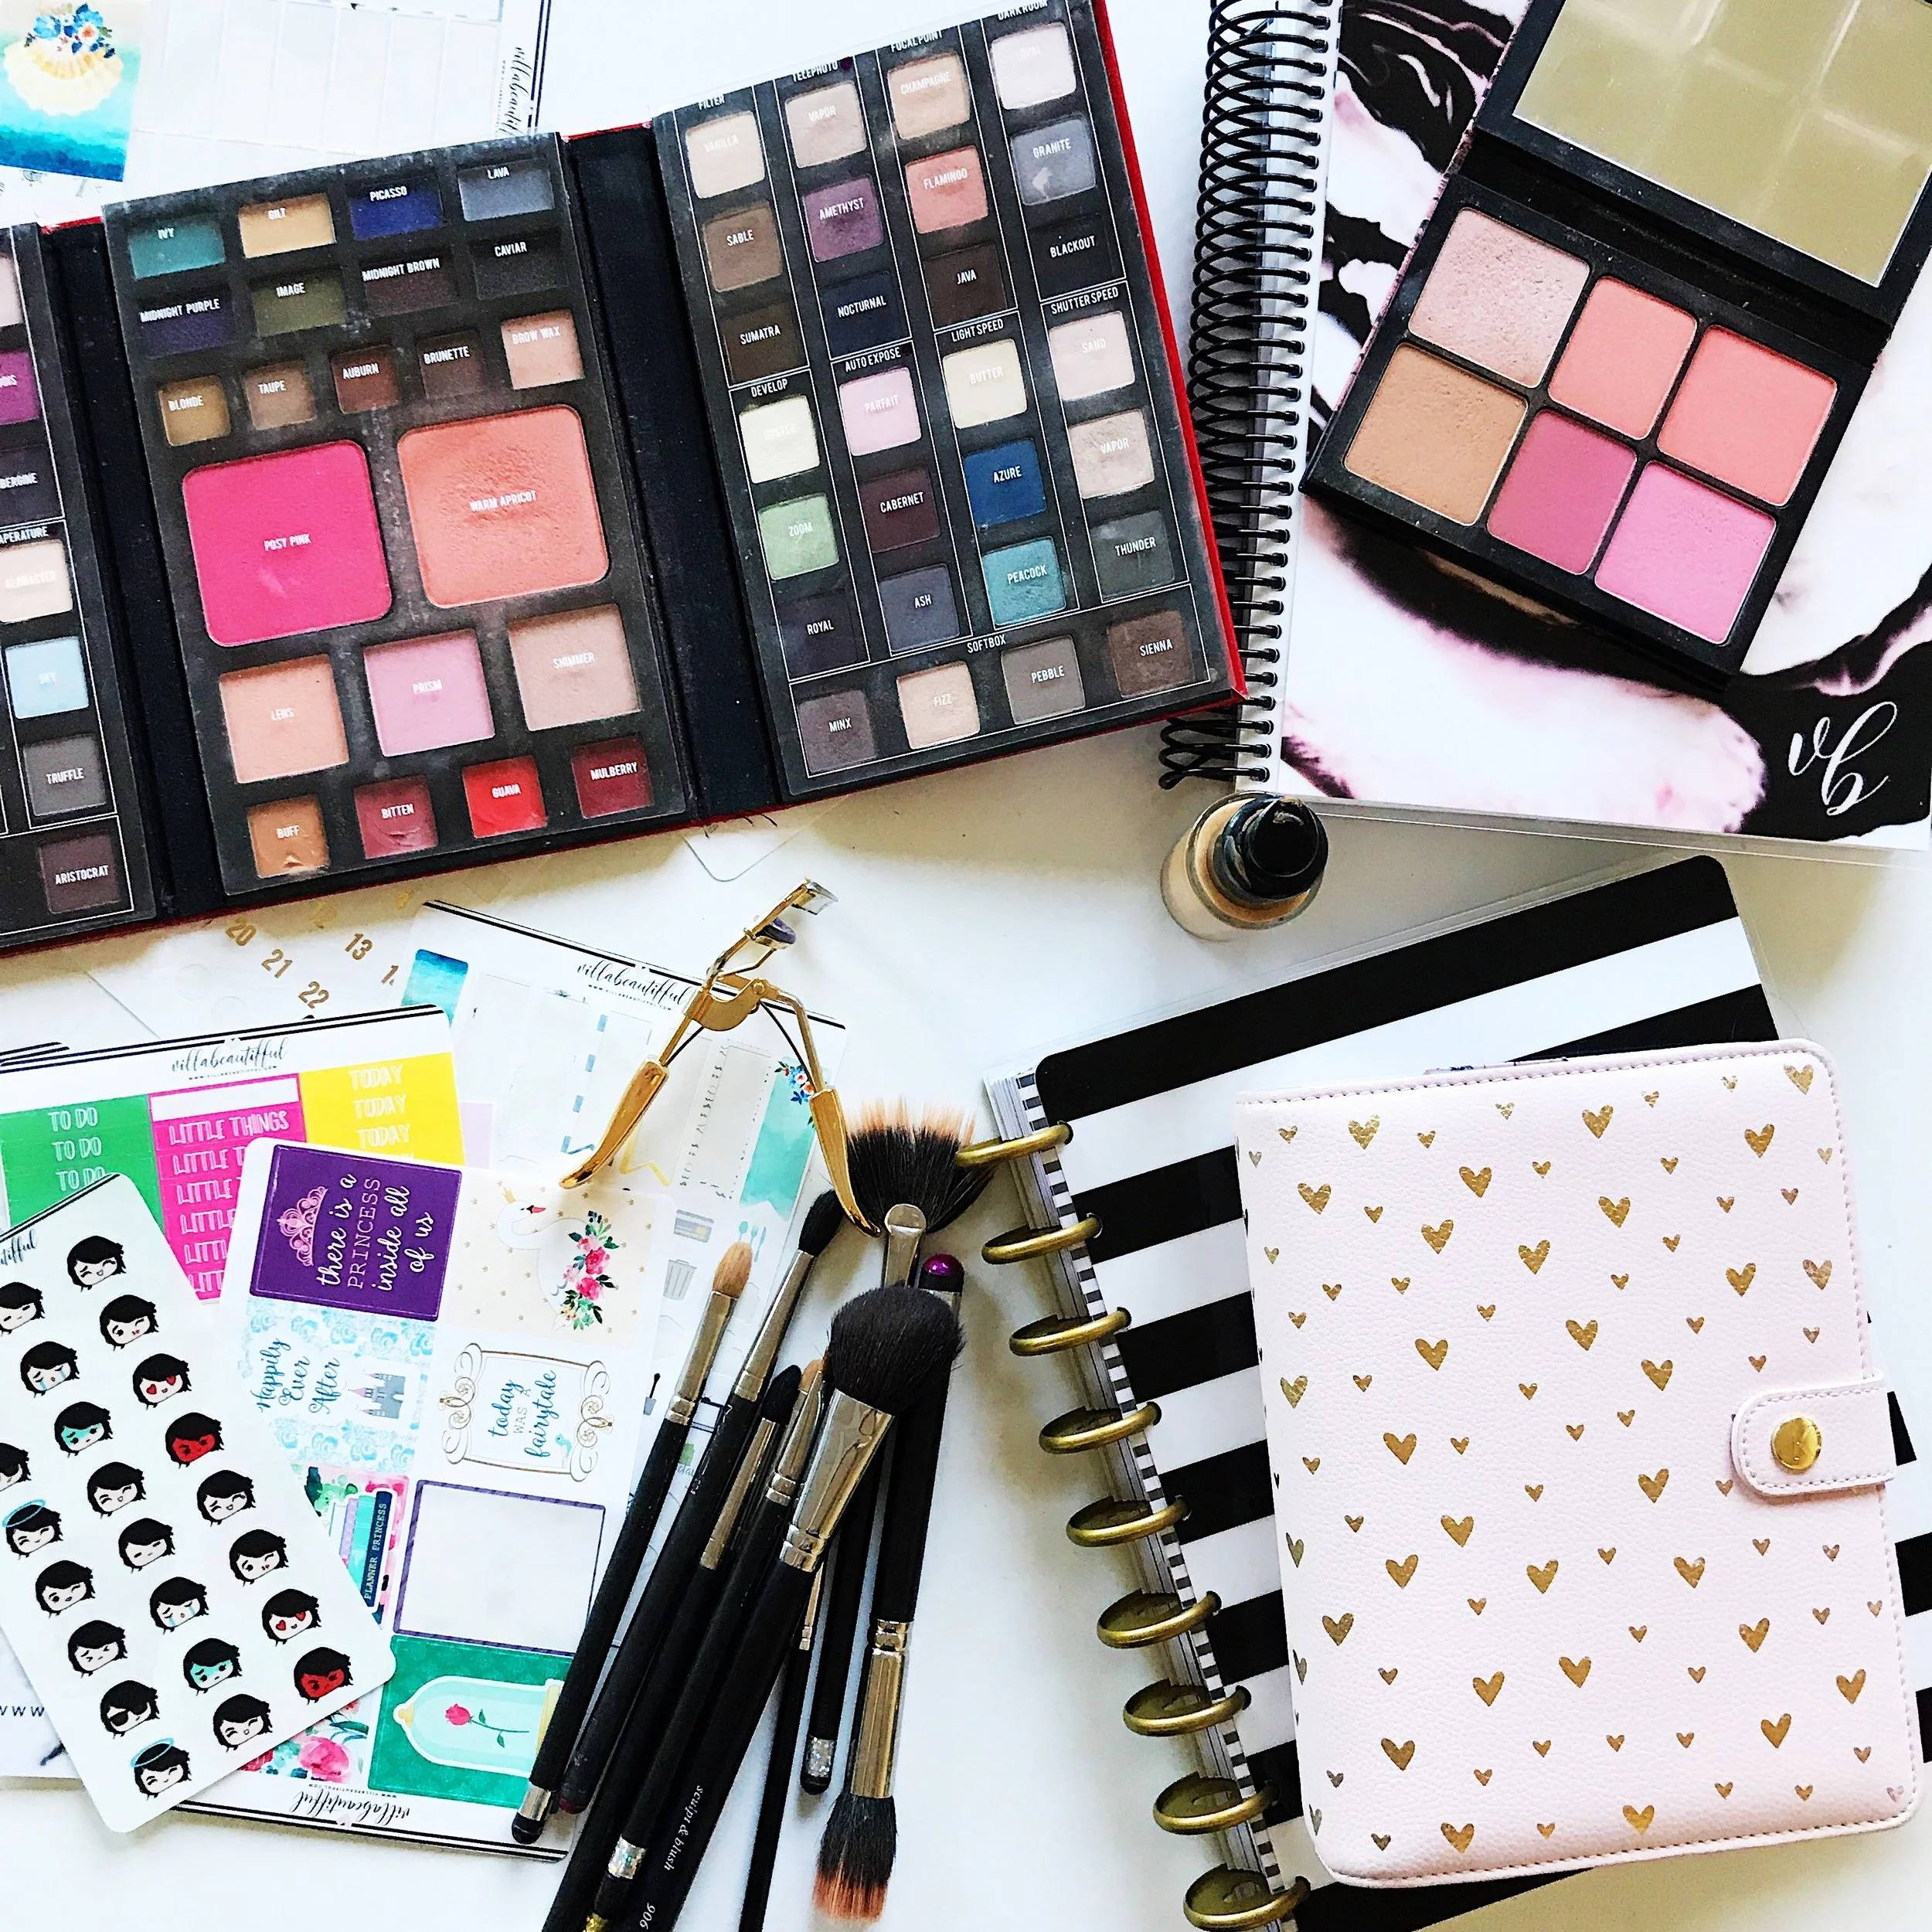
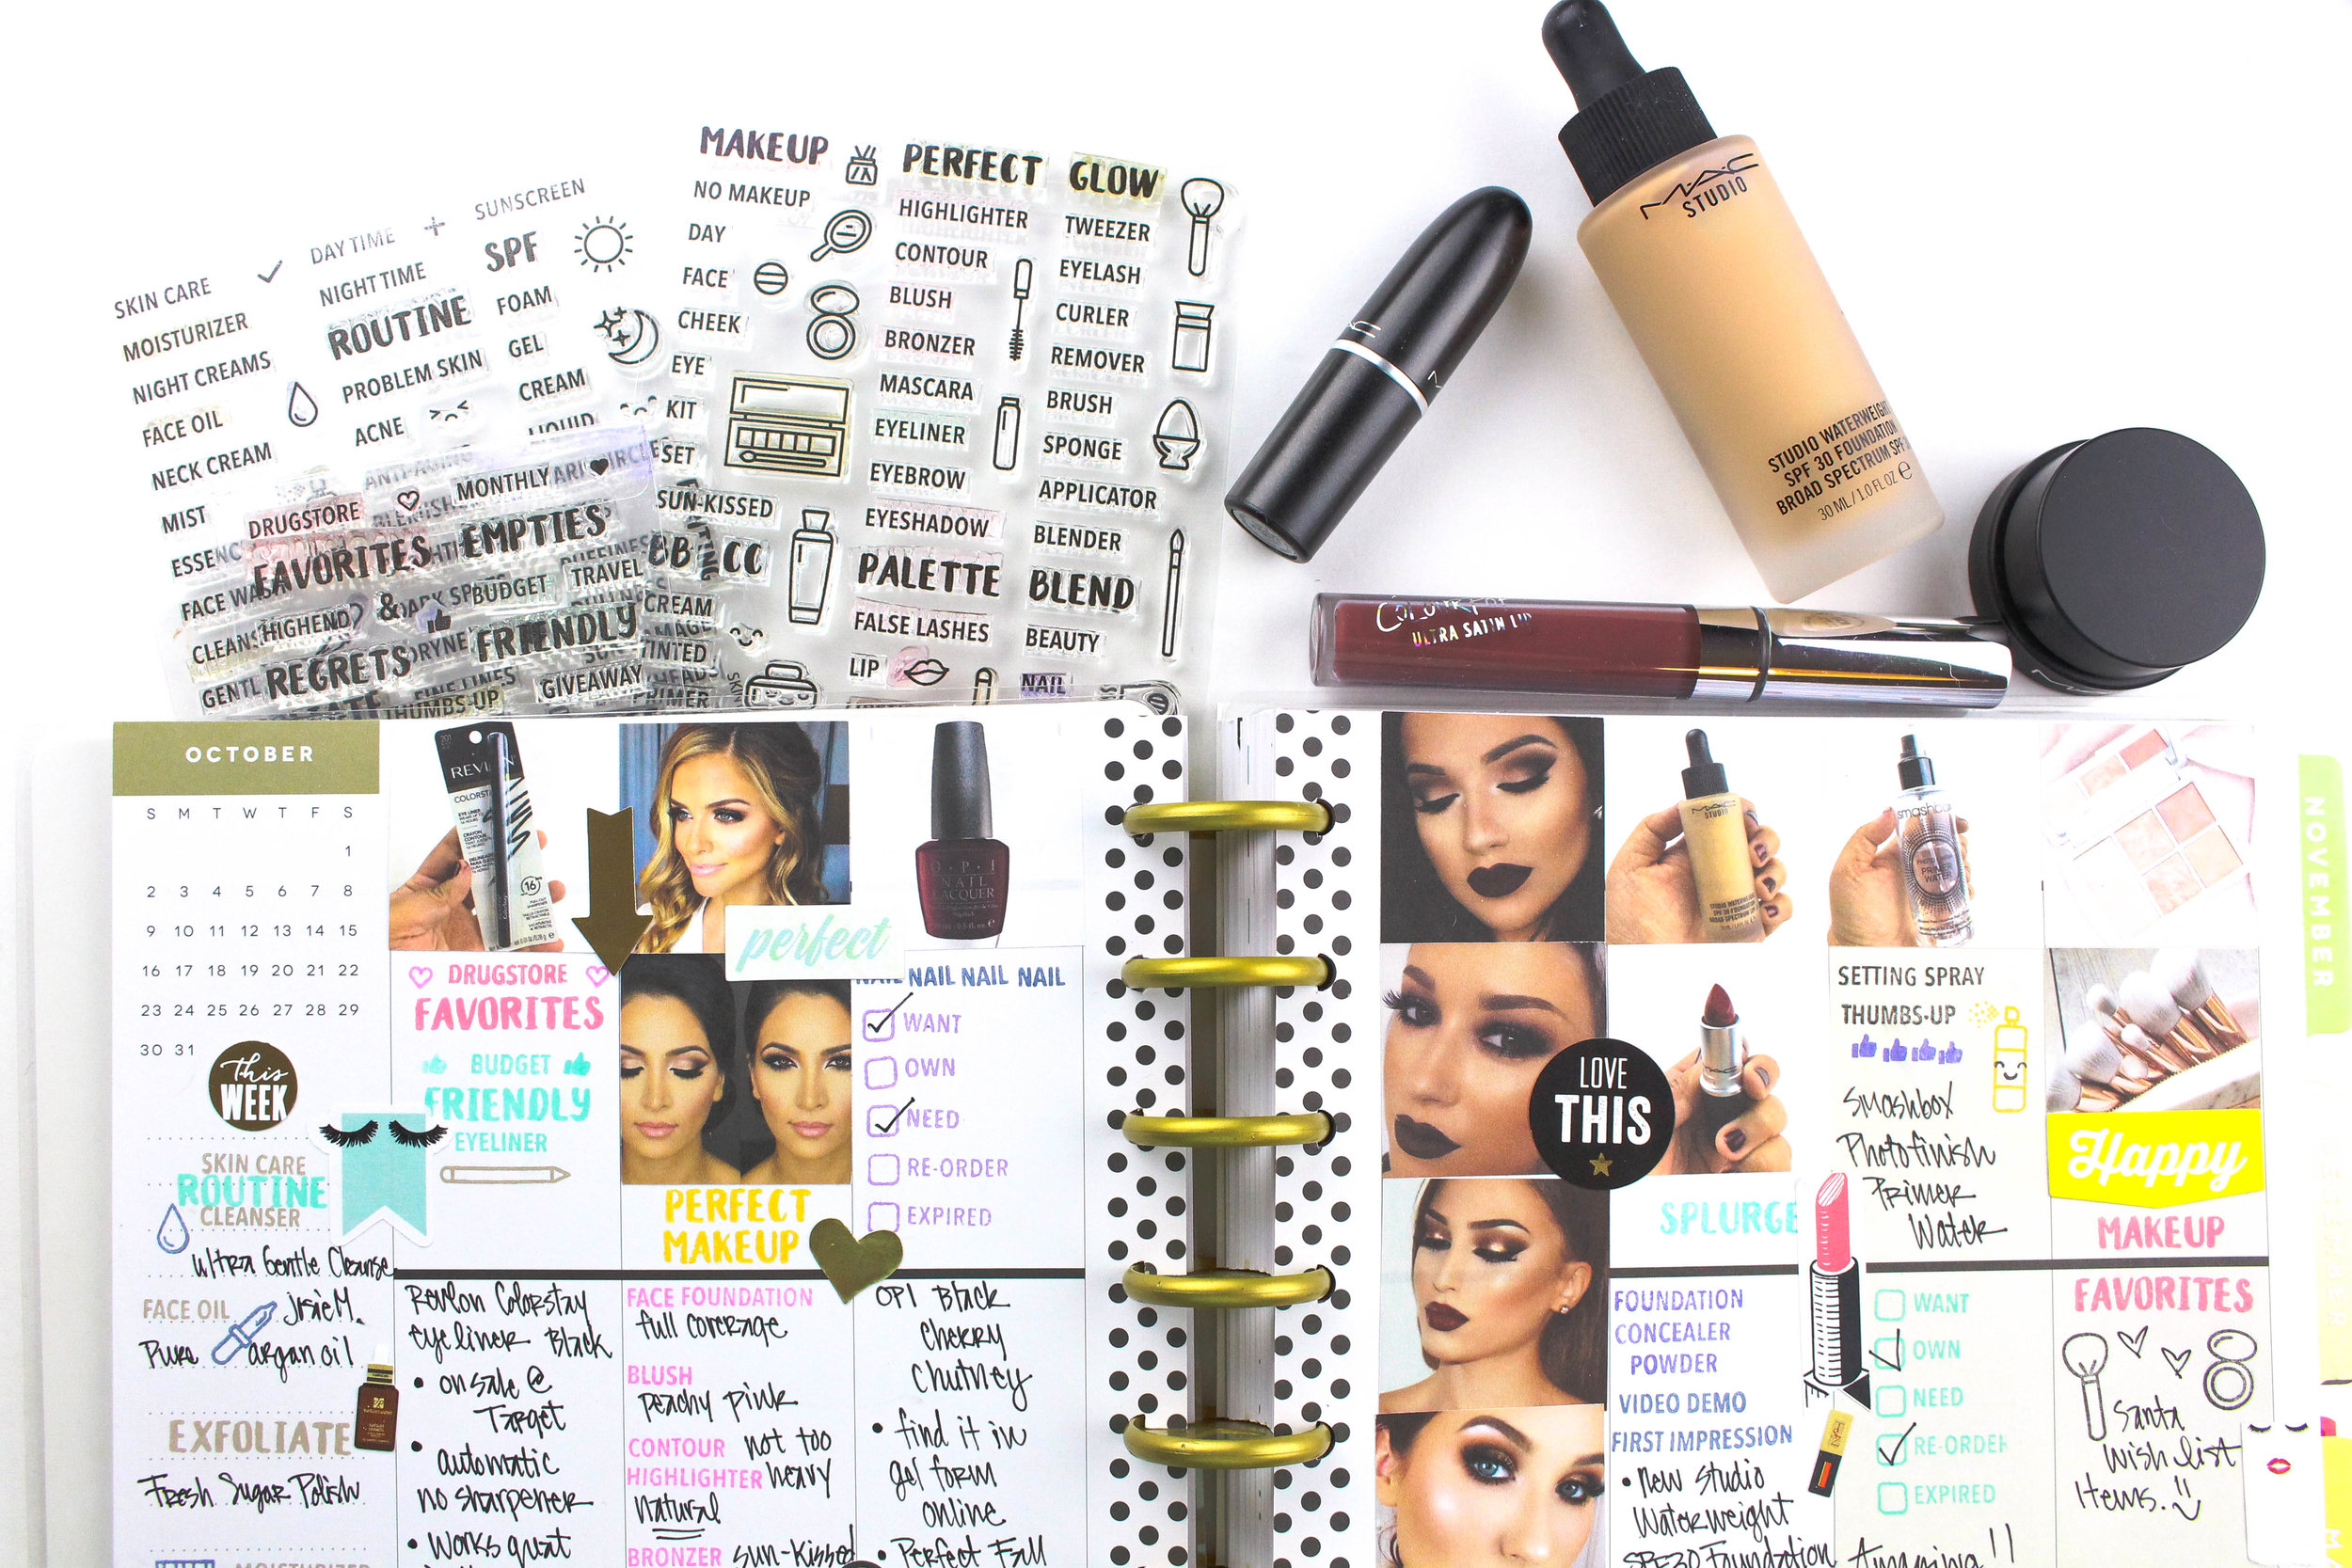
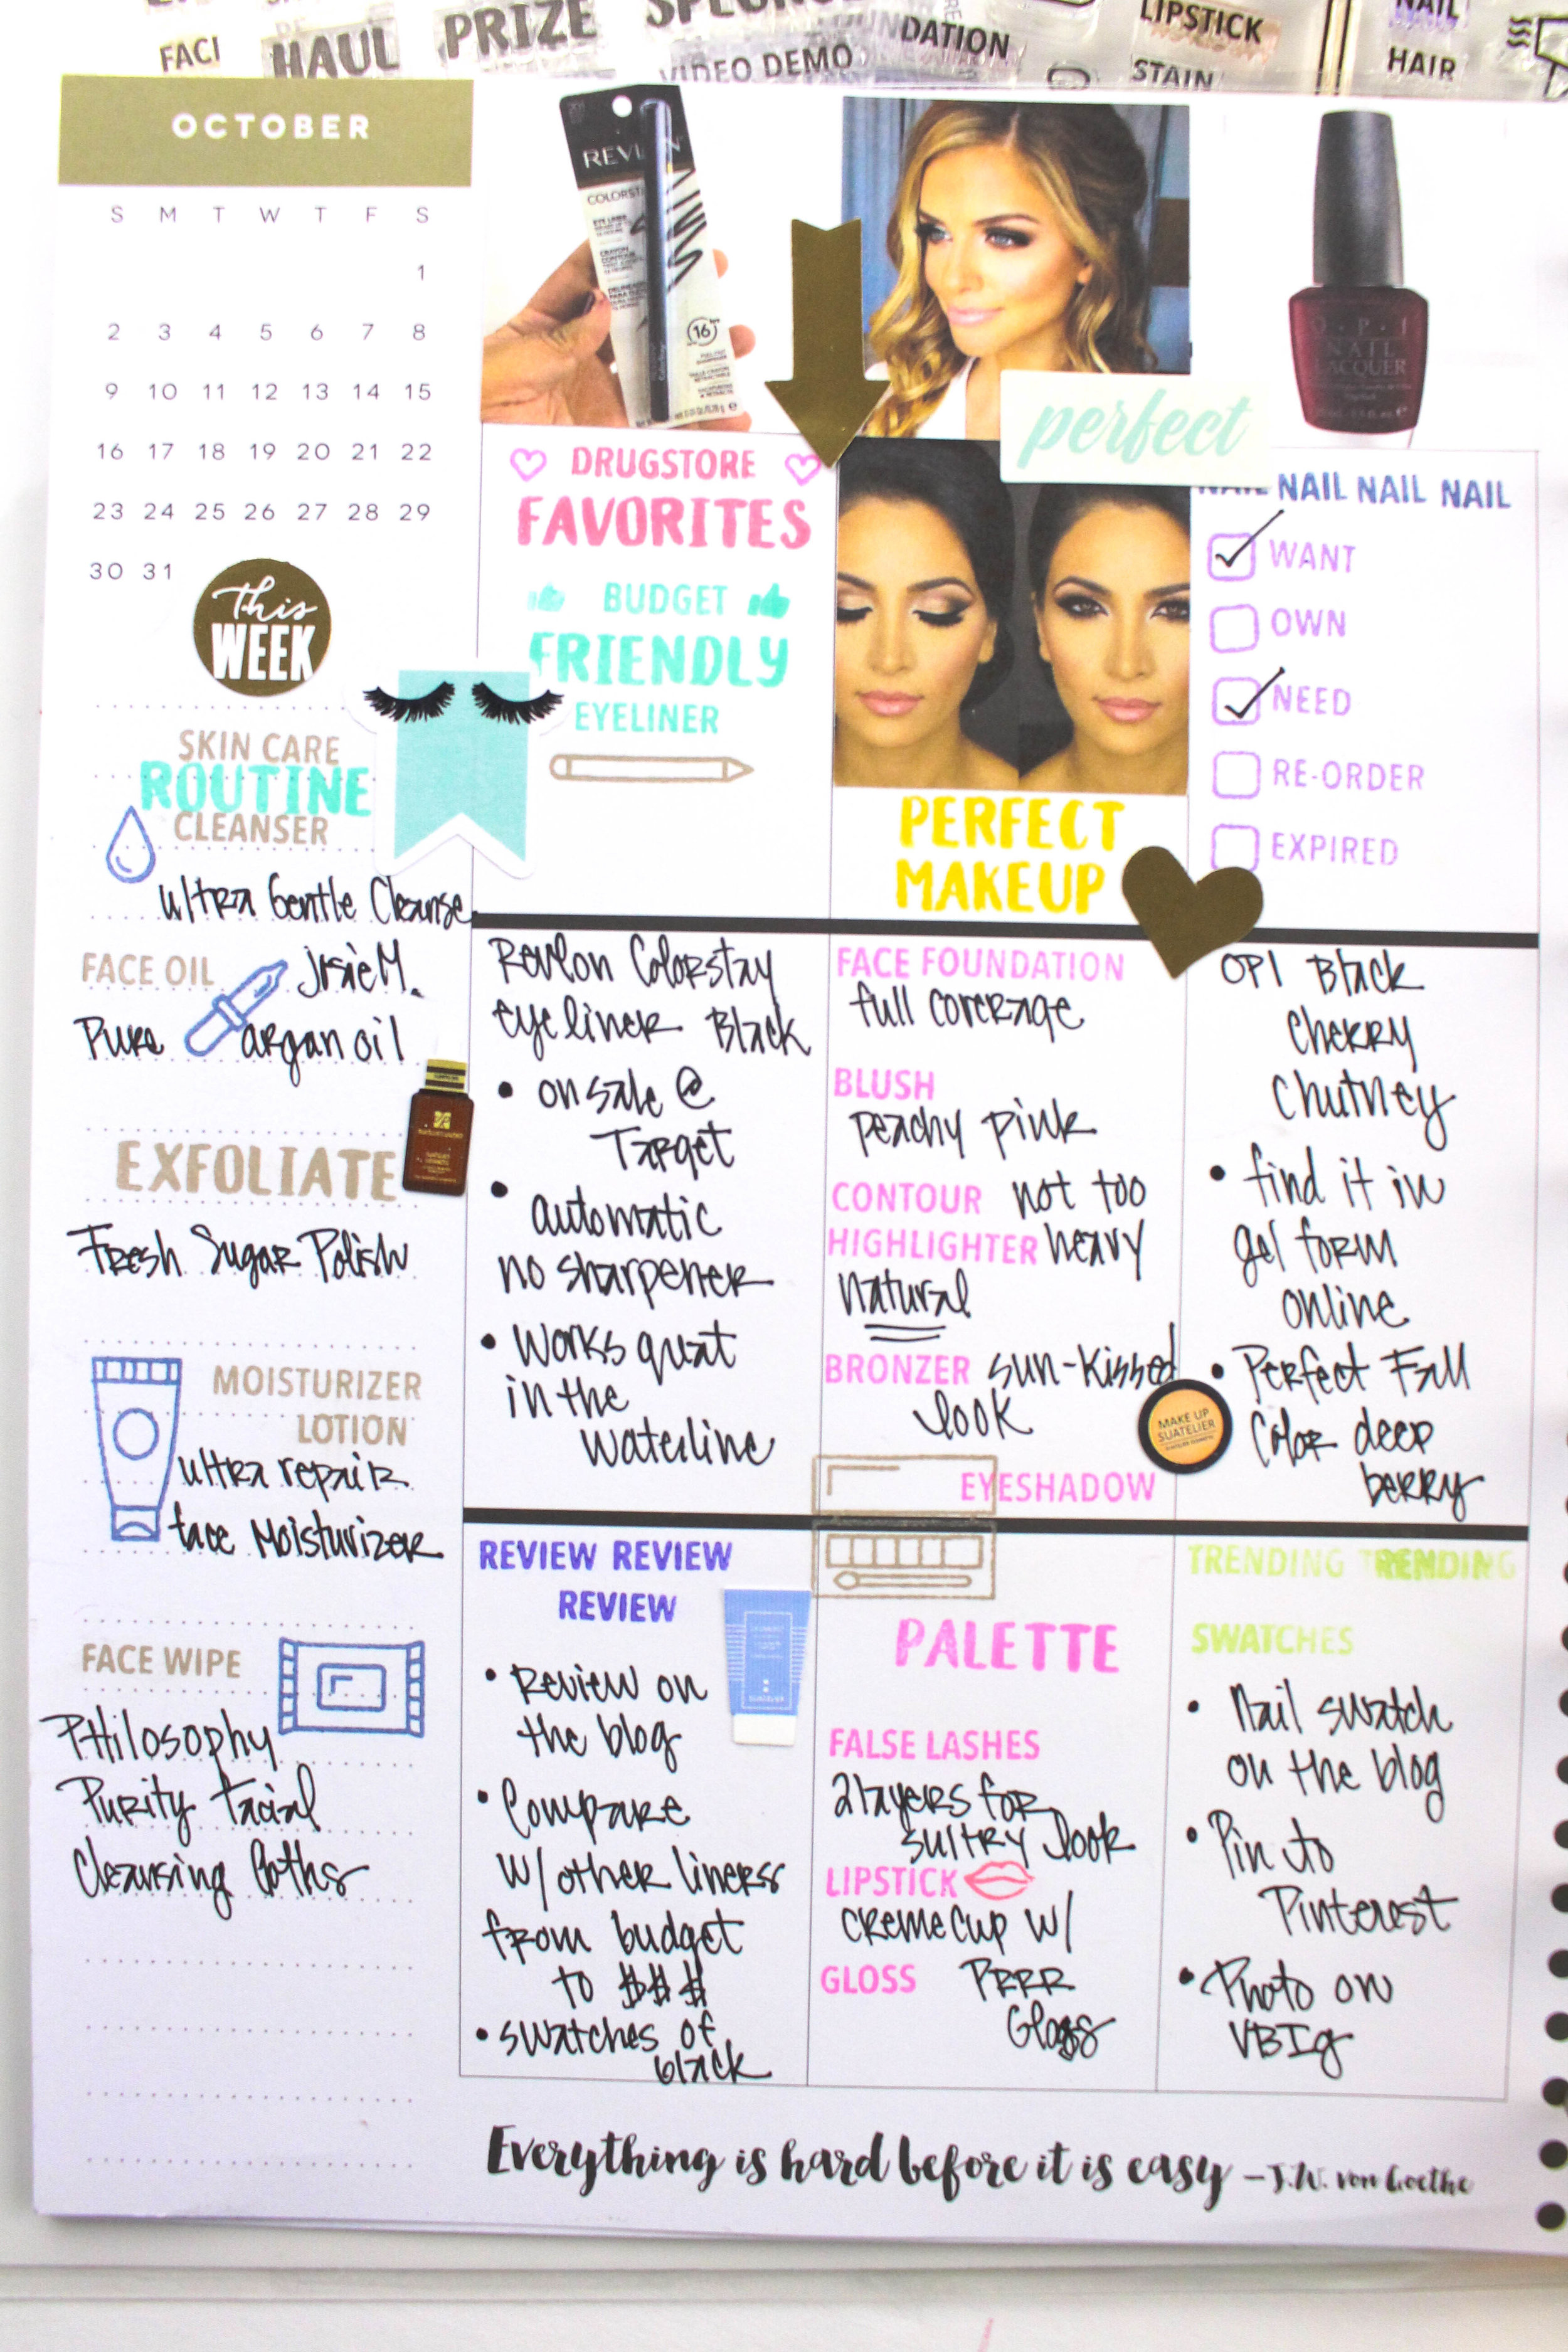
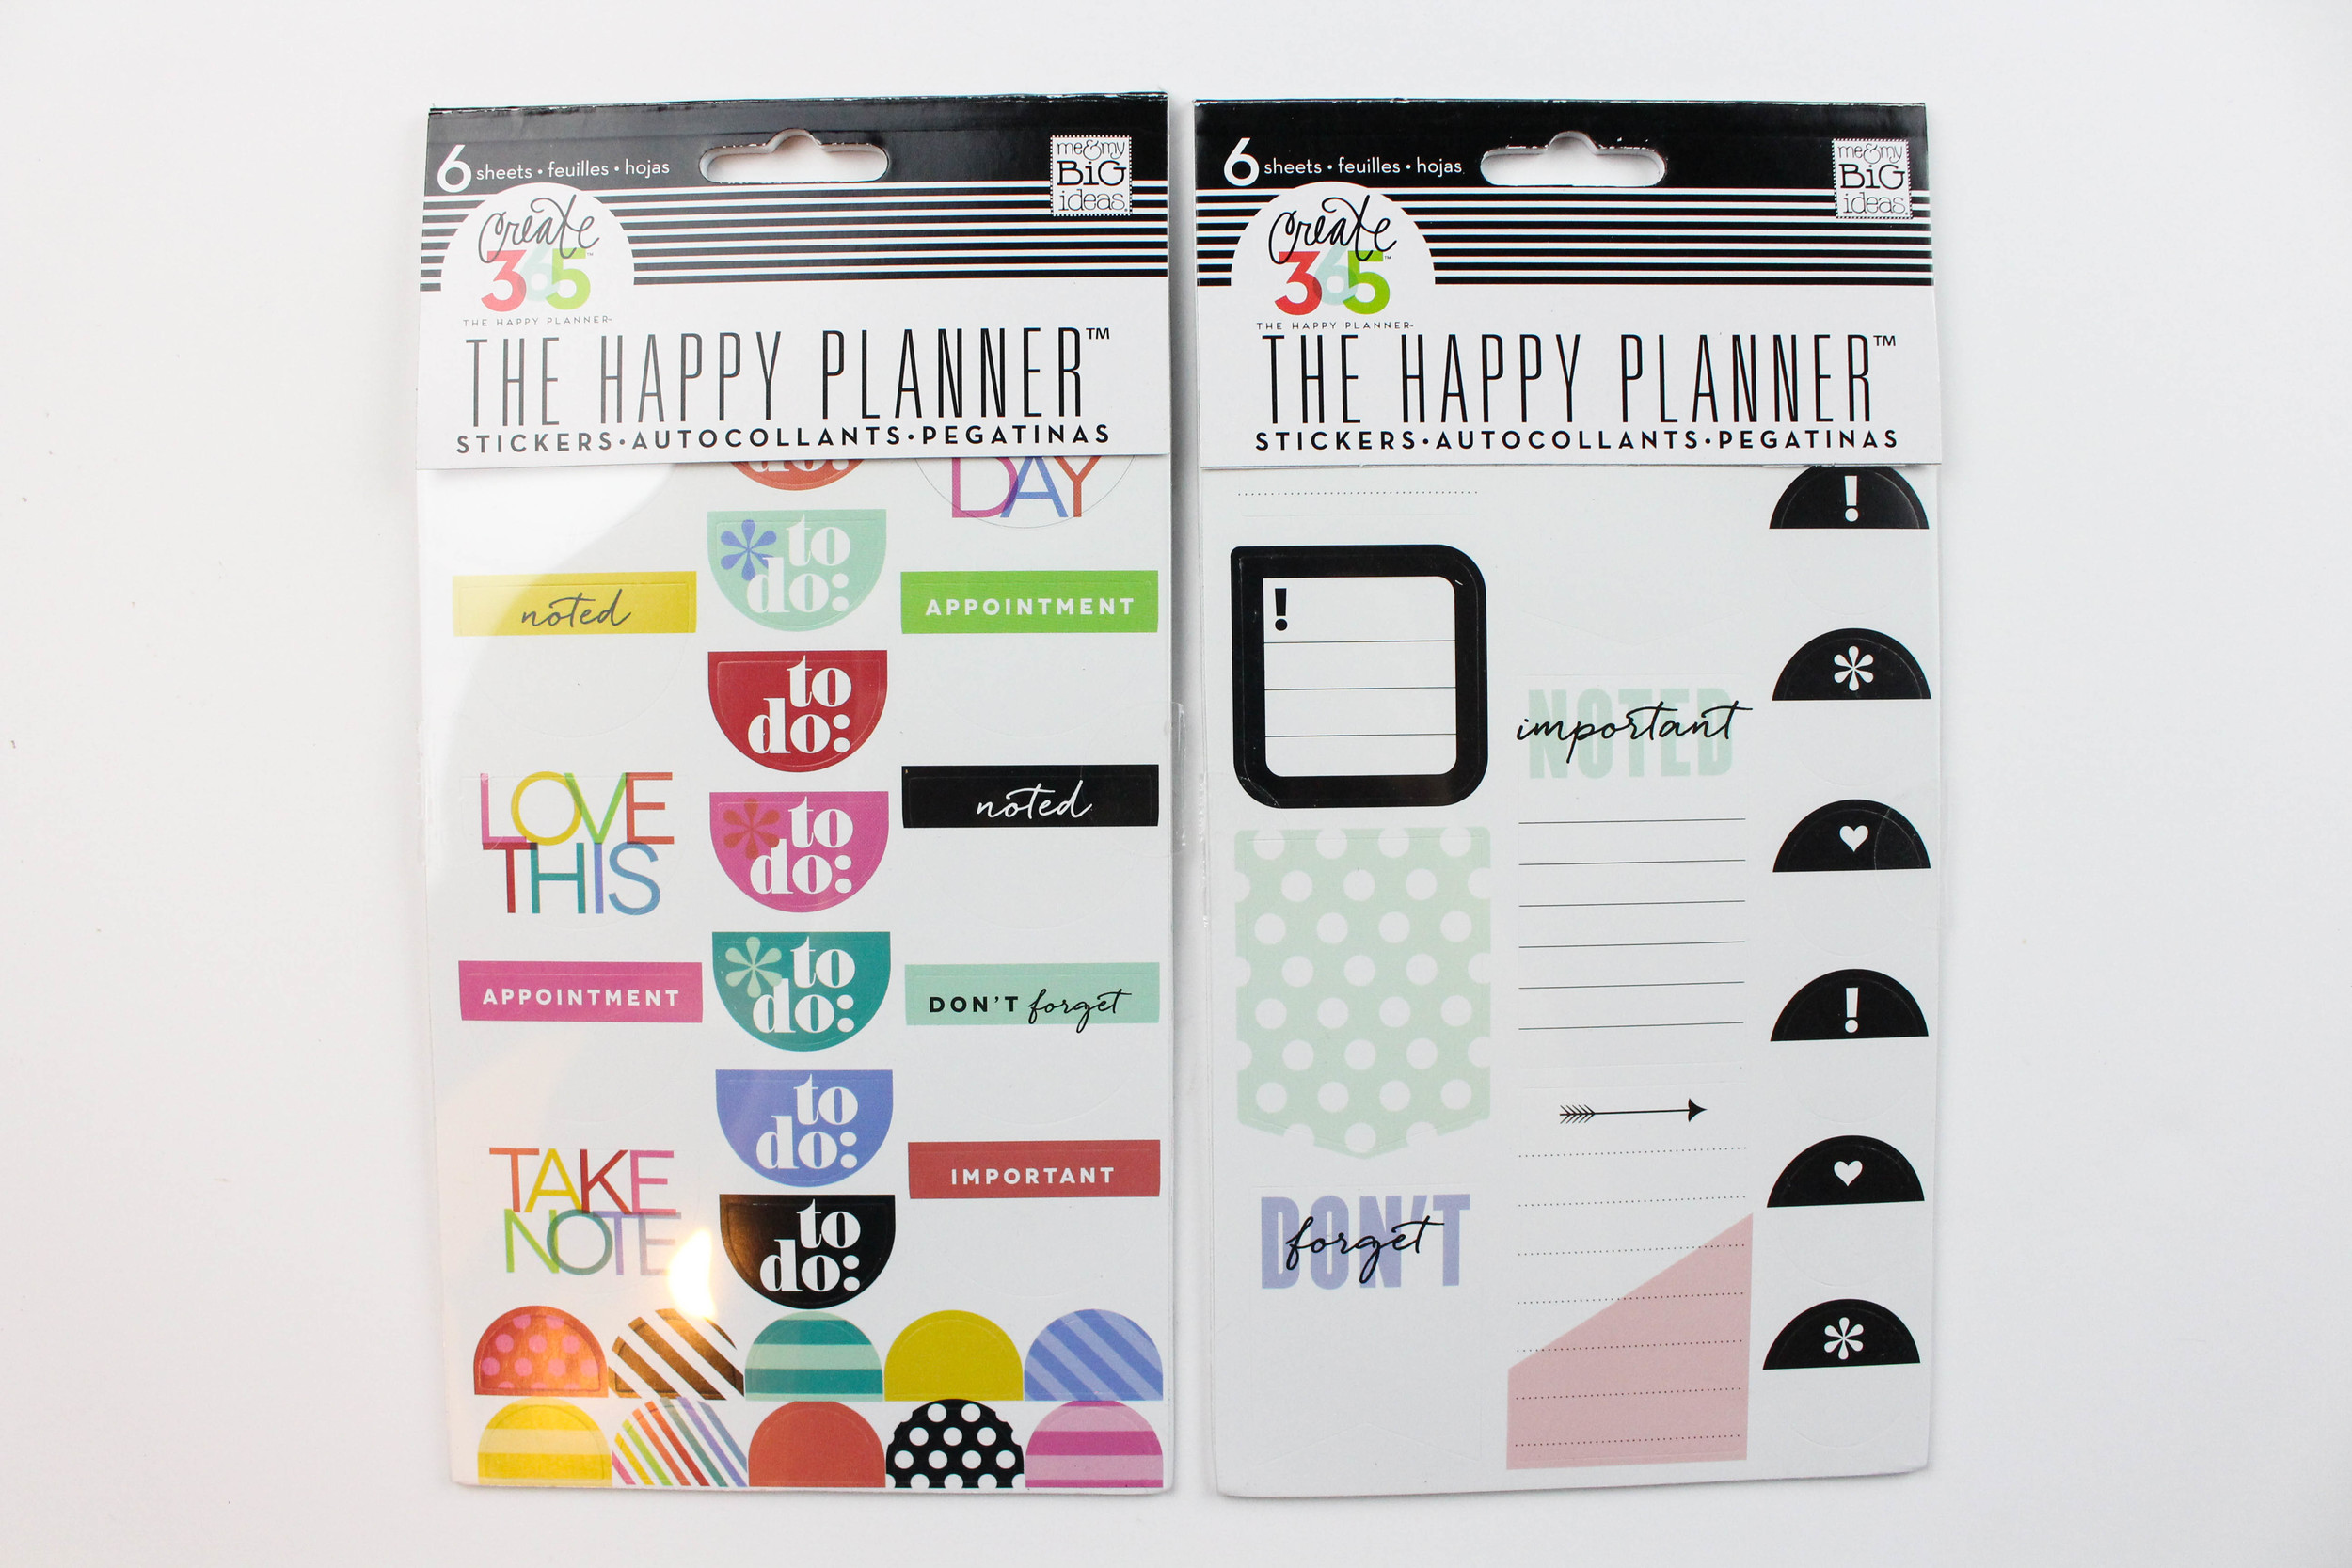
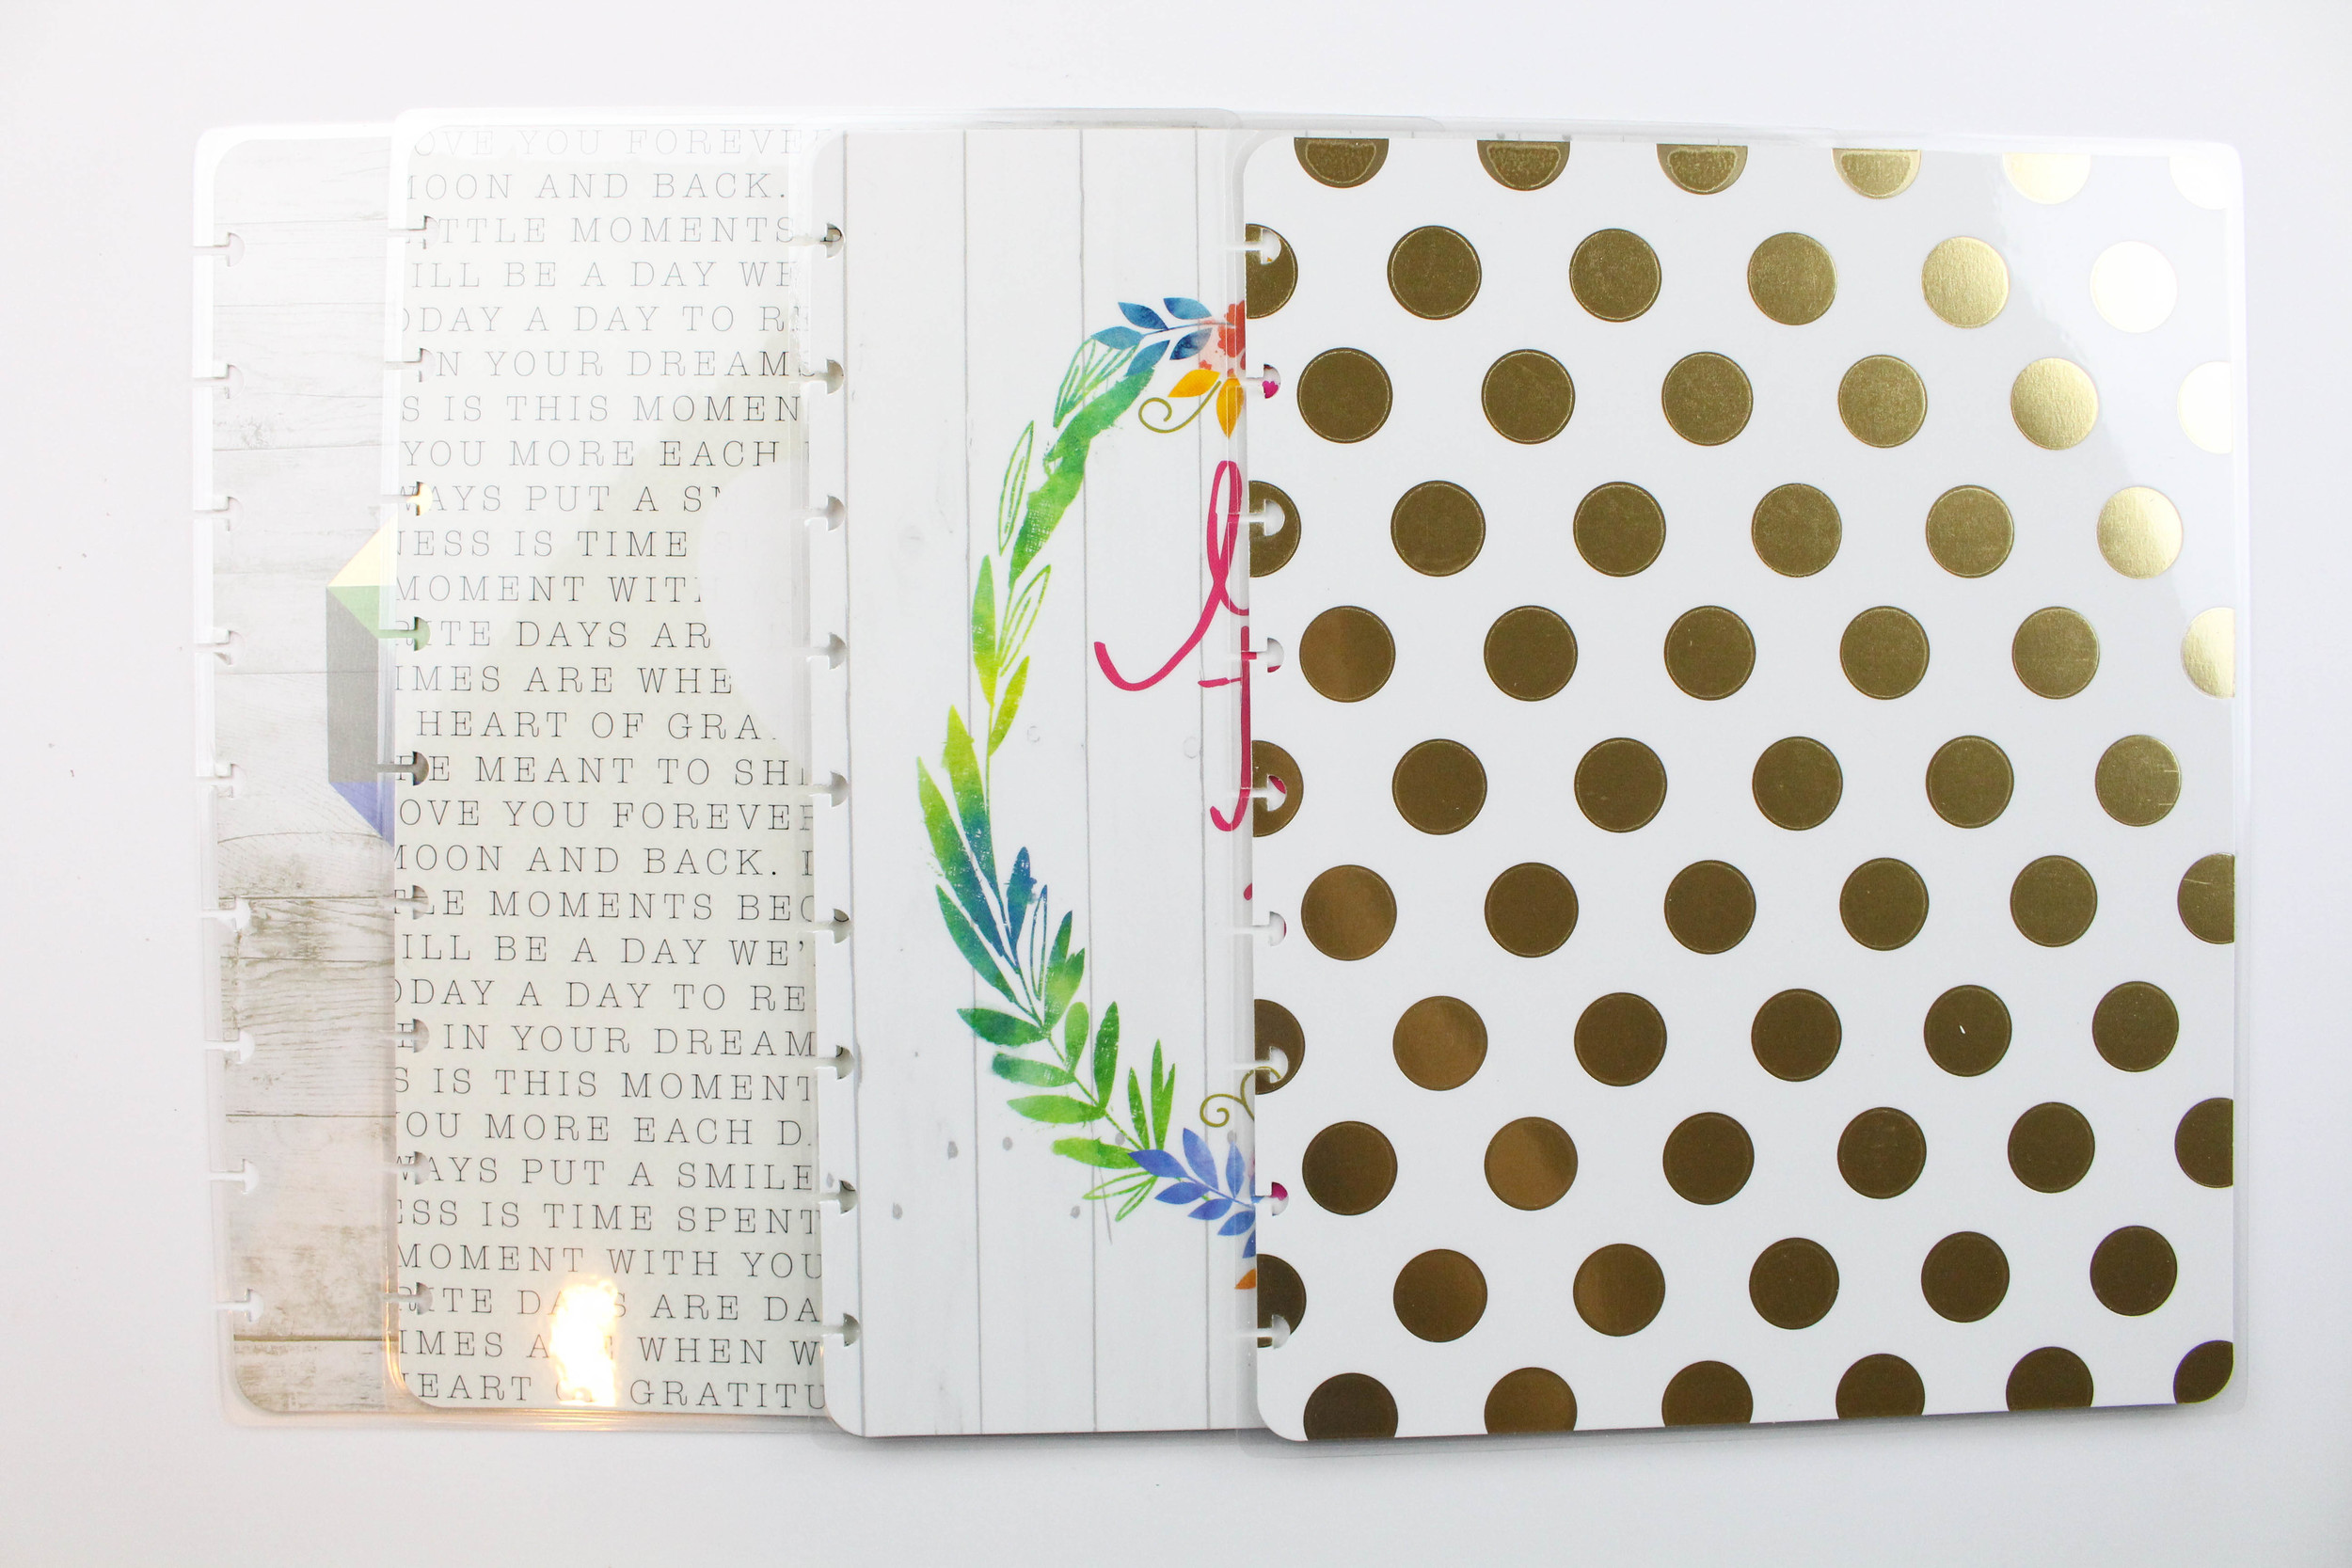
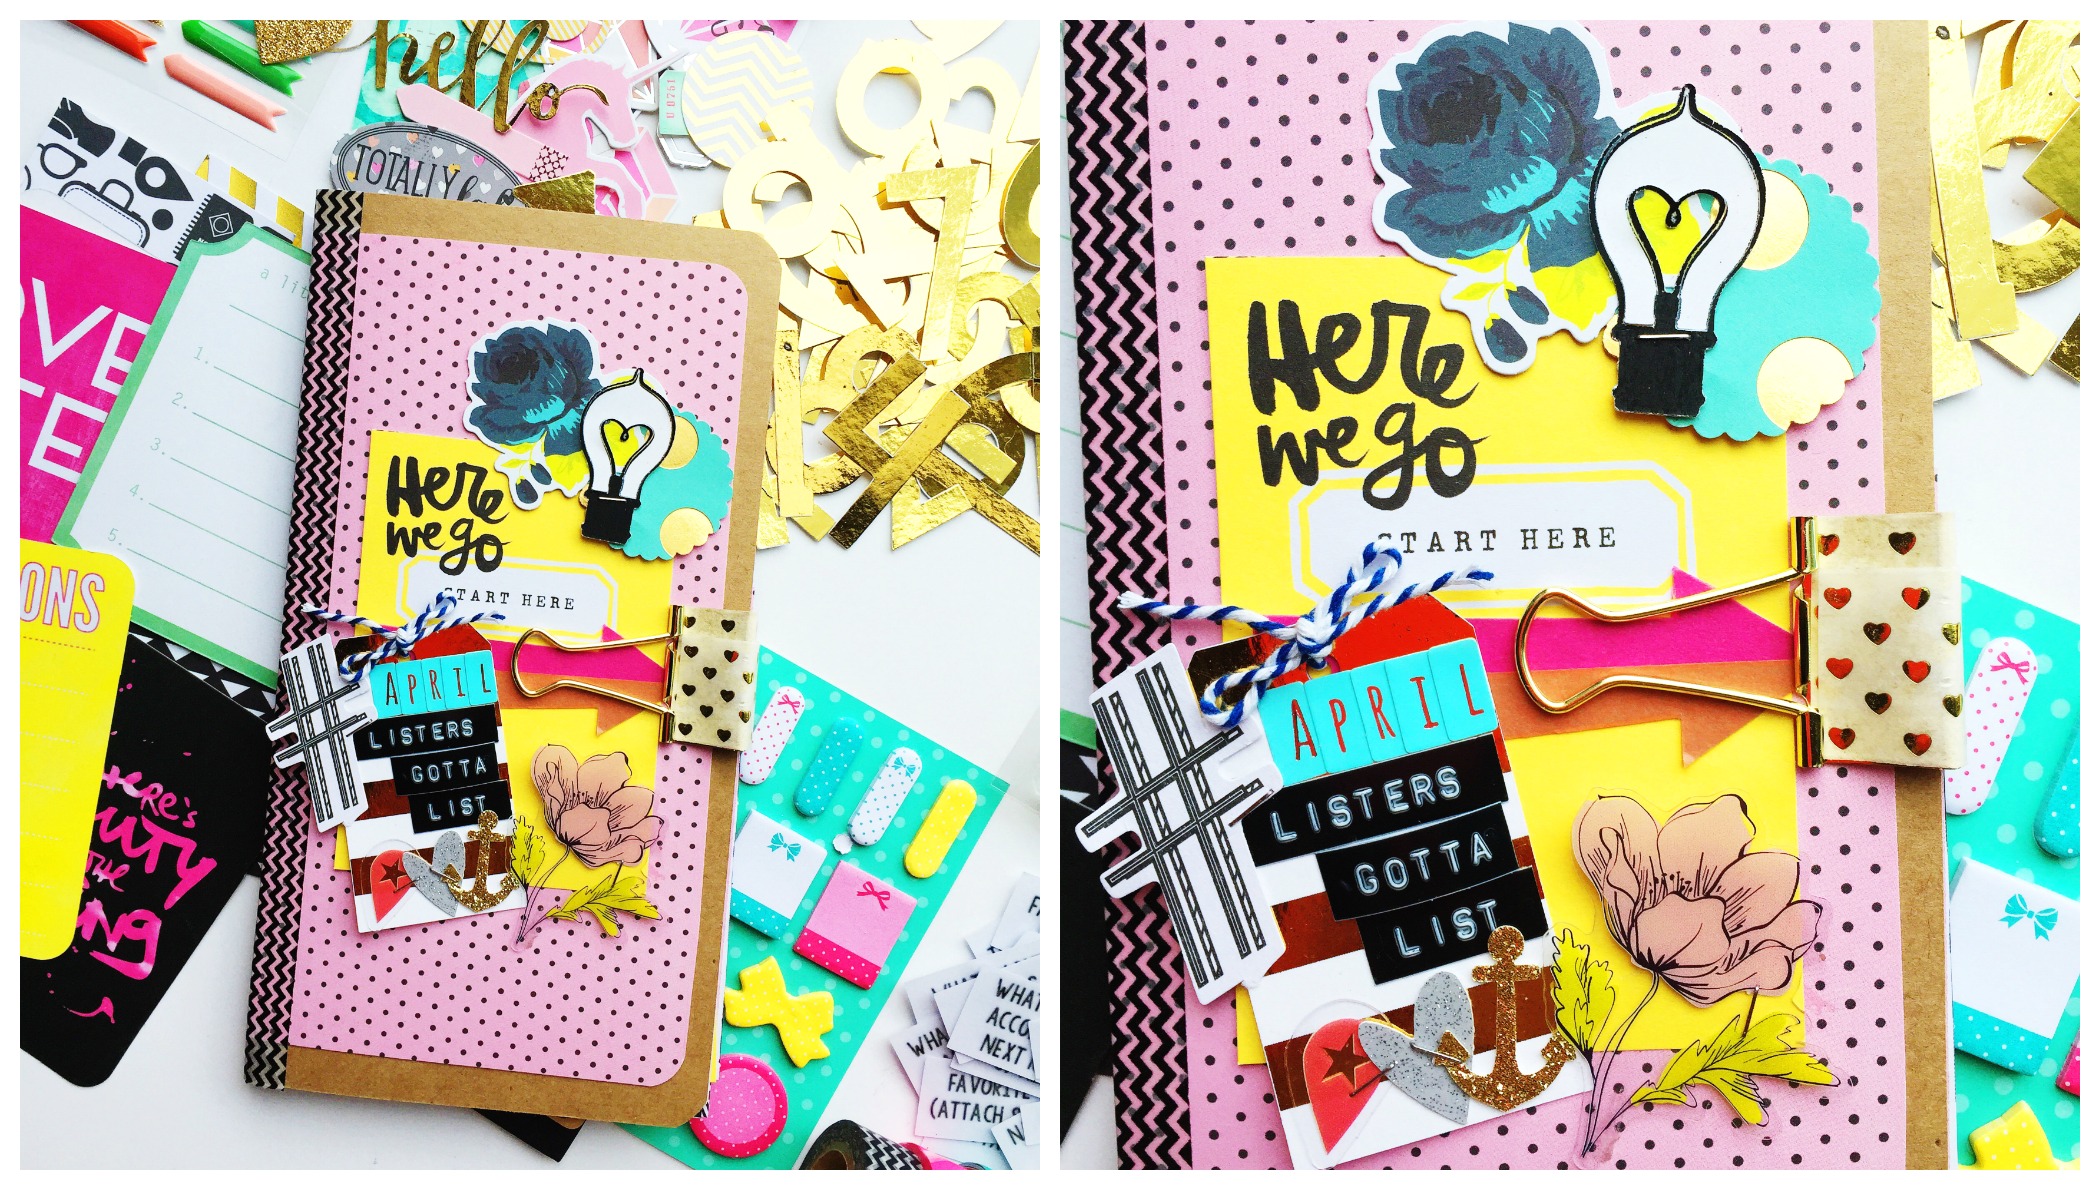
Here are just some supplies I'll be using to decorate my pages for the different Listers Gotta List prompts. 

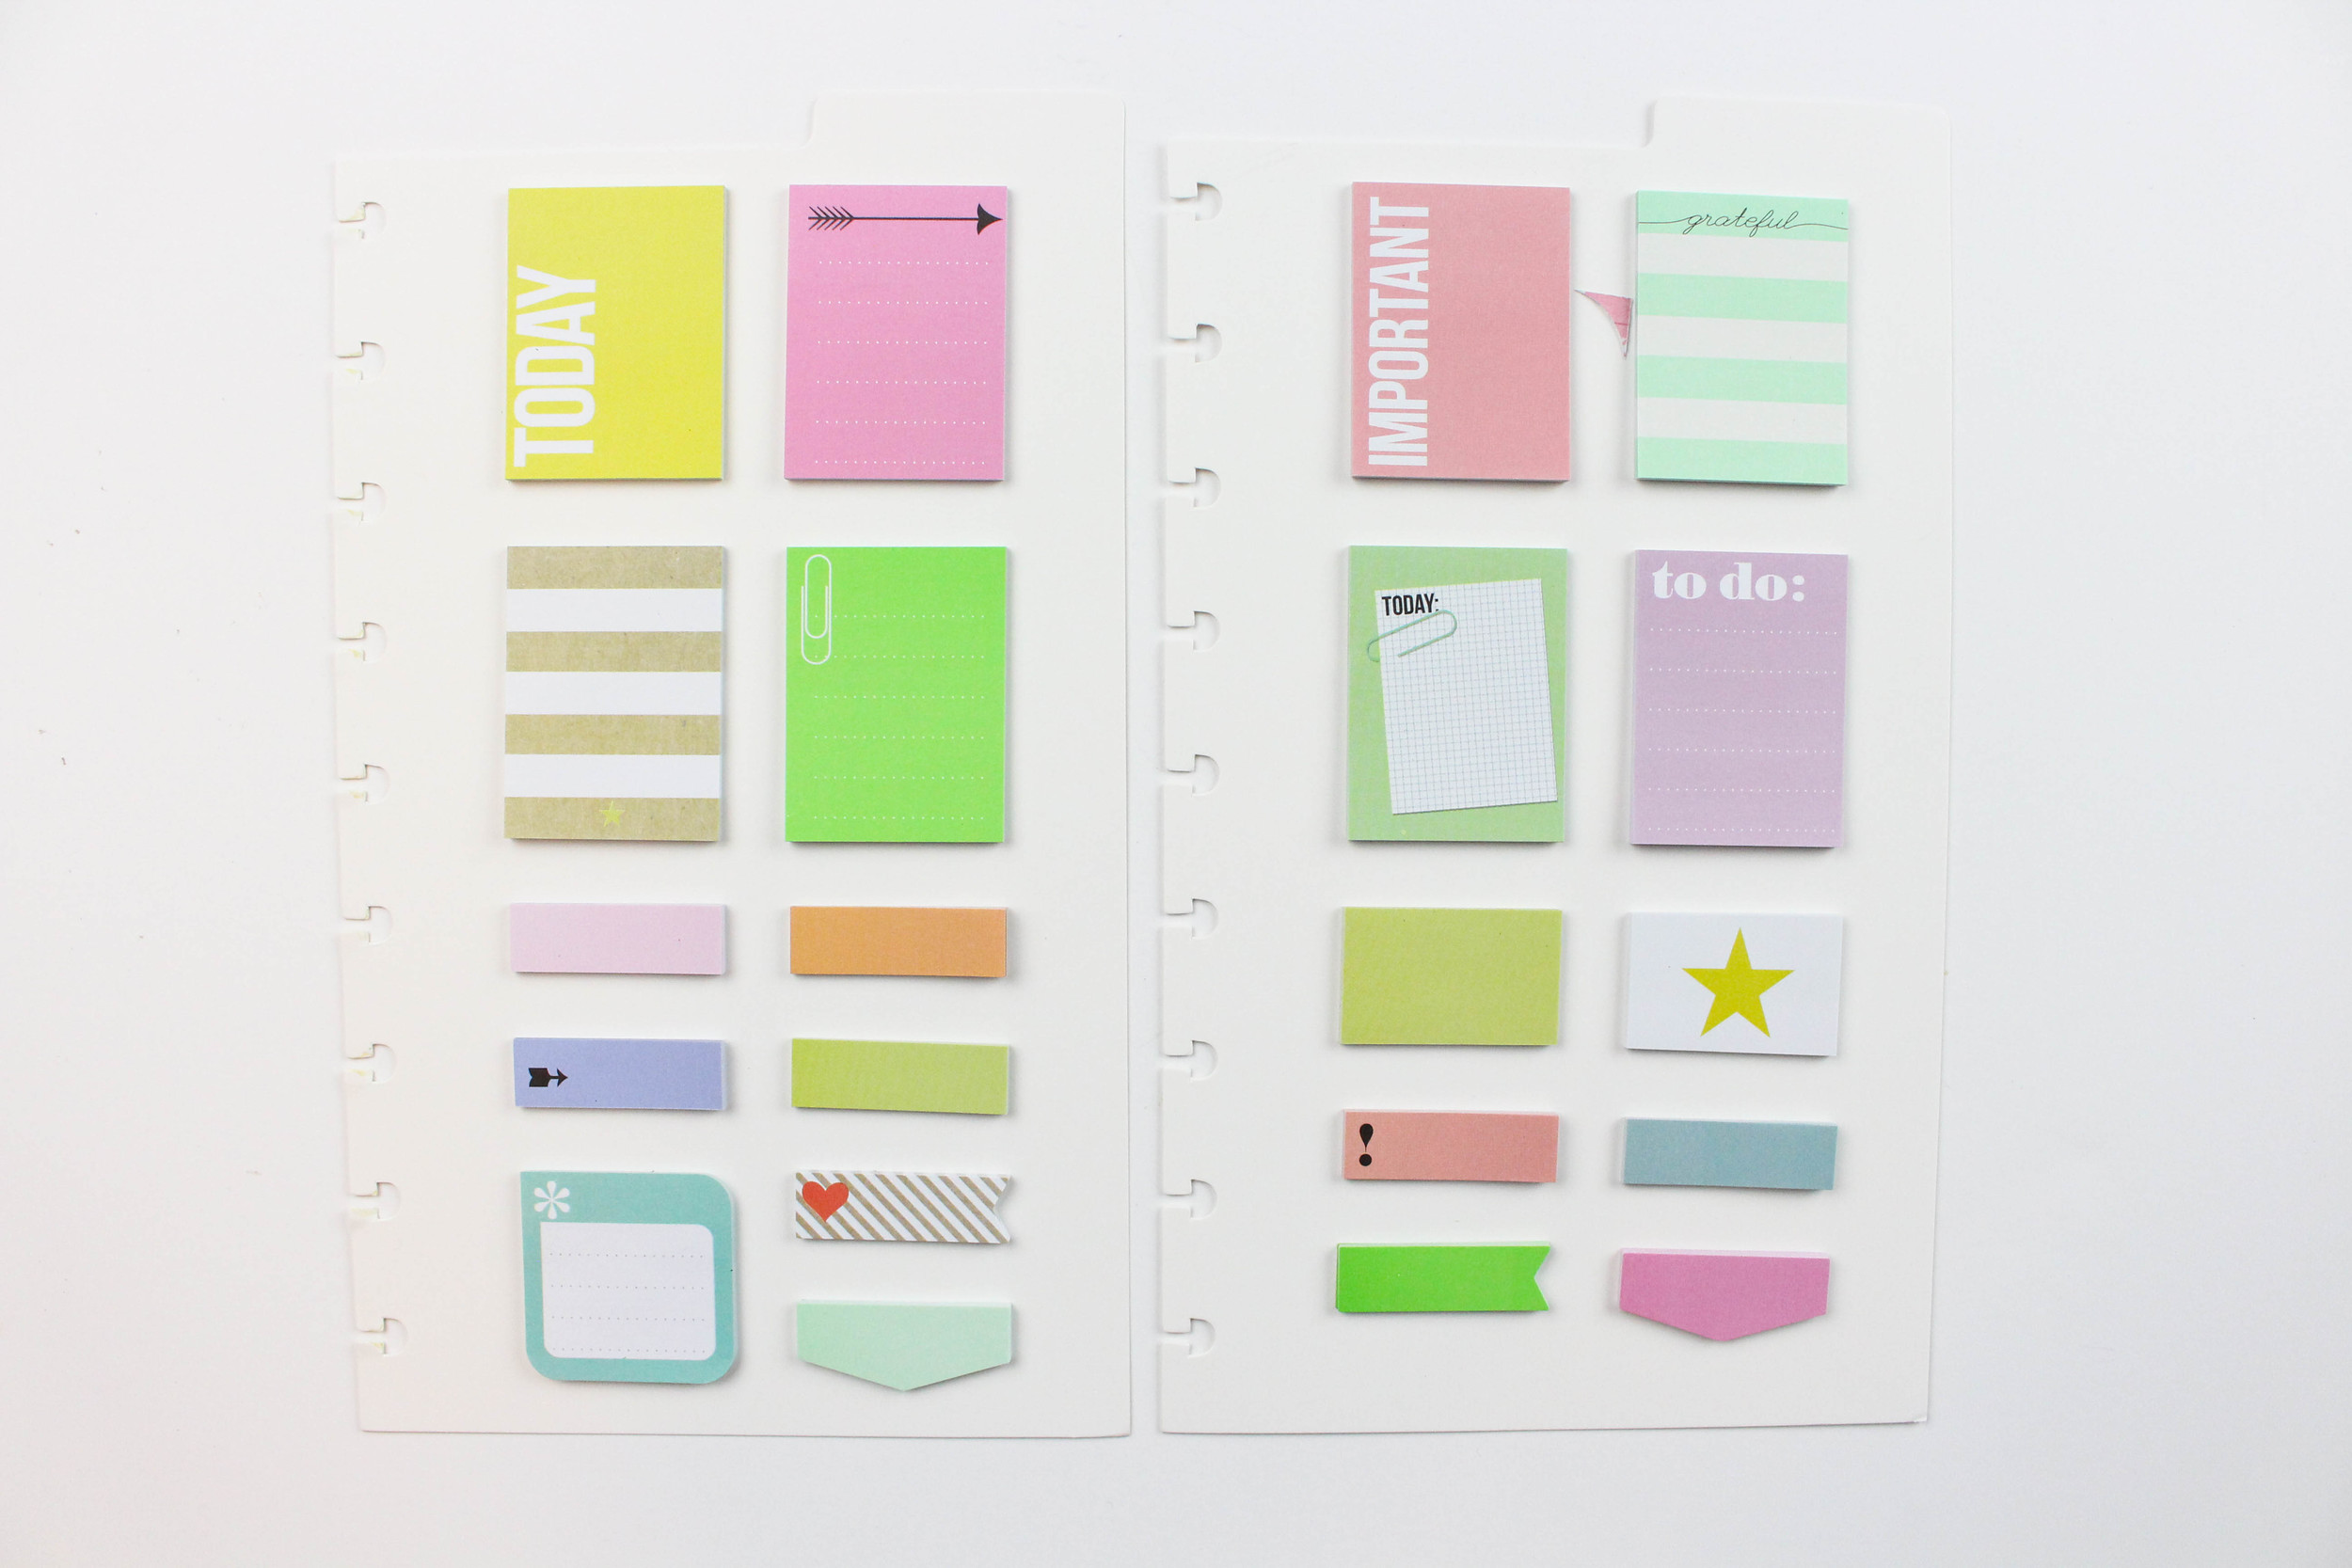
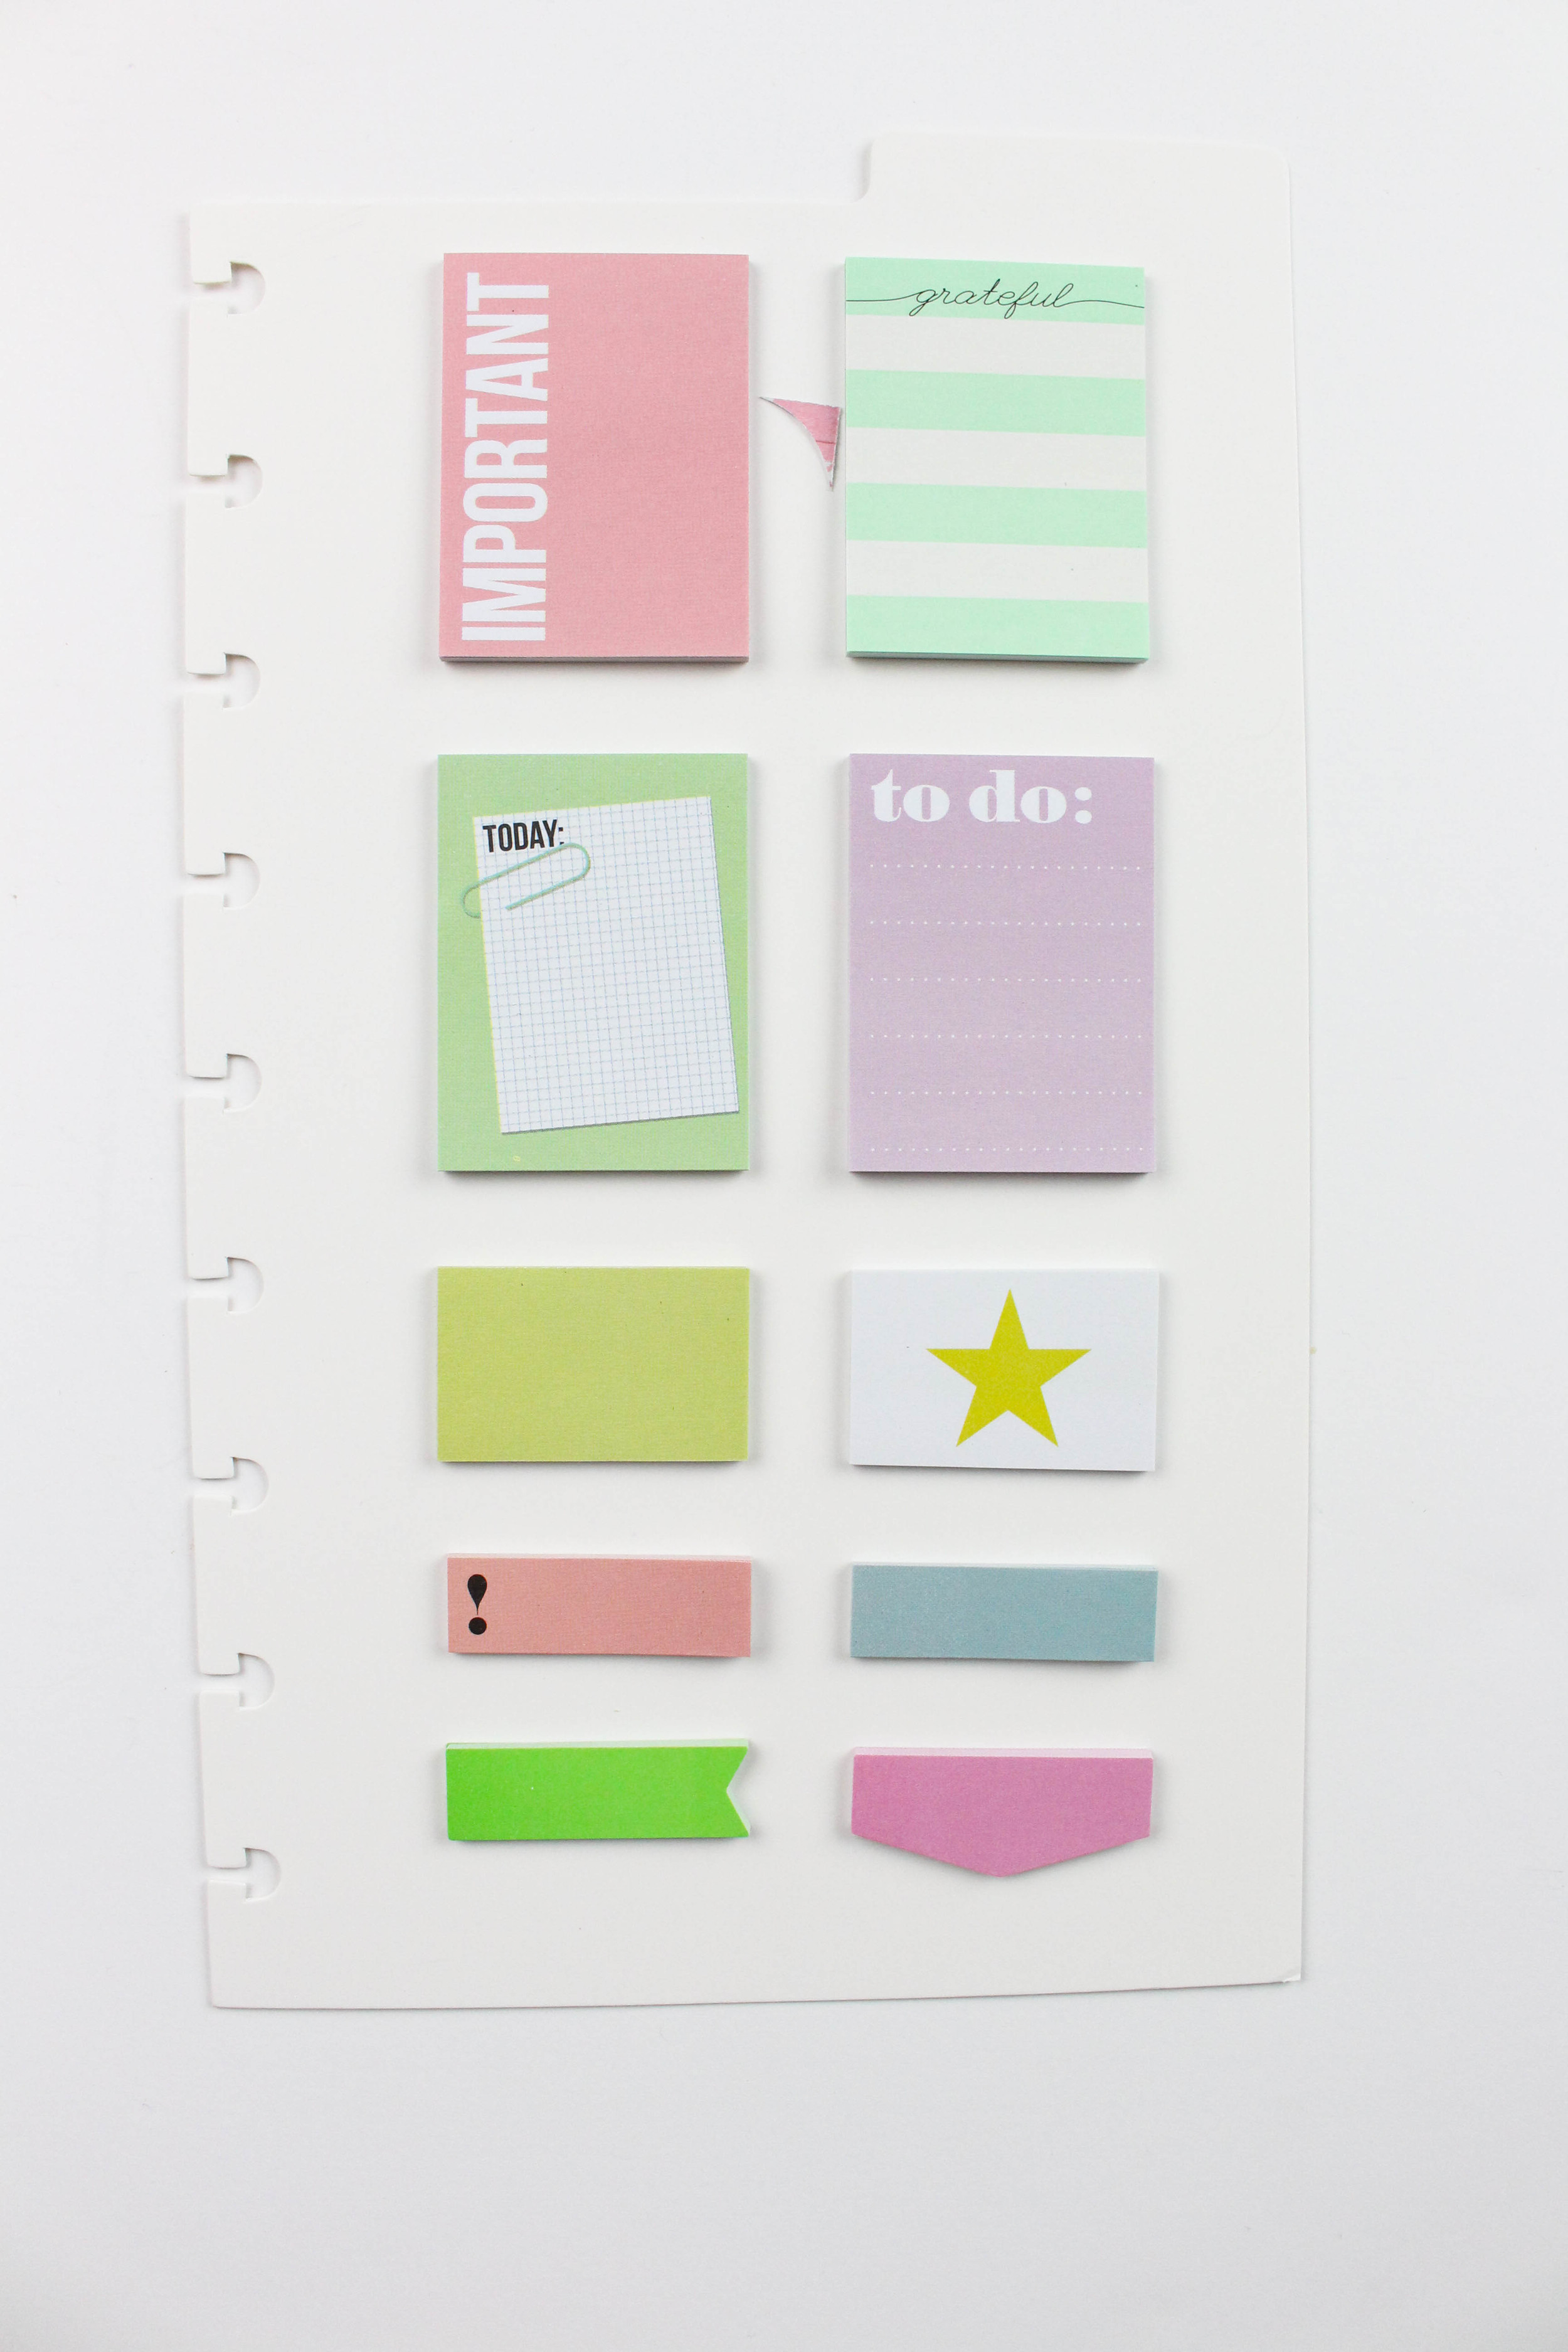
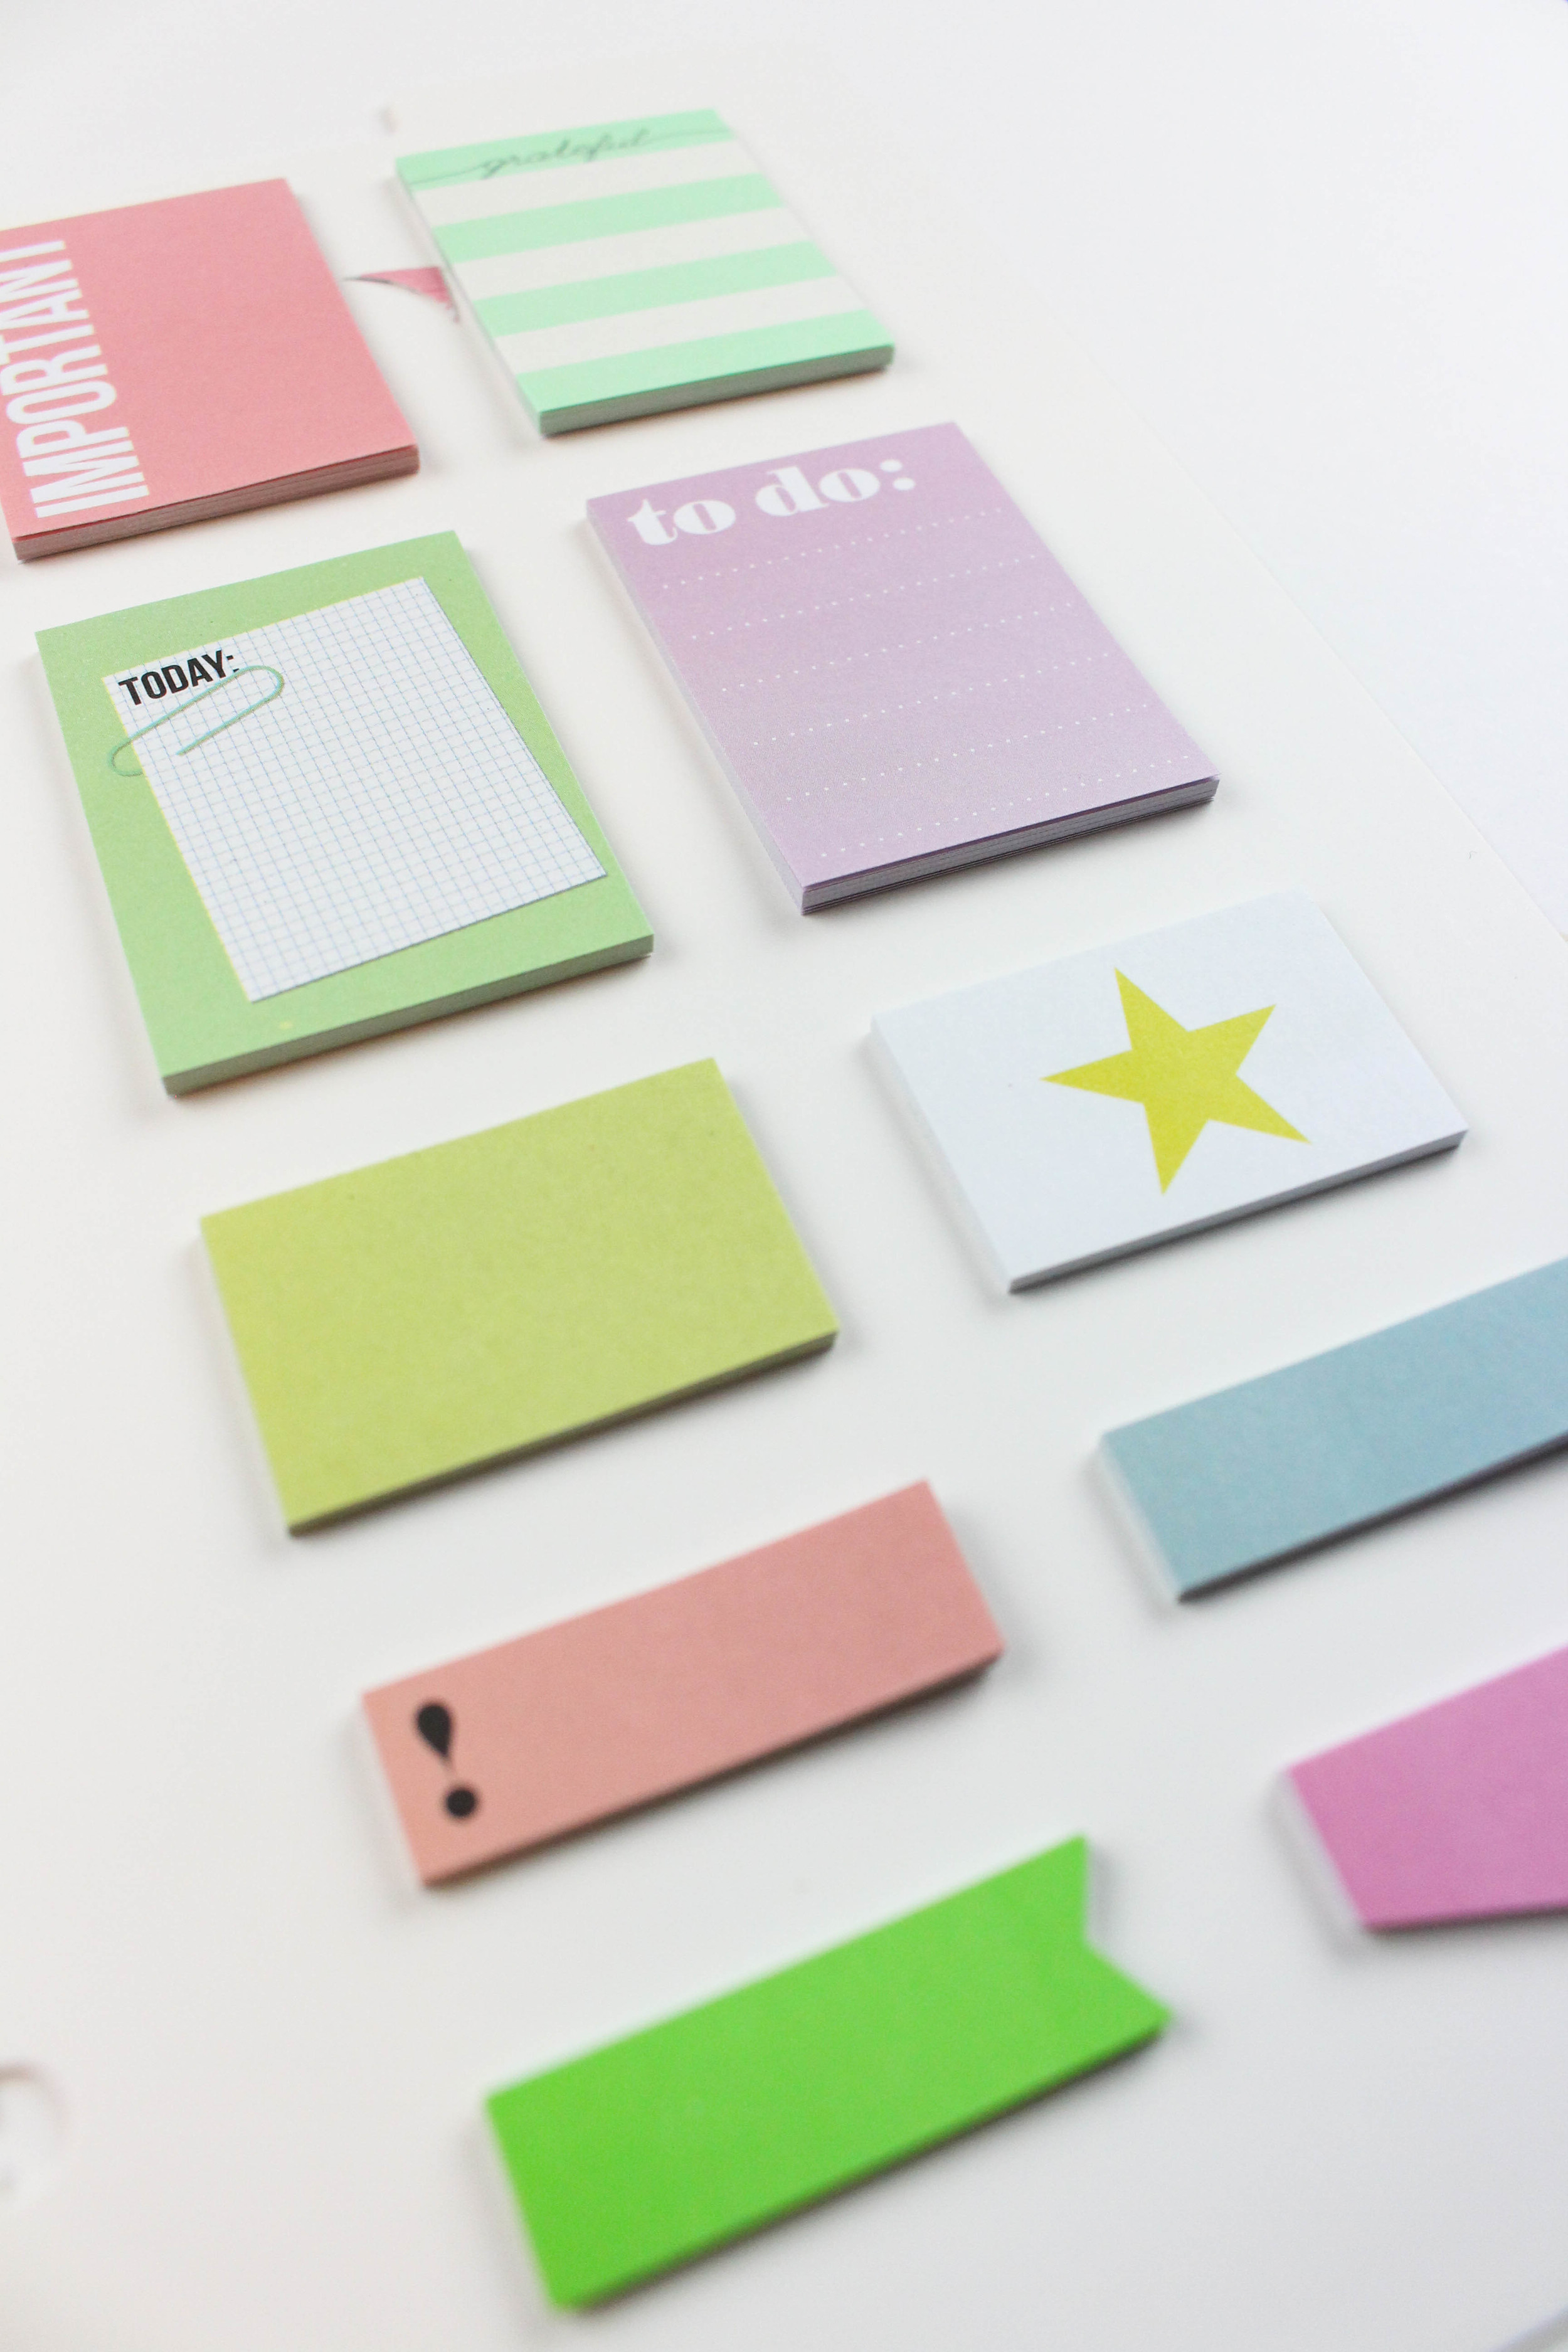
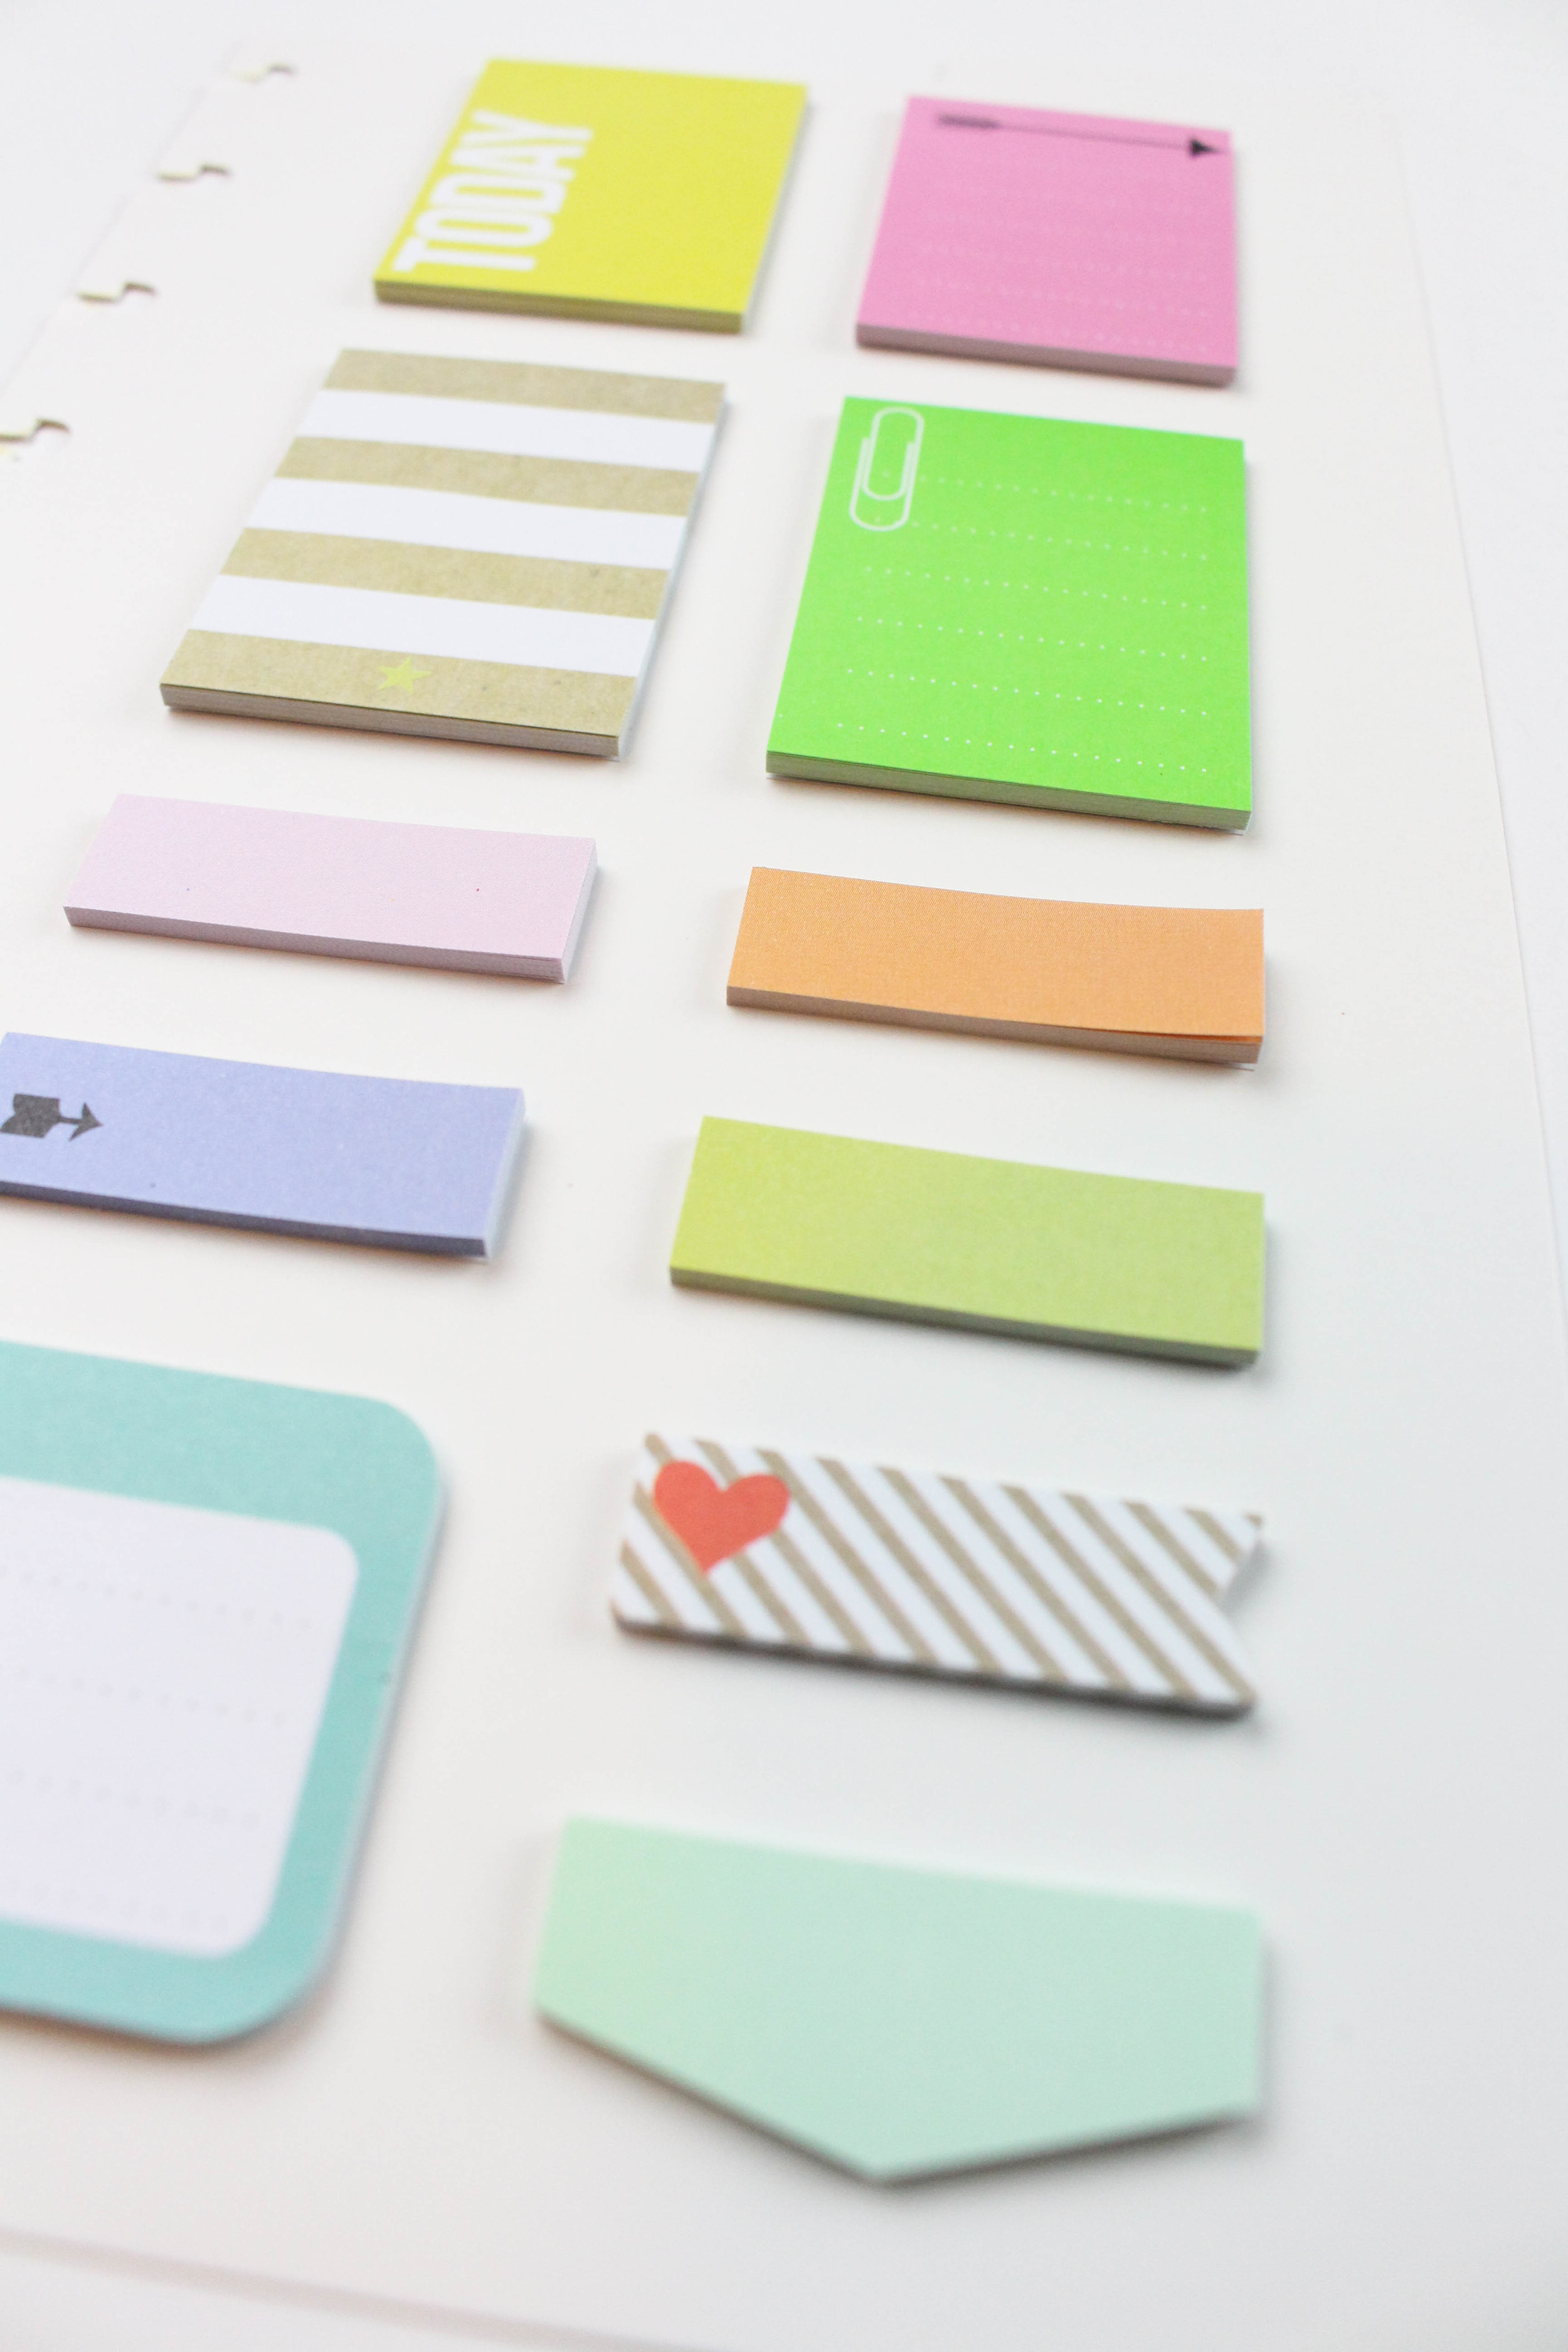
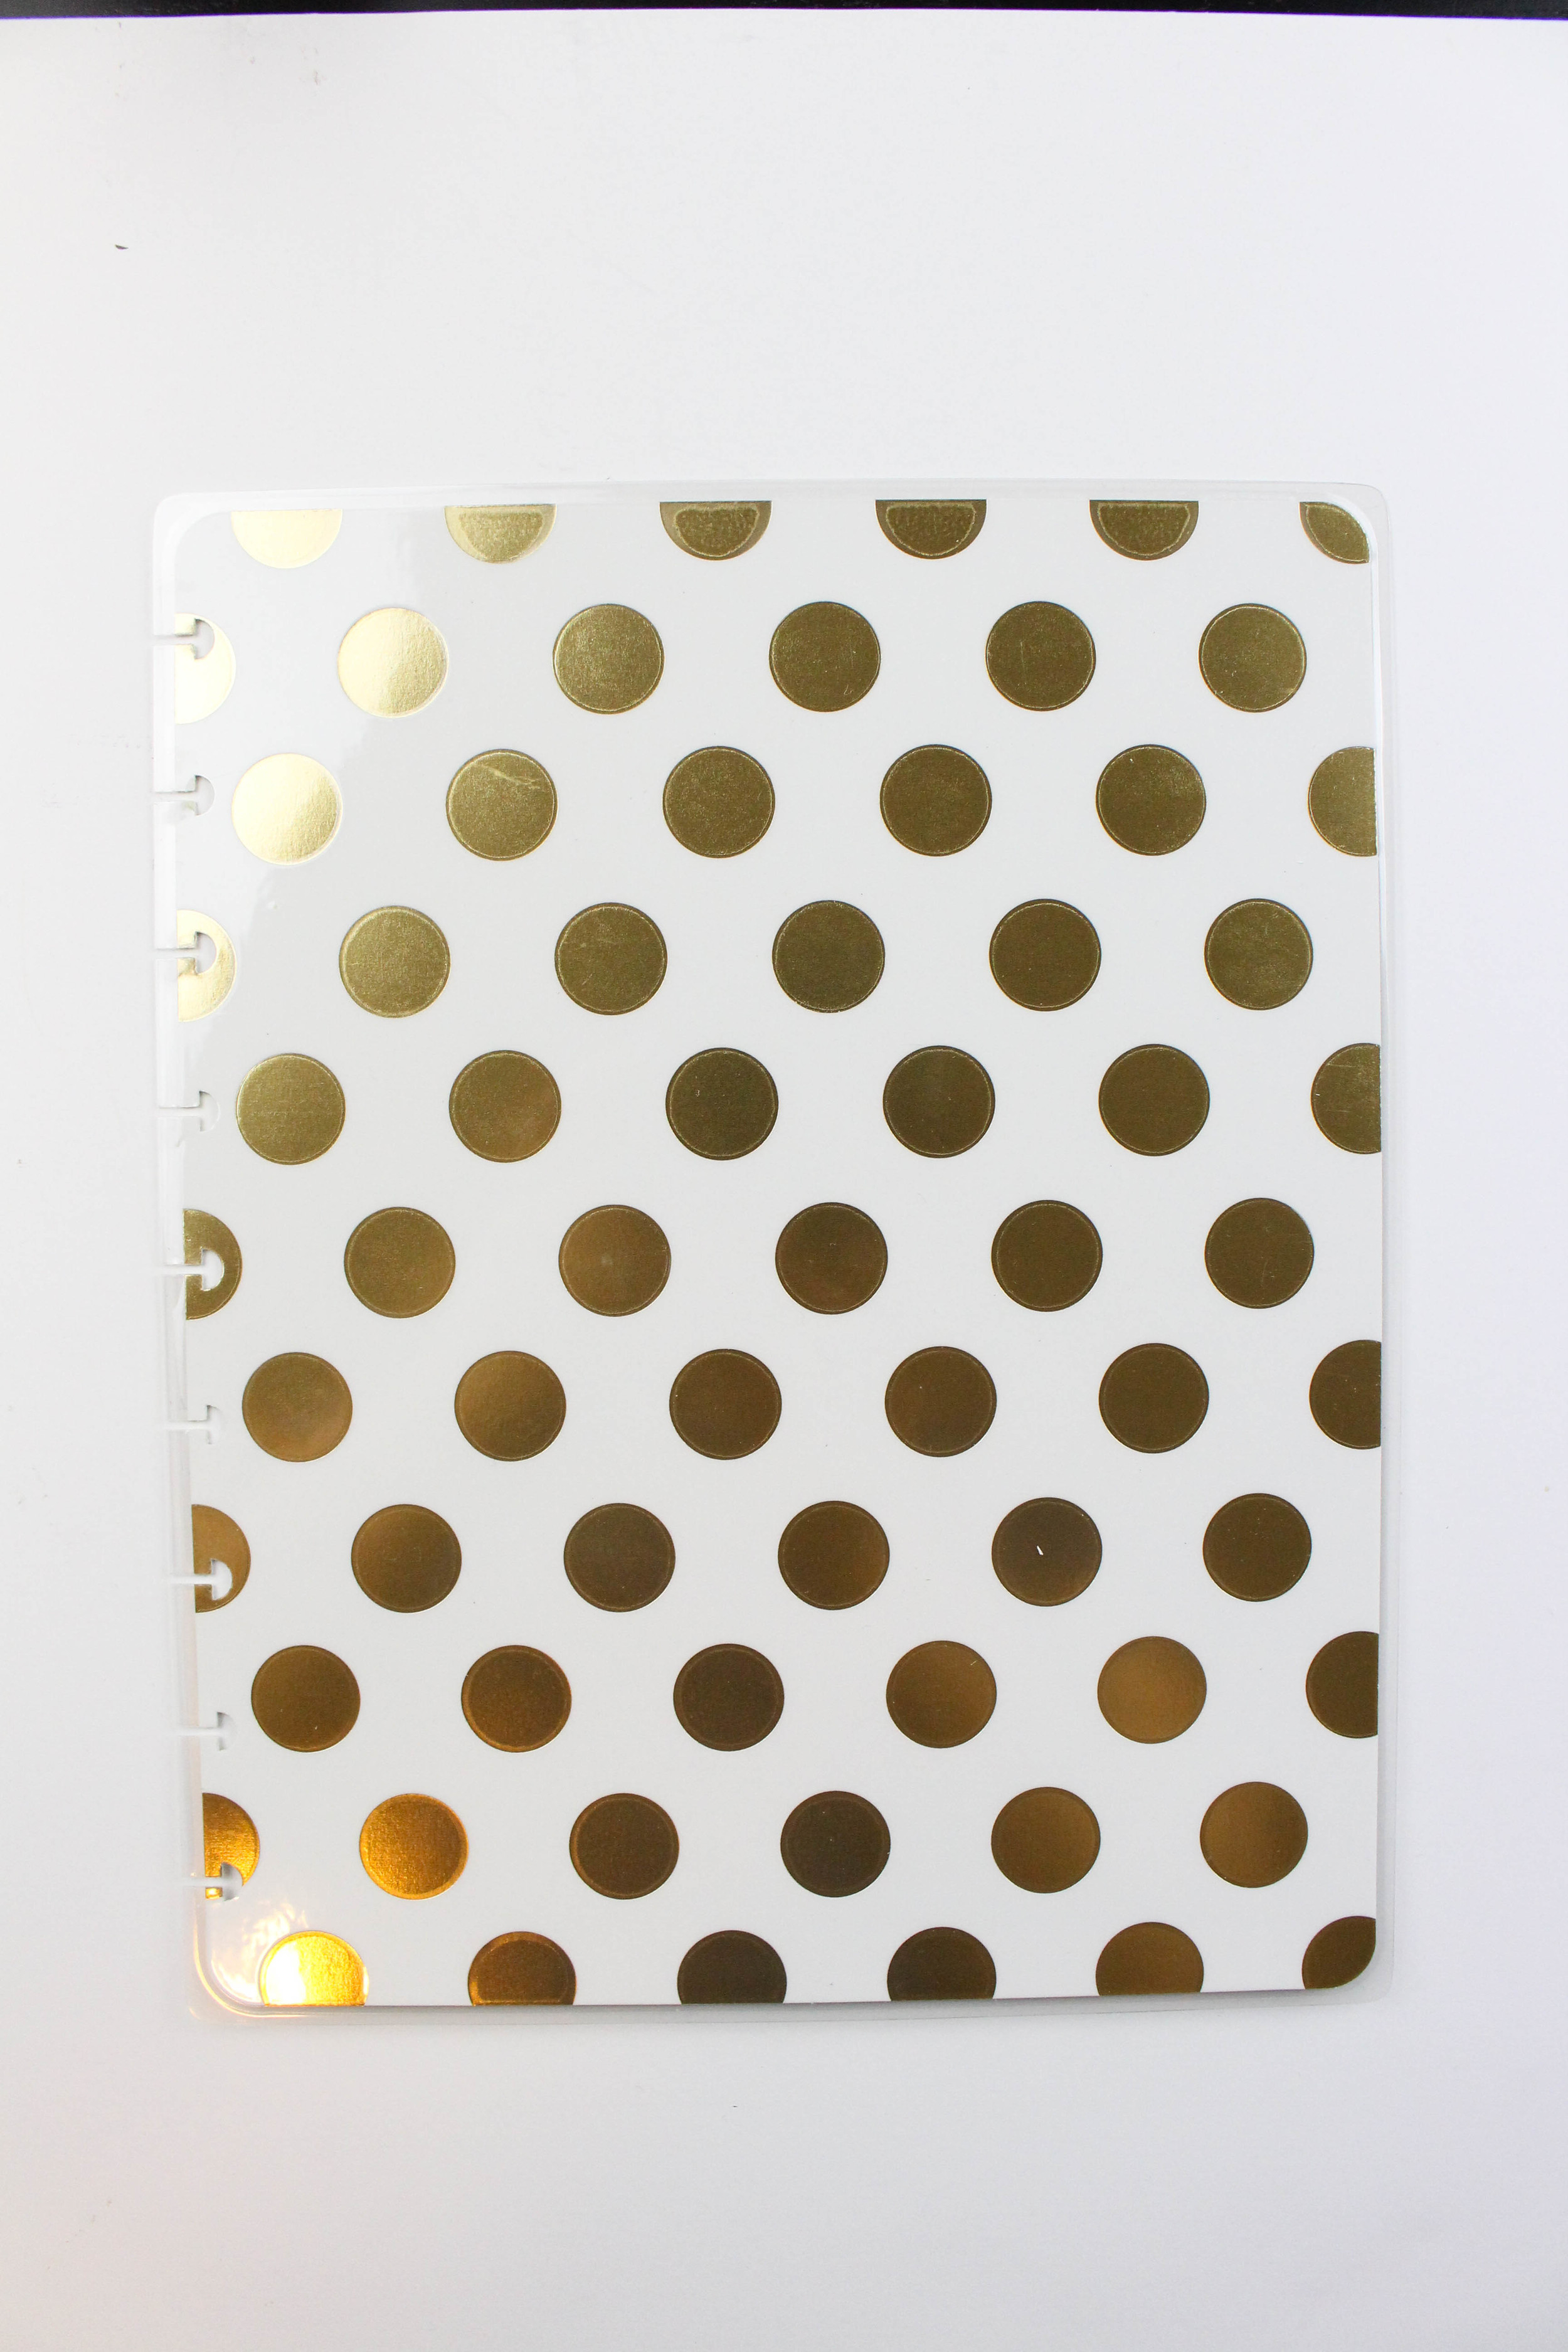
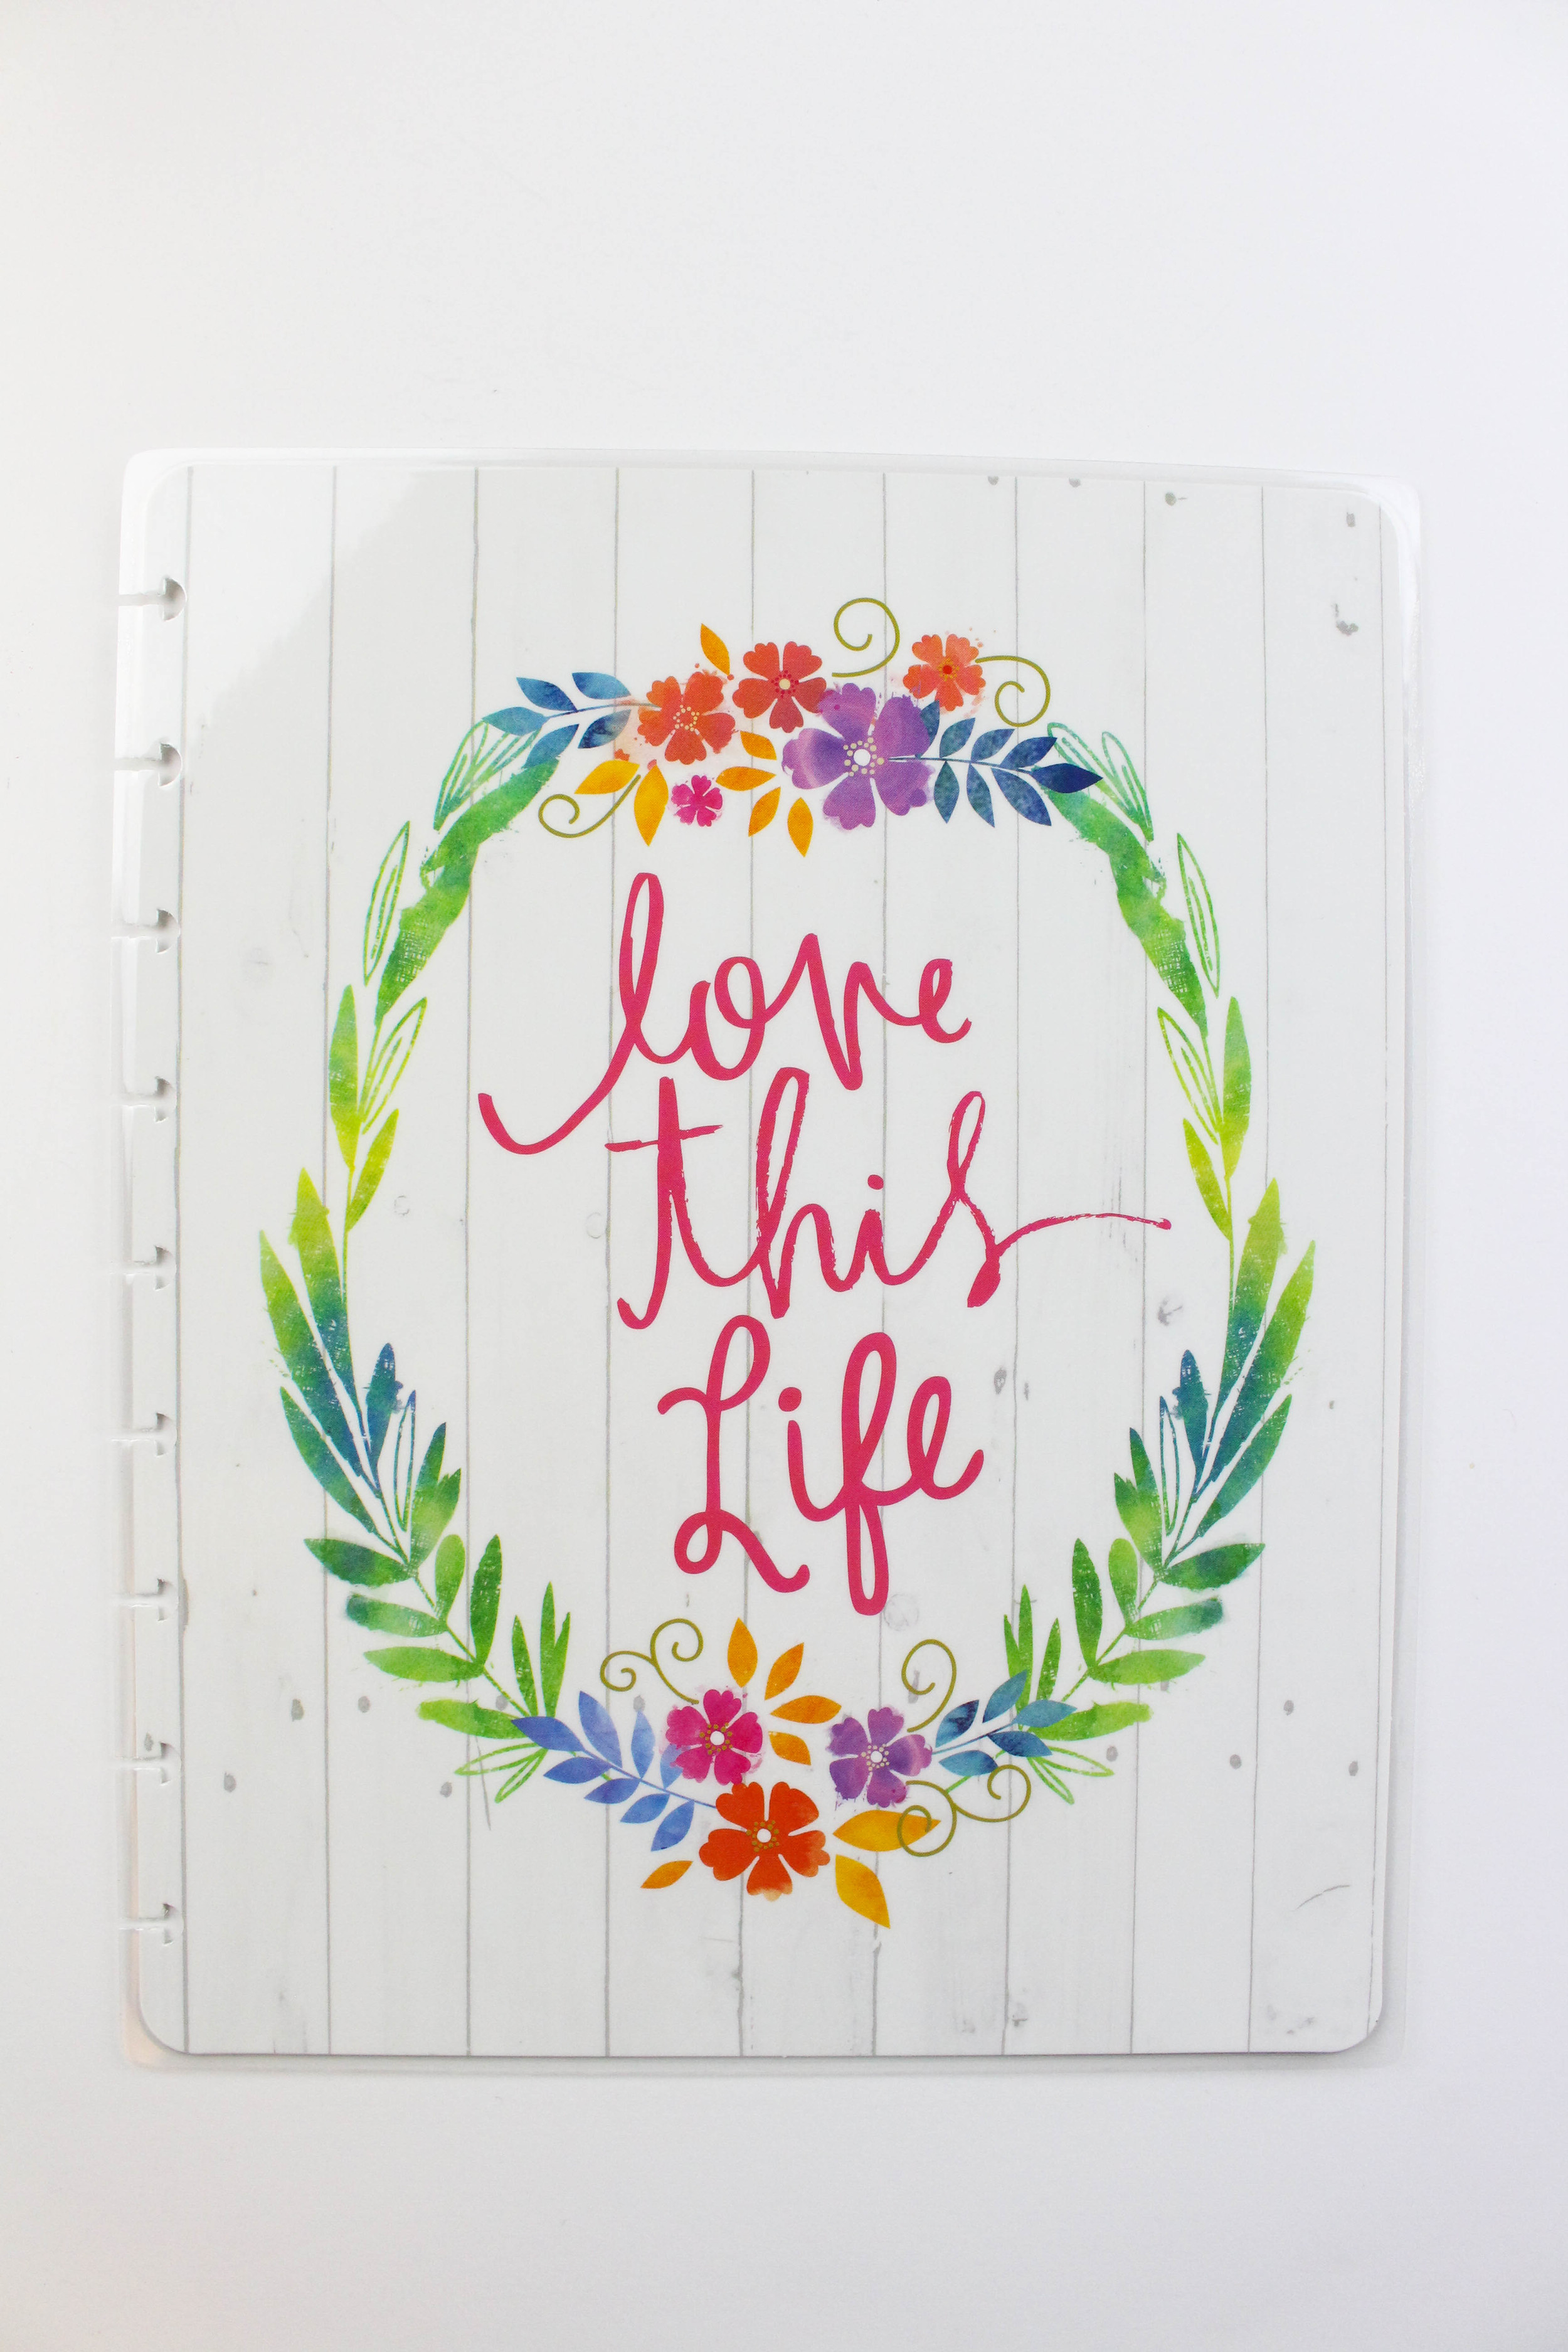
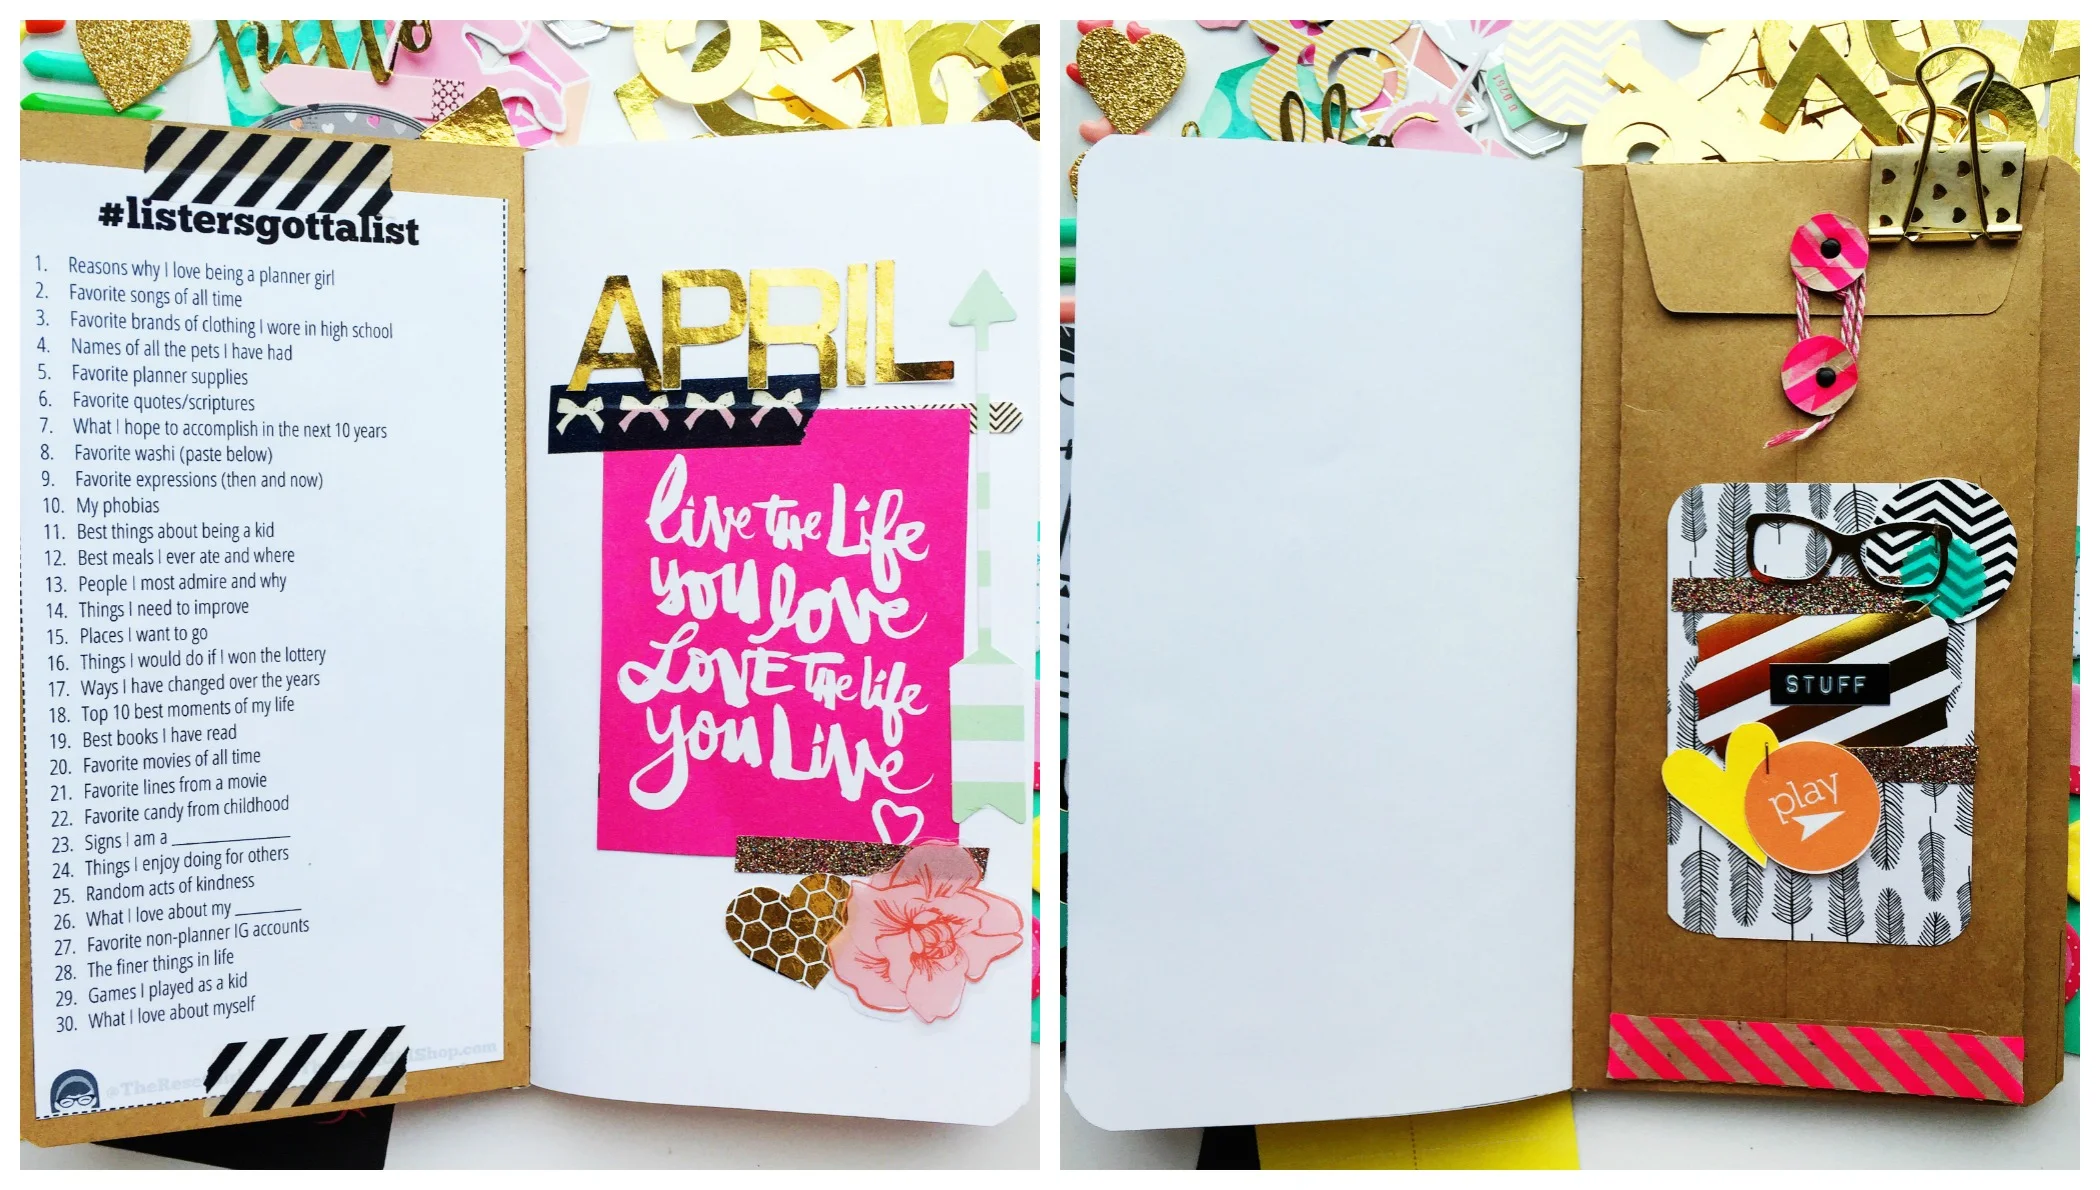
STICKERS- any type of stickers you can embellish with. I like girly, bright colored, glitter dazzled things. EPHEMERA/DIE-CUTS I collect these type of scrapbooking elements. I usually make my own using my Silhouette Portrait or I purchase them from scrapbooking/craft sites (Blitsy, TheInkRoad, Scrapbook.com). NUMBERS This is totally optionals but I wanted something that would be the same on all the pages. I thought numbers would be perfect! I used my Silhouette Portrait with the Print and Cut feature and then ran the numbers (I printed them on my Laser Printer) with gold foil through my Minc. Machine. I love gold, if you didn't know that. STAMPS Here are just a couple of my favorite Studio L2E Stamps that would be great to add lines to the pages along with some decorative stamps. PROJECT LIFE CARDS / SCRAP PAPERS can be used as layering pieces or to write your lists on. POST ITS and STICKY NOTES write quotes, memories, or other important things. HEADER PROMPTS these can be found on www.listersgottalist.com. Cori made them available to download and print for you connivence. I imported the PDF file into the Silhouette Designer Studio and made boxes around each one, and then print and cut on clear label paper so a see-thru look when I use them on my pages. WASHI TAPES these decorative tapes can really help make your pages come alive. The different patterns, and finishes (glitter, foil) can give an overall theme. I have so many to choose from it's always hard to narrow down my favorites for a layout.  

I hope you guys can join me on this list adventure! Make sure you tag me I would love to see what all of you create! 

On a side note... Even though I may not blog as much I'm still very active on Instagram (currently only the villabeautifful_creates which is geared towards creative things). I've always been fond of paper crafting and right now it's my main focus over makeup.  I guess doing makeup for so many years I just needed change. Right now, it's crafting. Will it change back? Probably! But, for now, I'll play with my washi tape, Heidi Swapp Minc Foil Machine over eye shadow and lipsticks. Don't get me wrong, you will occasionally see makeup posts... so don't feel that I have completely left makeup out of life. :)


How To Plan A Planner Meet-up

PNWPlannerGroup

When I started this whole planner adventure I knew I wasn't the only one out there that is a true planner addict. I wanted to meet local addicts who shared the same interest as I do but how would I go about this? I bring you the Pacific Northwest Planners Group!!!! The group came about with a simple post on IG regarding a simple meet-up with locals and then turned into the Pacific Northwest Planners Group. 

PNWPlannerGroupFB

The group grew quickly and I was excited to start planning for the meet-up.  I didn't know how to plan a planner meet-up. I really didn't know what to do, or what to expect. I've been planning events for big cosmetic companies over the years so I knew how to plan a successful event- I basically thought it out as a party.  The Facebook Event tab made it easier for me to invite our members and help me keep track of the guests. I wanted to take advantage of the Owner's Lounge that is located in our building, this would be the location of our first meet-up. Easy access for me and it's free with a fab view! As soon as I got all the details taken care of, I enlisted help from members and friends. Emma was in charge of the guestlist- she helped me manage all the guests and what they were going to bring to the party.  I decided a potluck would be easier than having me provide all the food.  

As the hostess, I wanted to add my own little details to the party. I'm always keen on details and think that they always leave a lasting impression.  A chalkboard sign with the help from Emma (paperpanduh) greeted all the guests as they came in. Custom mason jars,  utensil holders, a small hostess gift from me were projects that I tackled leading up to the party (take a look at the pictures).  I always do things above and beyond and I really wanted this meet-up/party to be something special for this new group. 

Other than socializing, eating and chatting about planners I wanted to have the attendees leave the party with something that they made.  Thankful for Cori (theresetgirl) she put something together that everyone enjoyed- washi tape binder clips.  Super easy and fun to make! Now everyone in group decorates all of their binder clips. 

Another thing that I decided to have is a gift exchange/white elephant exchange. Everyone brought a gift worth $15 all wrapped up to the party. Emma (paperpanduh) handed out numbers to see who would go first. If there was a gift that you liked you can steal it! This was a lot of fun! You'll have to check out Emma's vlog (inspiredblush) below to watch how this went down! 

Looks fun right? Want to host your own planner meet-up? Here are some of my tips that I hope will help you get started

  • BE ORGANIZED! I created a notebook that would fit in my FoxiDori (fauxdori) all the ideas, things to do, and anything that had to do with the party went in here. It helped me collect all my thoughts about the meet-up and is a great source for the next one. 
  • ASK FOR HELP! You can't do everything! Your event will be smooth sailing and if you have a group of people to help with different things for the party. I wasn't even stressed because I had a great party team! Rhonda, Joysha, Amanda, Emma, and Emma- you girls rock! 
  • NAME TAGS! Since everyone is new and probably don't know each other this is a key thing to have. Emma (inspiredblush) made the prettiest name tags to match our Spring/floral theme
  • ICE BREAKER! To get the party started plan an ice breaker activity to have attendees mingle with people they don't really know. Rhondalei led this activity. She printed off some celebrities who are significant today and each person had to guess each other's celebrity that was taped to the their backs. 
  • SWAP EXCHANGE! In my opinion I think this is a staple for any meet-up. Planner addicts always love planner goods and stationary so why not share some of your favorite supplies with others. 
  • HASHTAG! Have all your attendees tag their event photos with a particular hashtag that you create ahead of time. Emma (inspiredblush) added the hashtag to the name tags so the attendees always remebered it. I also would tag it on my Instagram posts whenever I posted anything regarding to the party. 
  • KEEP TRACK OF TIME! This is one thing that I wish I would have kept more attention to. I guess I got lost in meeting new people and the make and take I didn't realize it was almost time to go home! We didn't take a picture of all the planners but there's always next time. 
  • SHOULD I CHARGE? This is totally up to you. Since this was my first time planning a meetup I thought I wouldn't charge my guests. However, going froward I think a small fee should be good depending on the type of meetup/planner party you are having. The fee would cover food, decor and supplies for the event. It does get pricey so plan accordingly on what you would like the attendees to pay for. 

I just wanted to say a big thank you to Cori for the make and take activity and for the goodies she gave out to the group. Another HUGE thank you for Kanani from Studio L2e who gave her newest March release stamps to attendees.  I am so thankful that I have so many giving ladies in this group! 

There you have it! Now go and watch Emma's Vlog.. it basically sums up the whole day!! It makes me smile every time I watch it! For more pictures make sure to check out the hashtag #PNWSPRINGMEETUP and our other hashtags to see what the #PNWPlanners are up to: #PNWPLANNERGROUP