planner addict

The Planner Society MAY Planner Kit

The Planner Society May

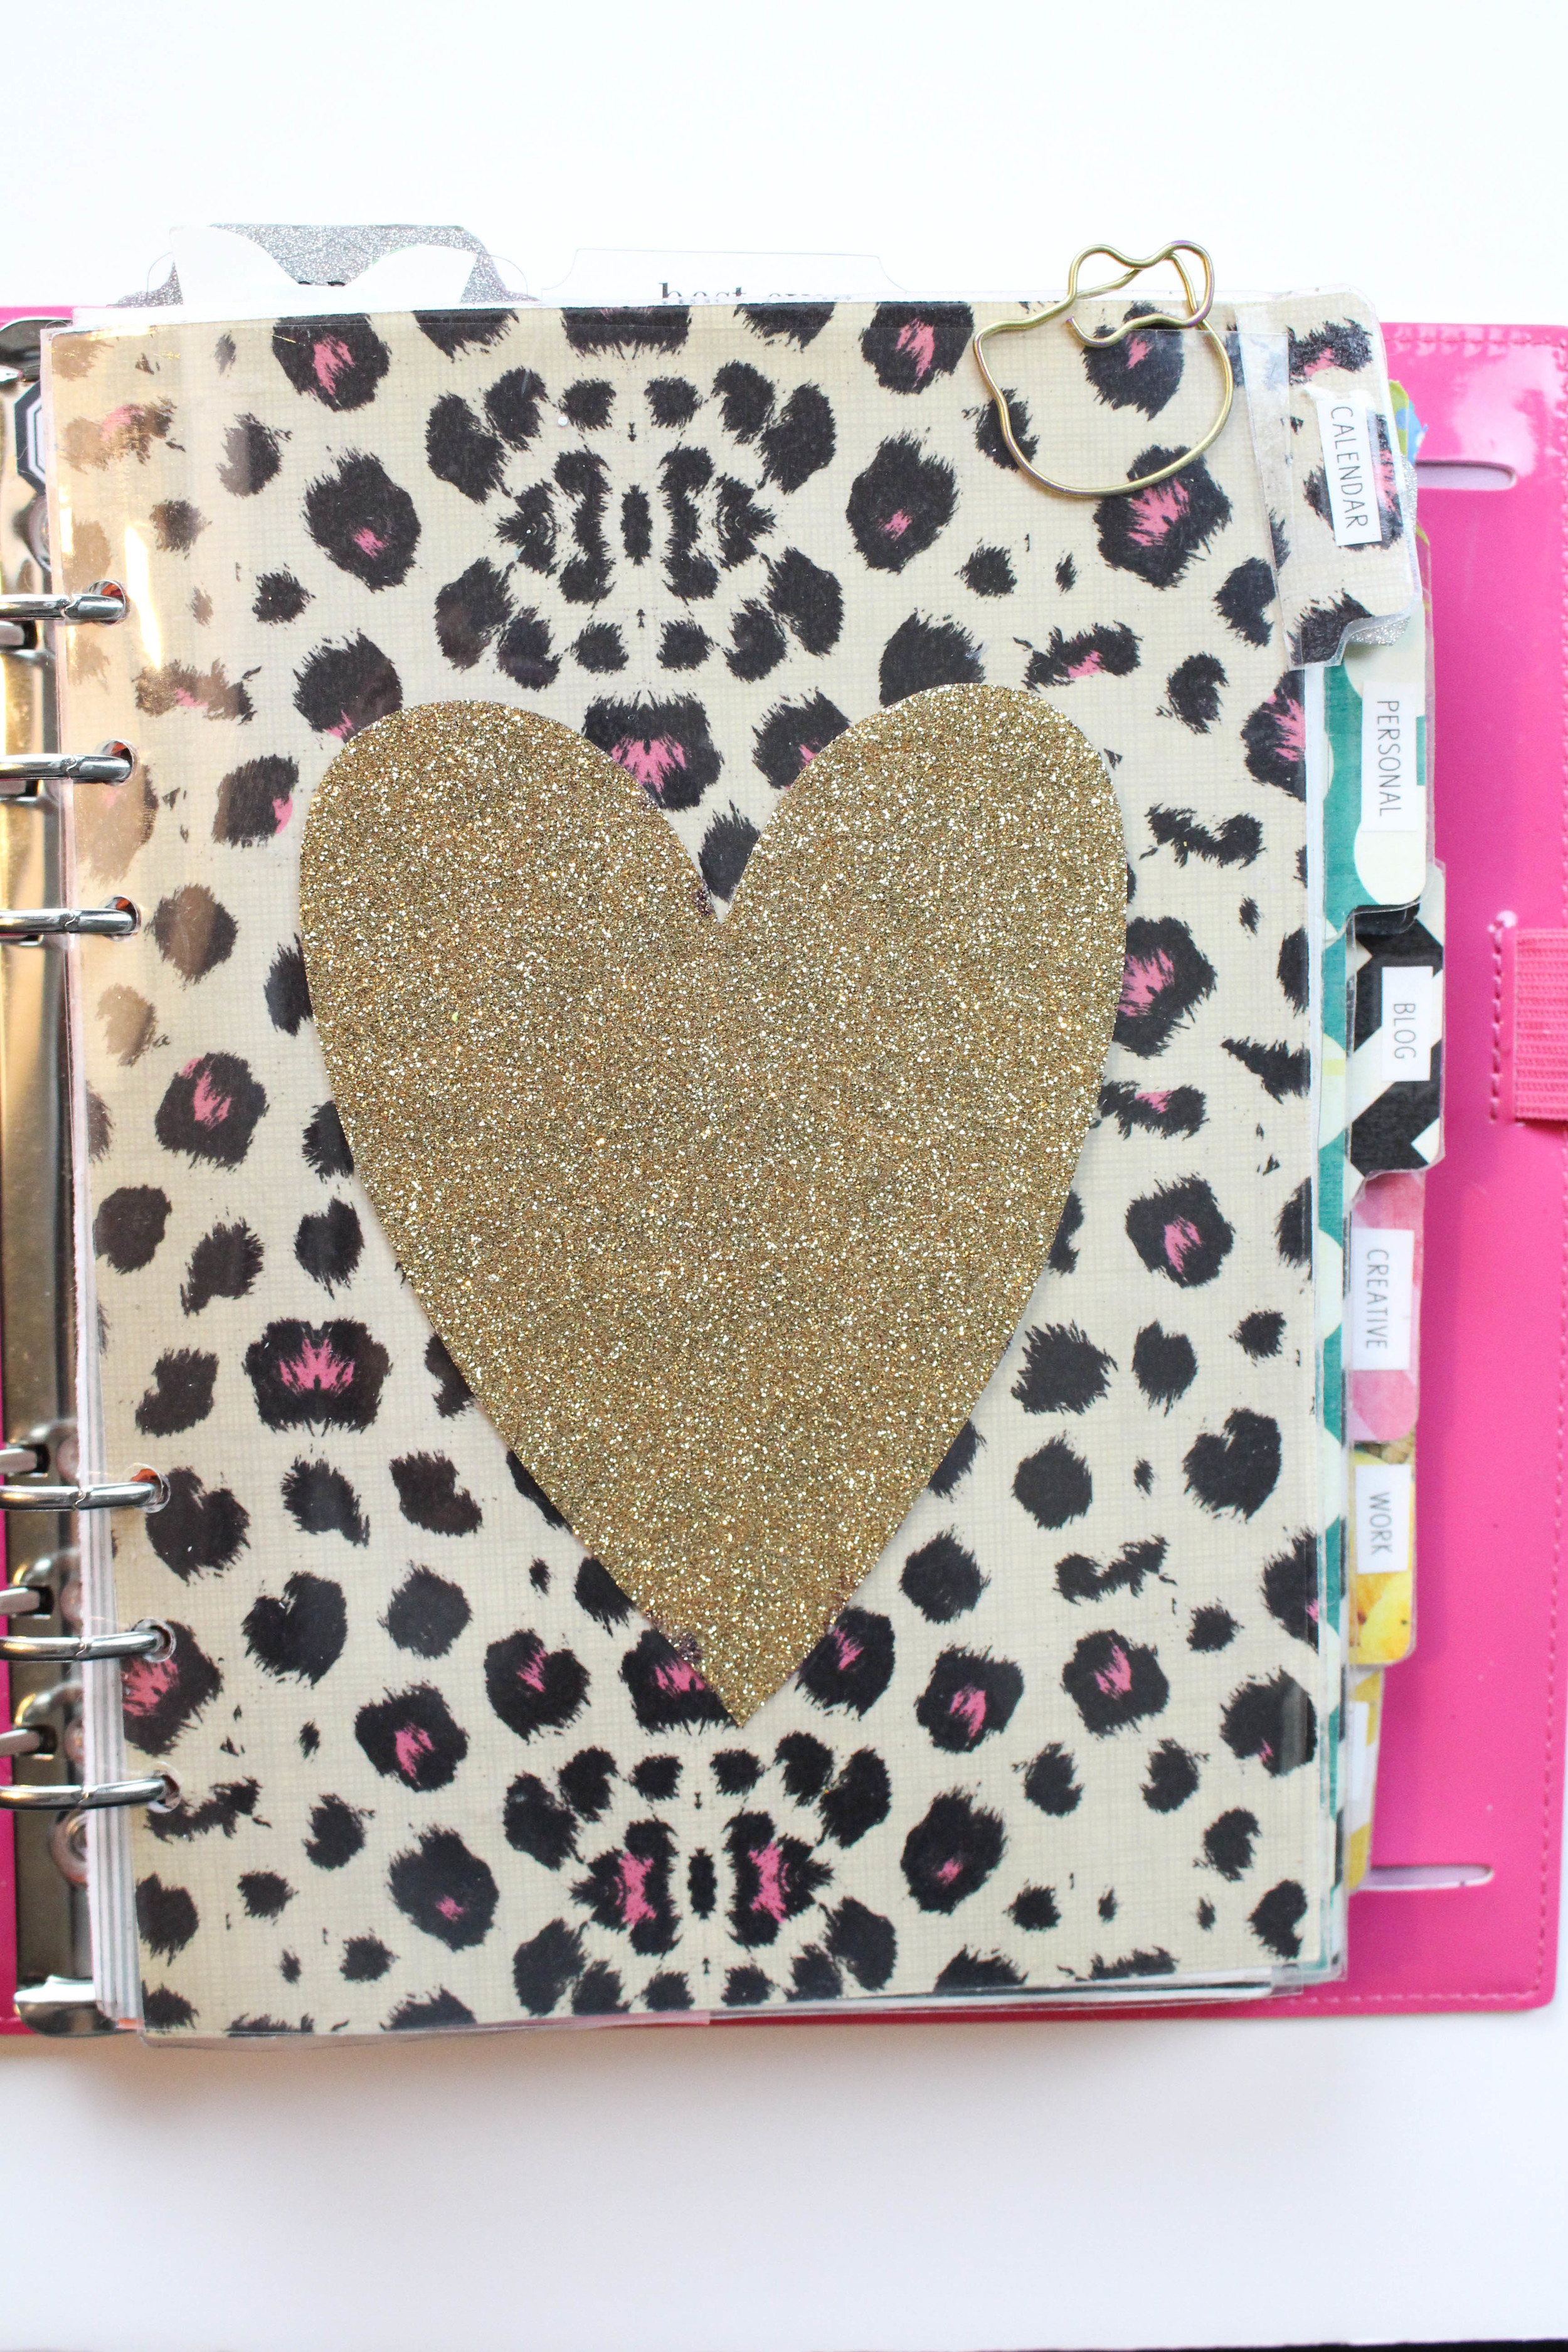
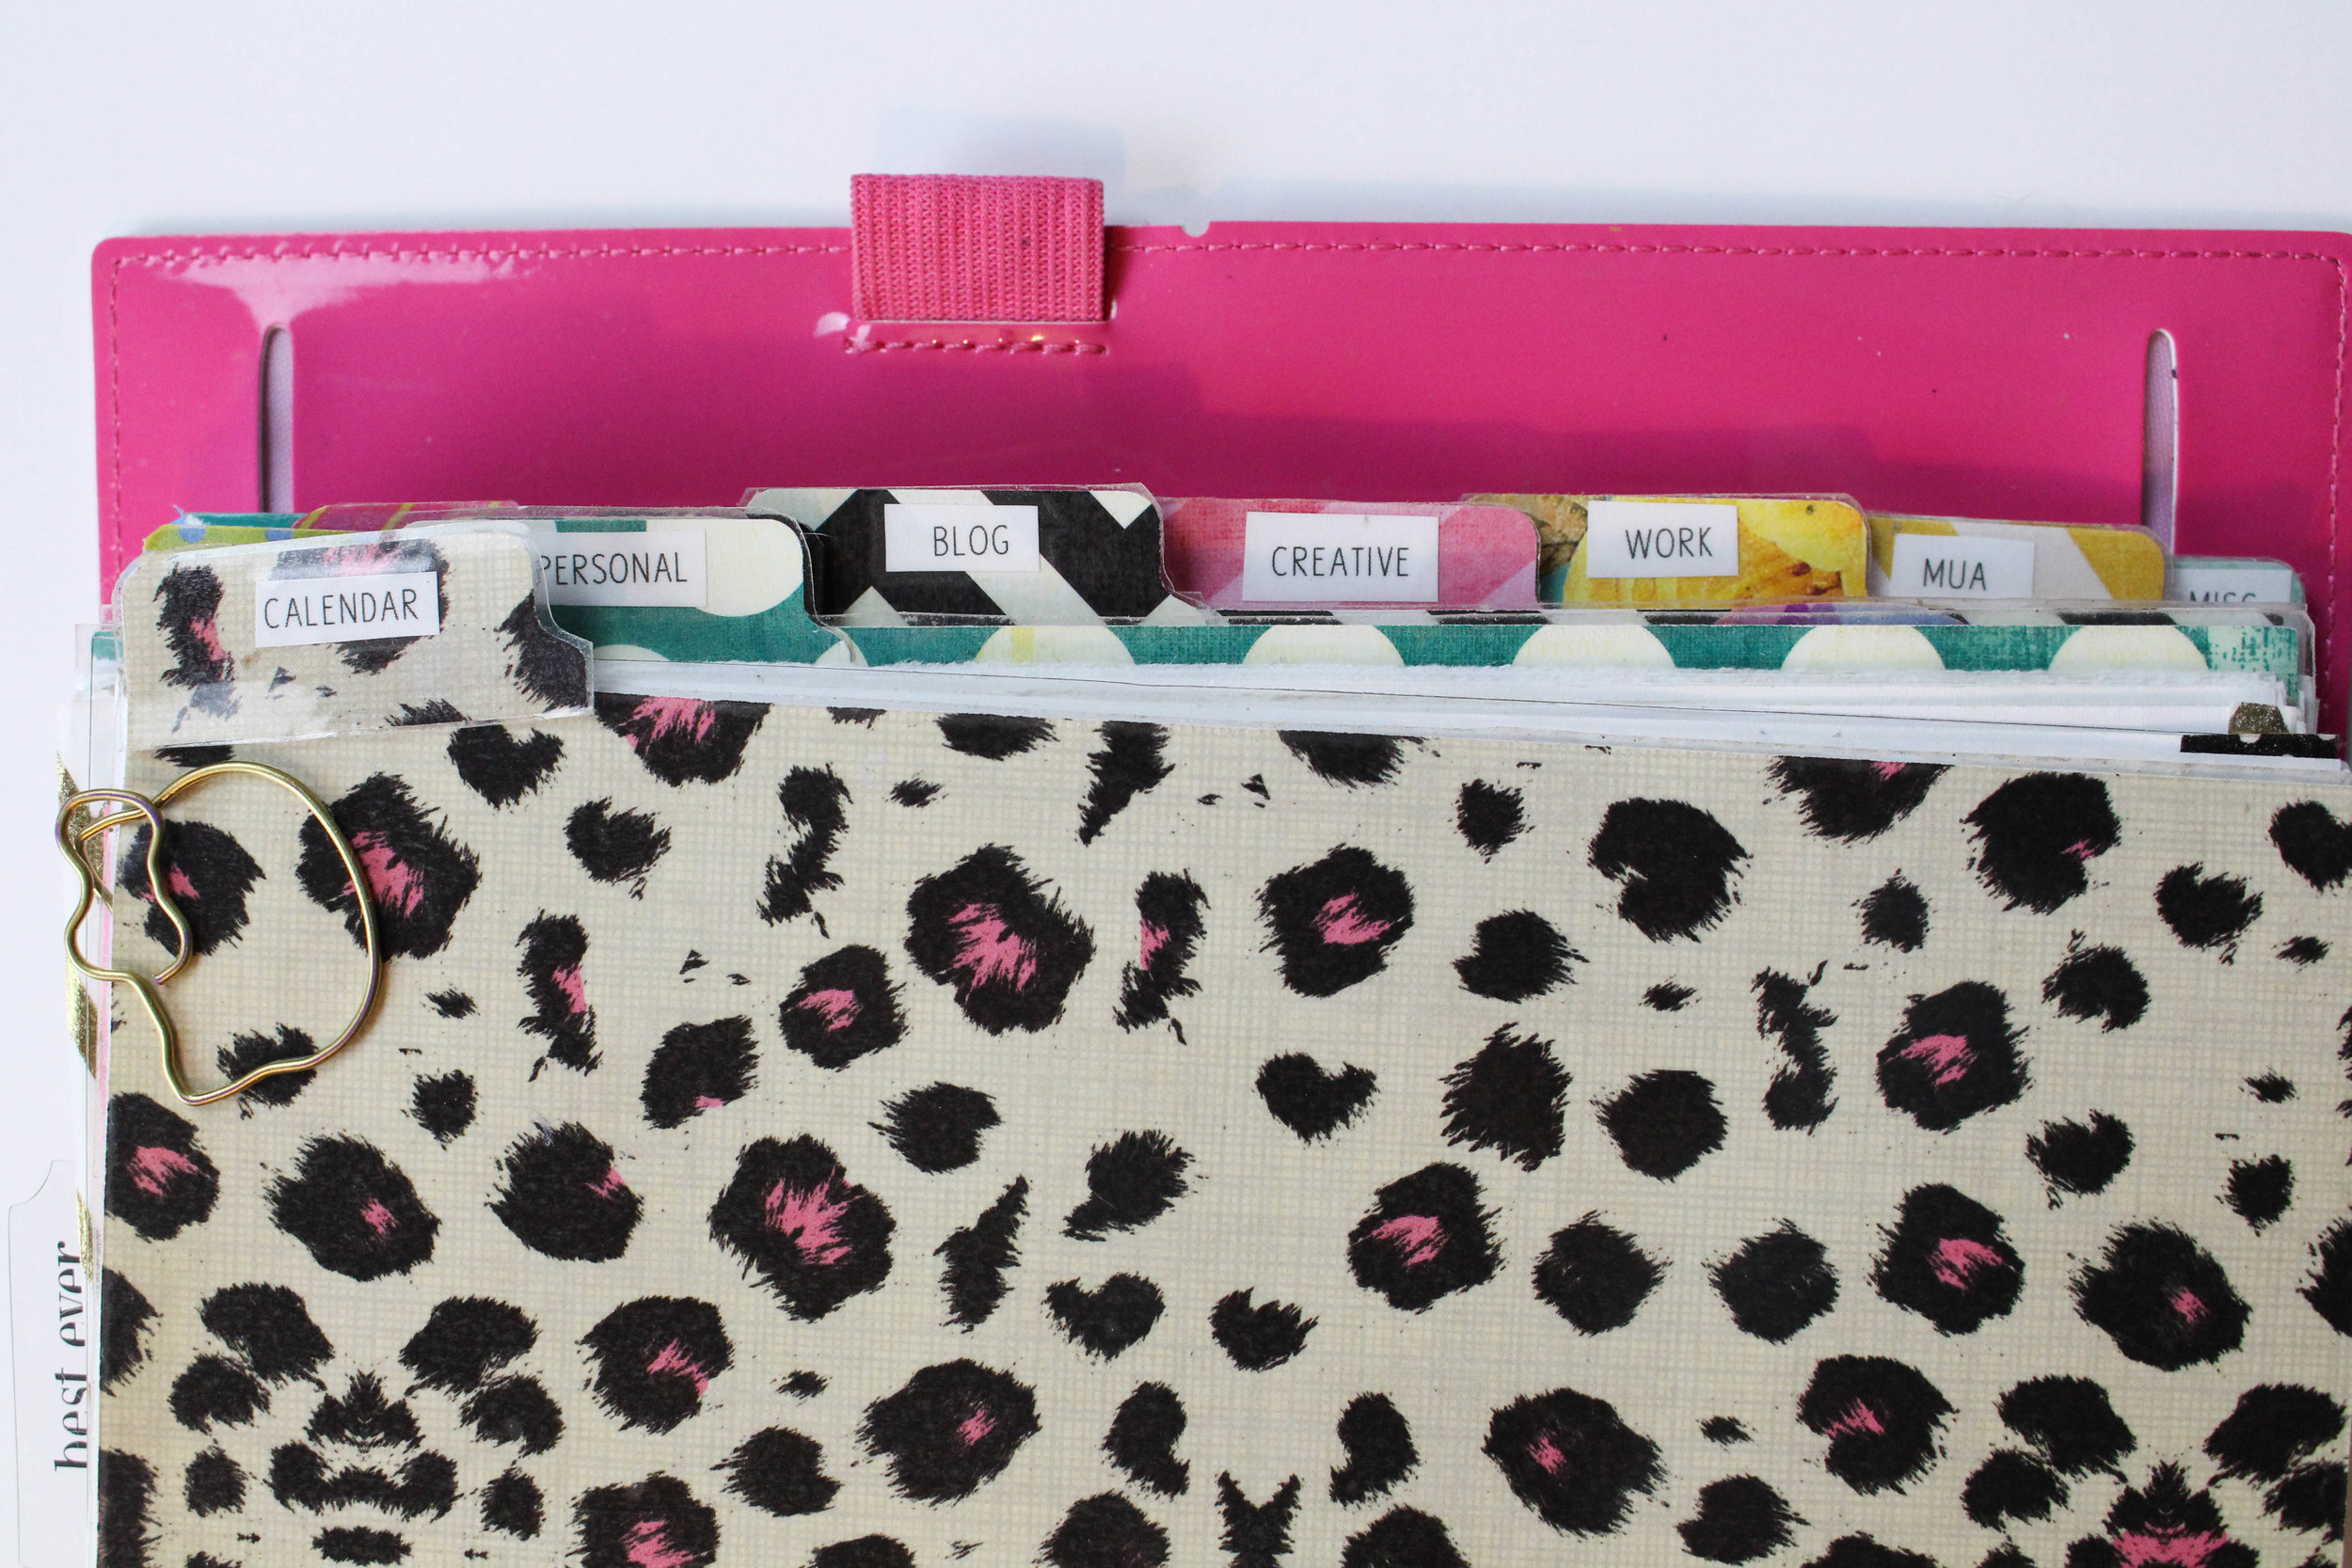
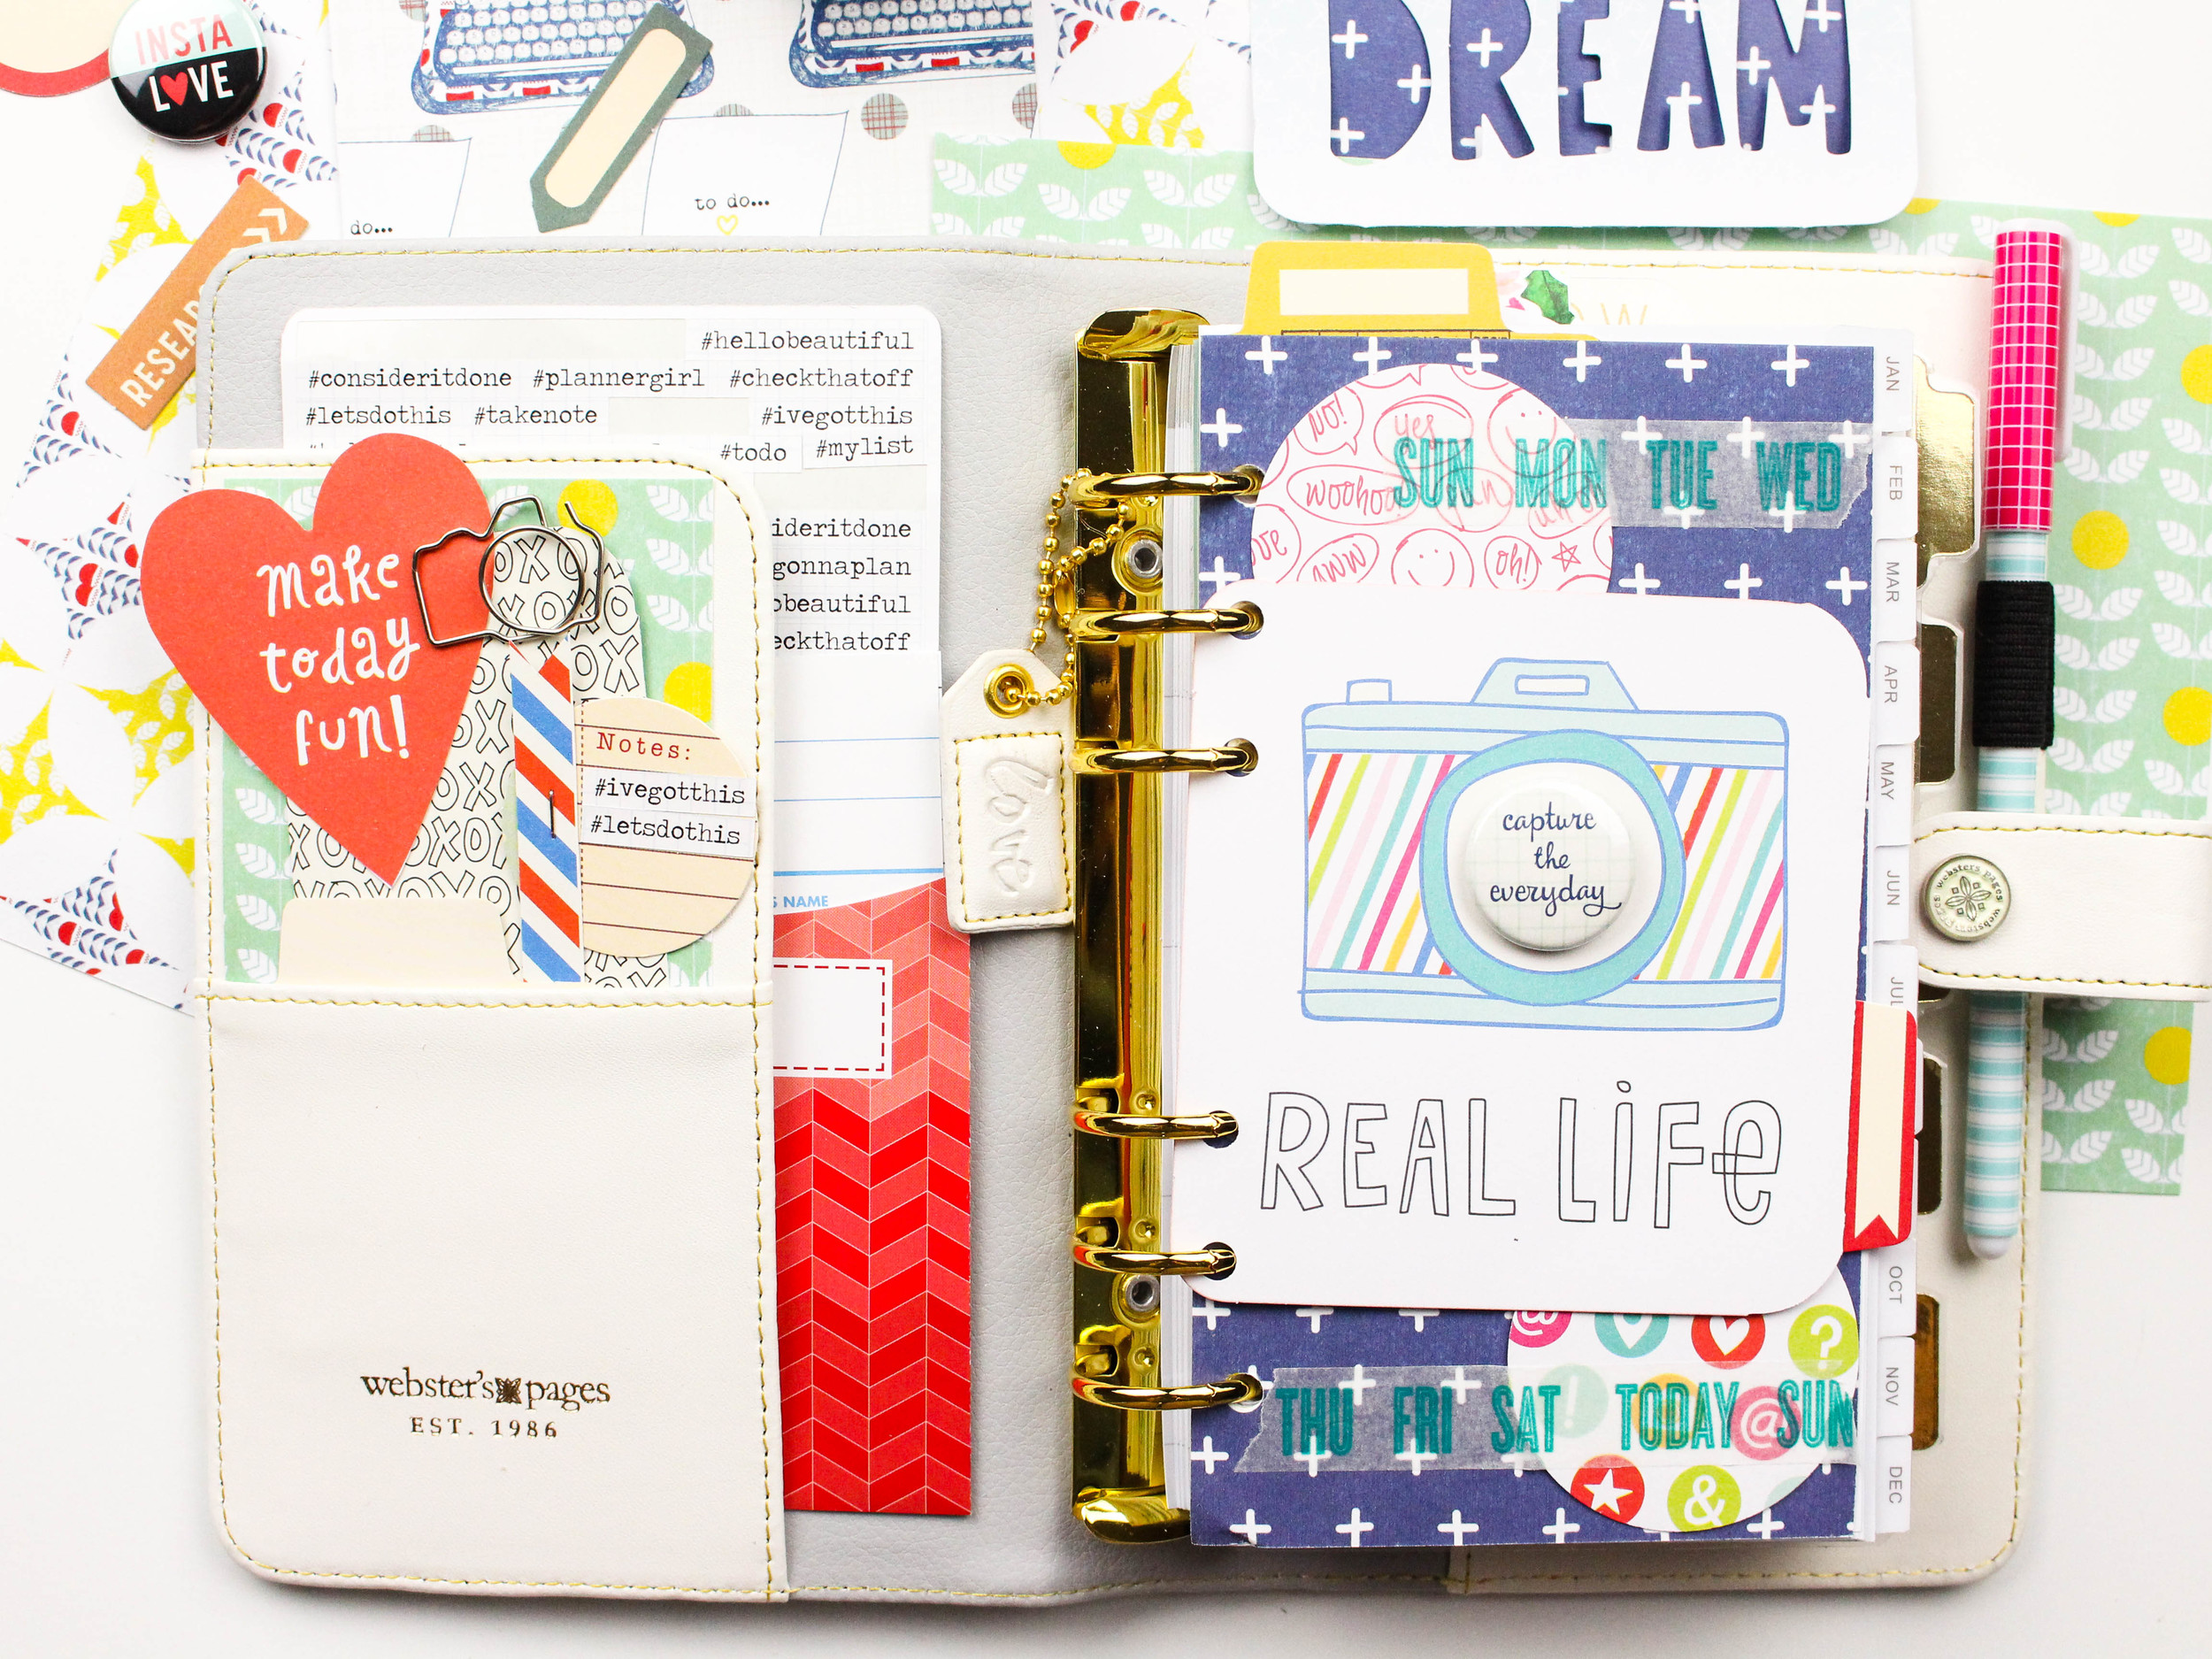
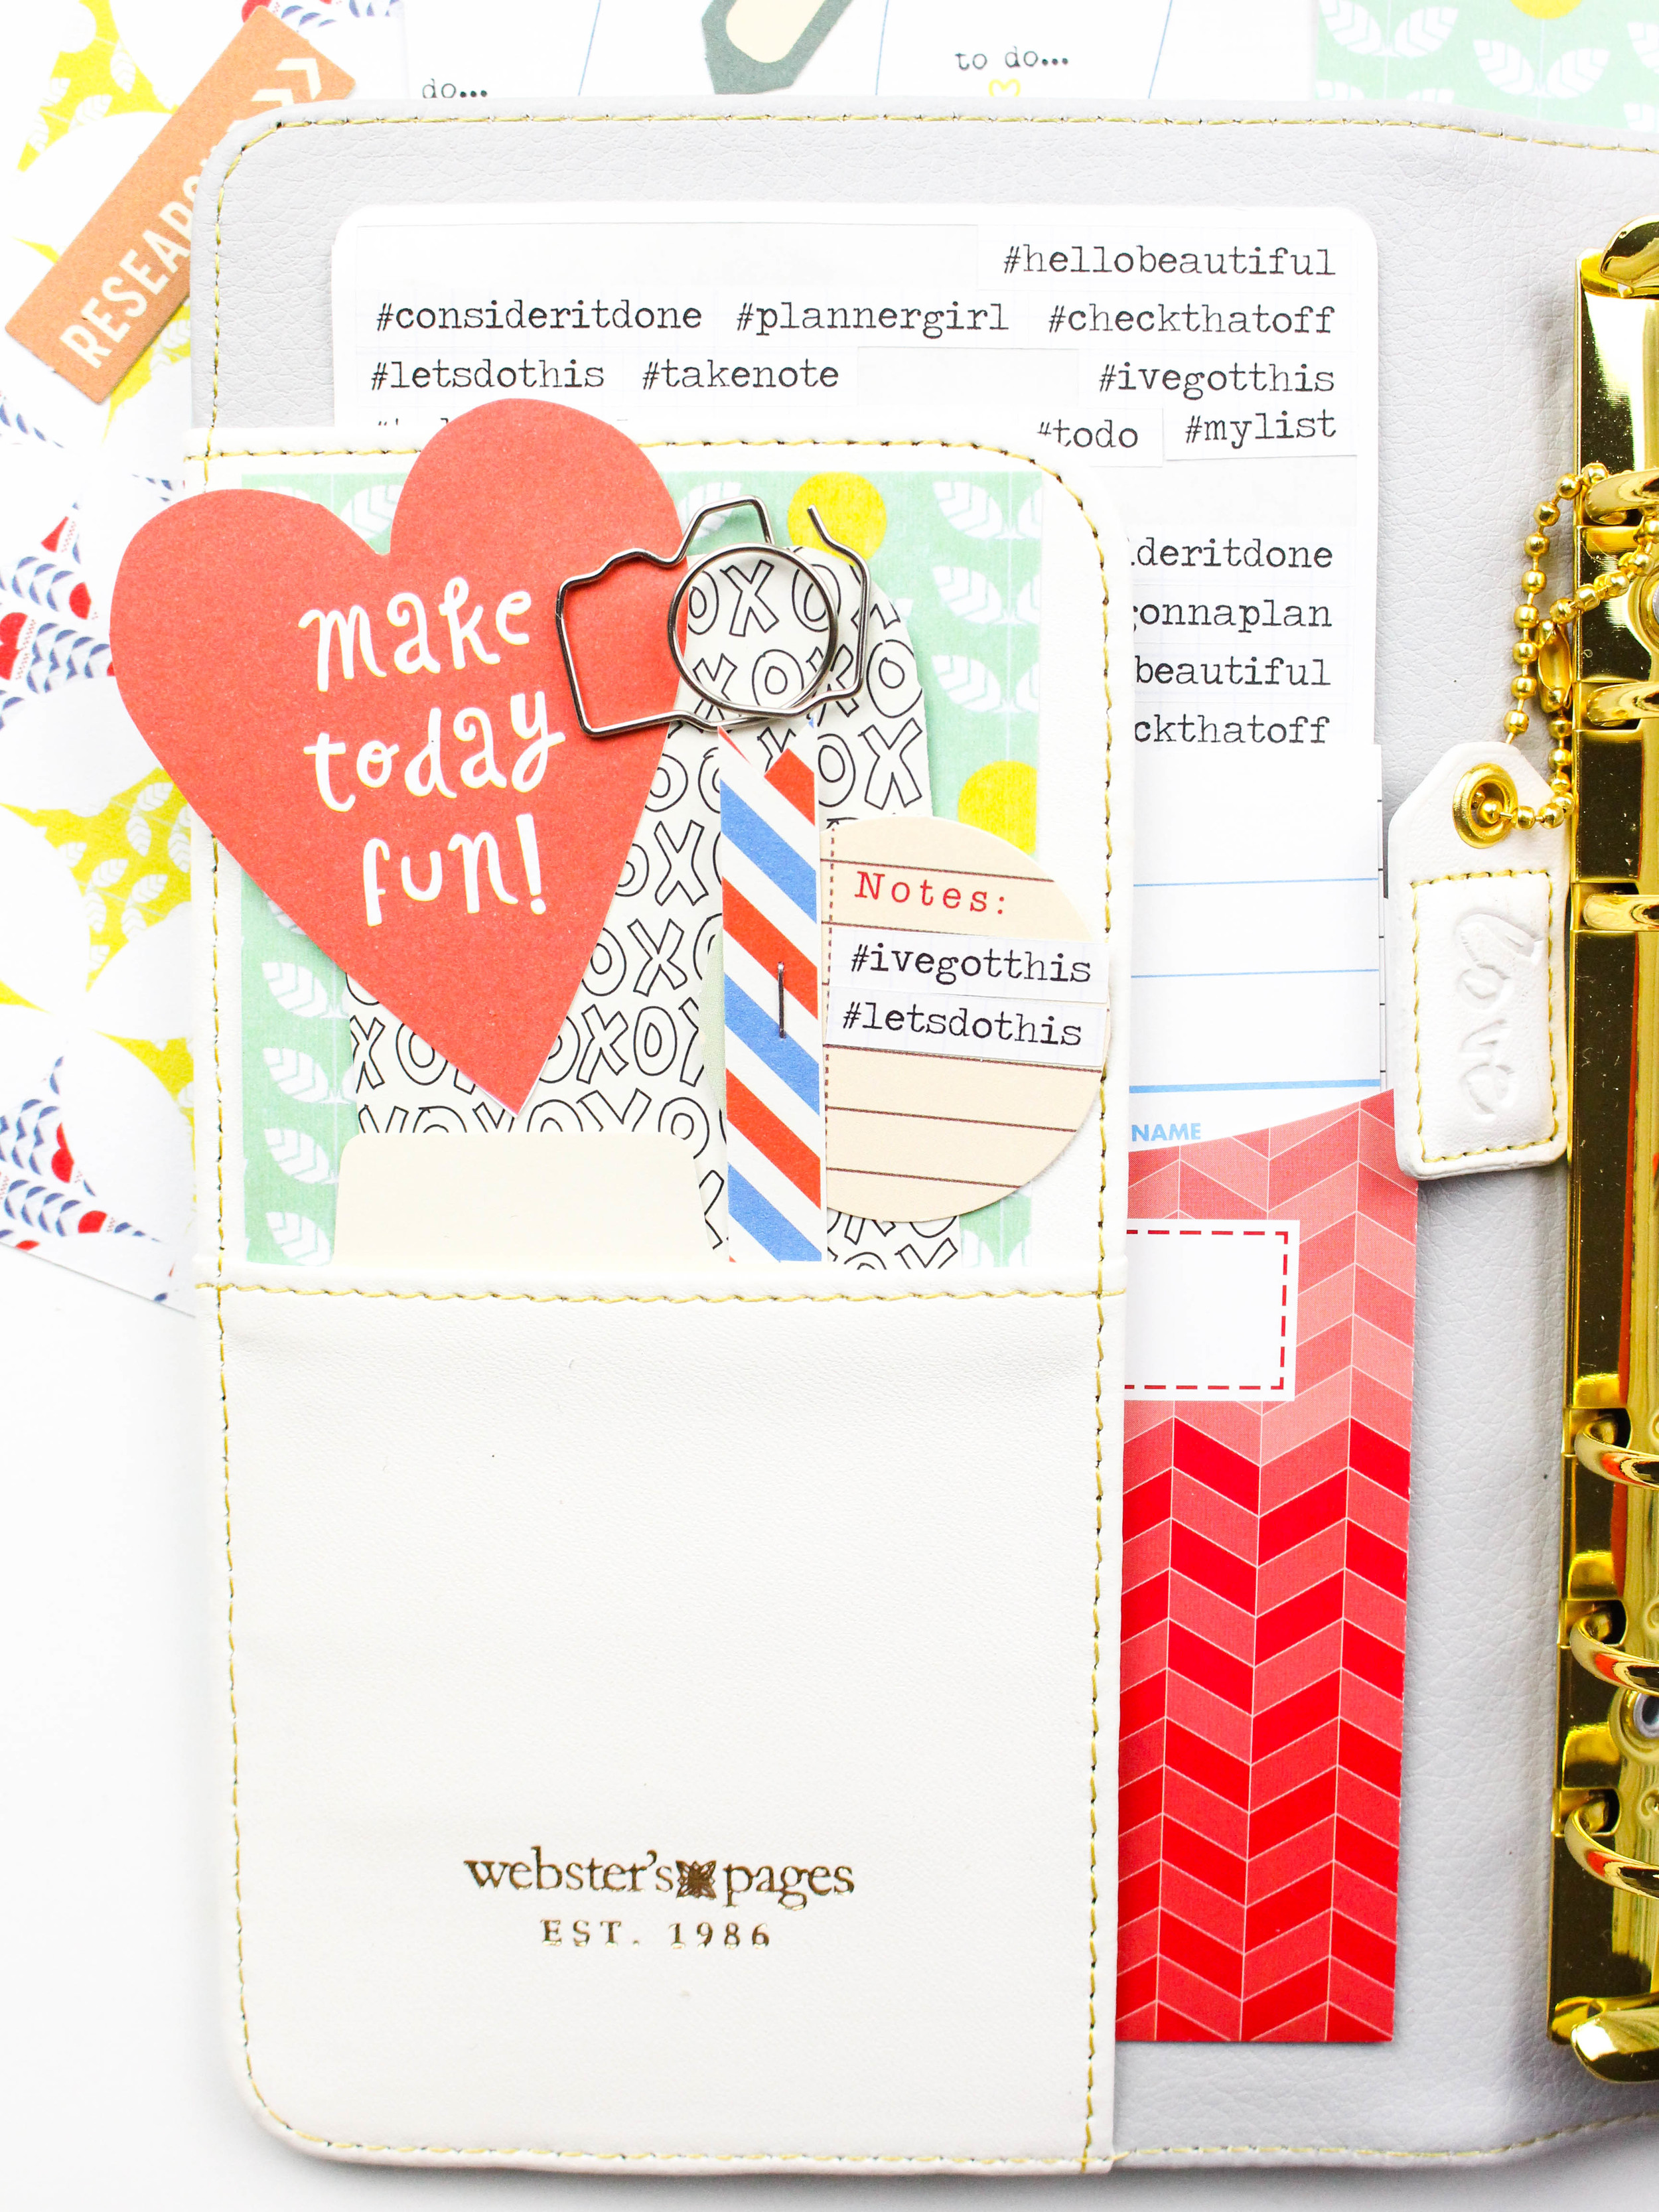
It's finally here! ThePlanner Society yay Kit up on villabeauTIFFul.com so it's time for planner decorating! This month the kit is filled with a camera theme mixed in with primary colors. Everything in this month's kit was so fun to play and create with. Of course I filmed a Youtube video going over the contents of the kit and how I decorated the front of my planner (dashboard and pockets). I love creating dashboards and side pockets for my planner- it really brings character to the planner. 

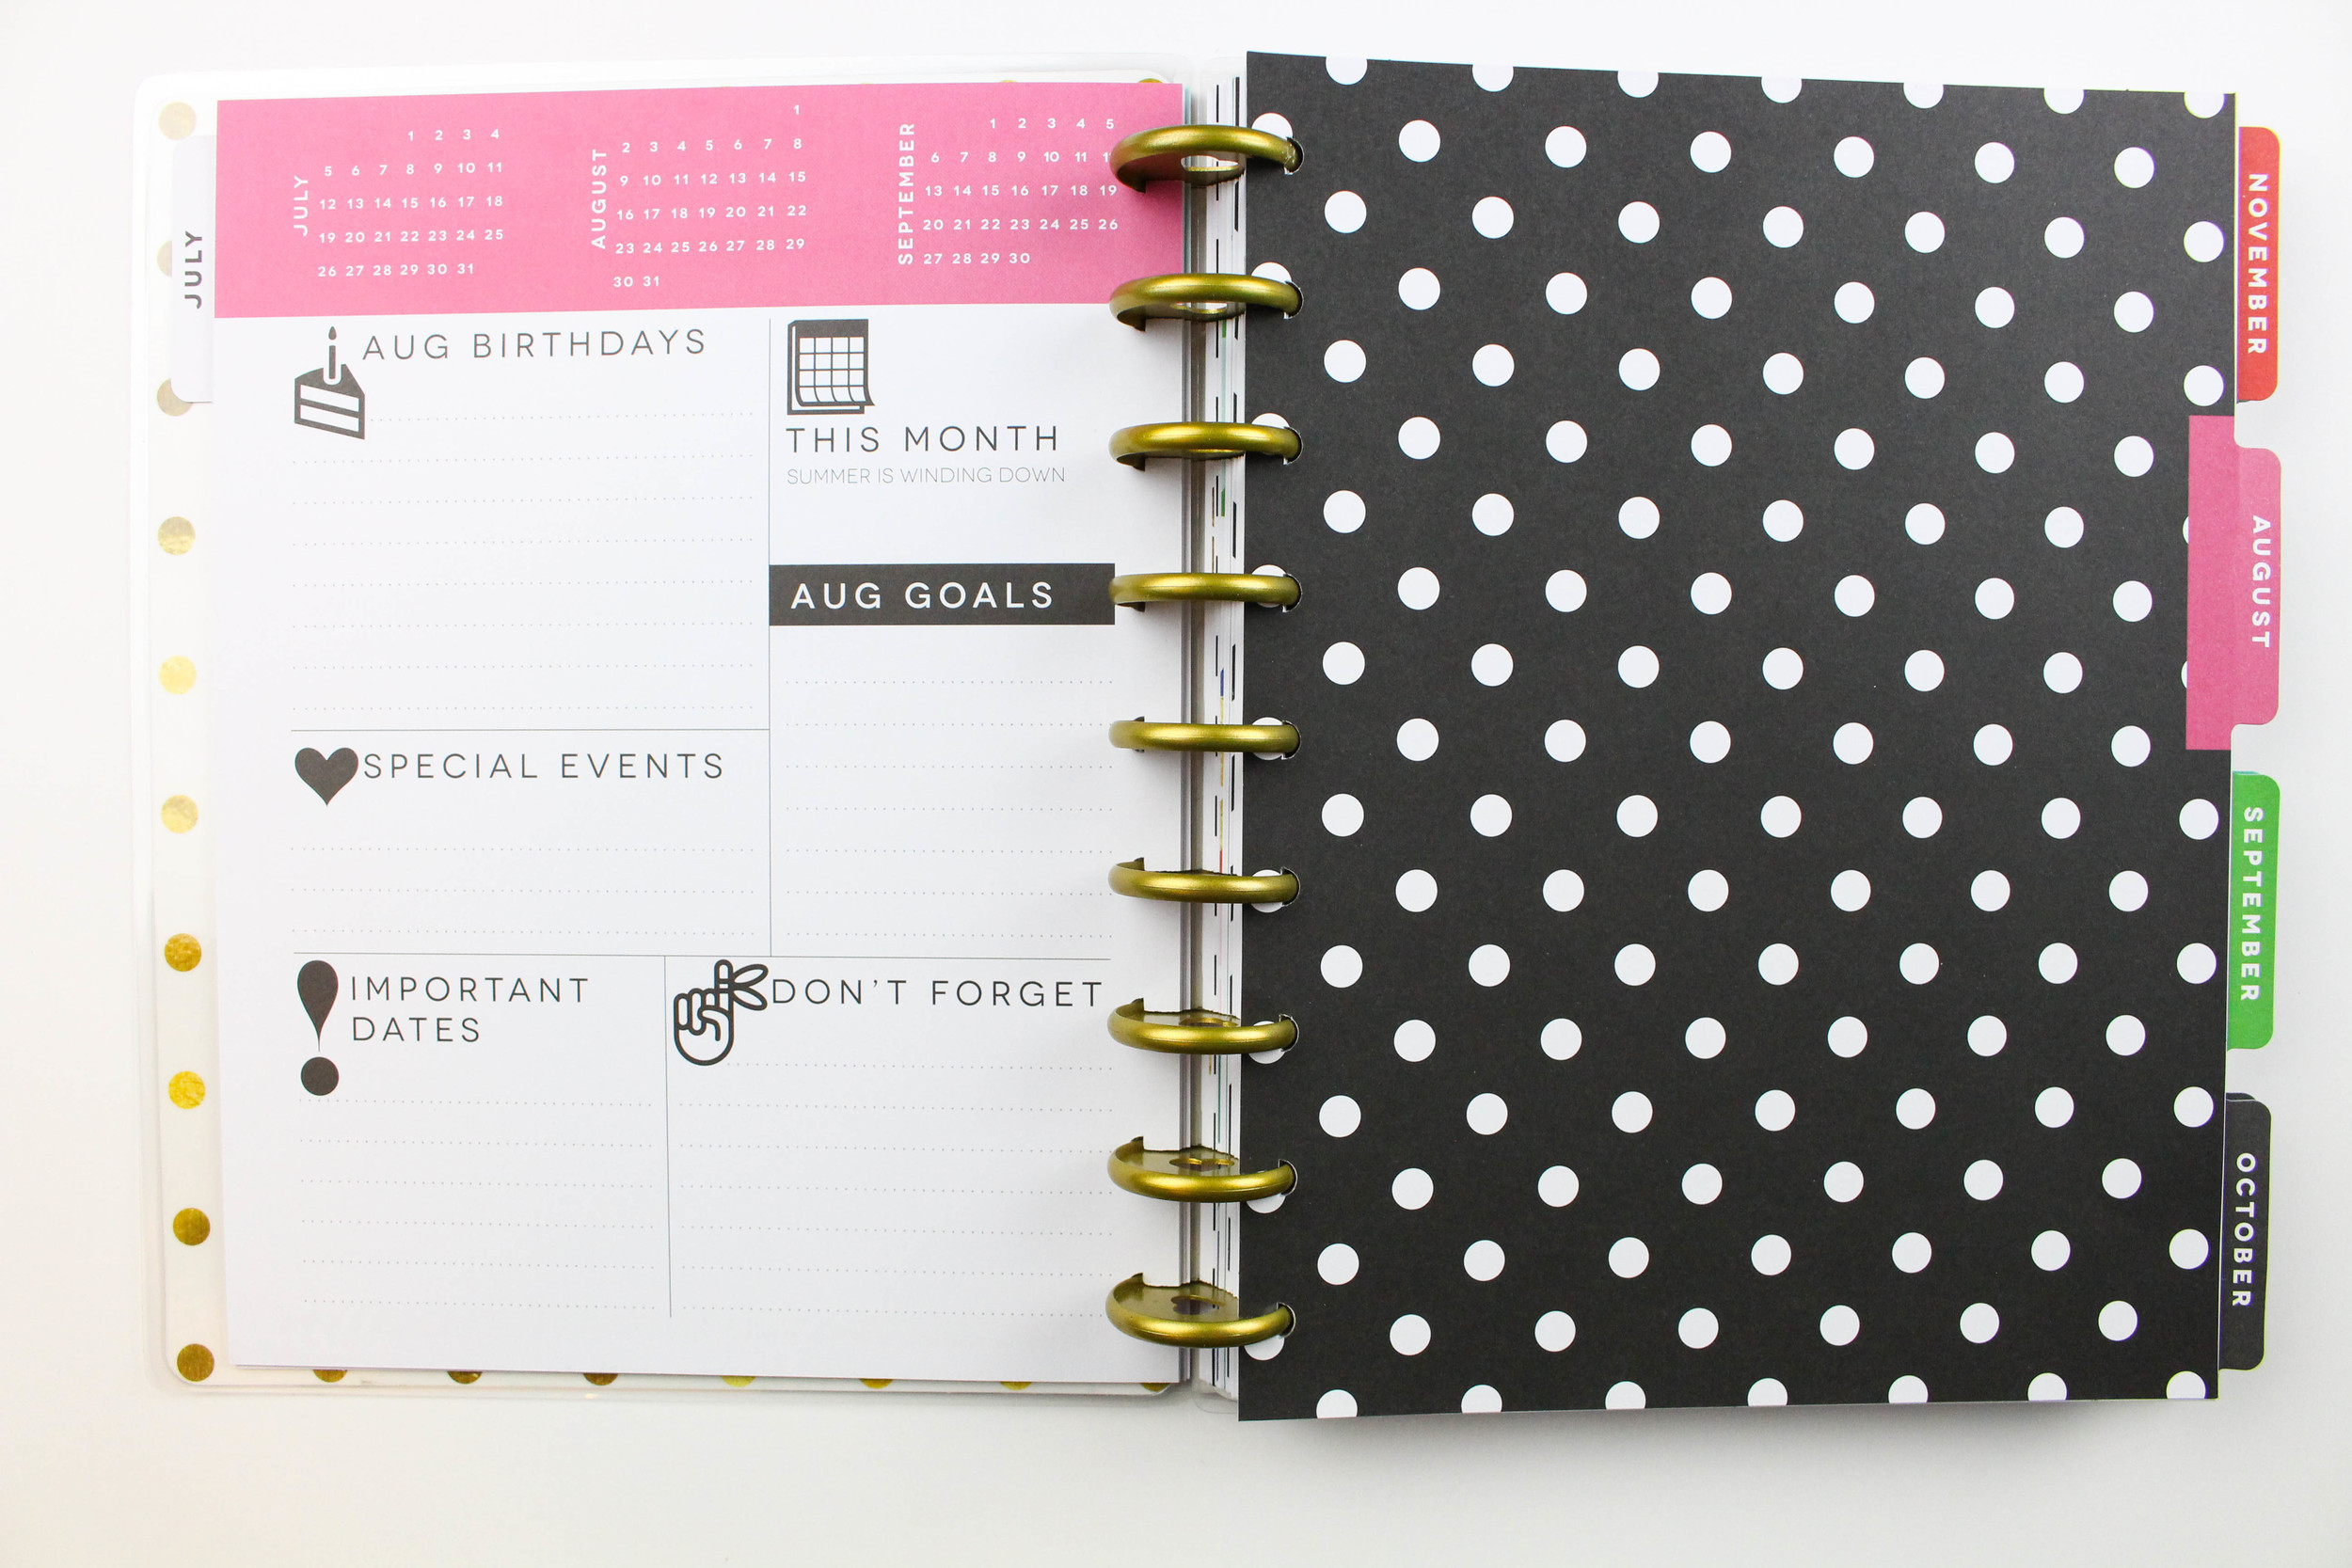
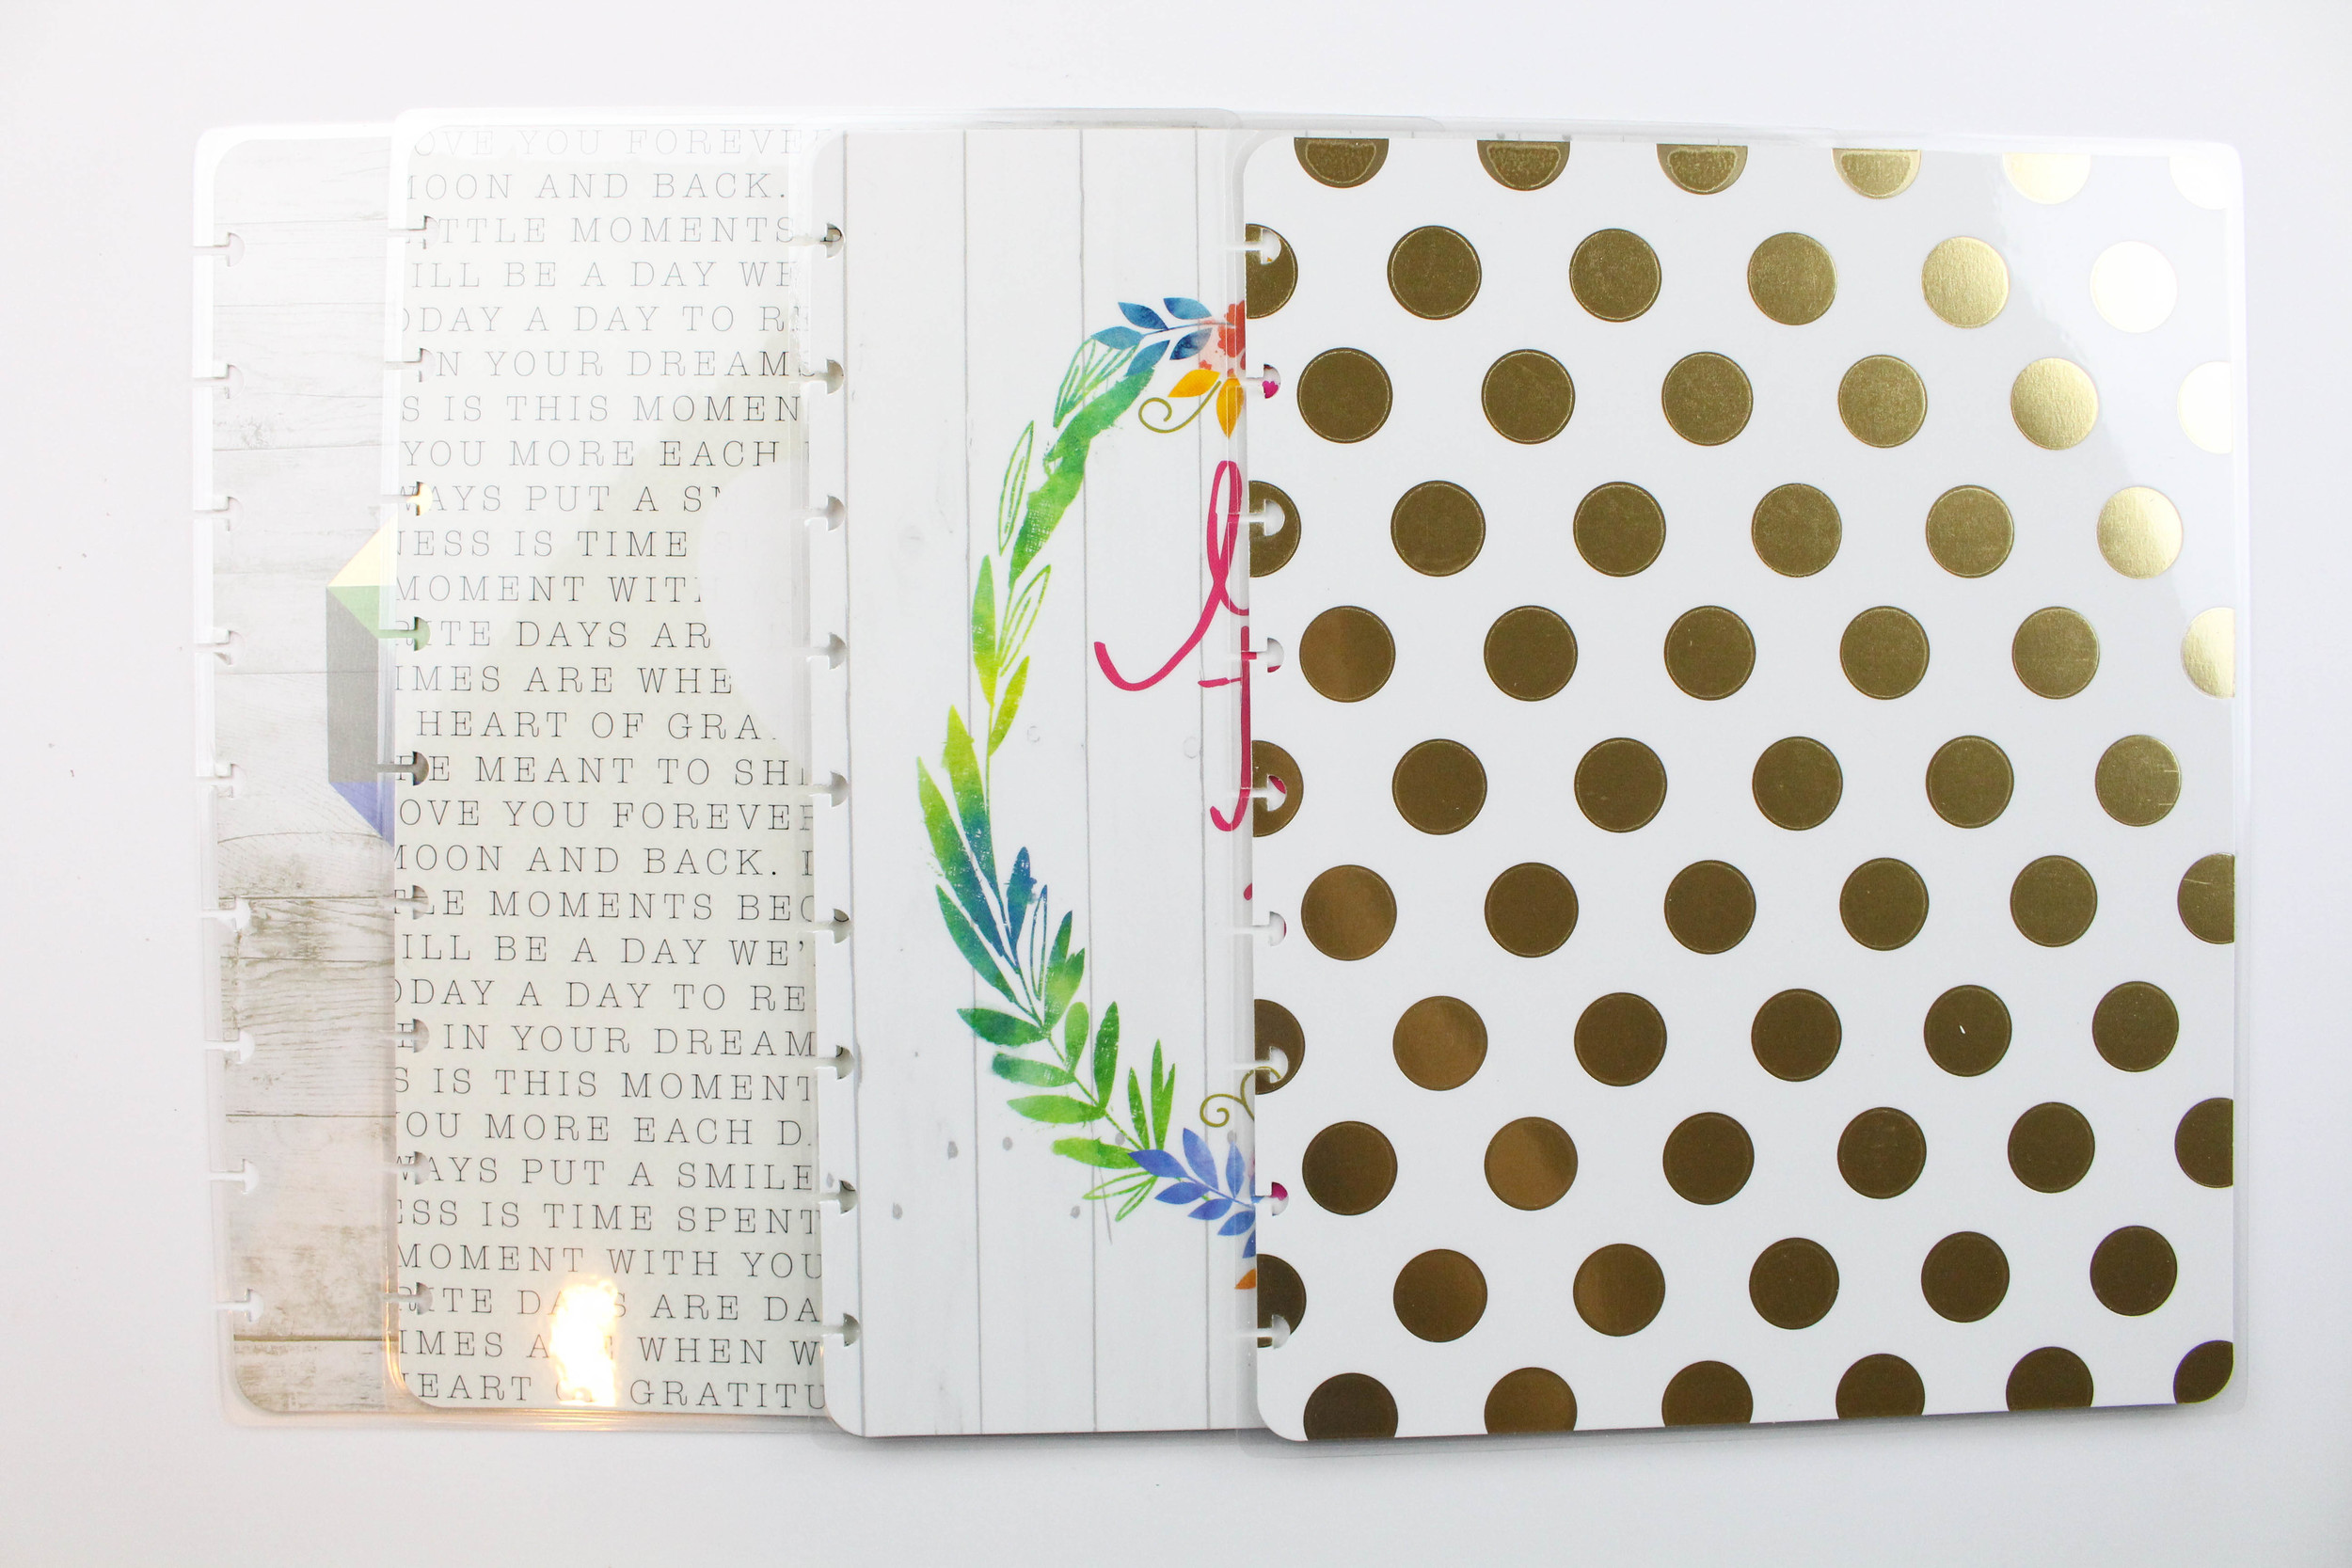
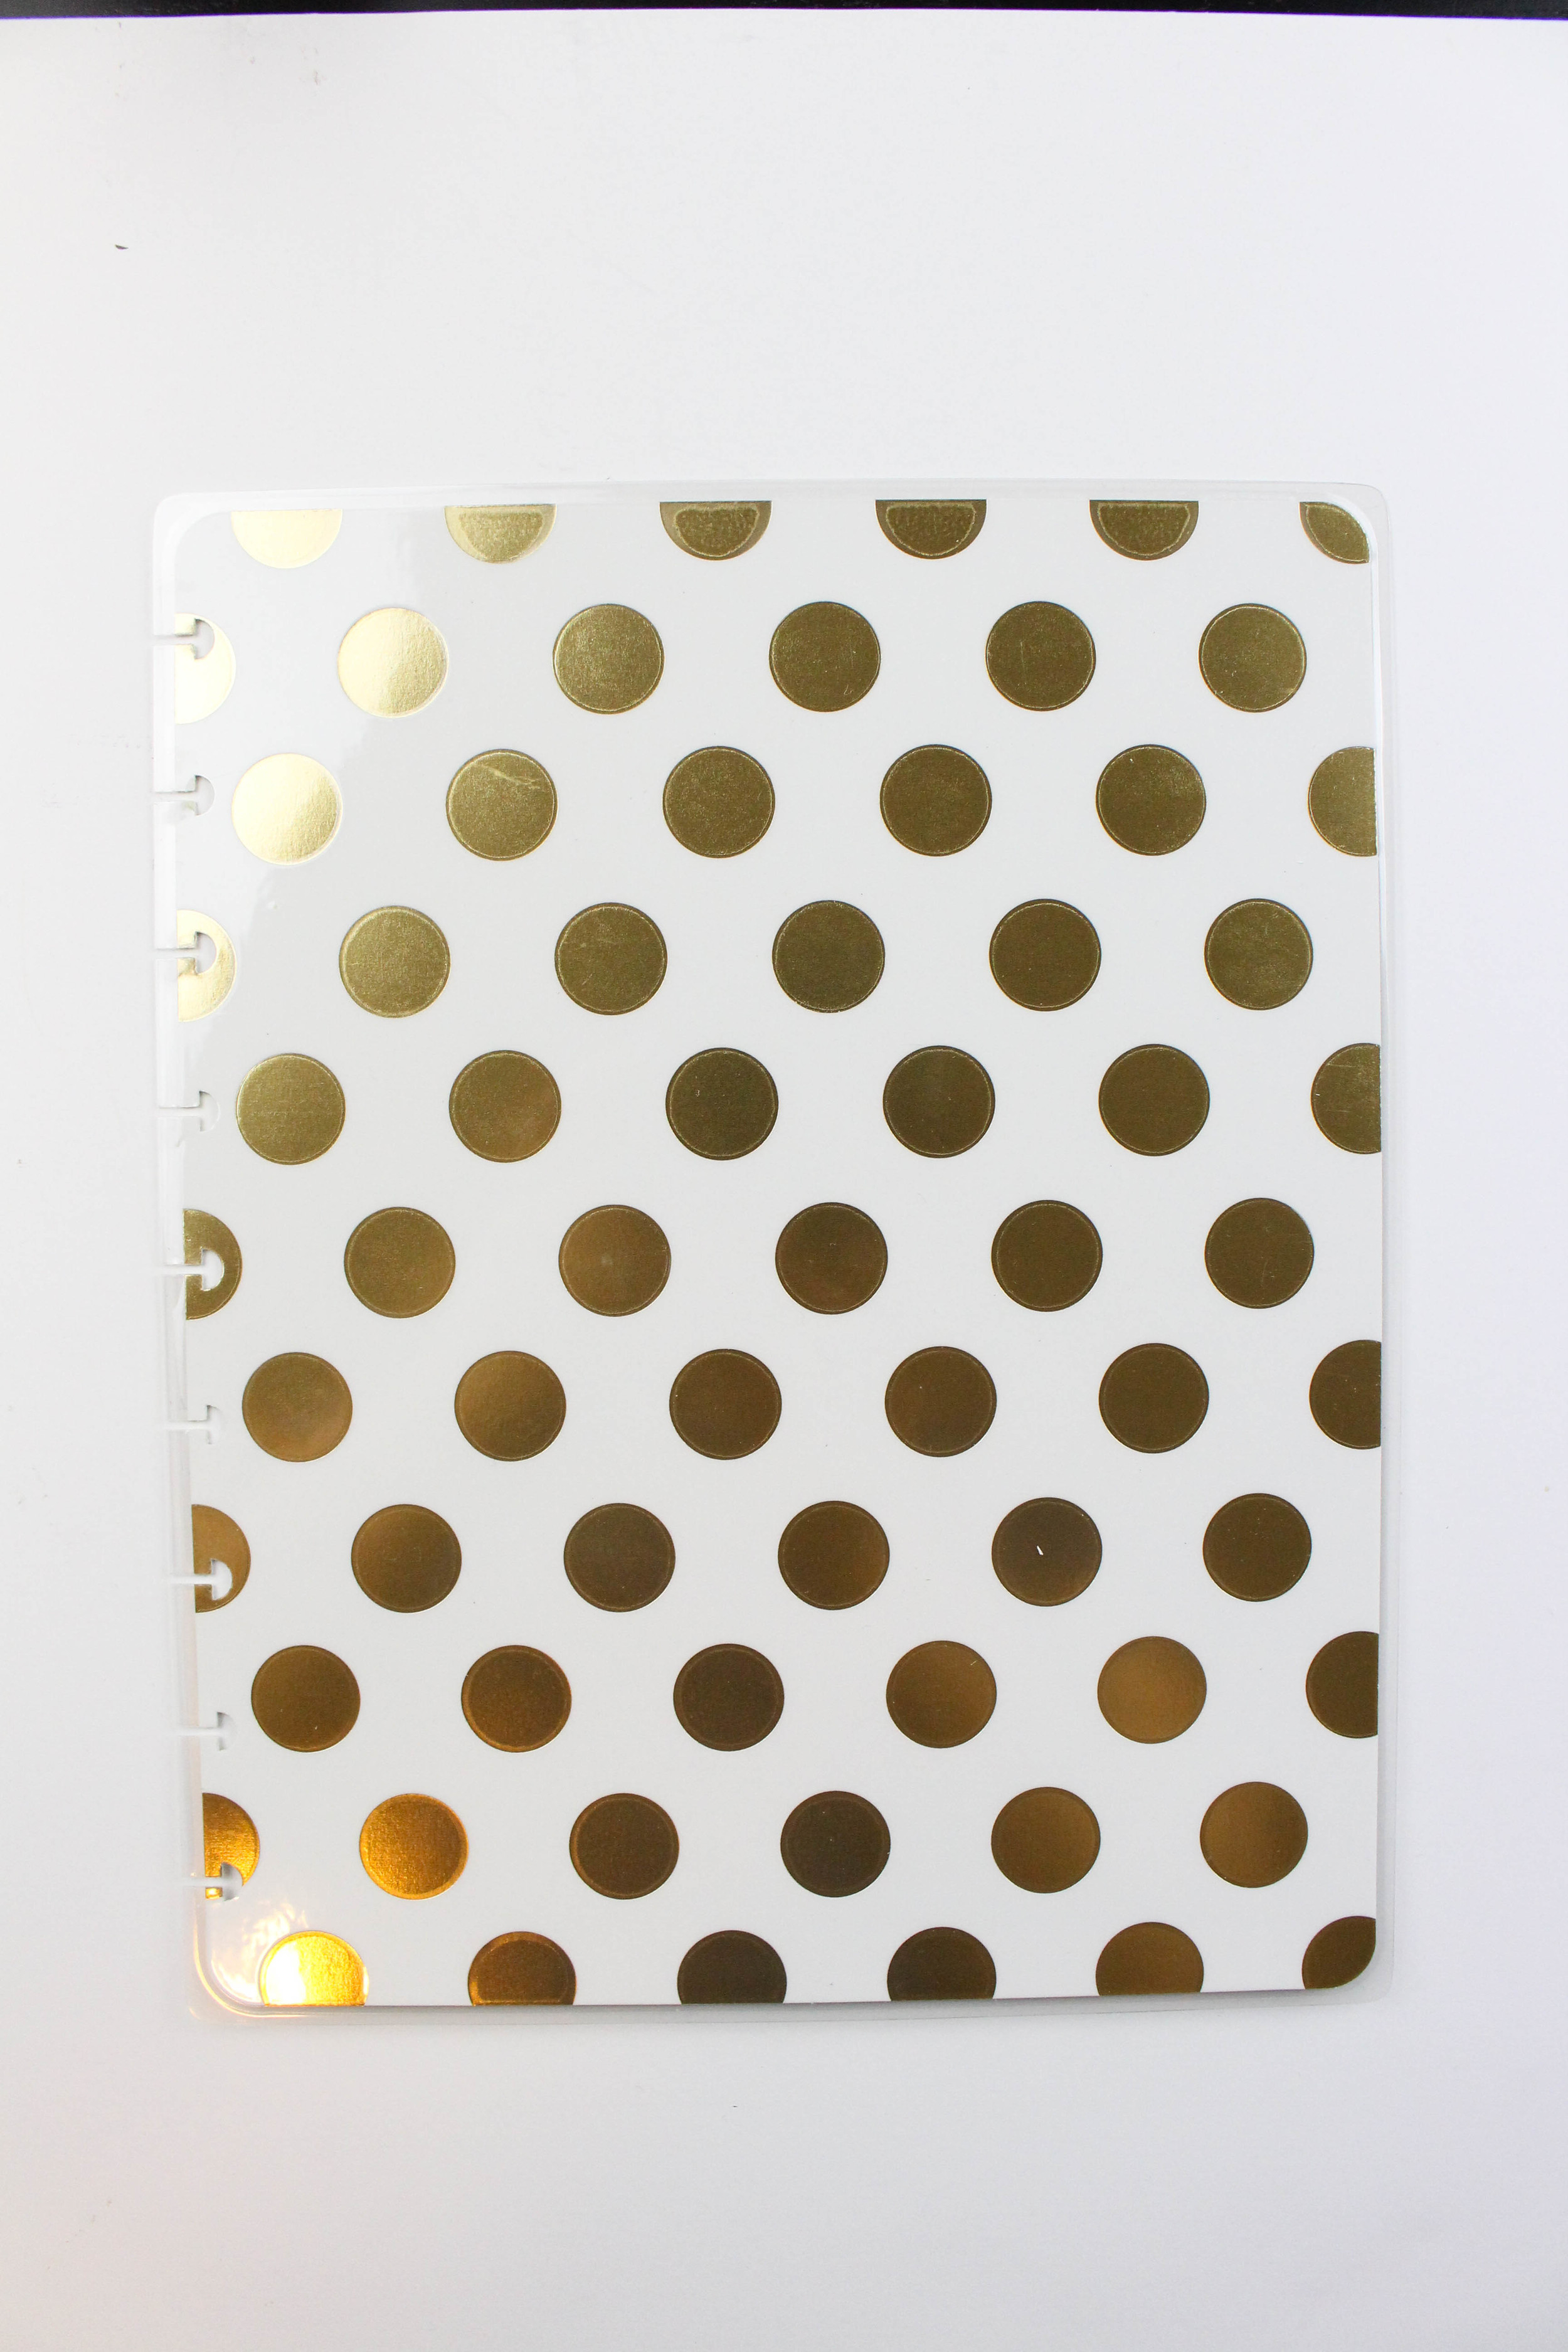
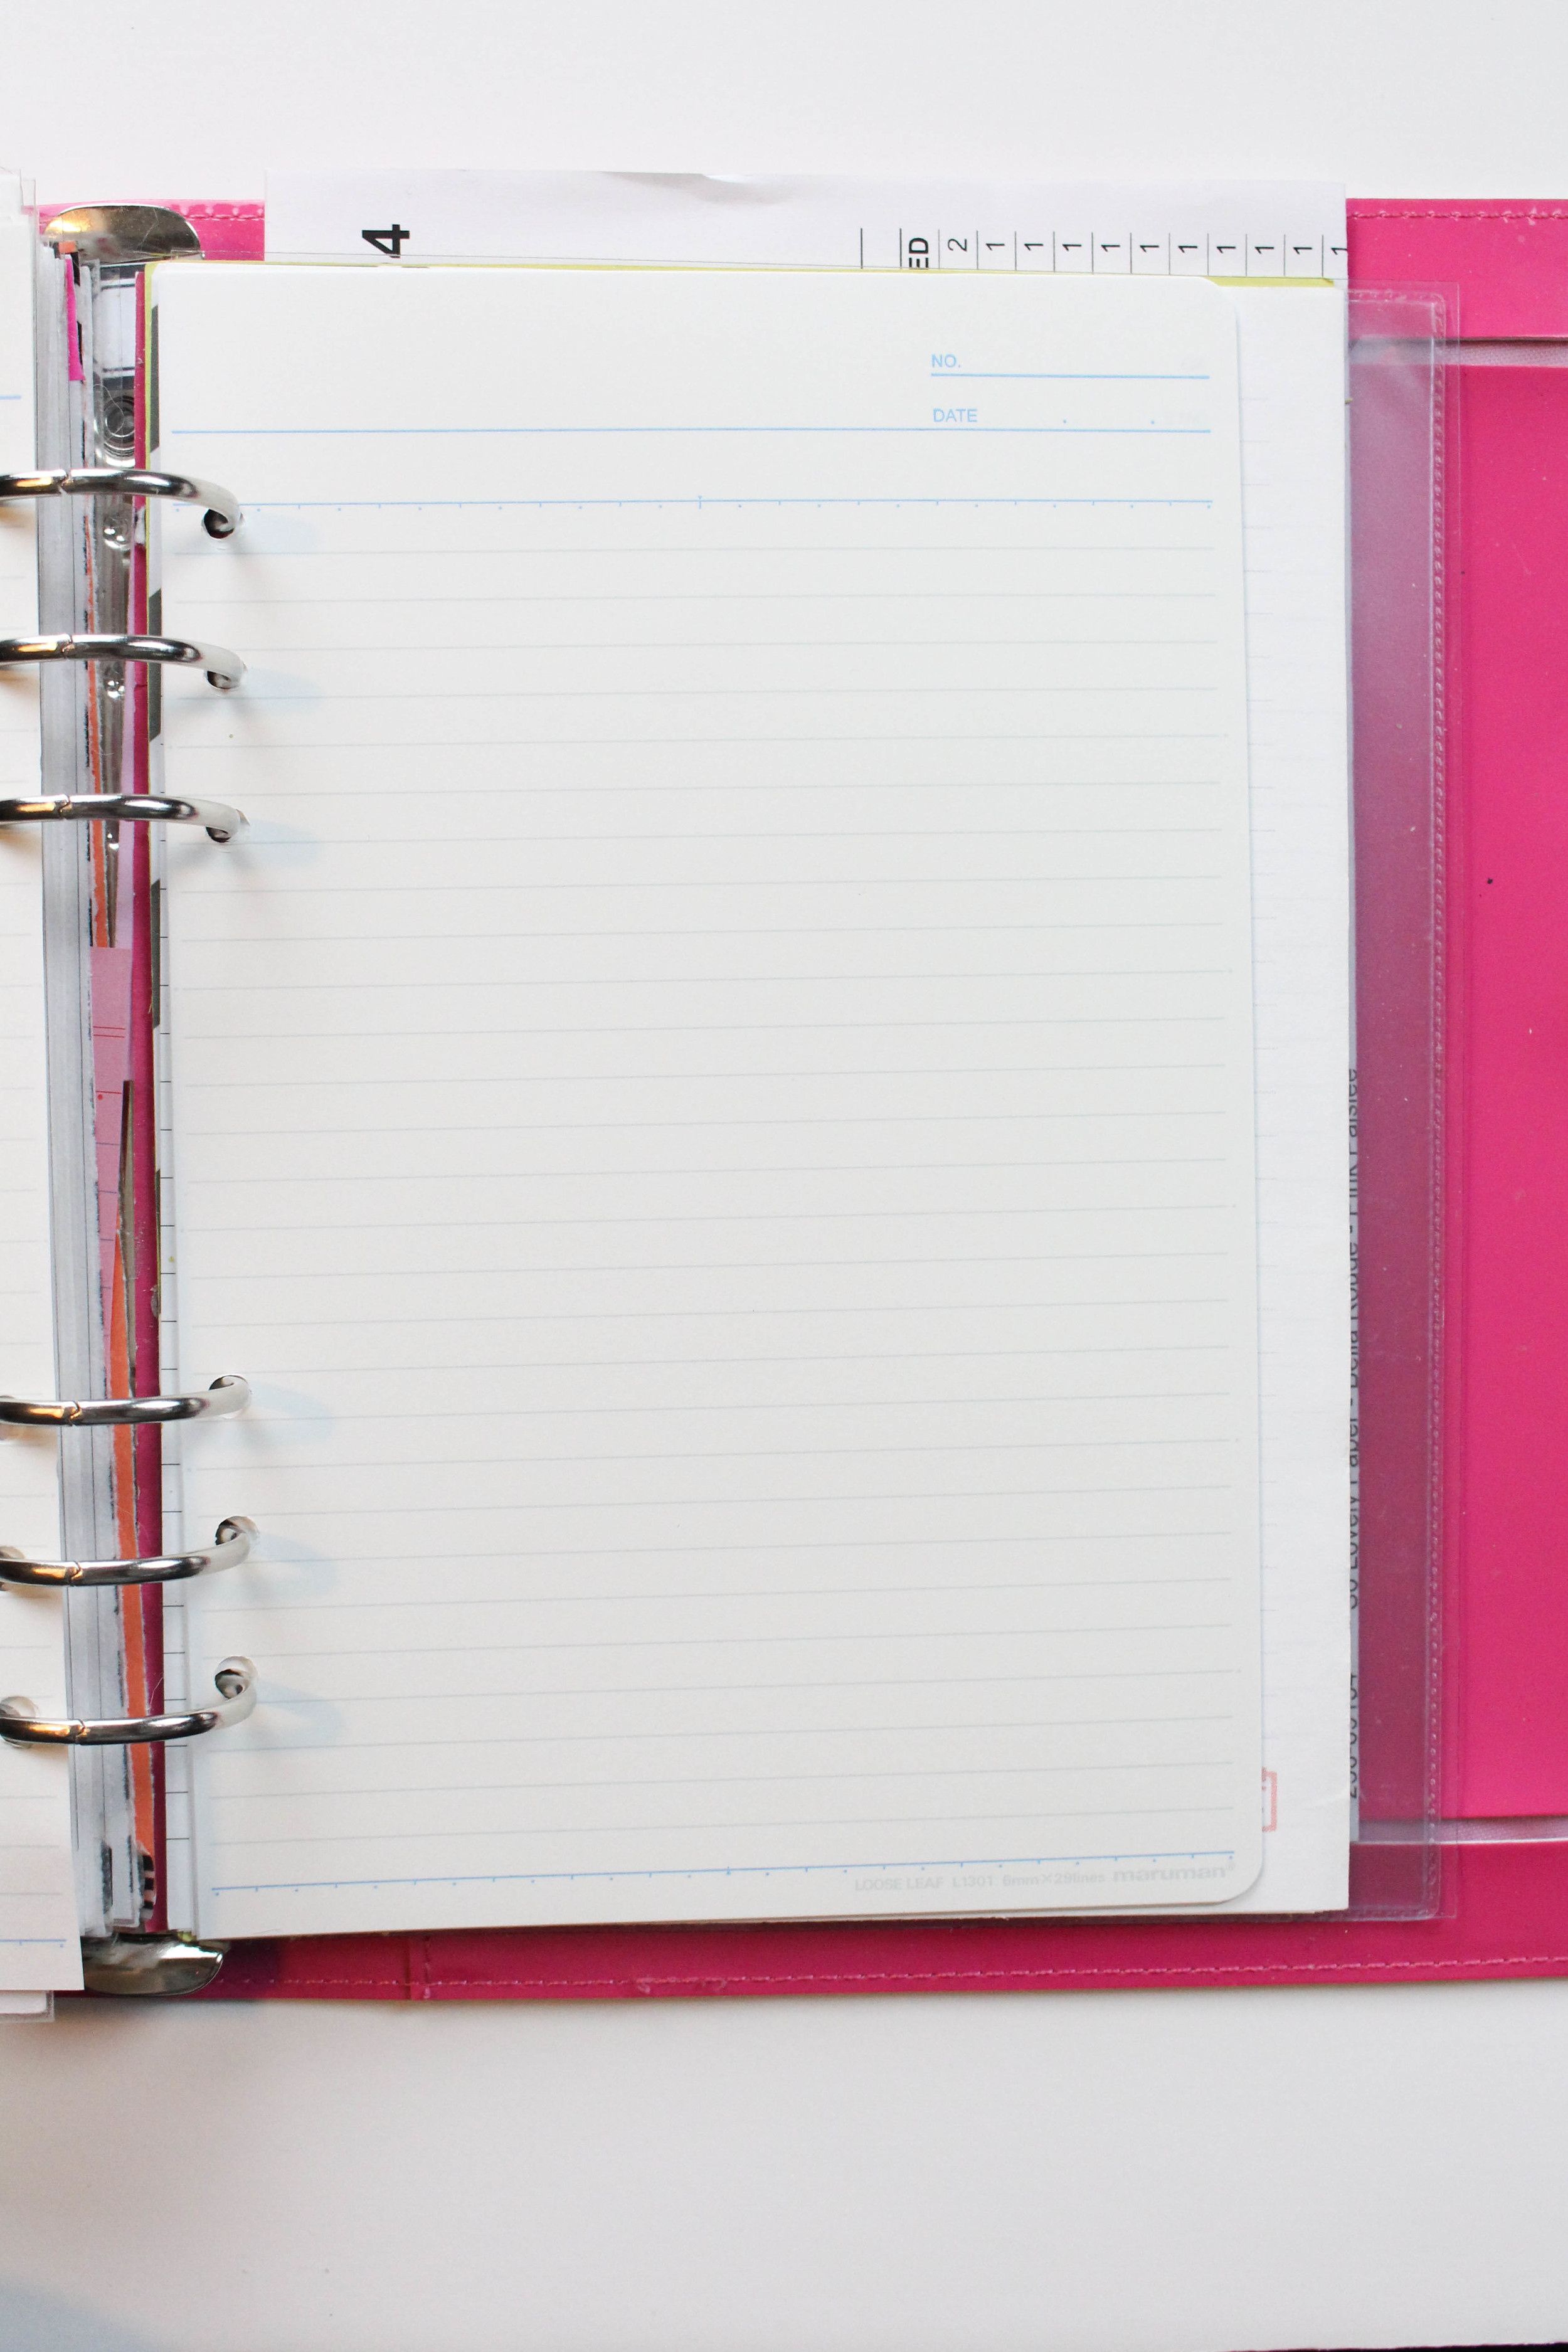
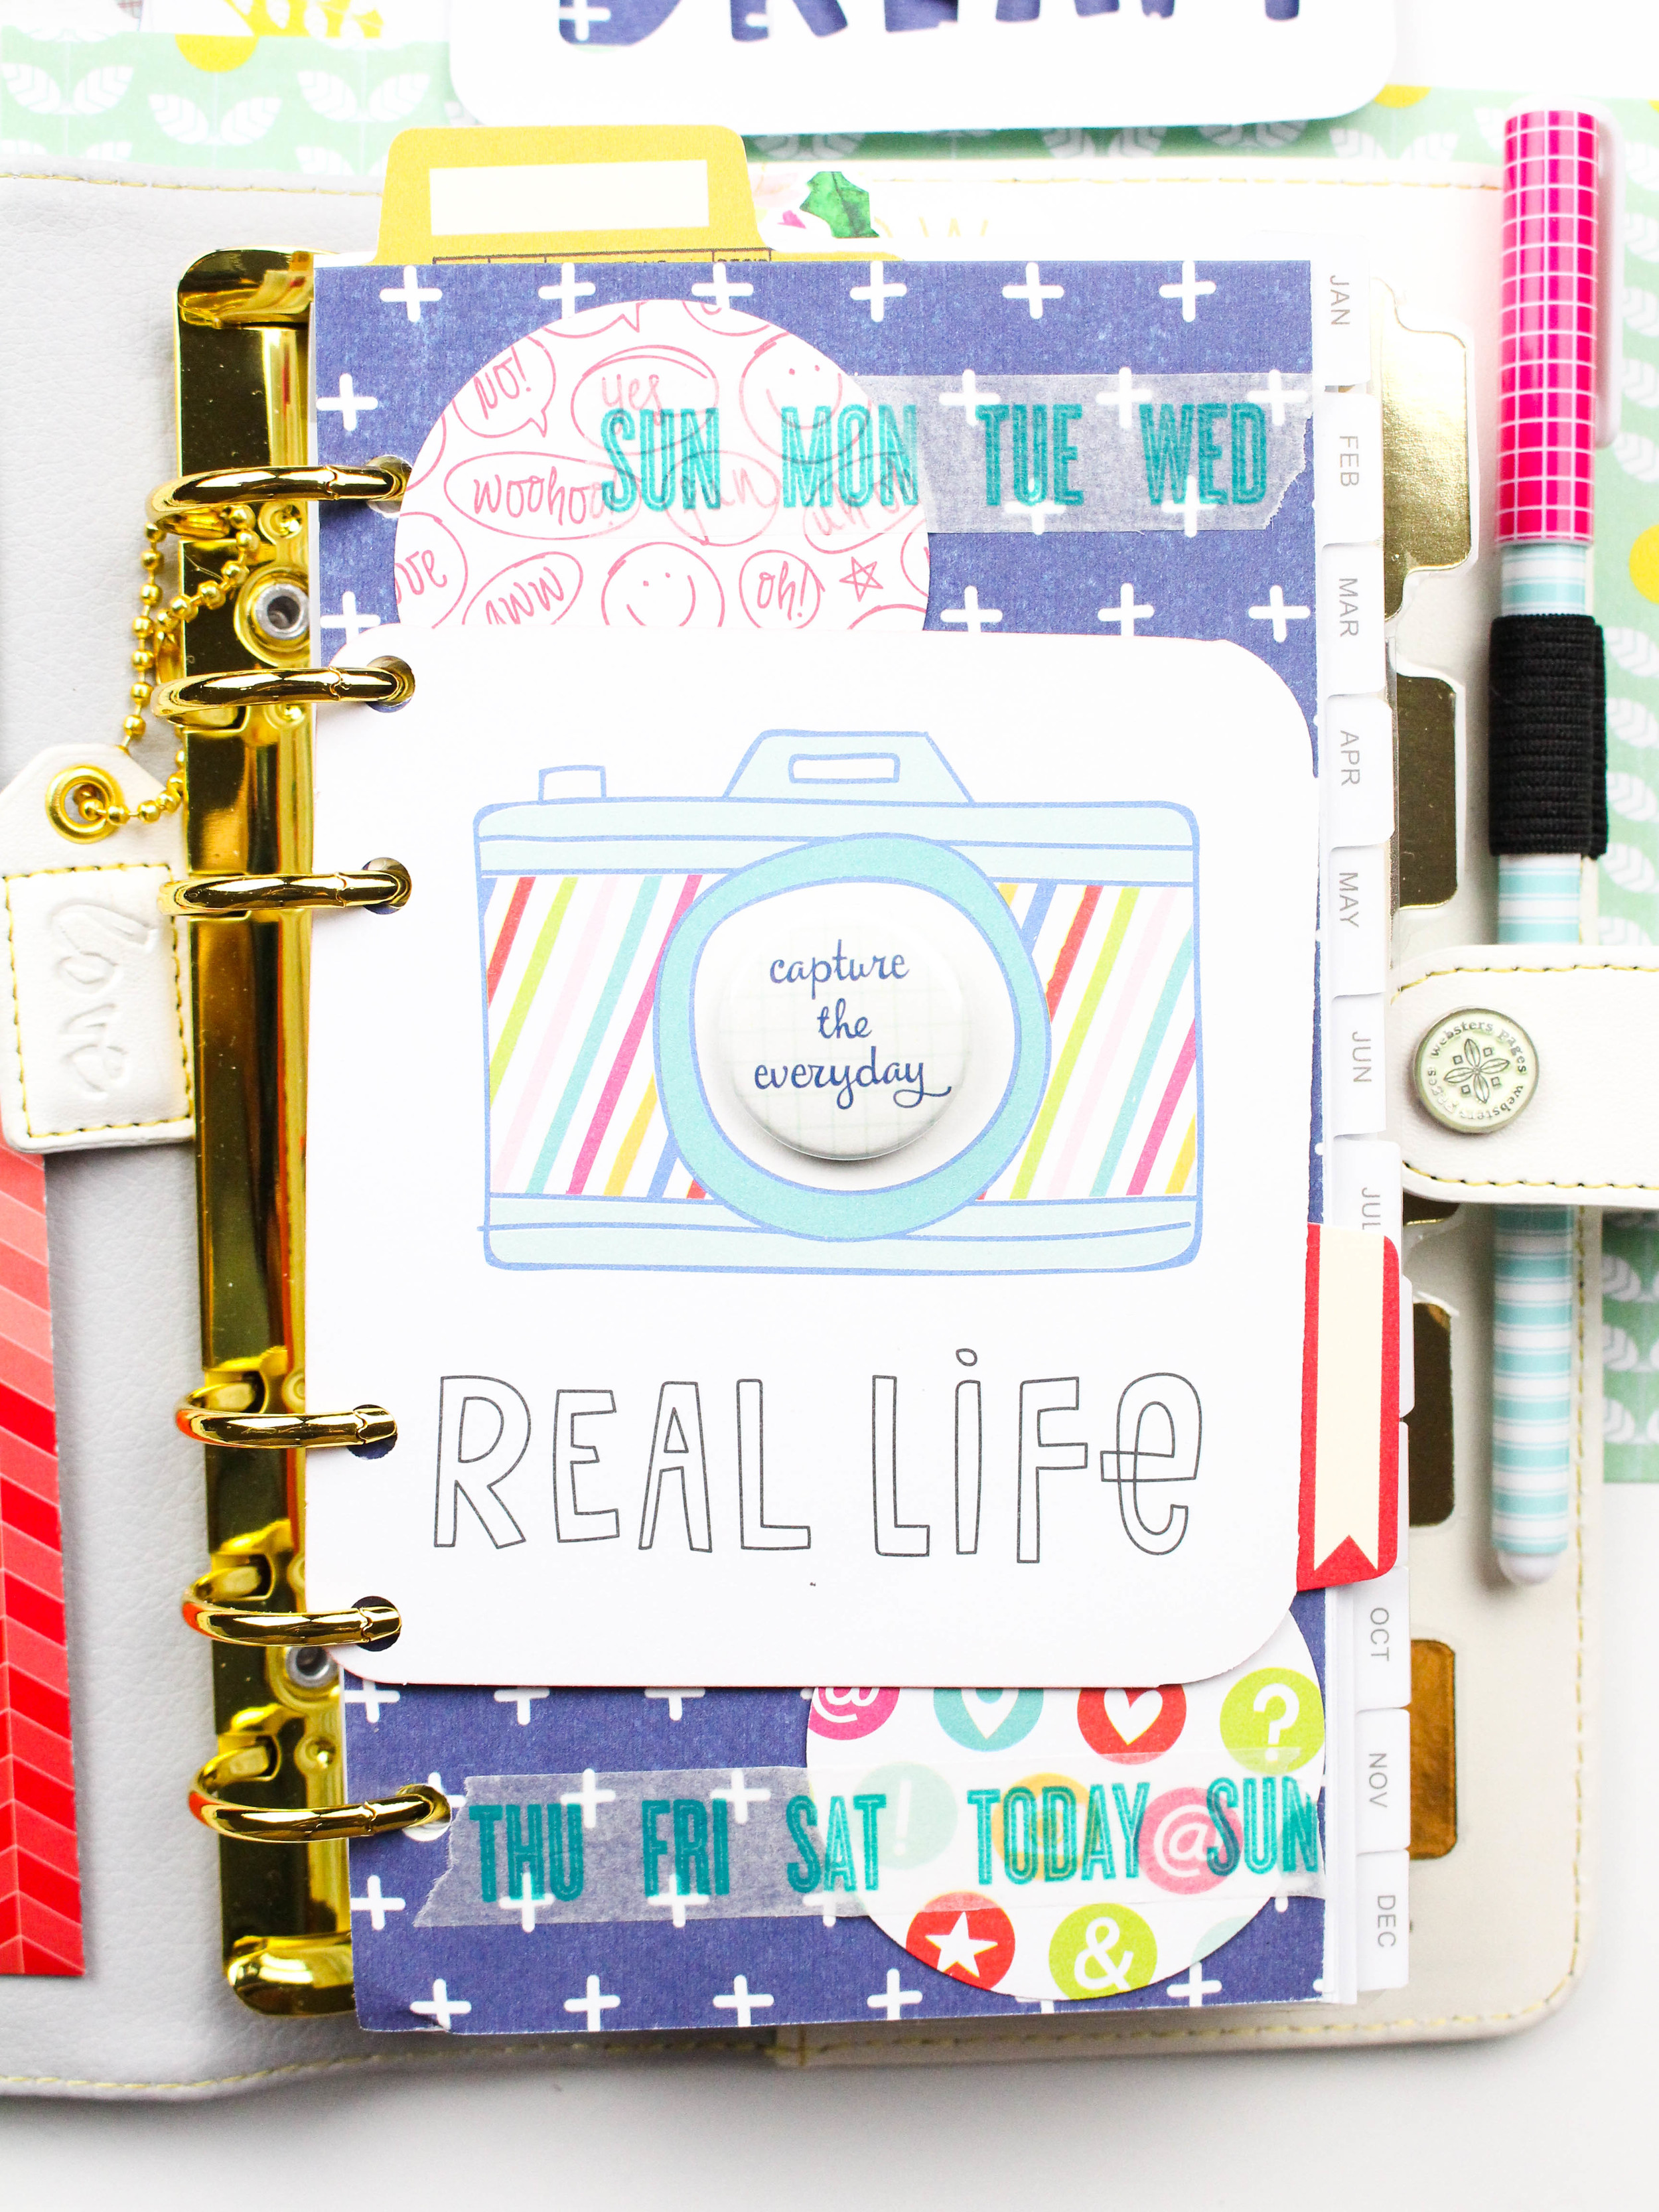
I recently purchased the Websters Color Crush Planner in the Teal and White Striped. I'm use to using a larger planner (A5 or large Kikkik) so this new planner was something that I really had to get use to. 

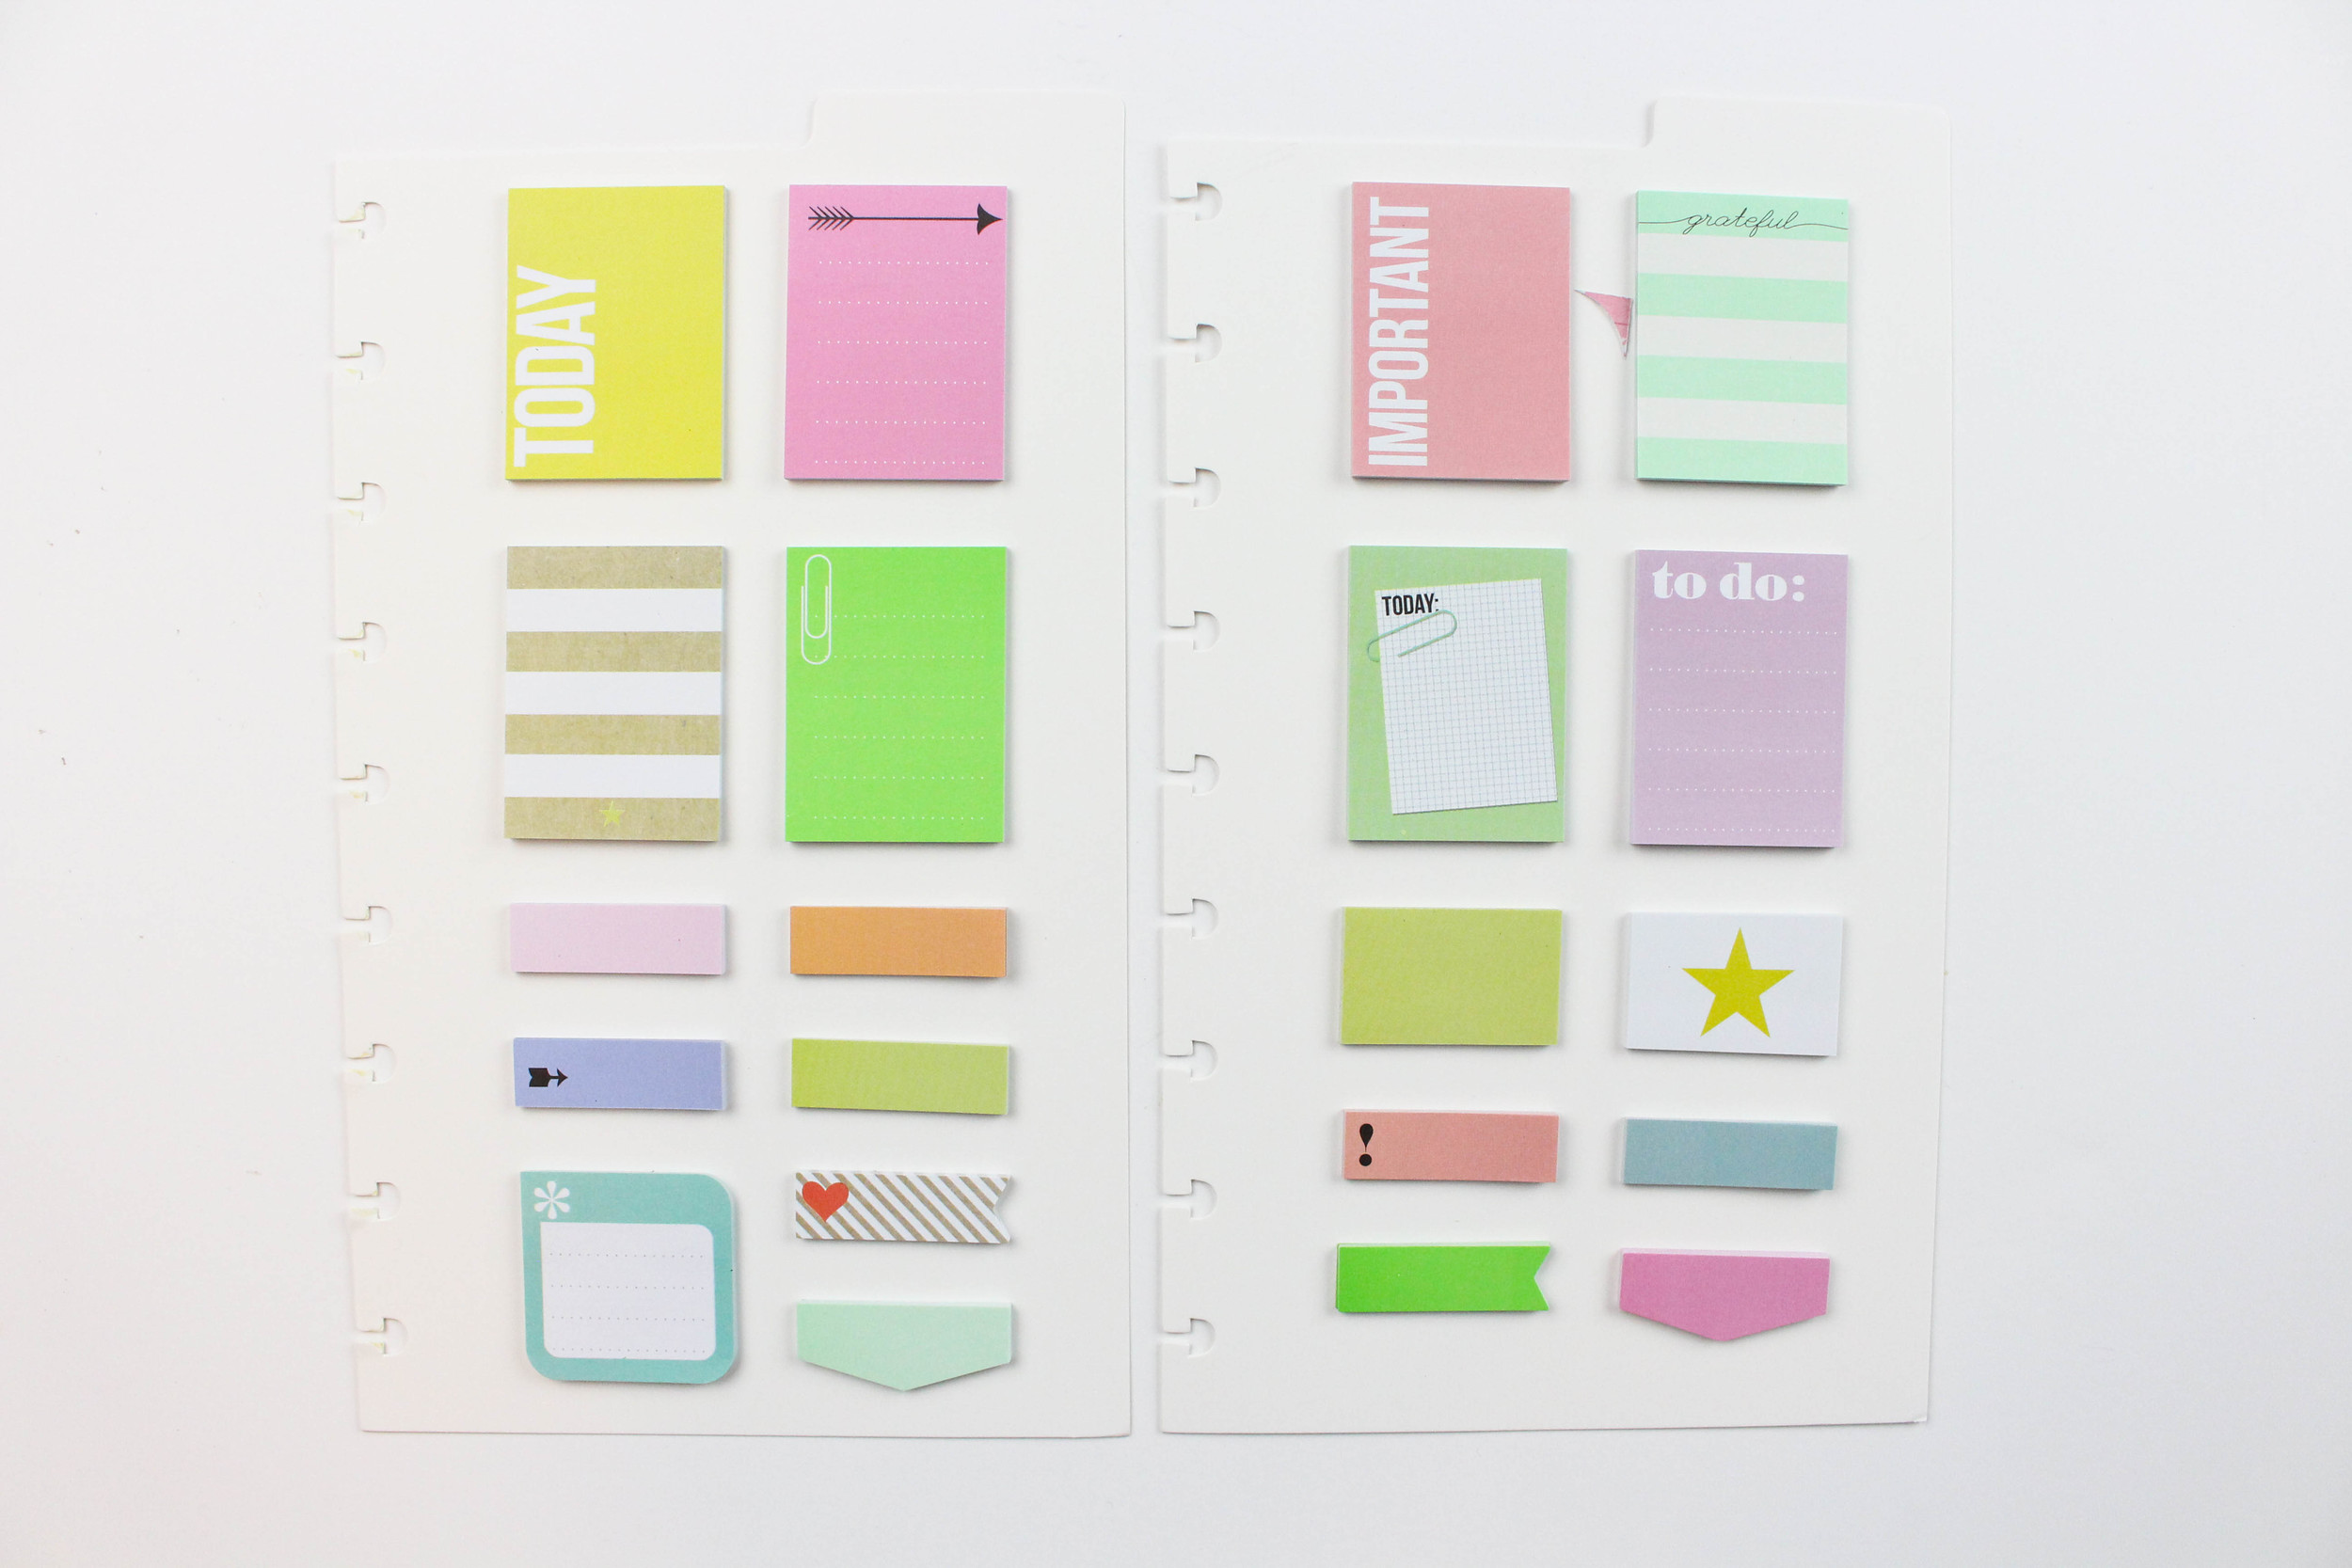
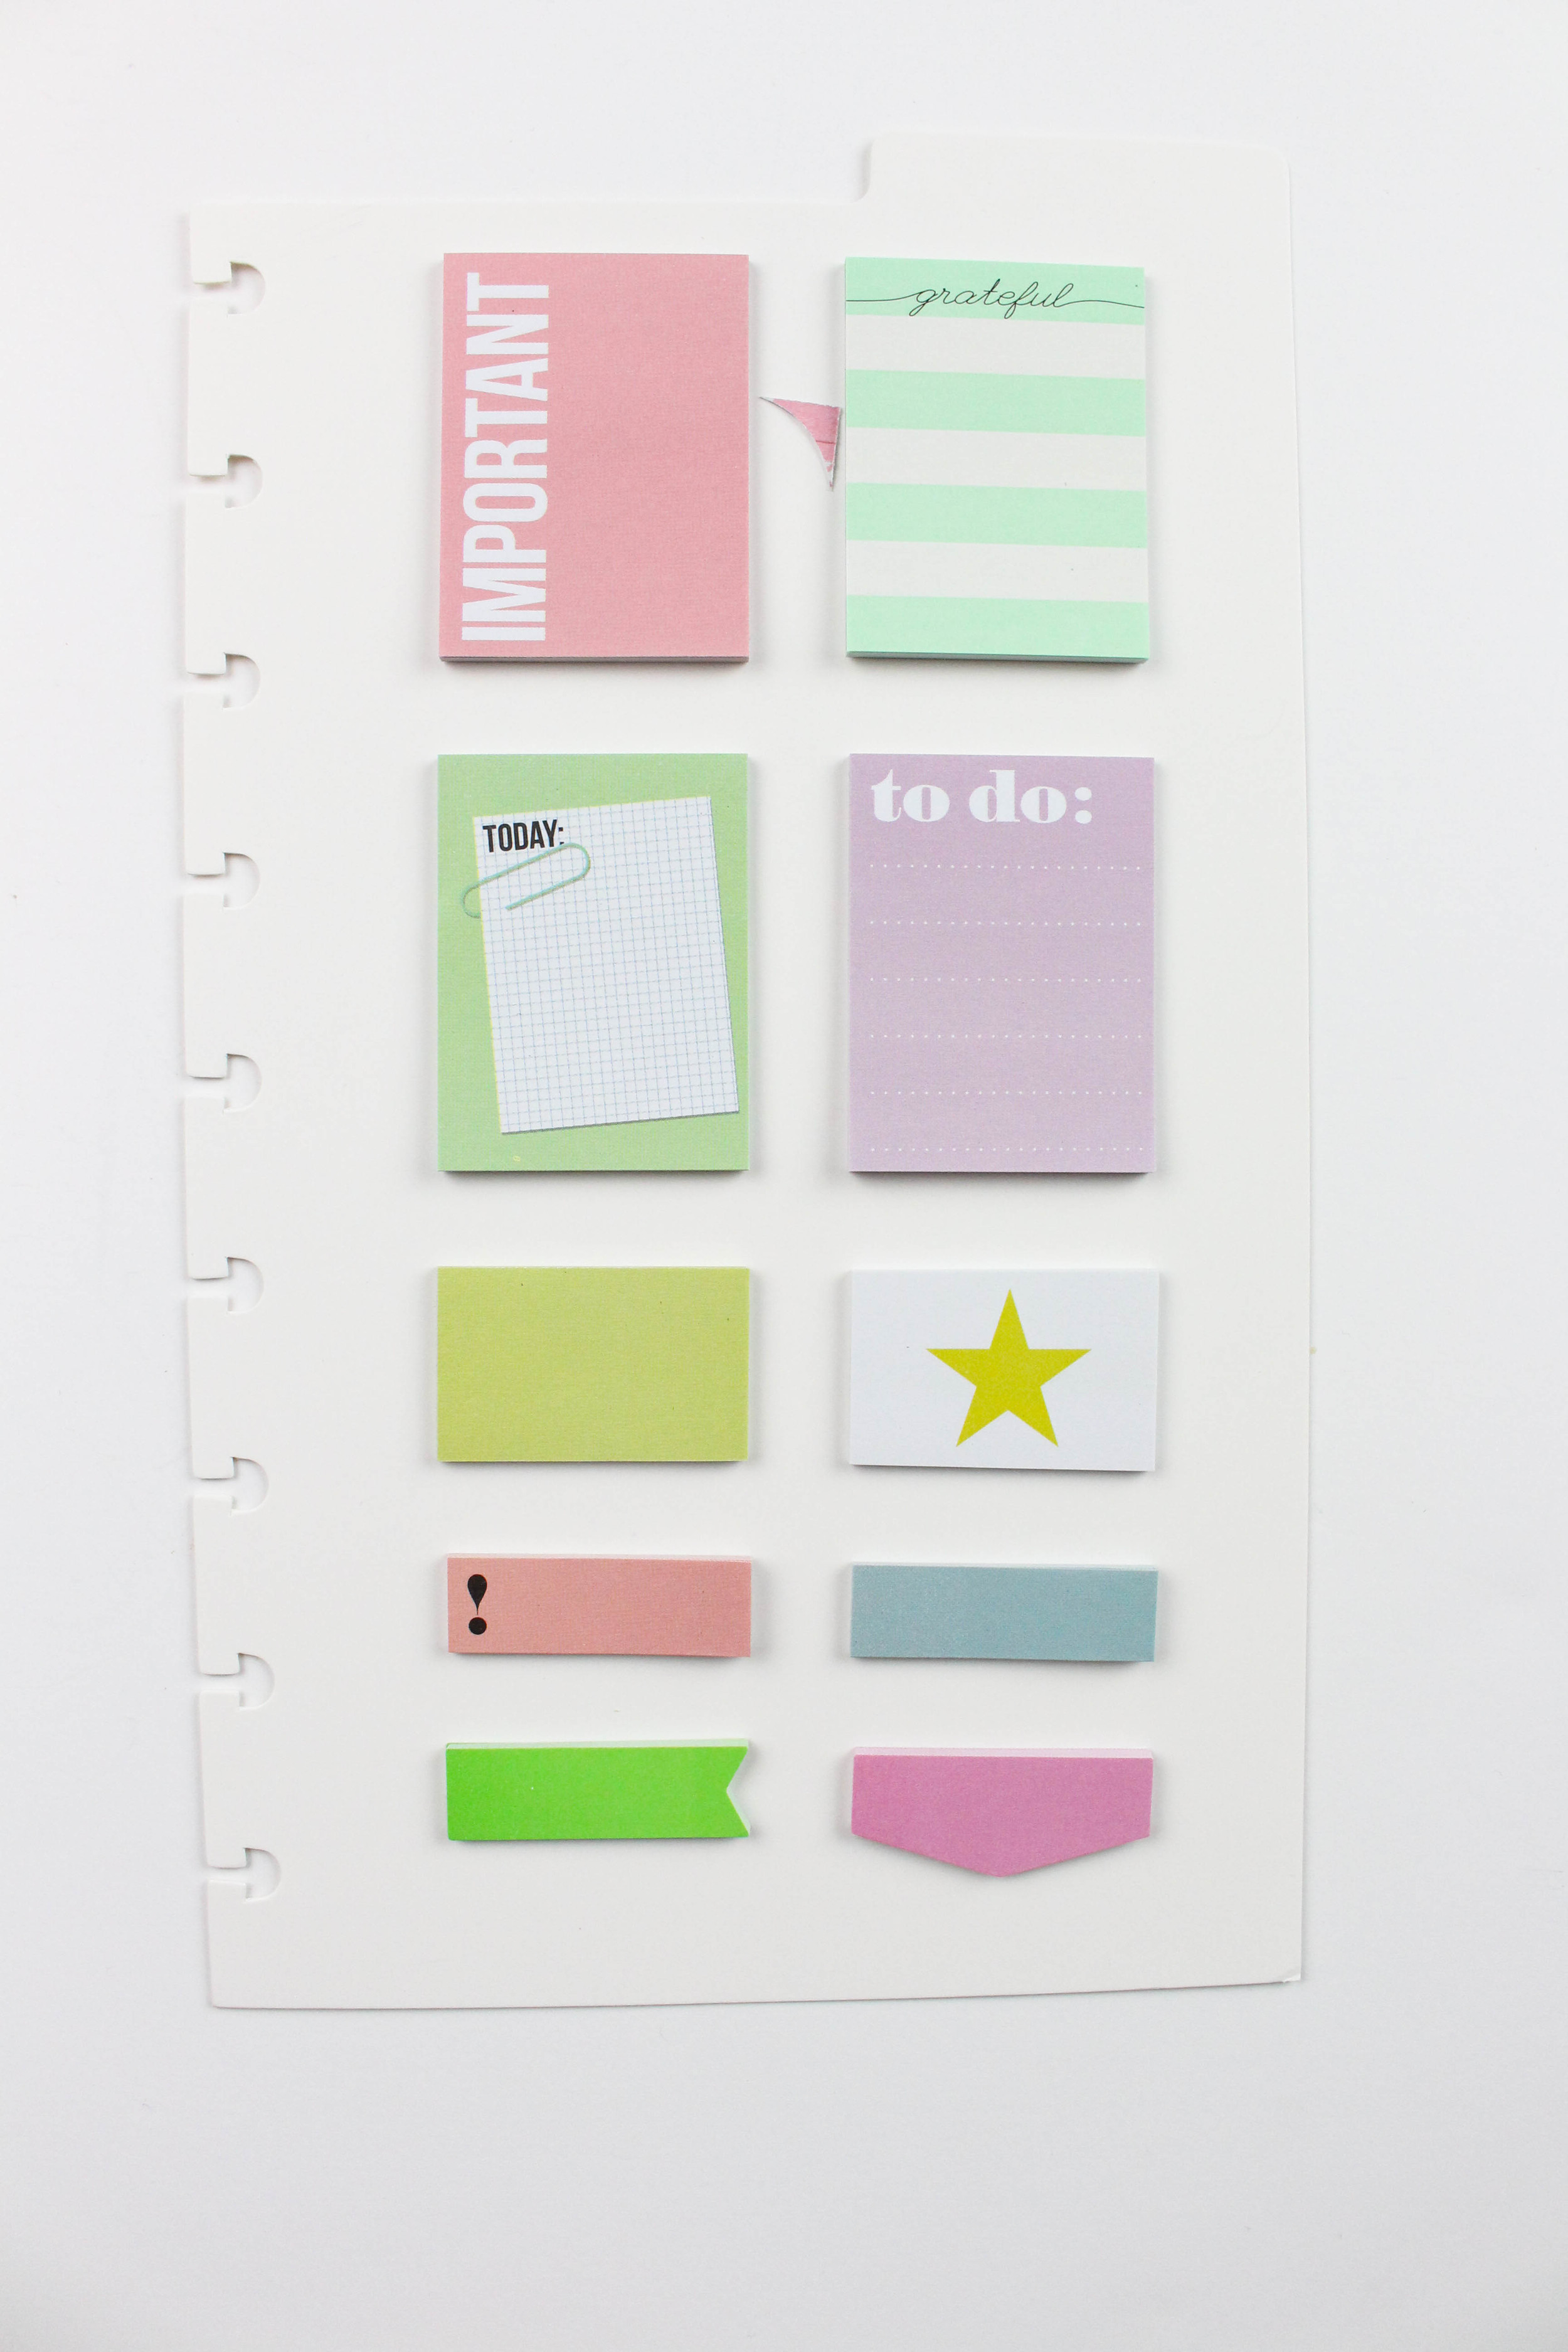
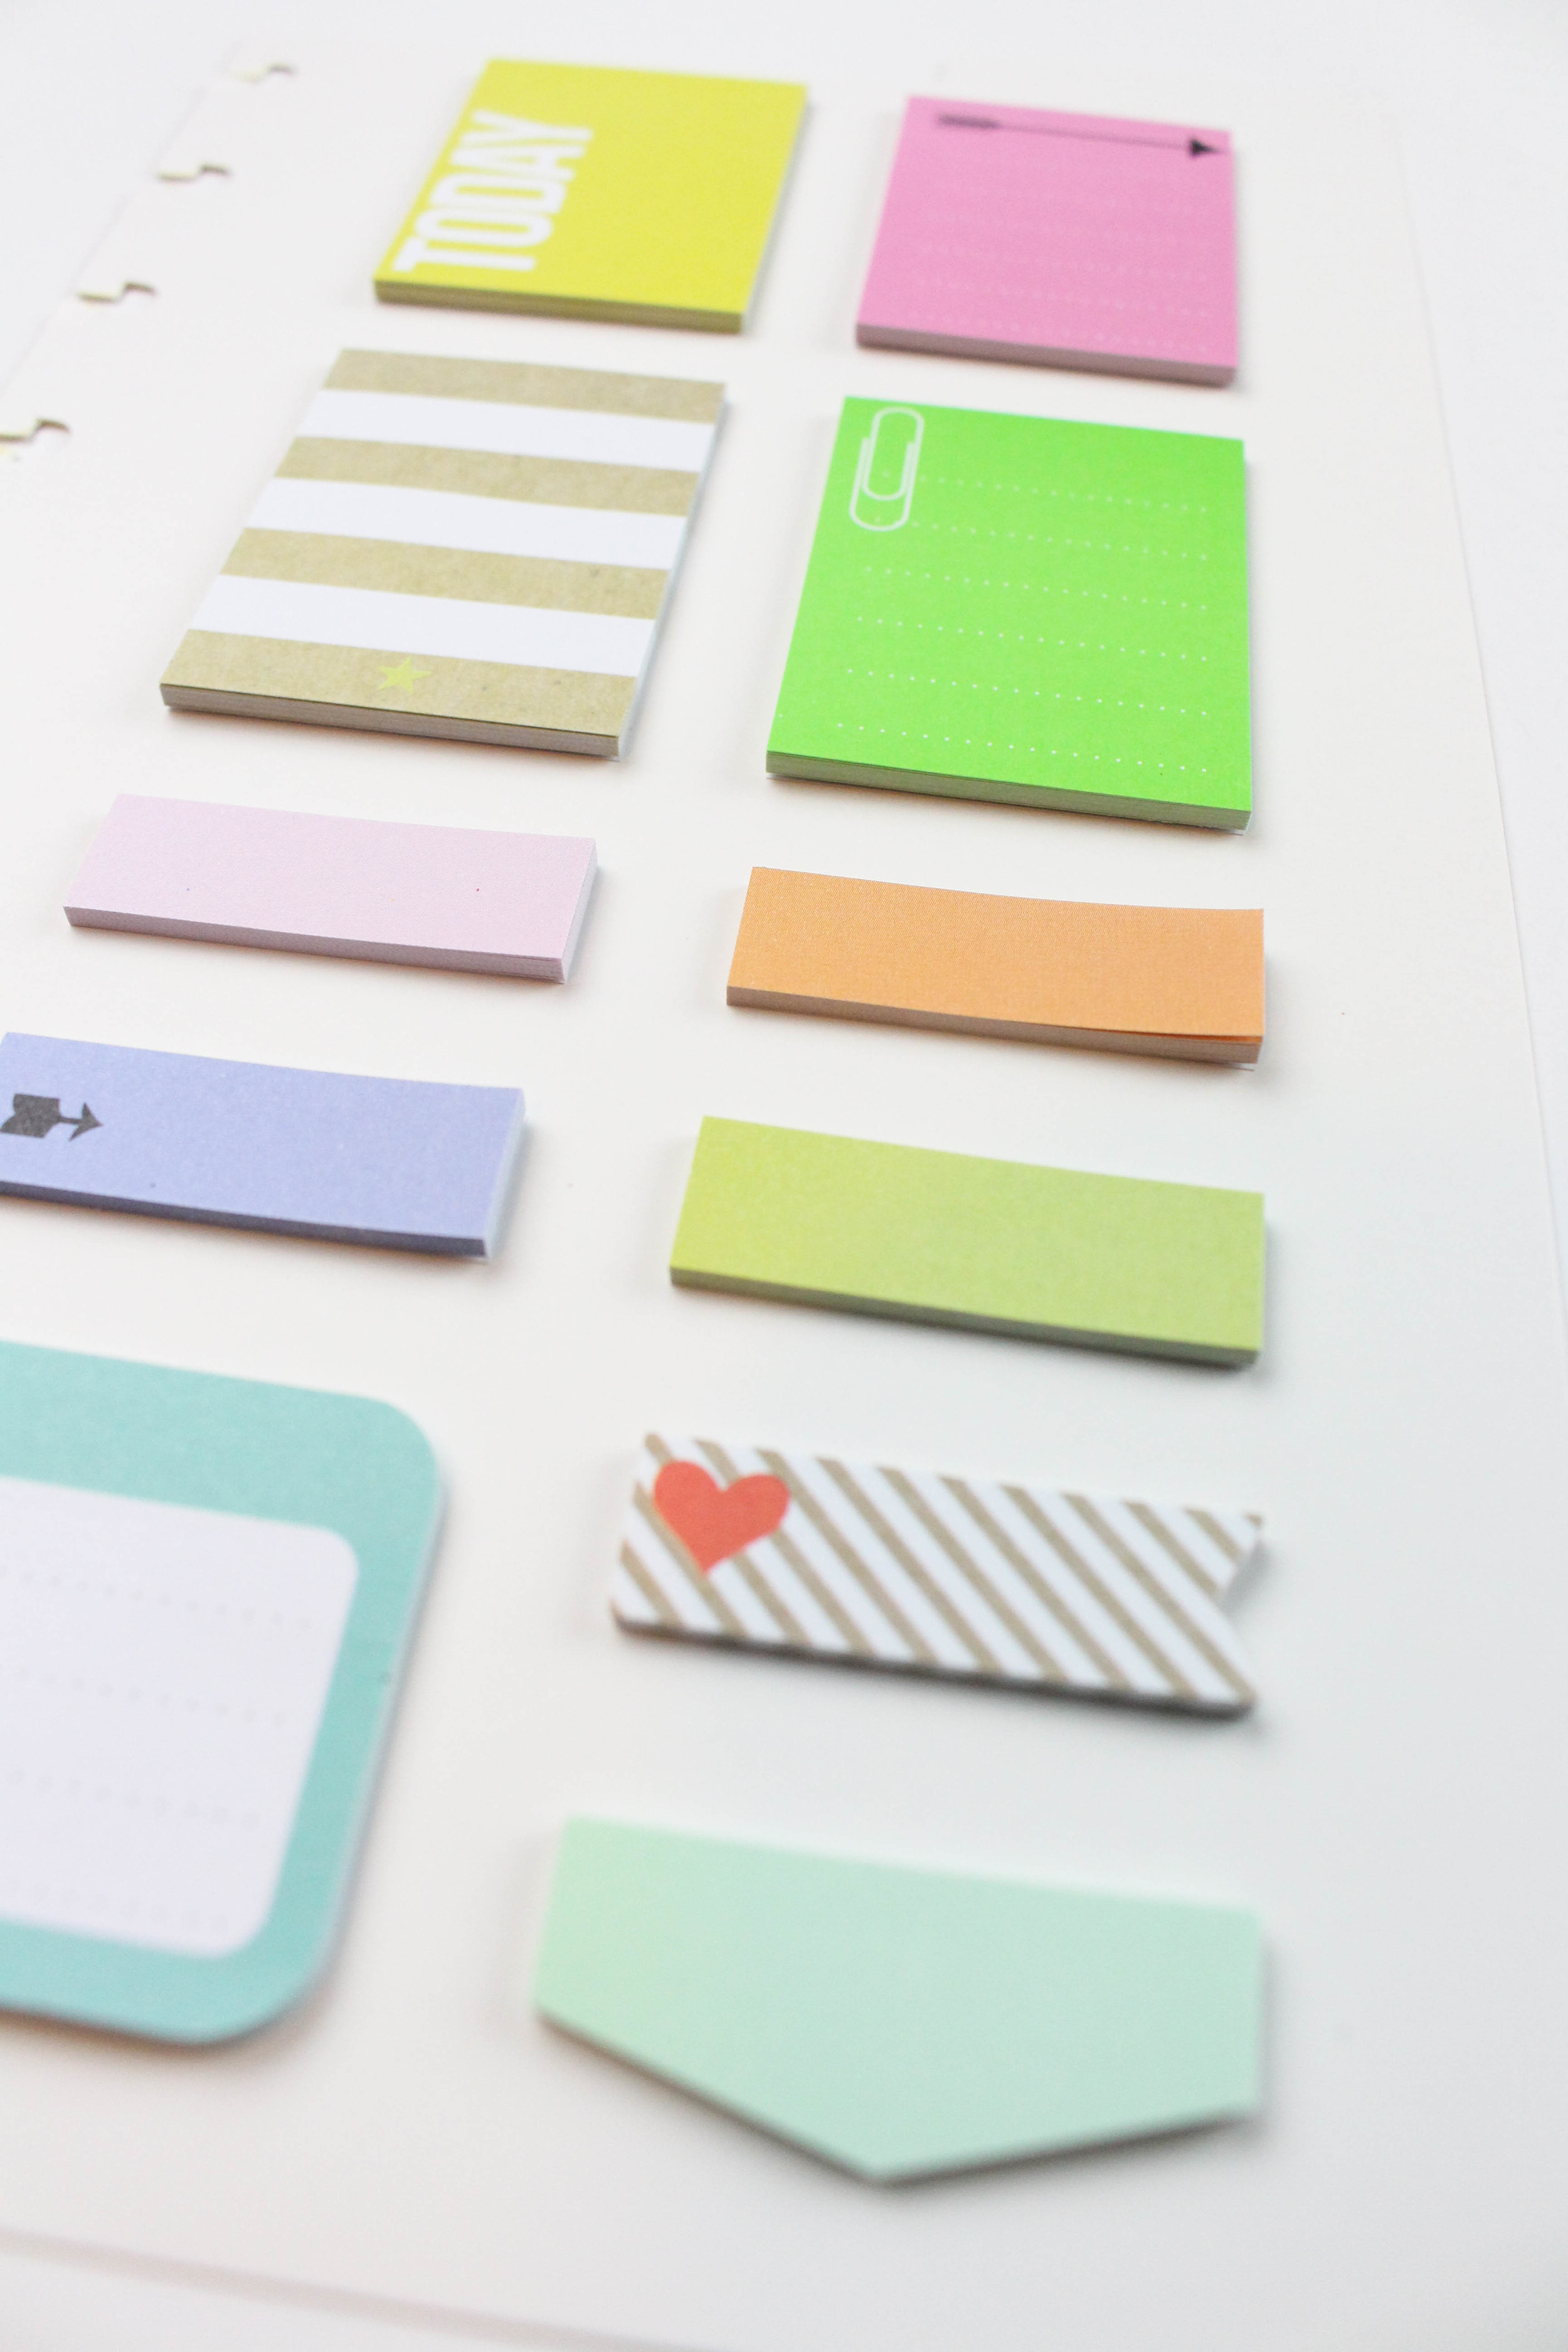
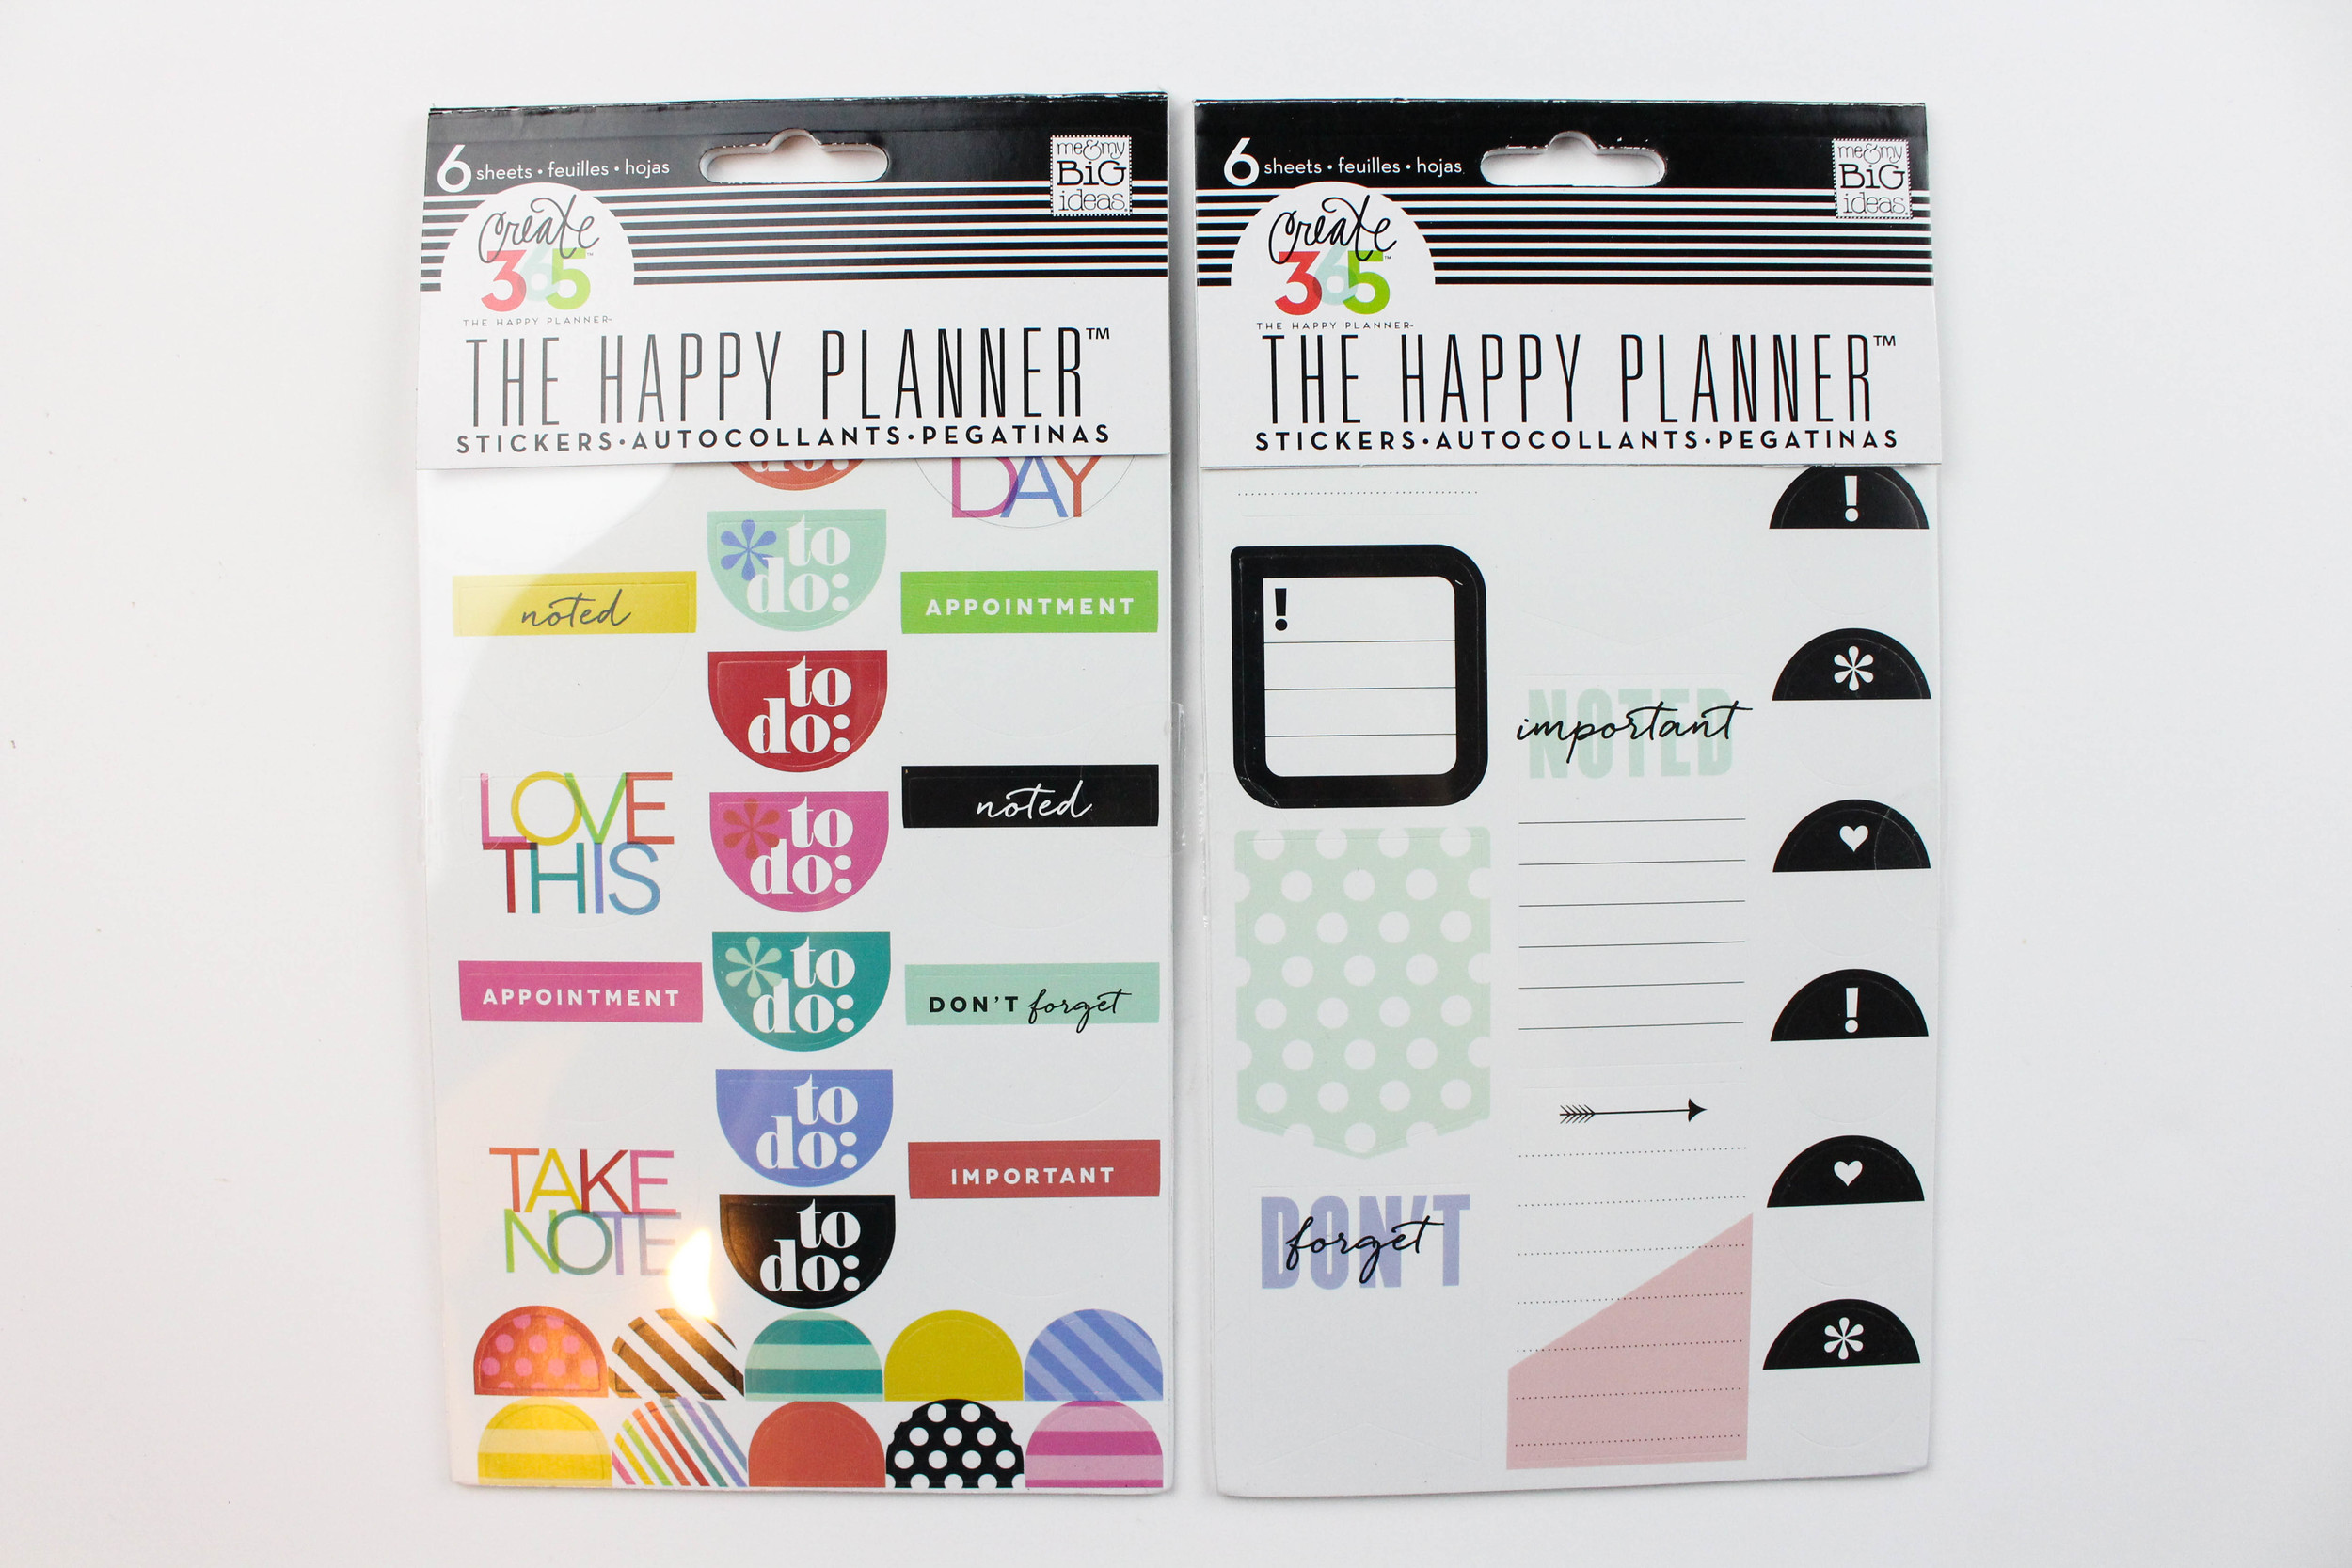
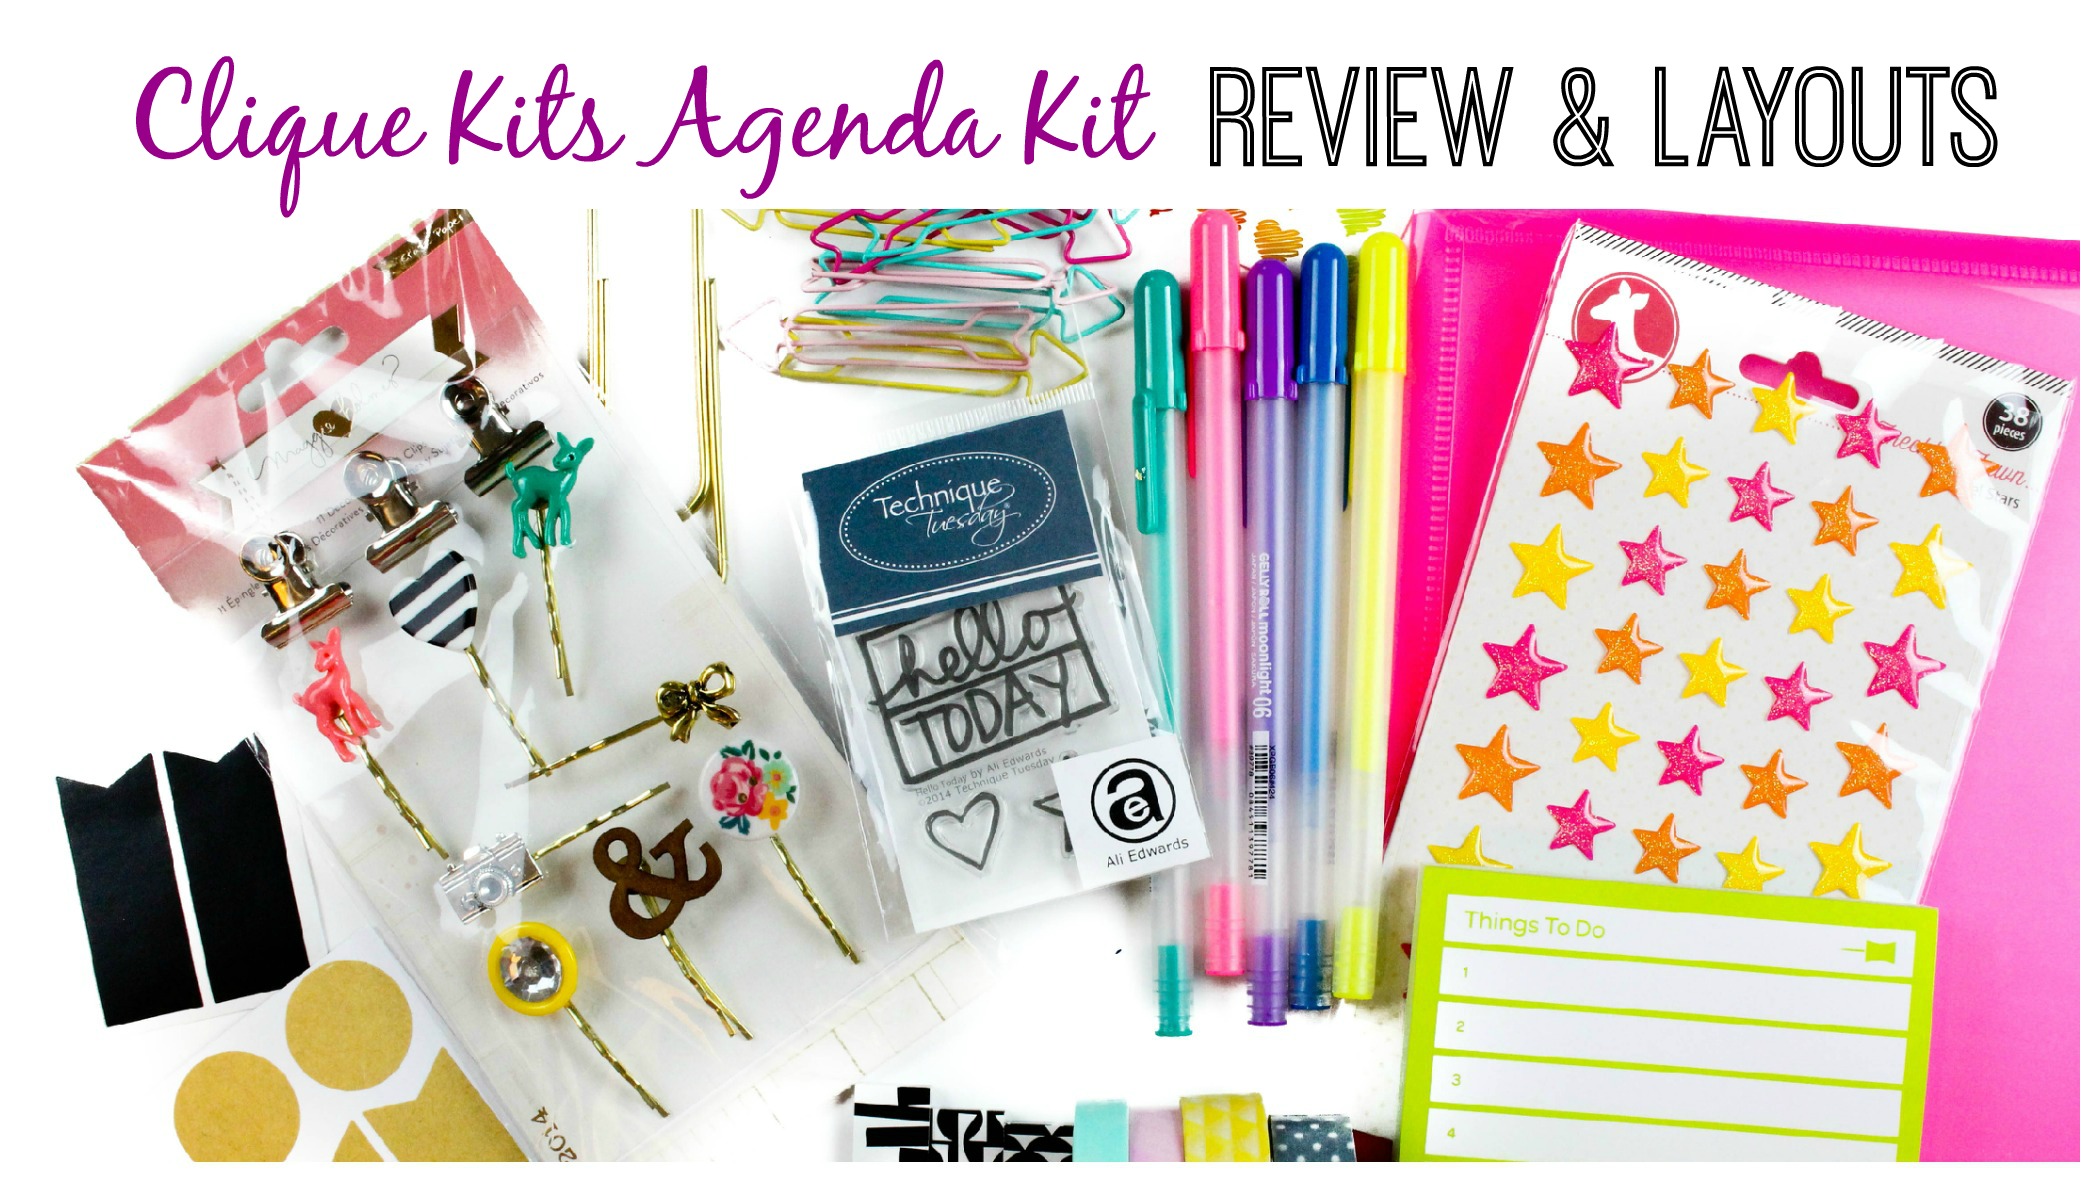
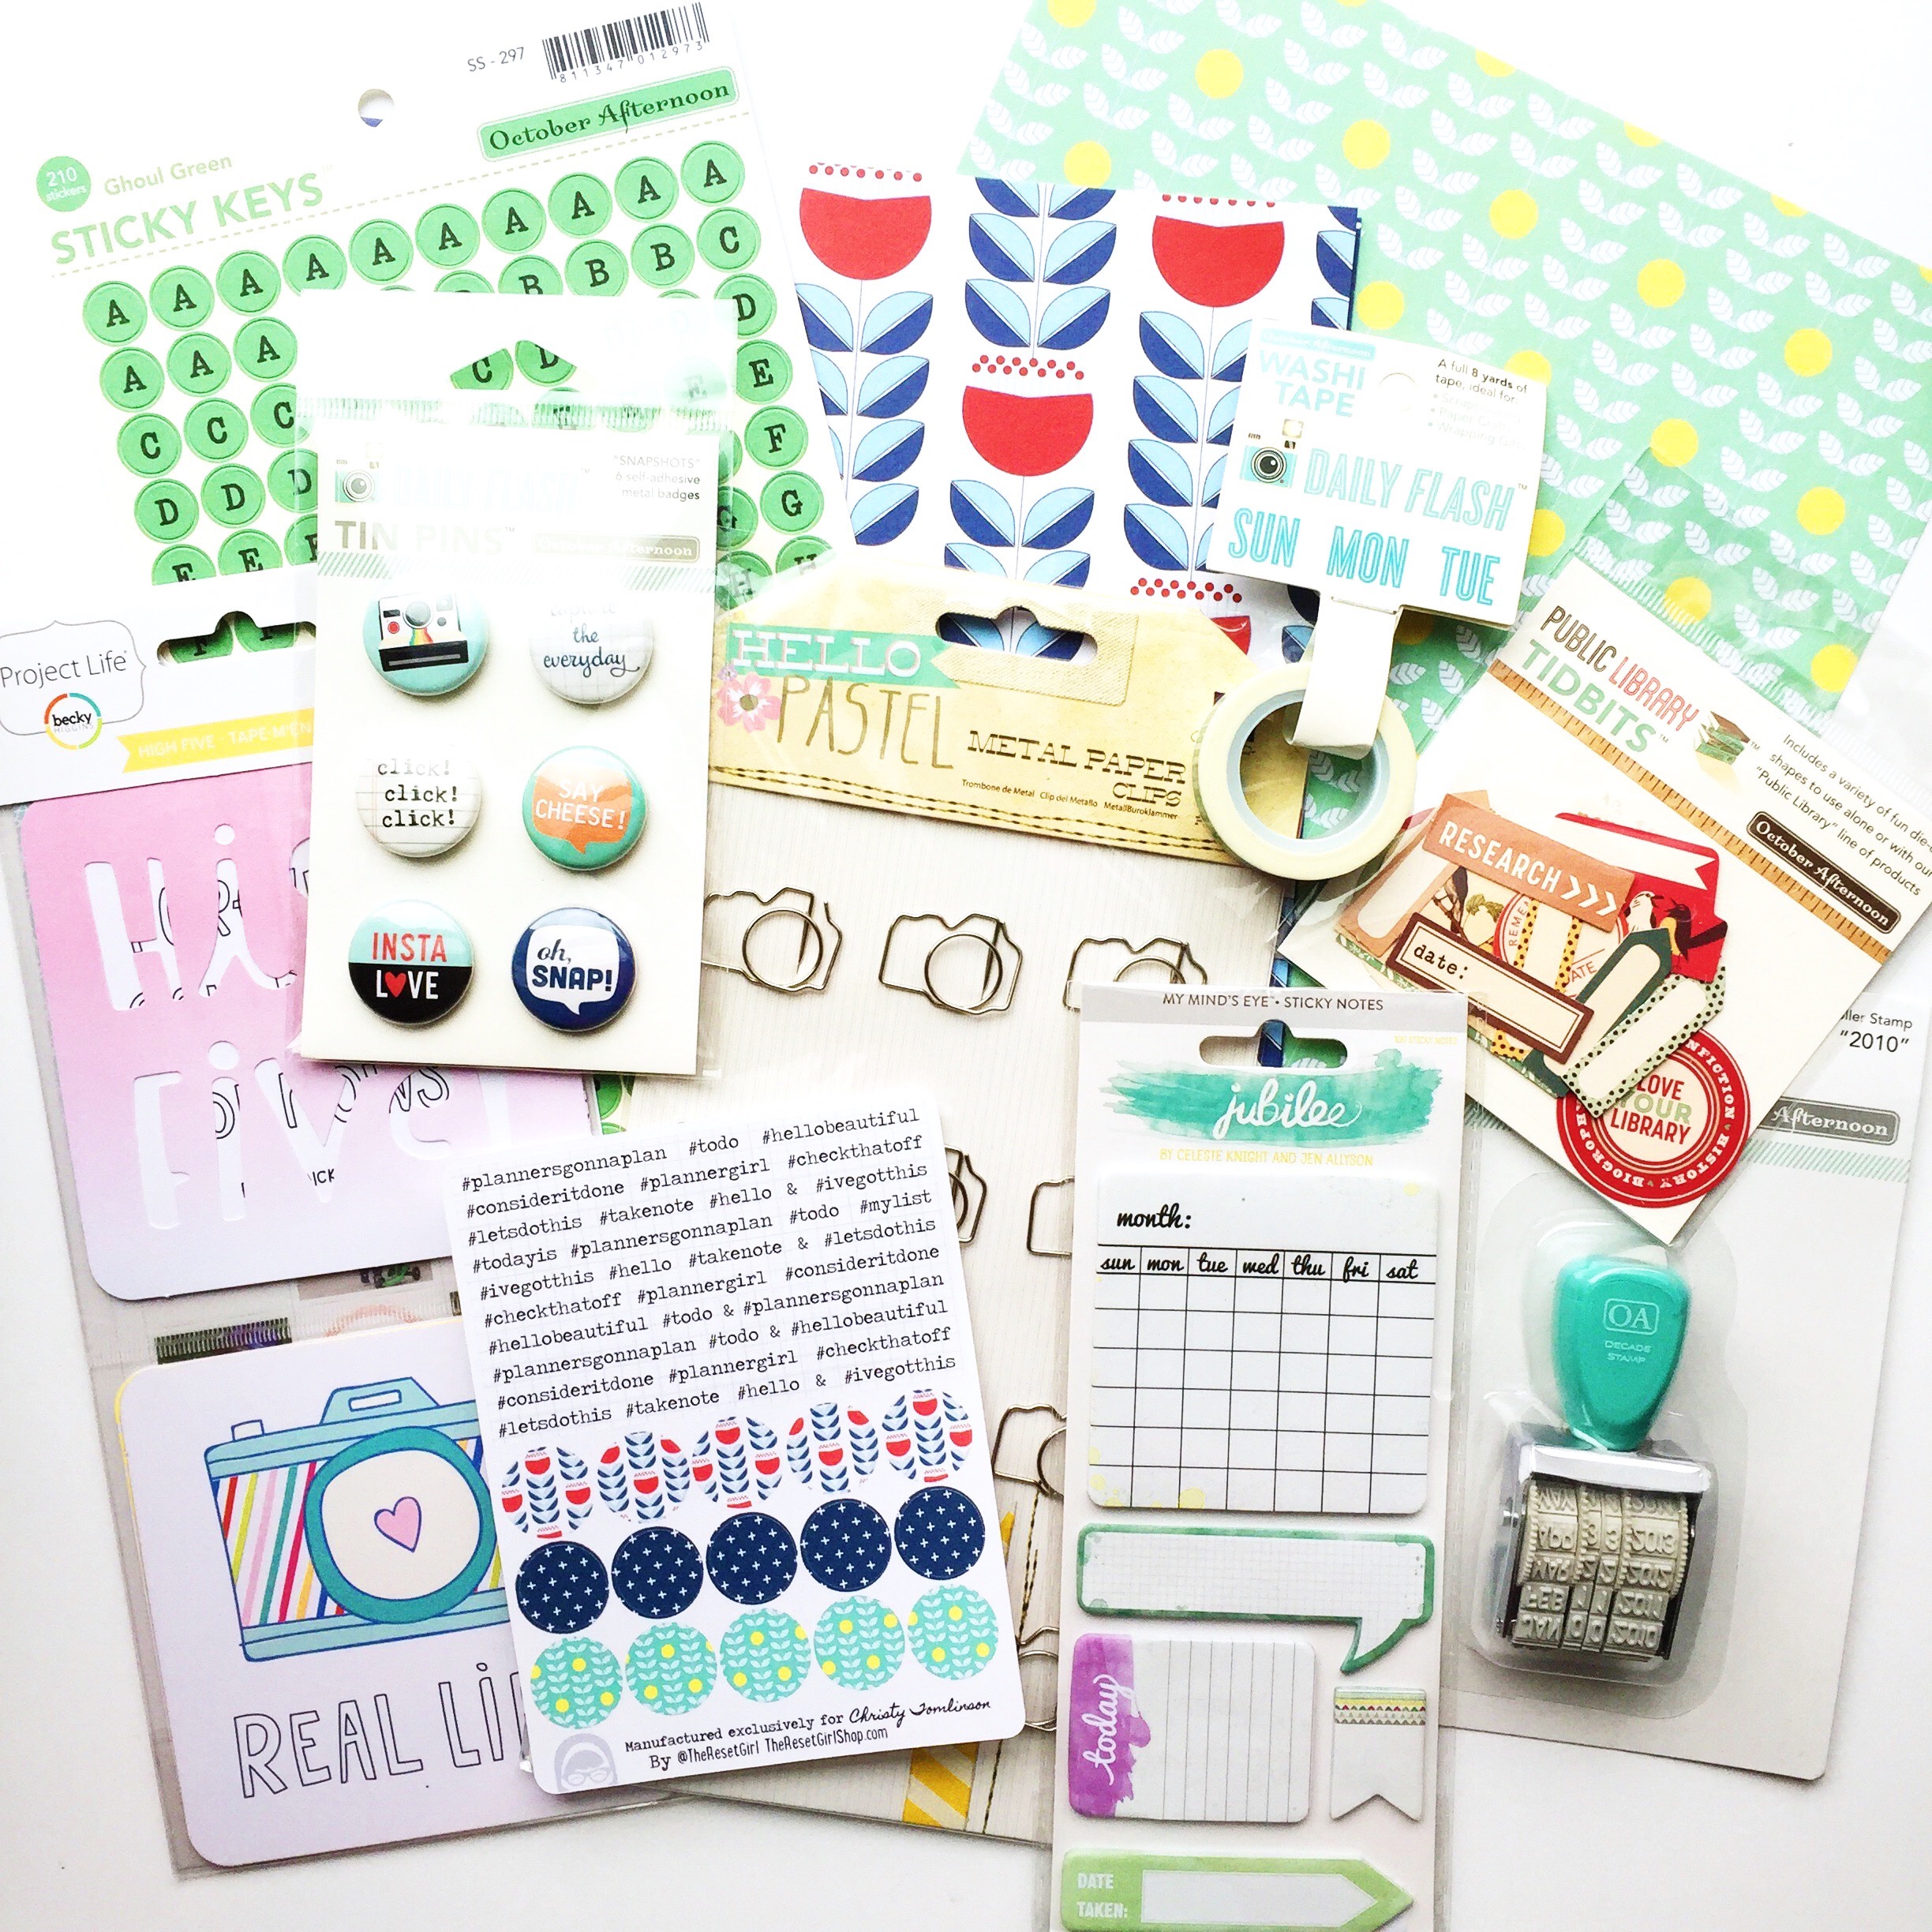
Just like last month I forgot to take a picture of the contents of the kit but don't worry you can take a peak of everything in my video. Here's a photo that I took when I first received the kit in the mail. 

PlannerSocietyMay
PlannerSocietyMay_Stickers

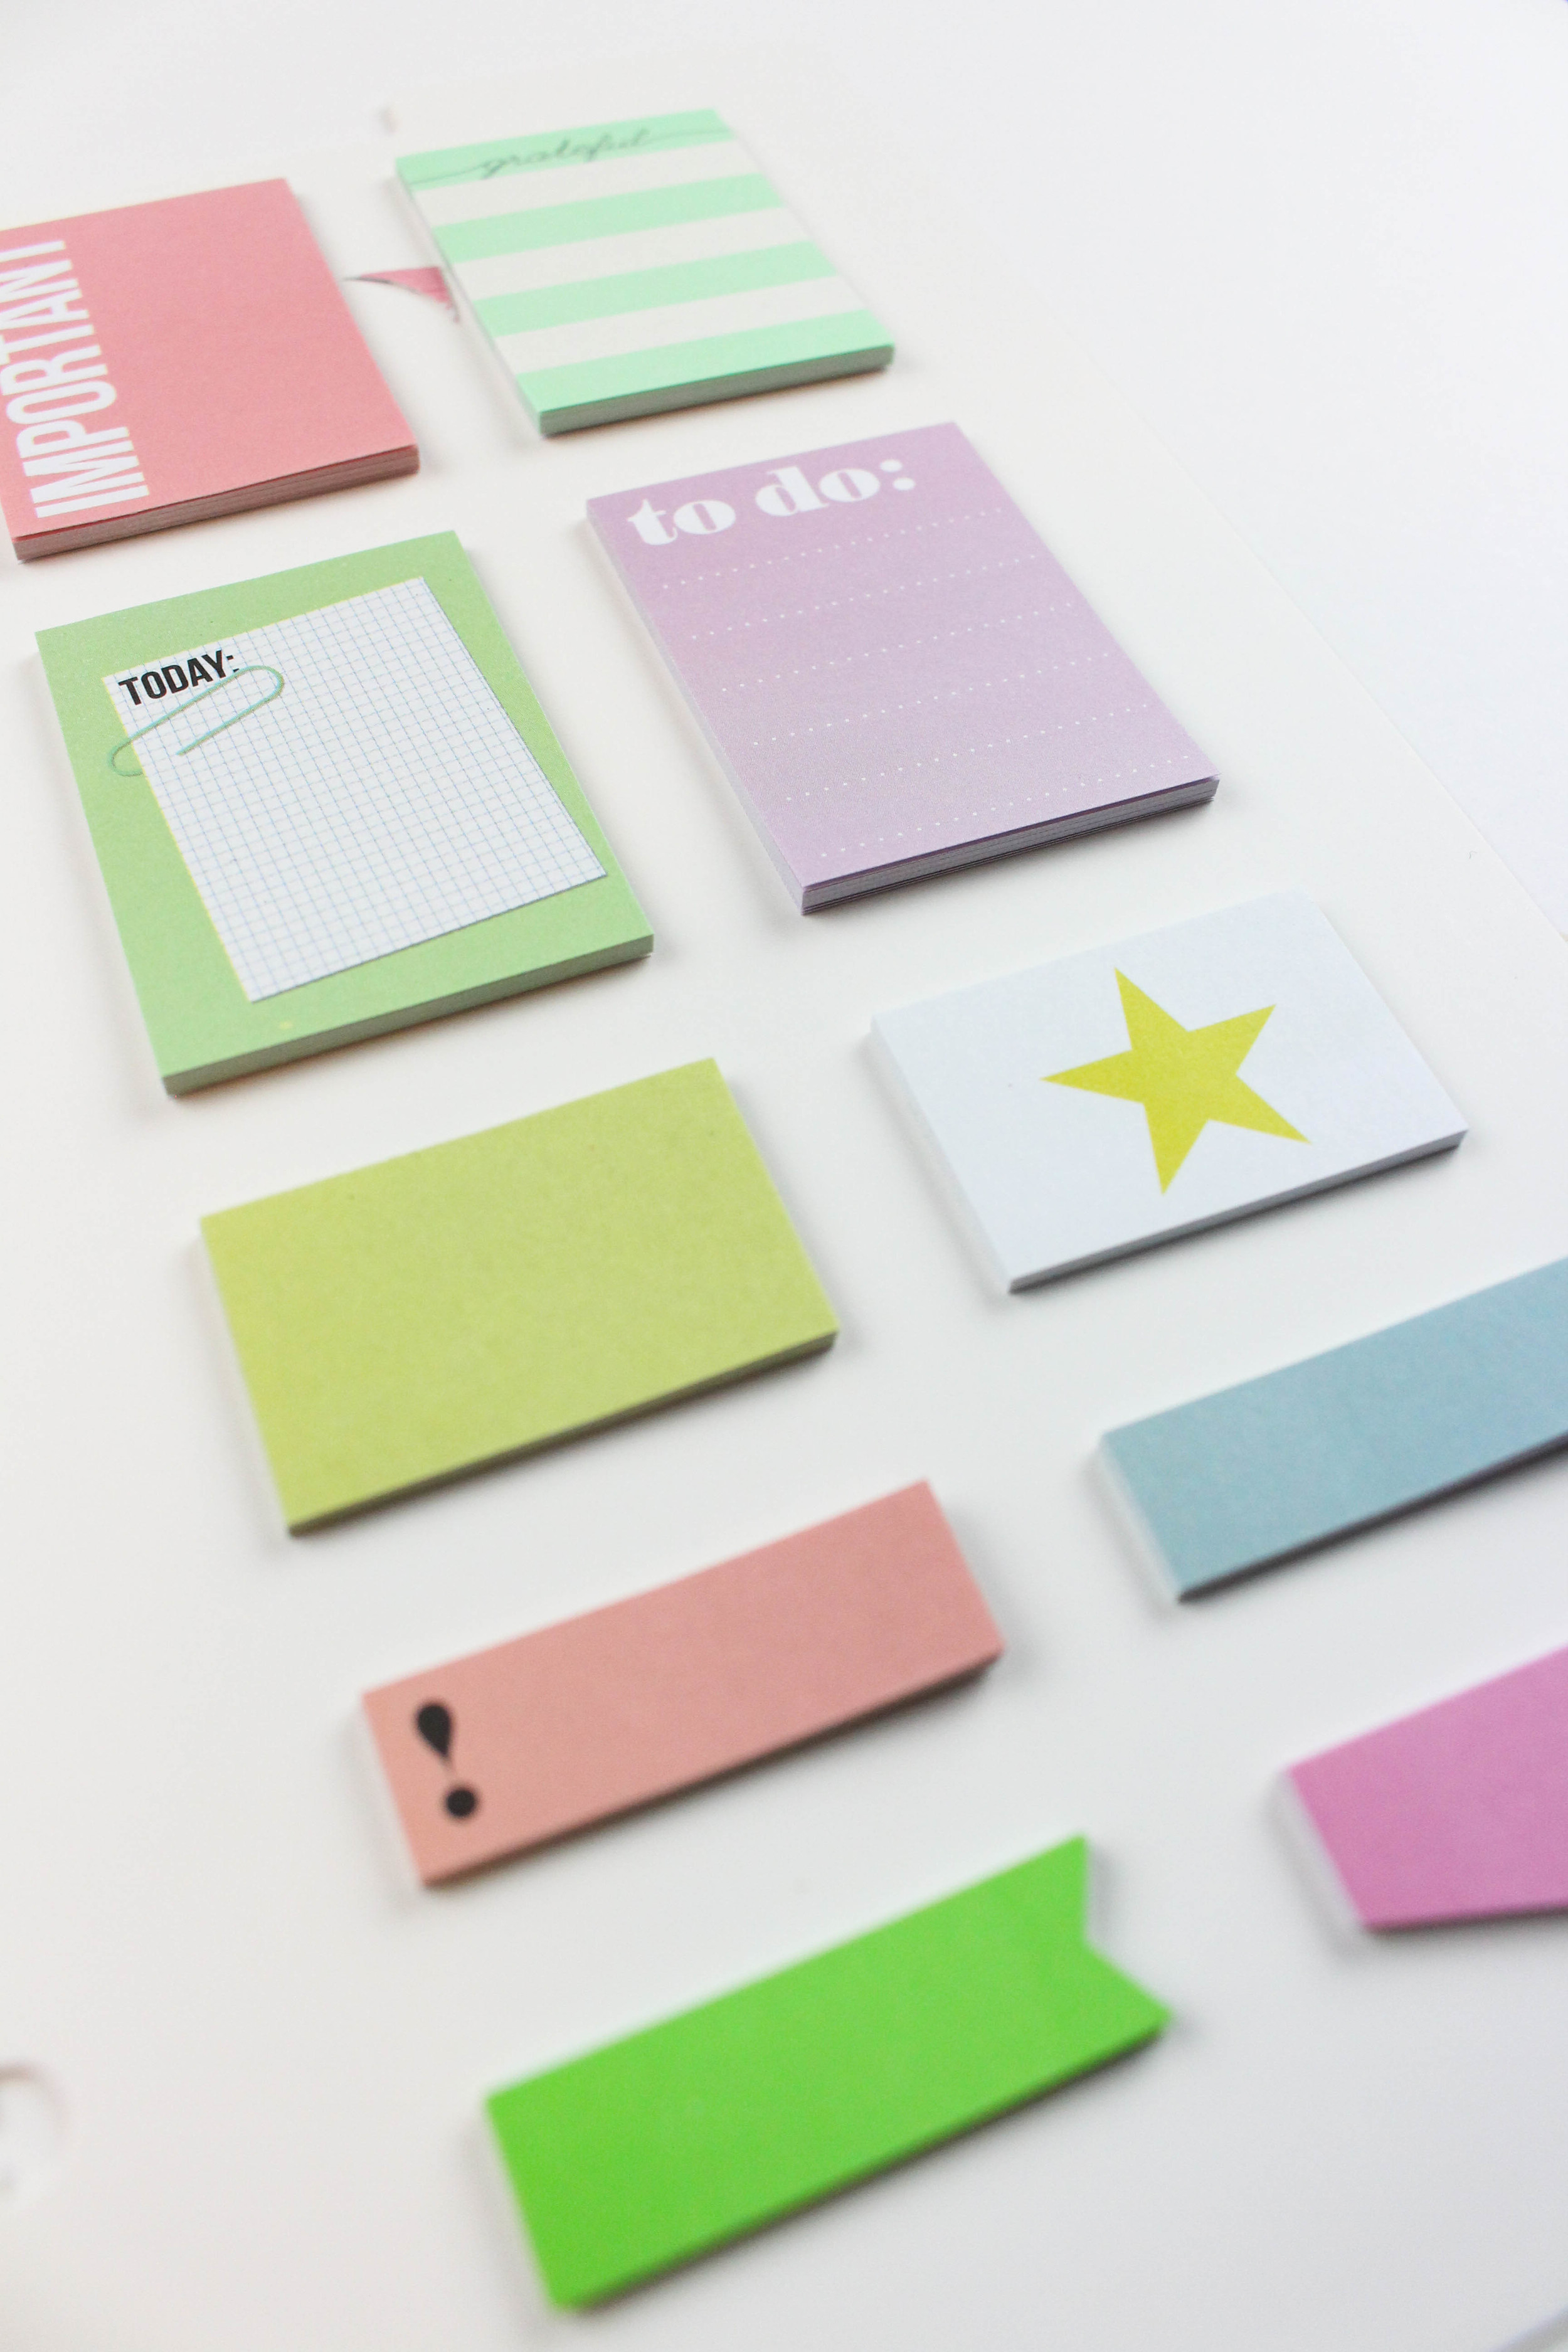
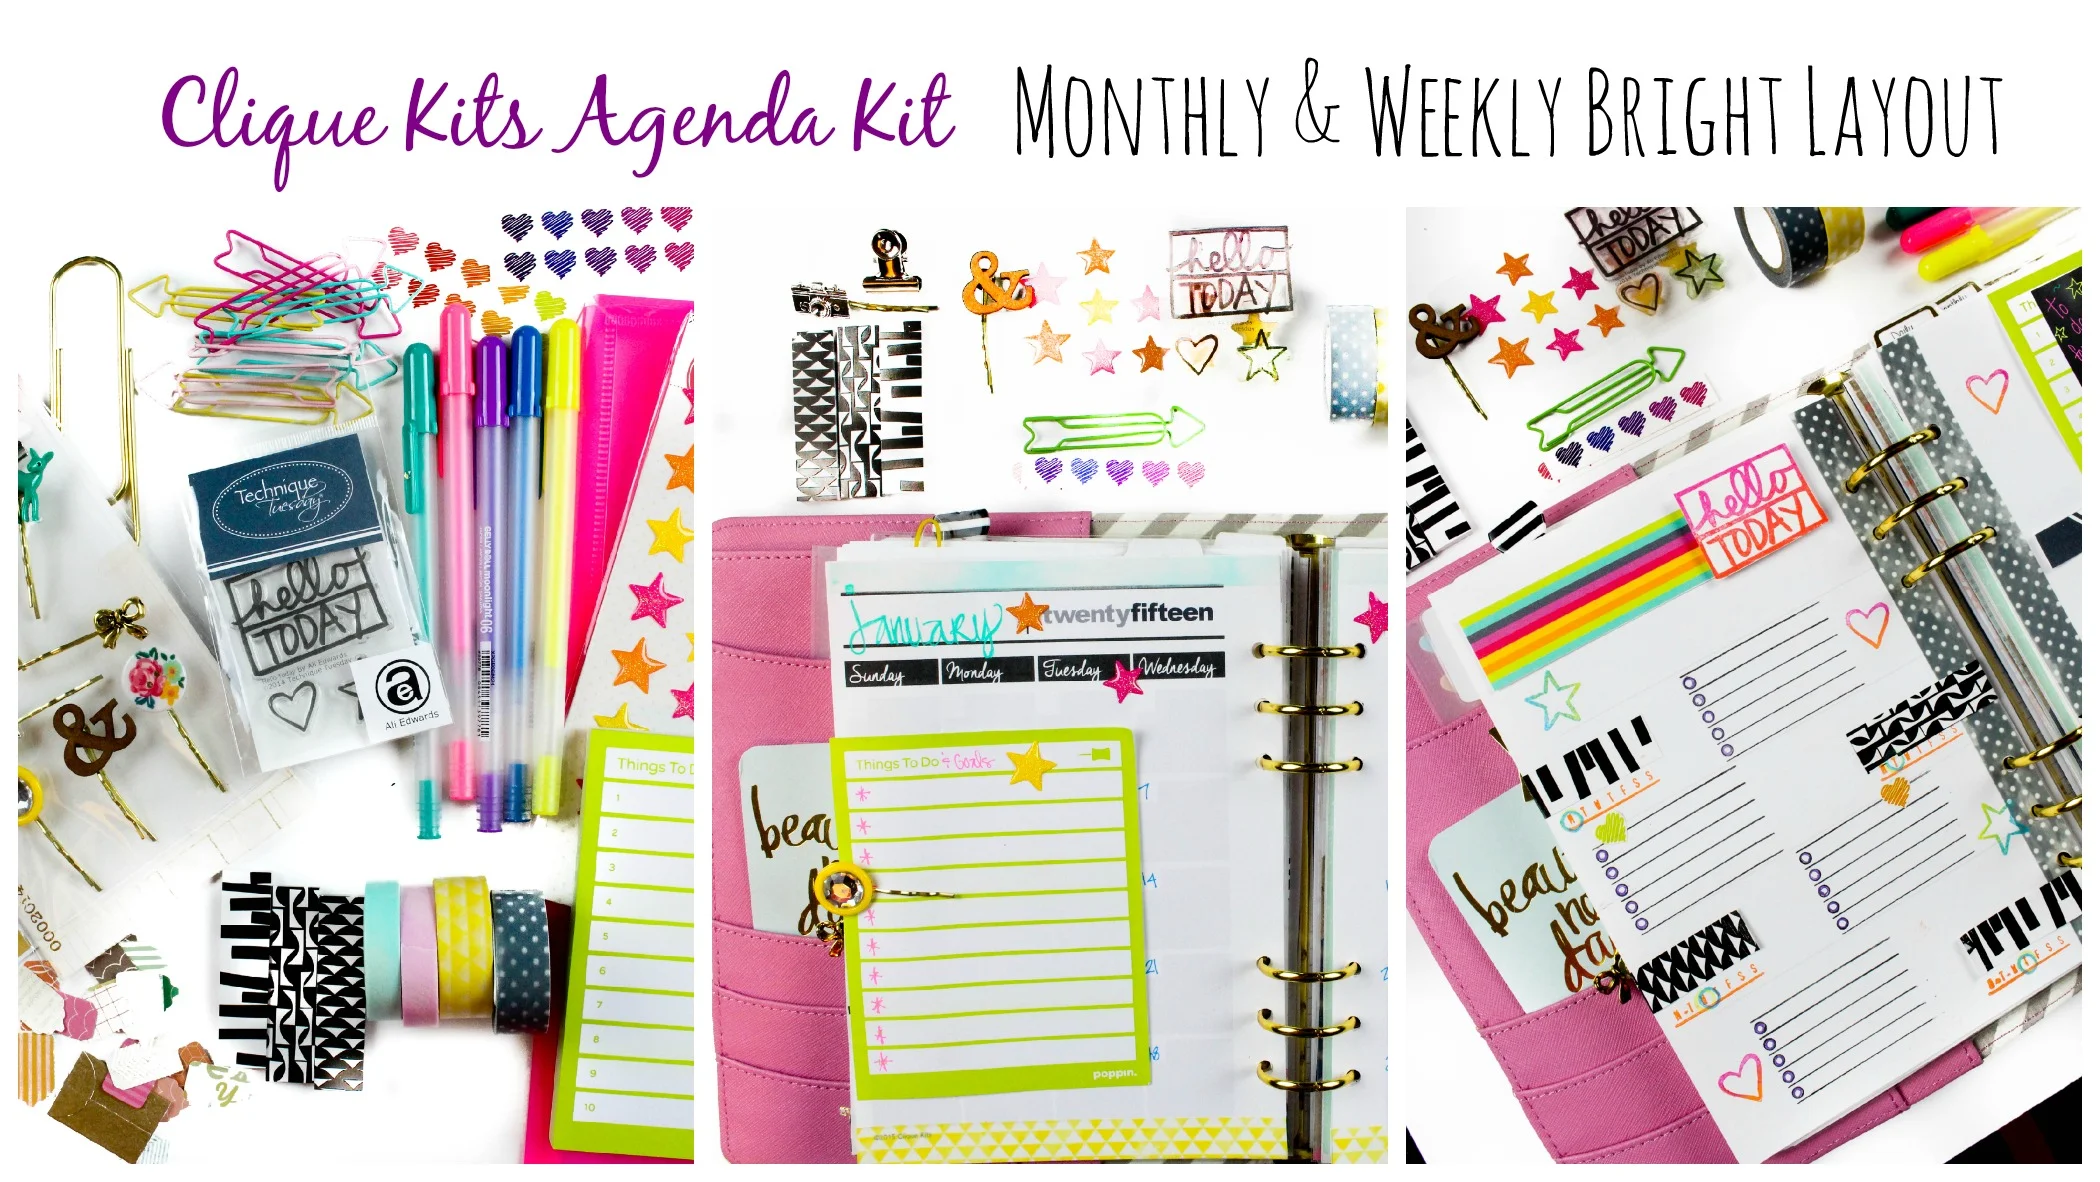
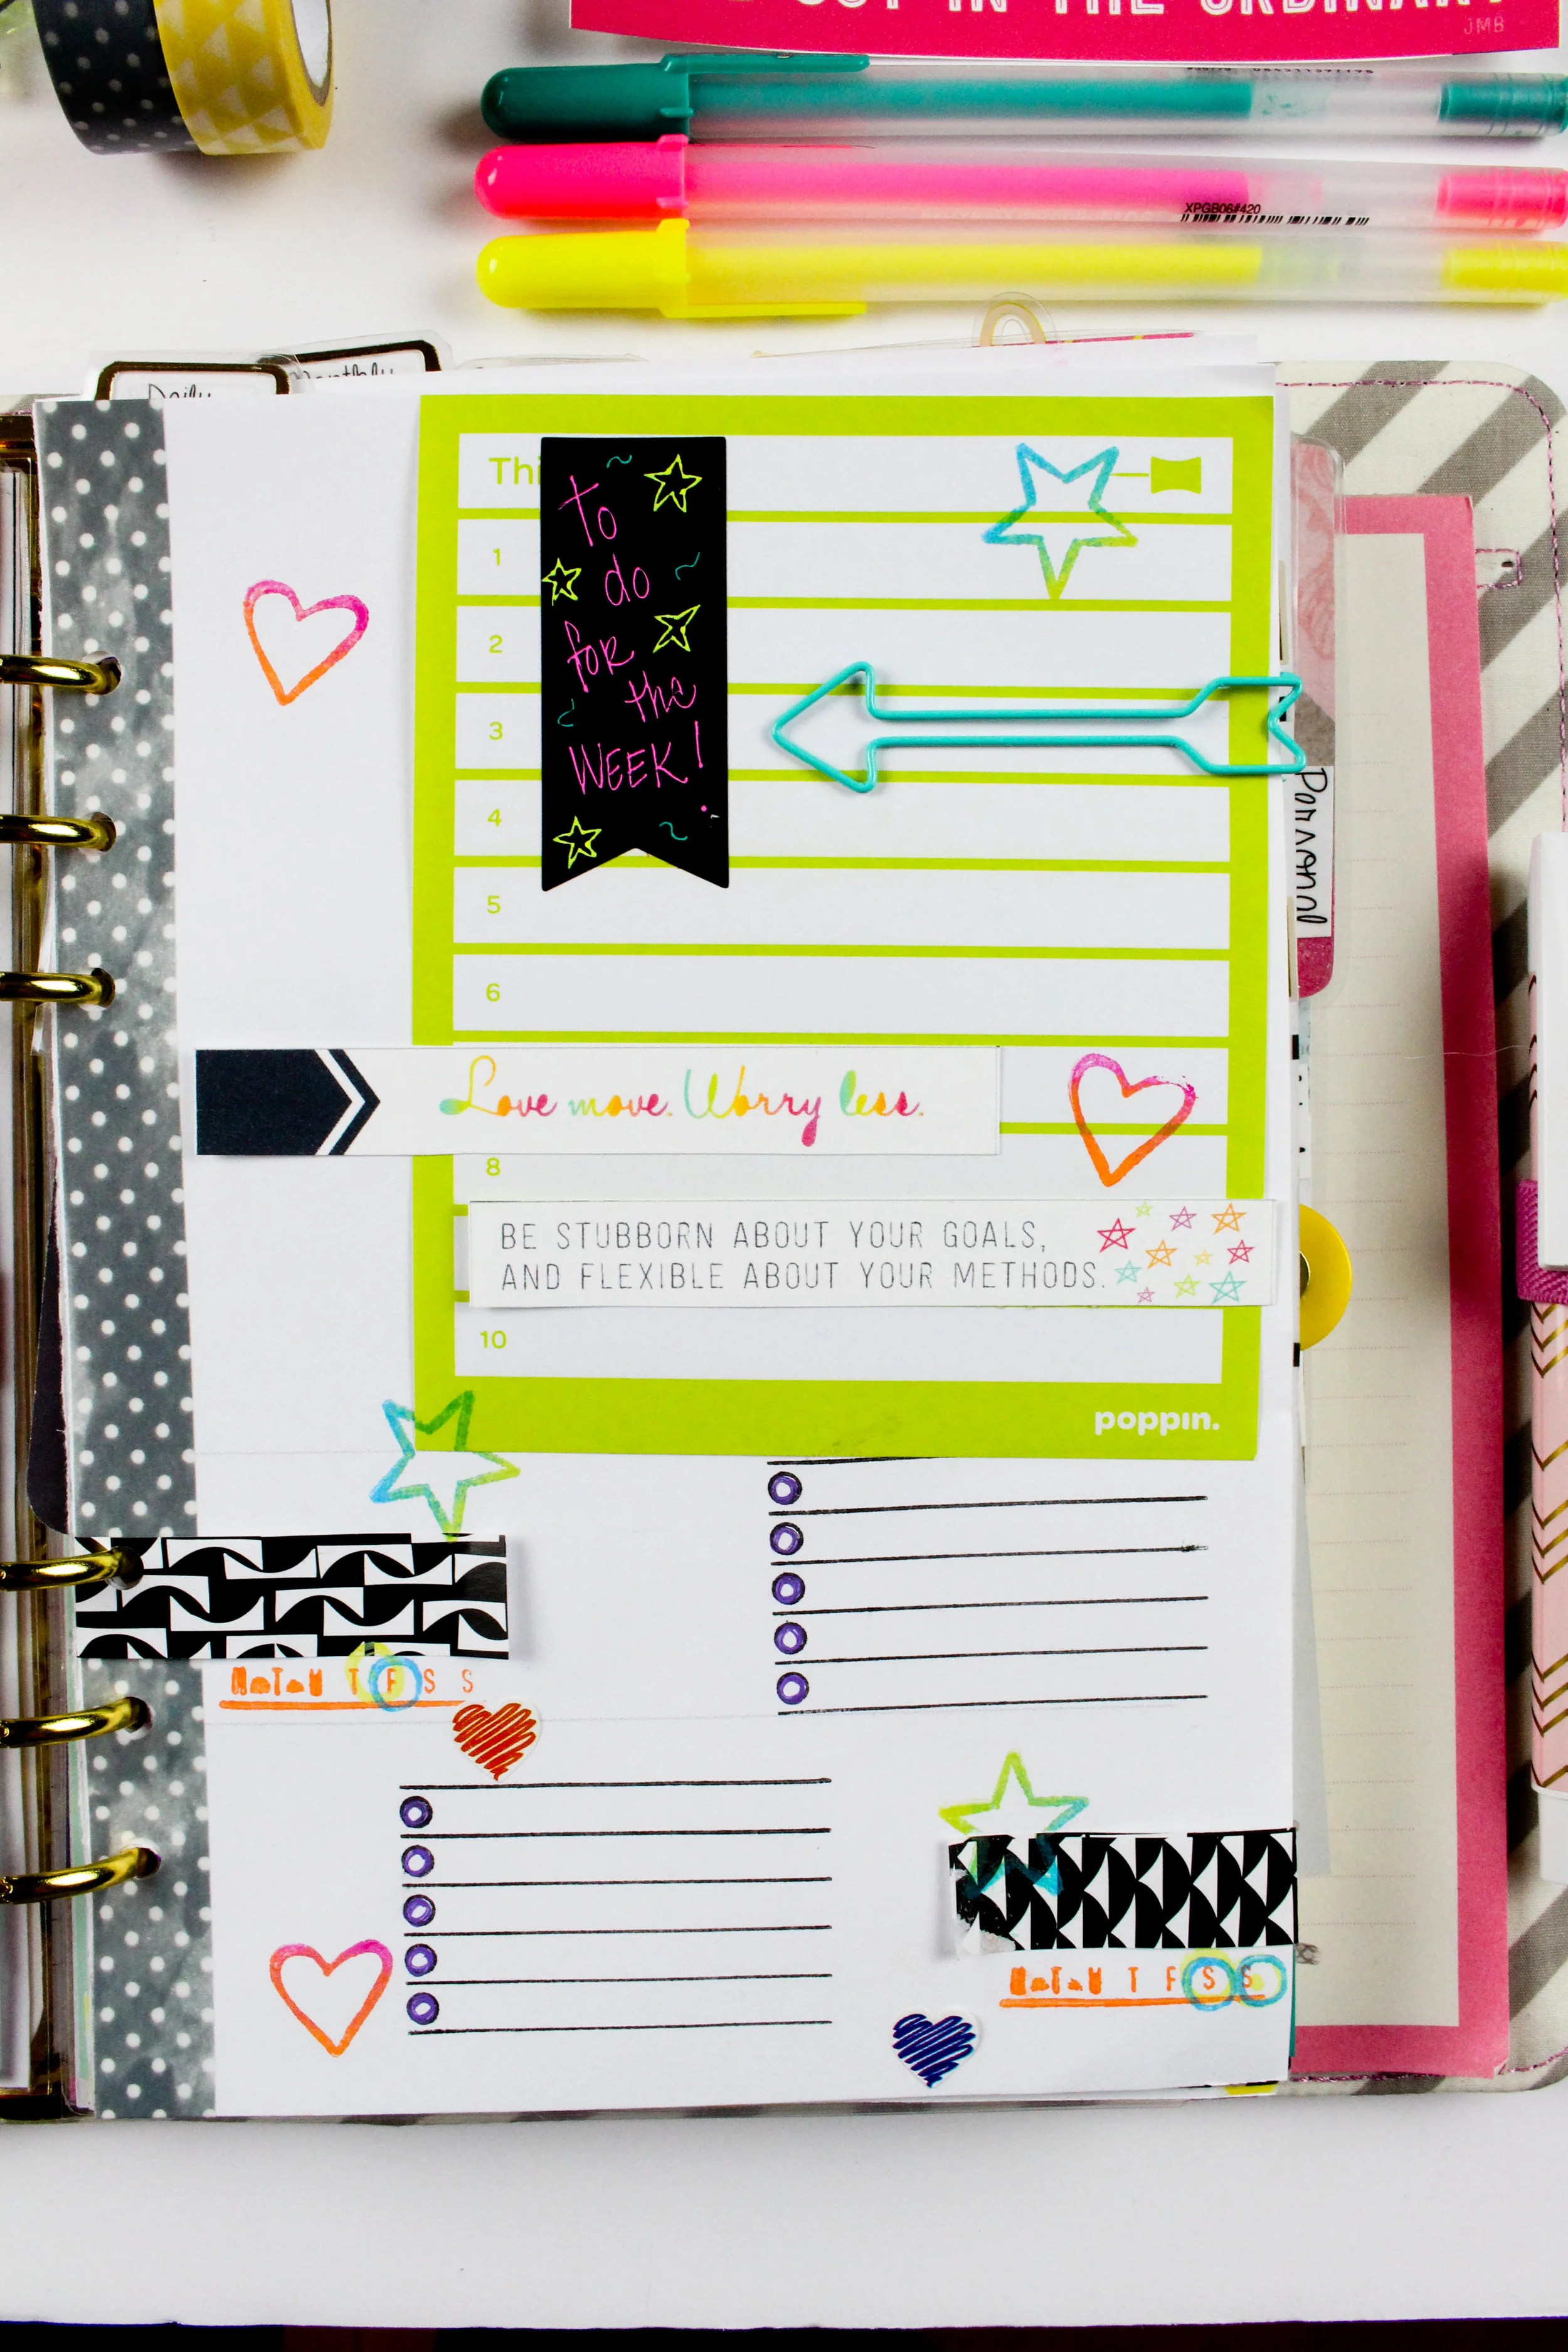
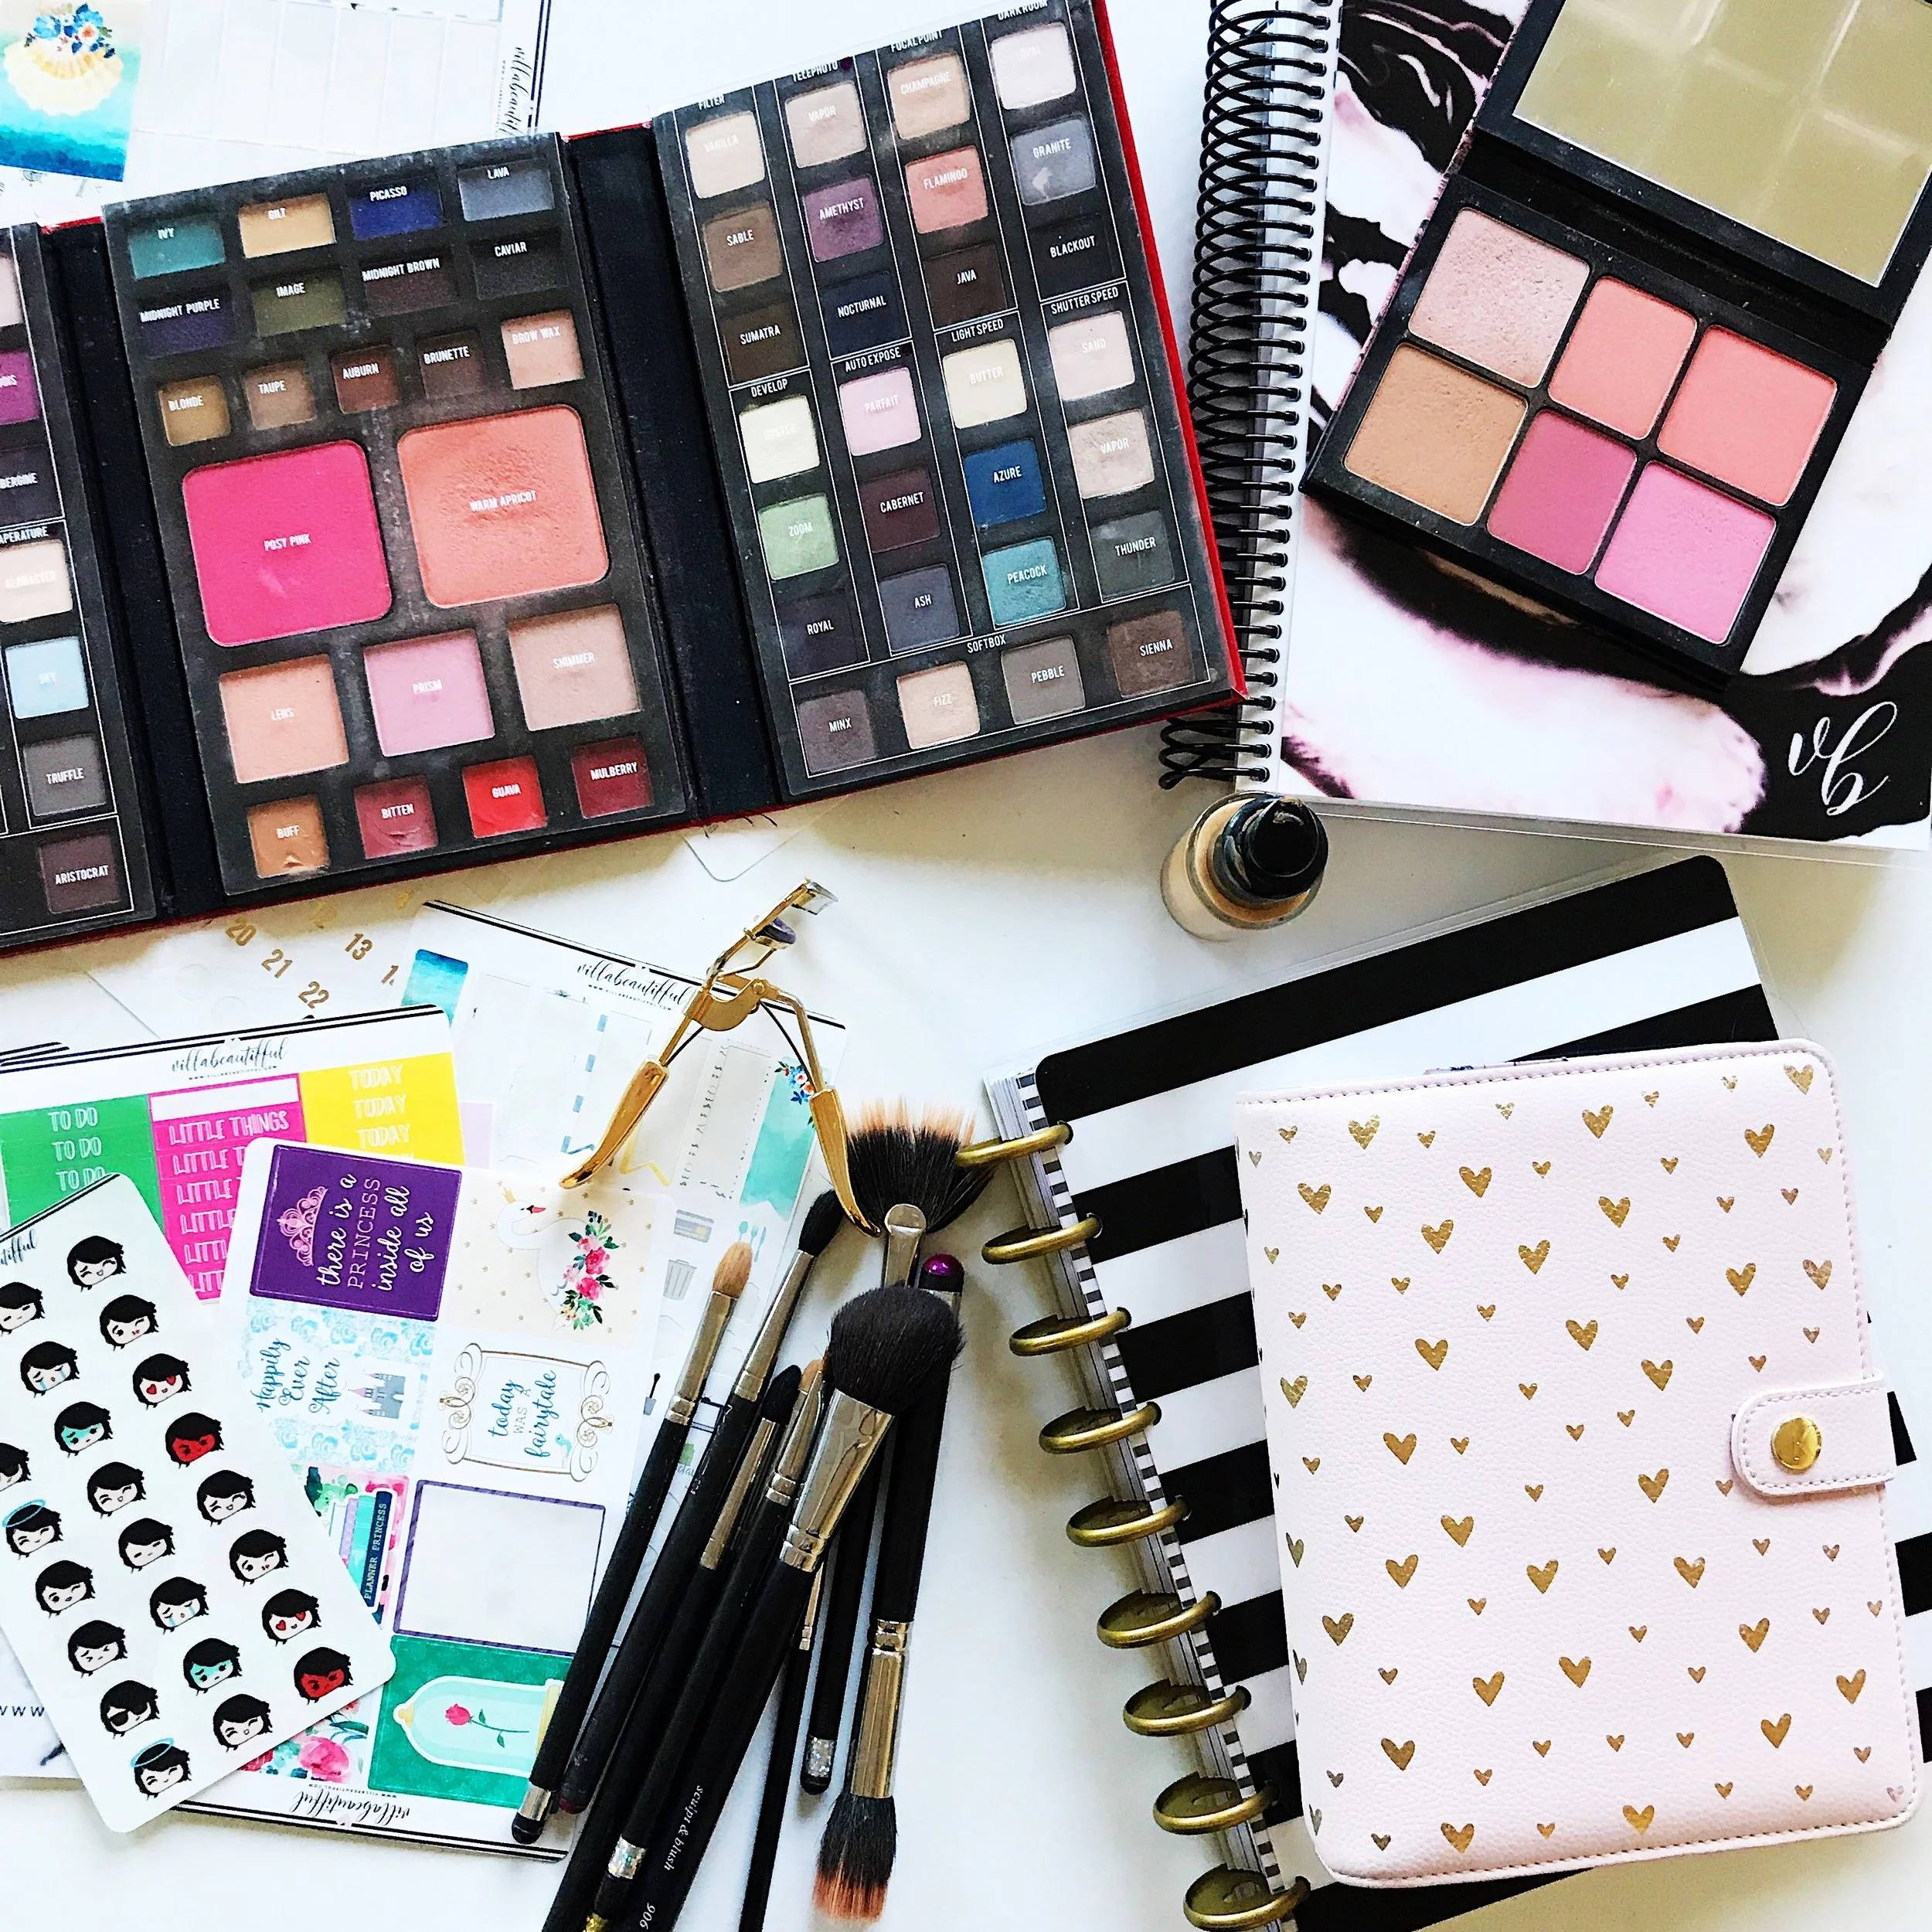
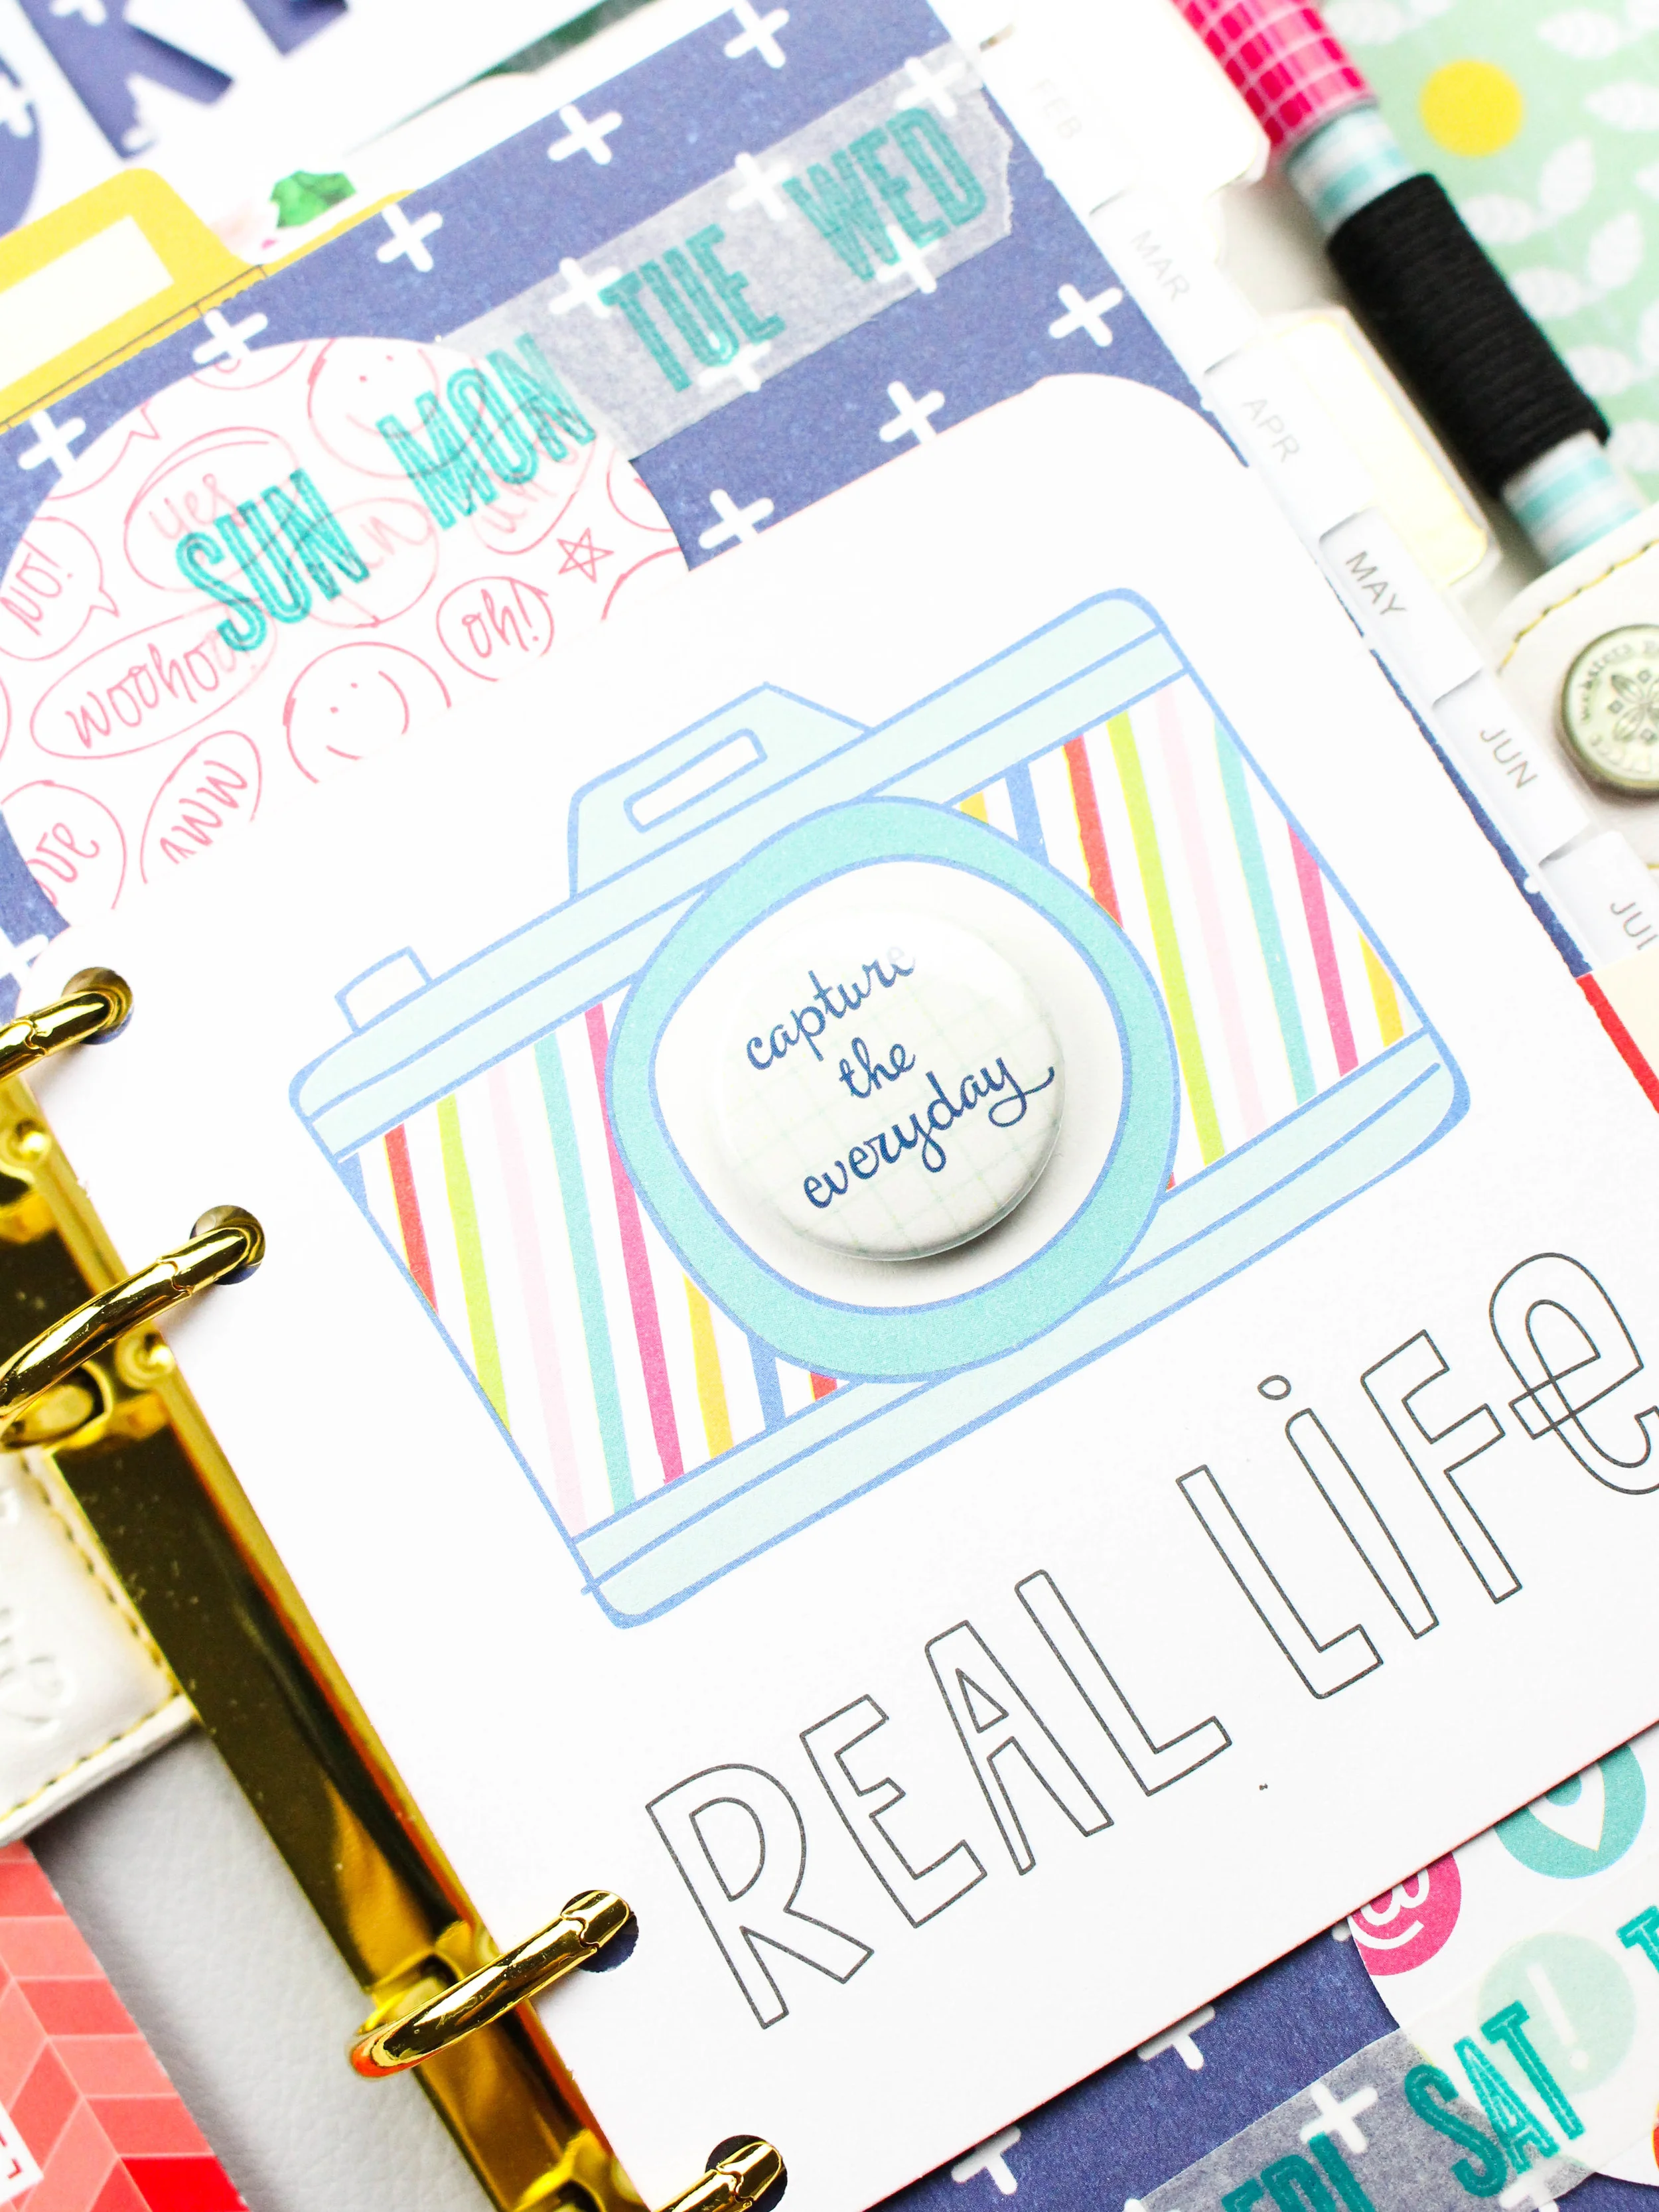
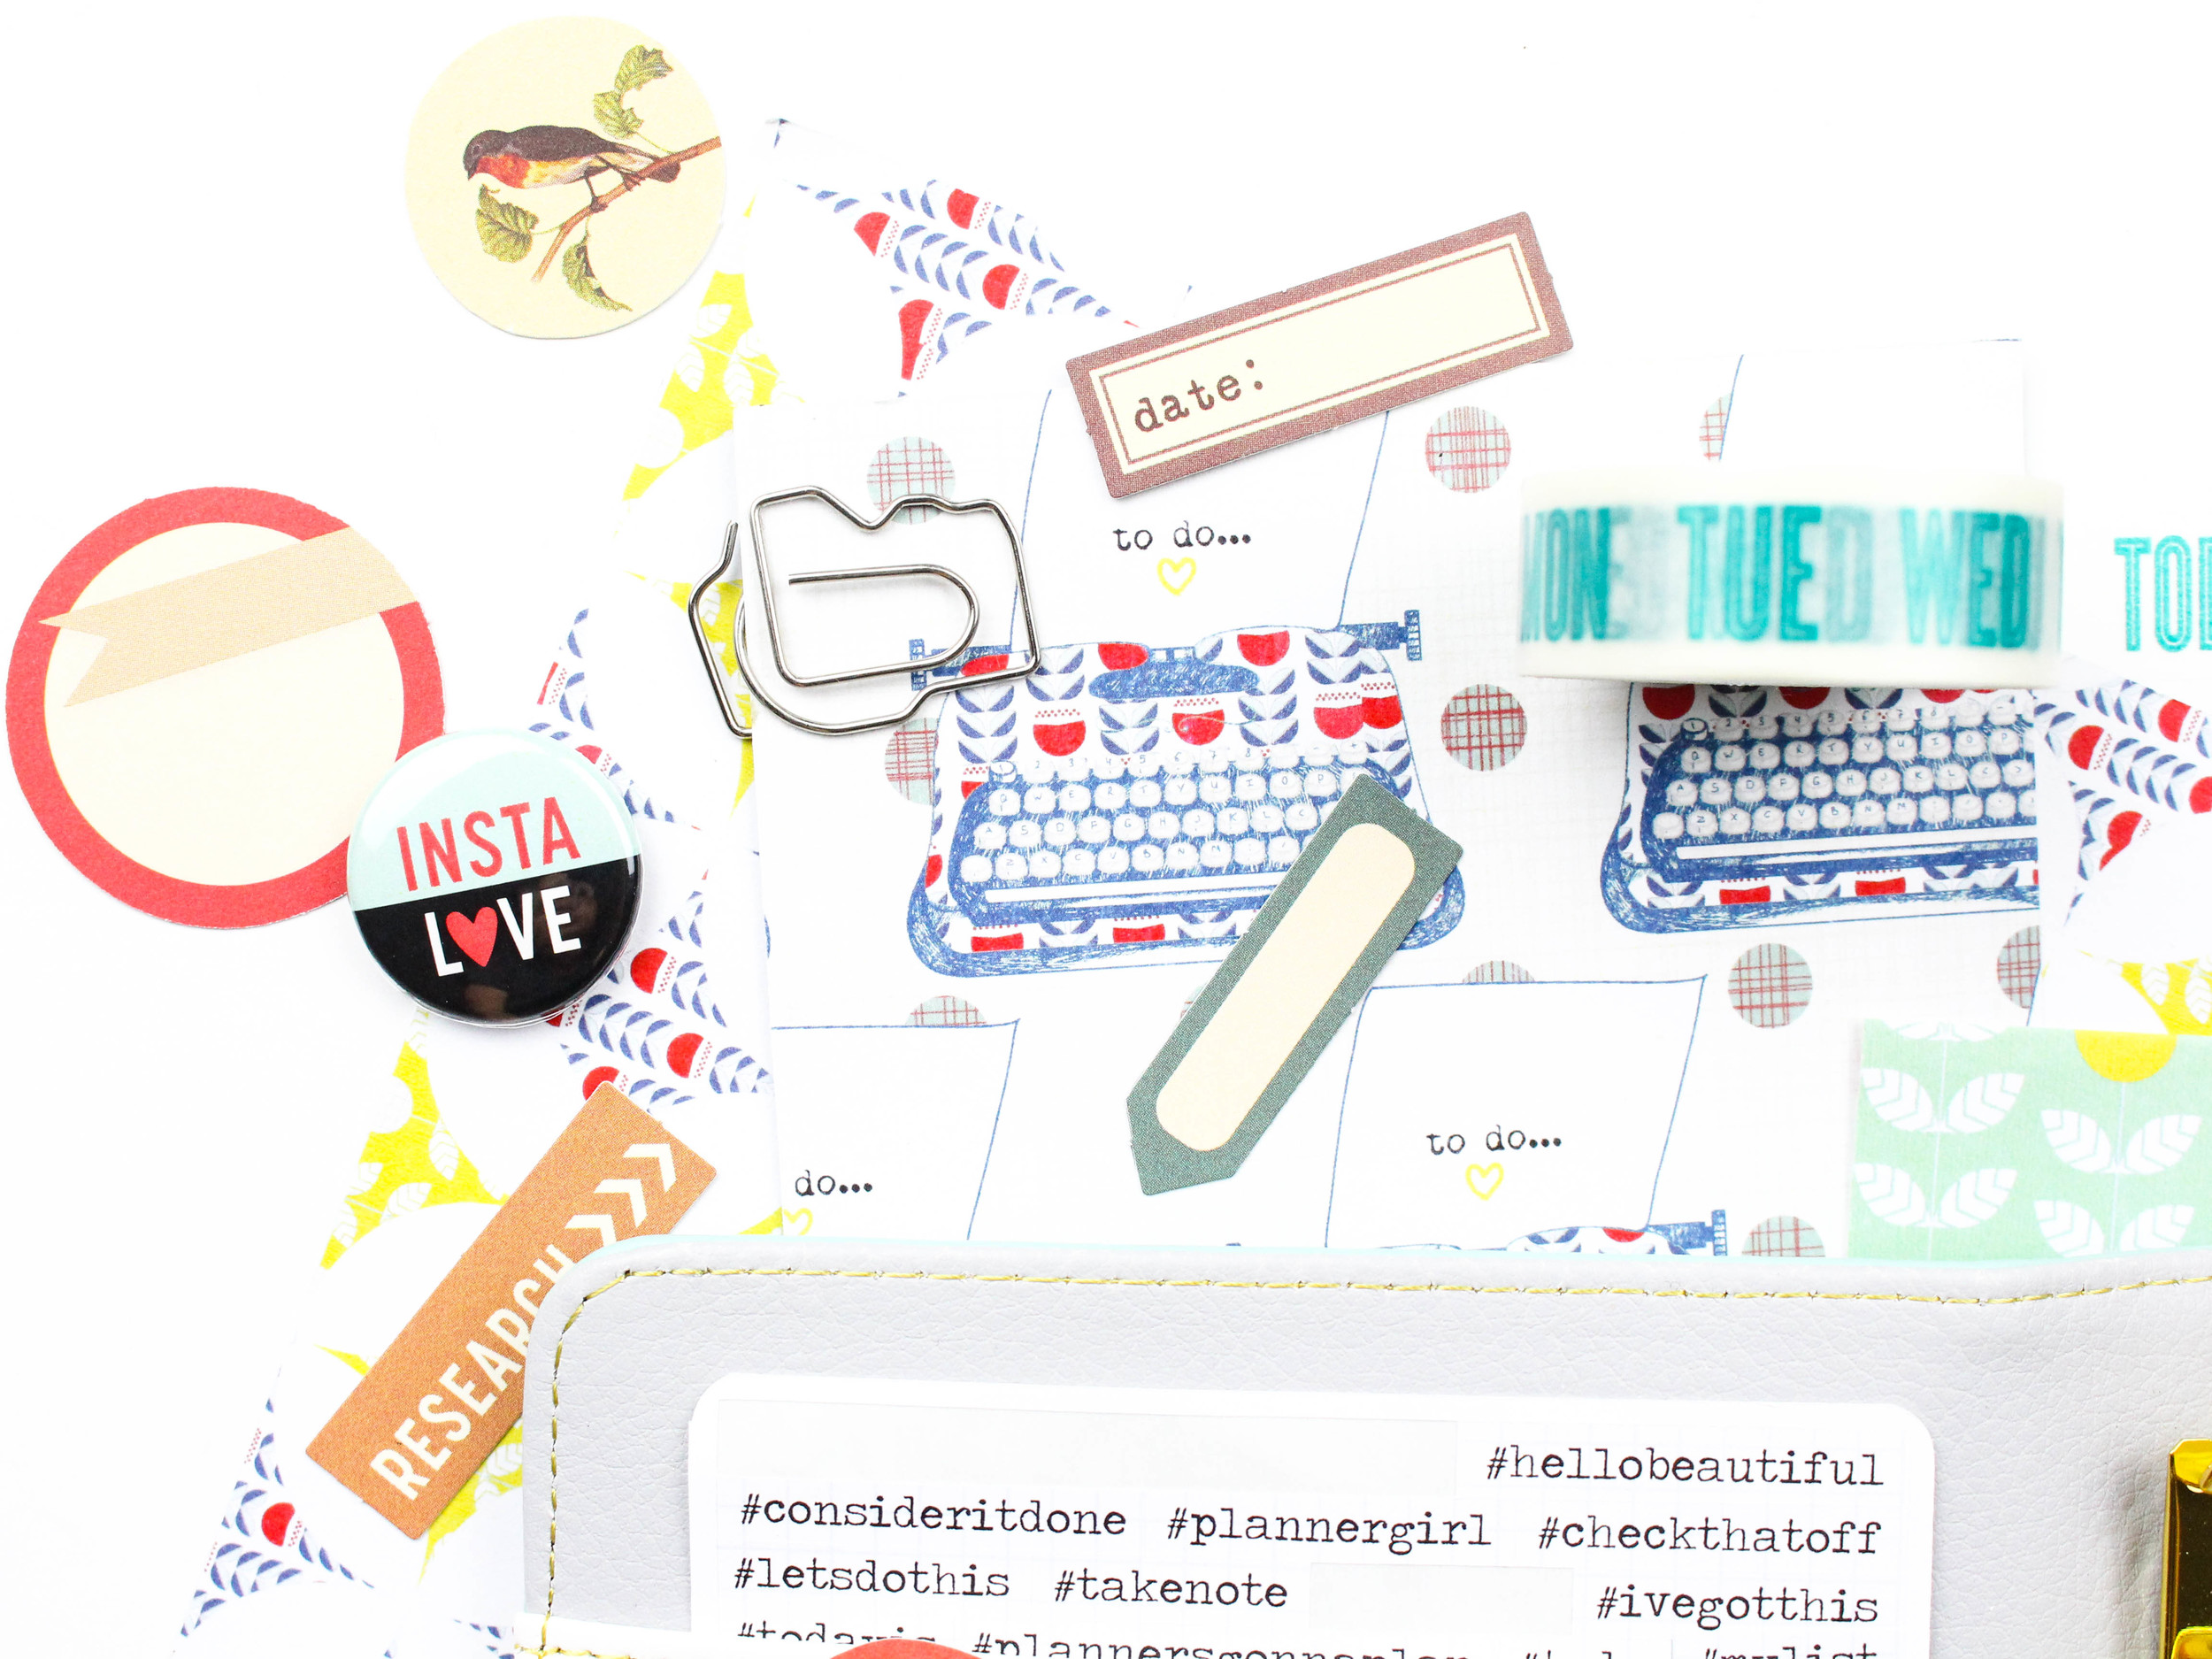
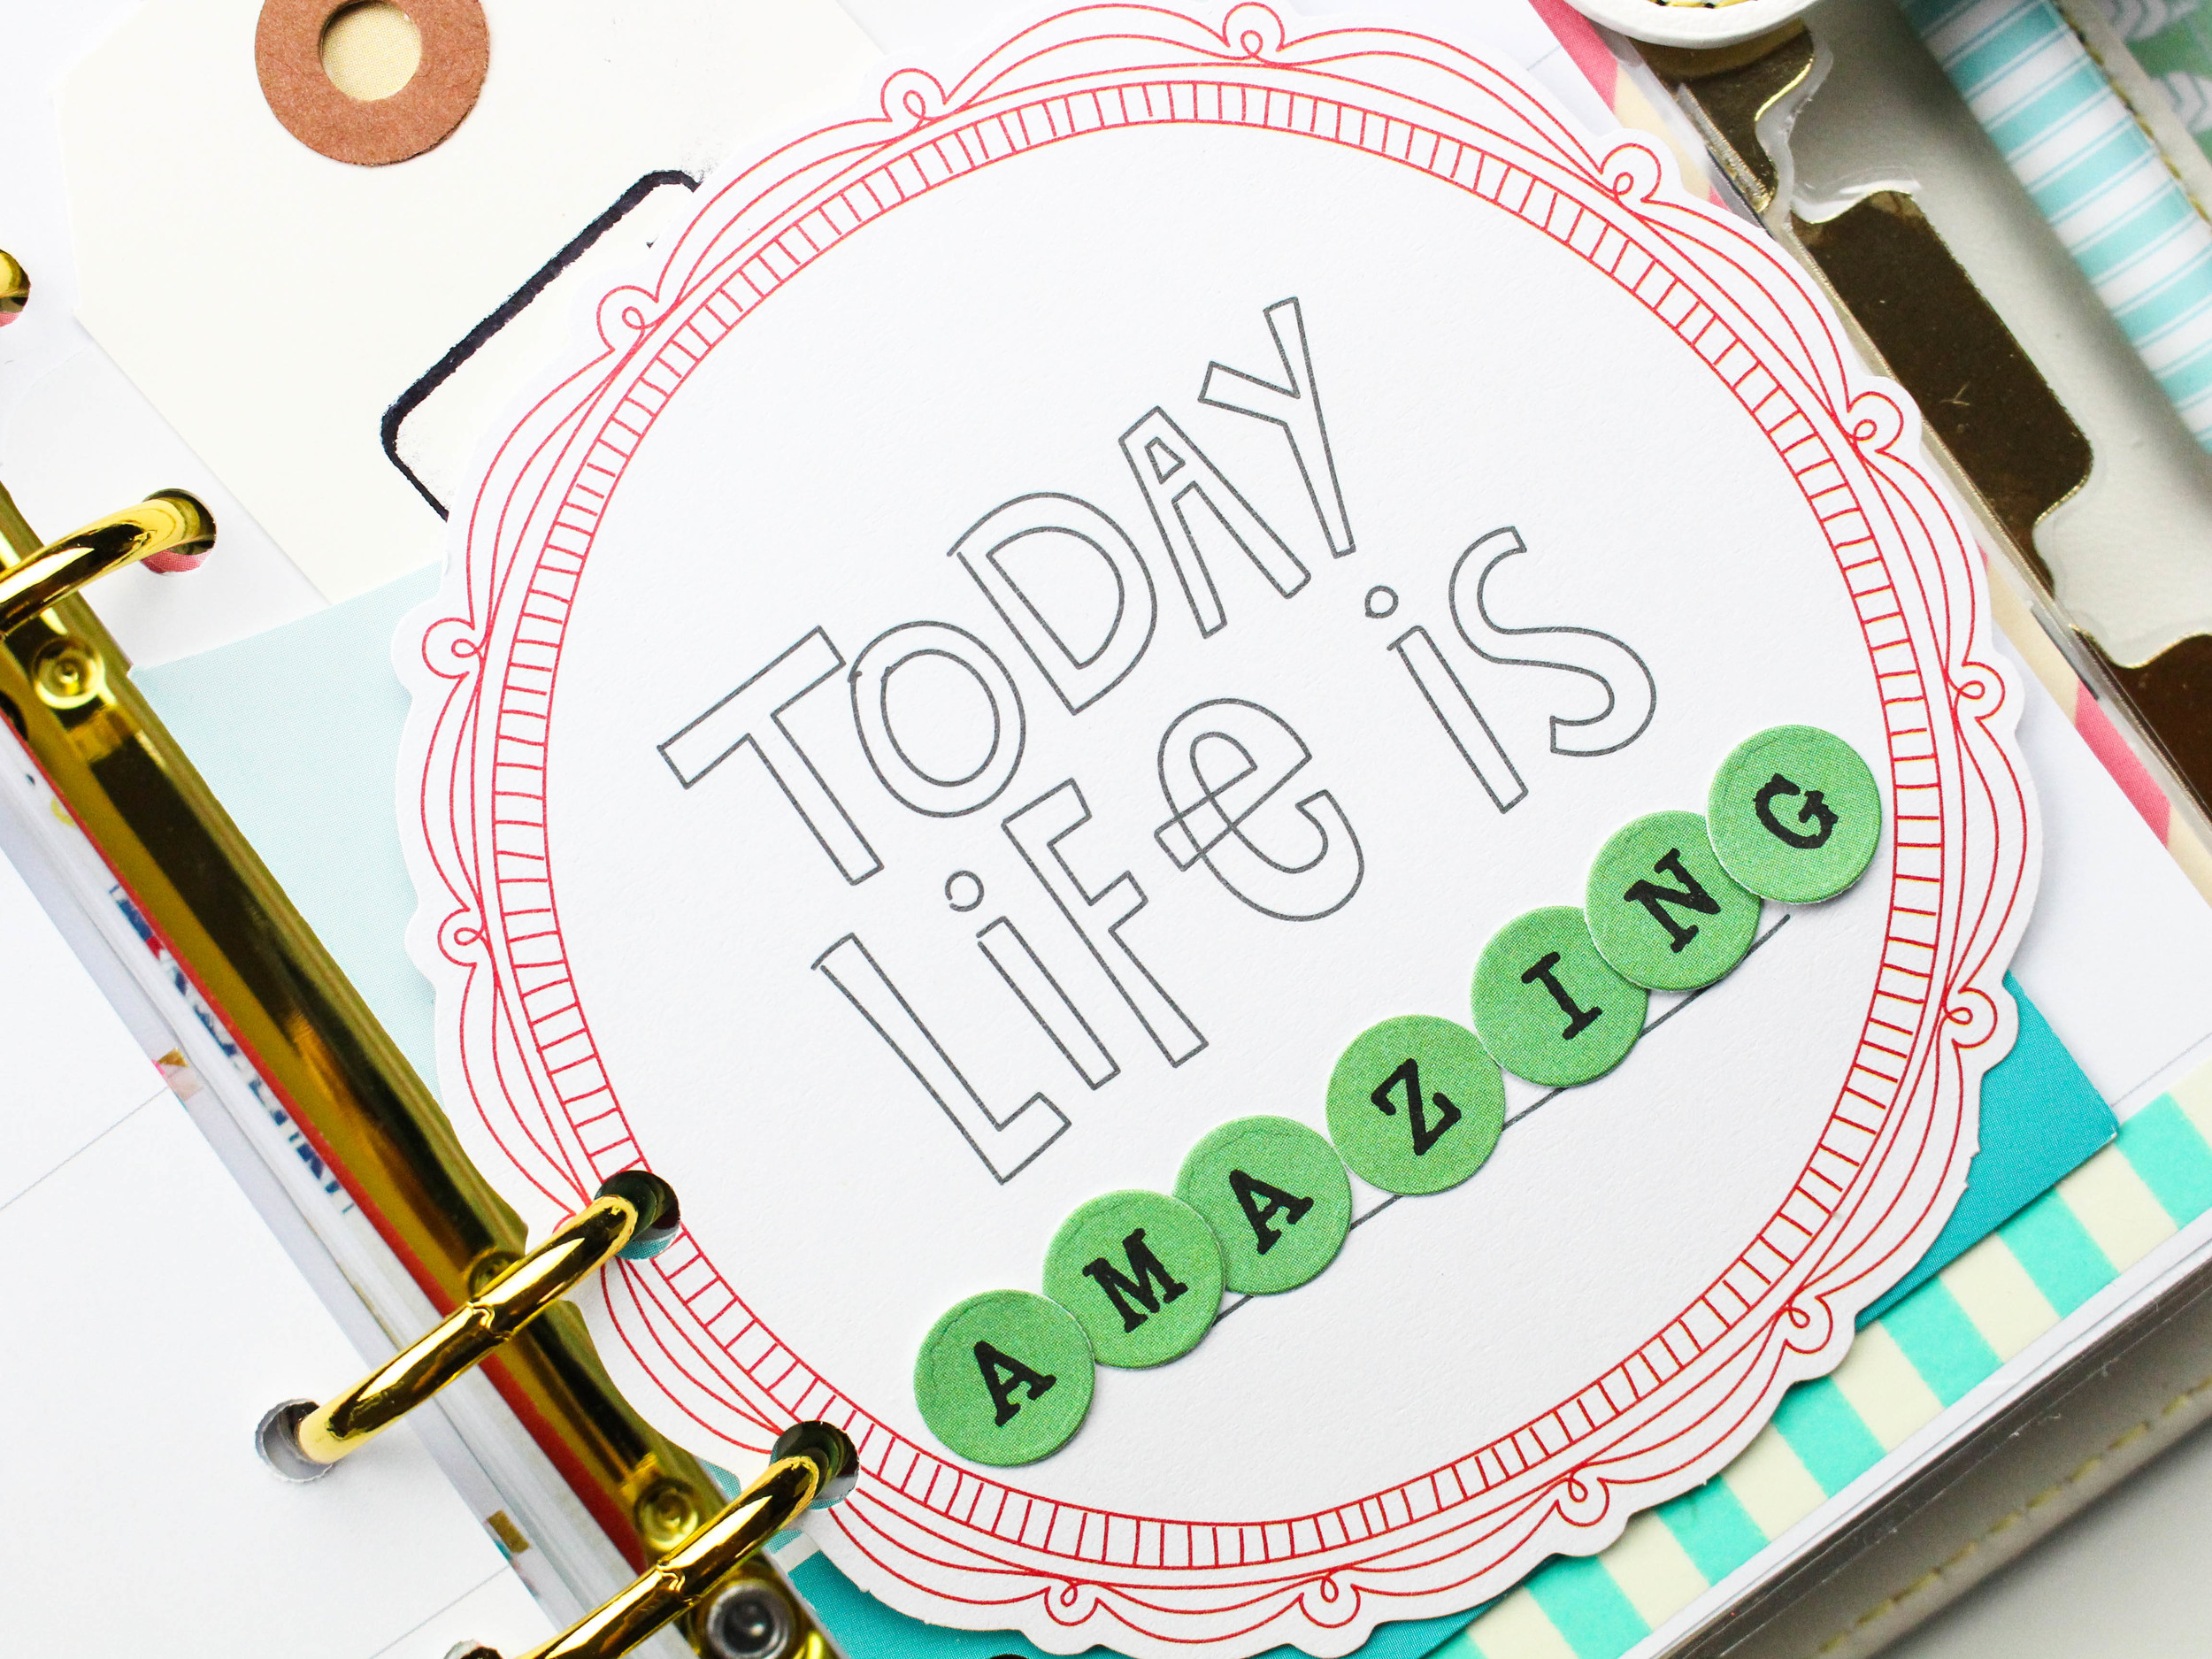
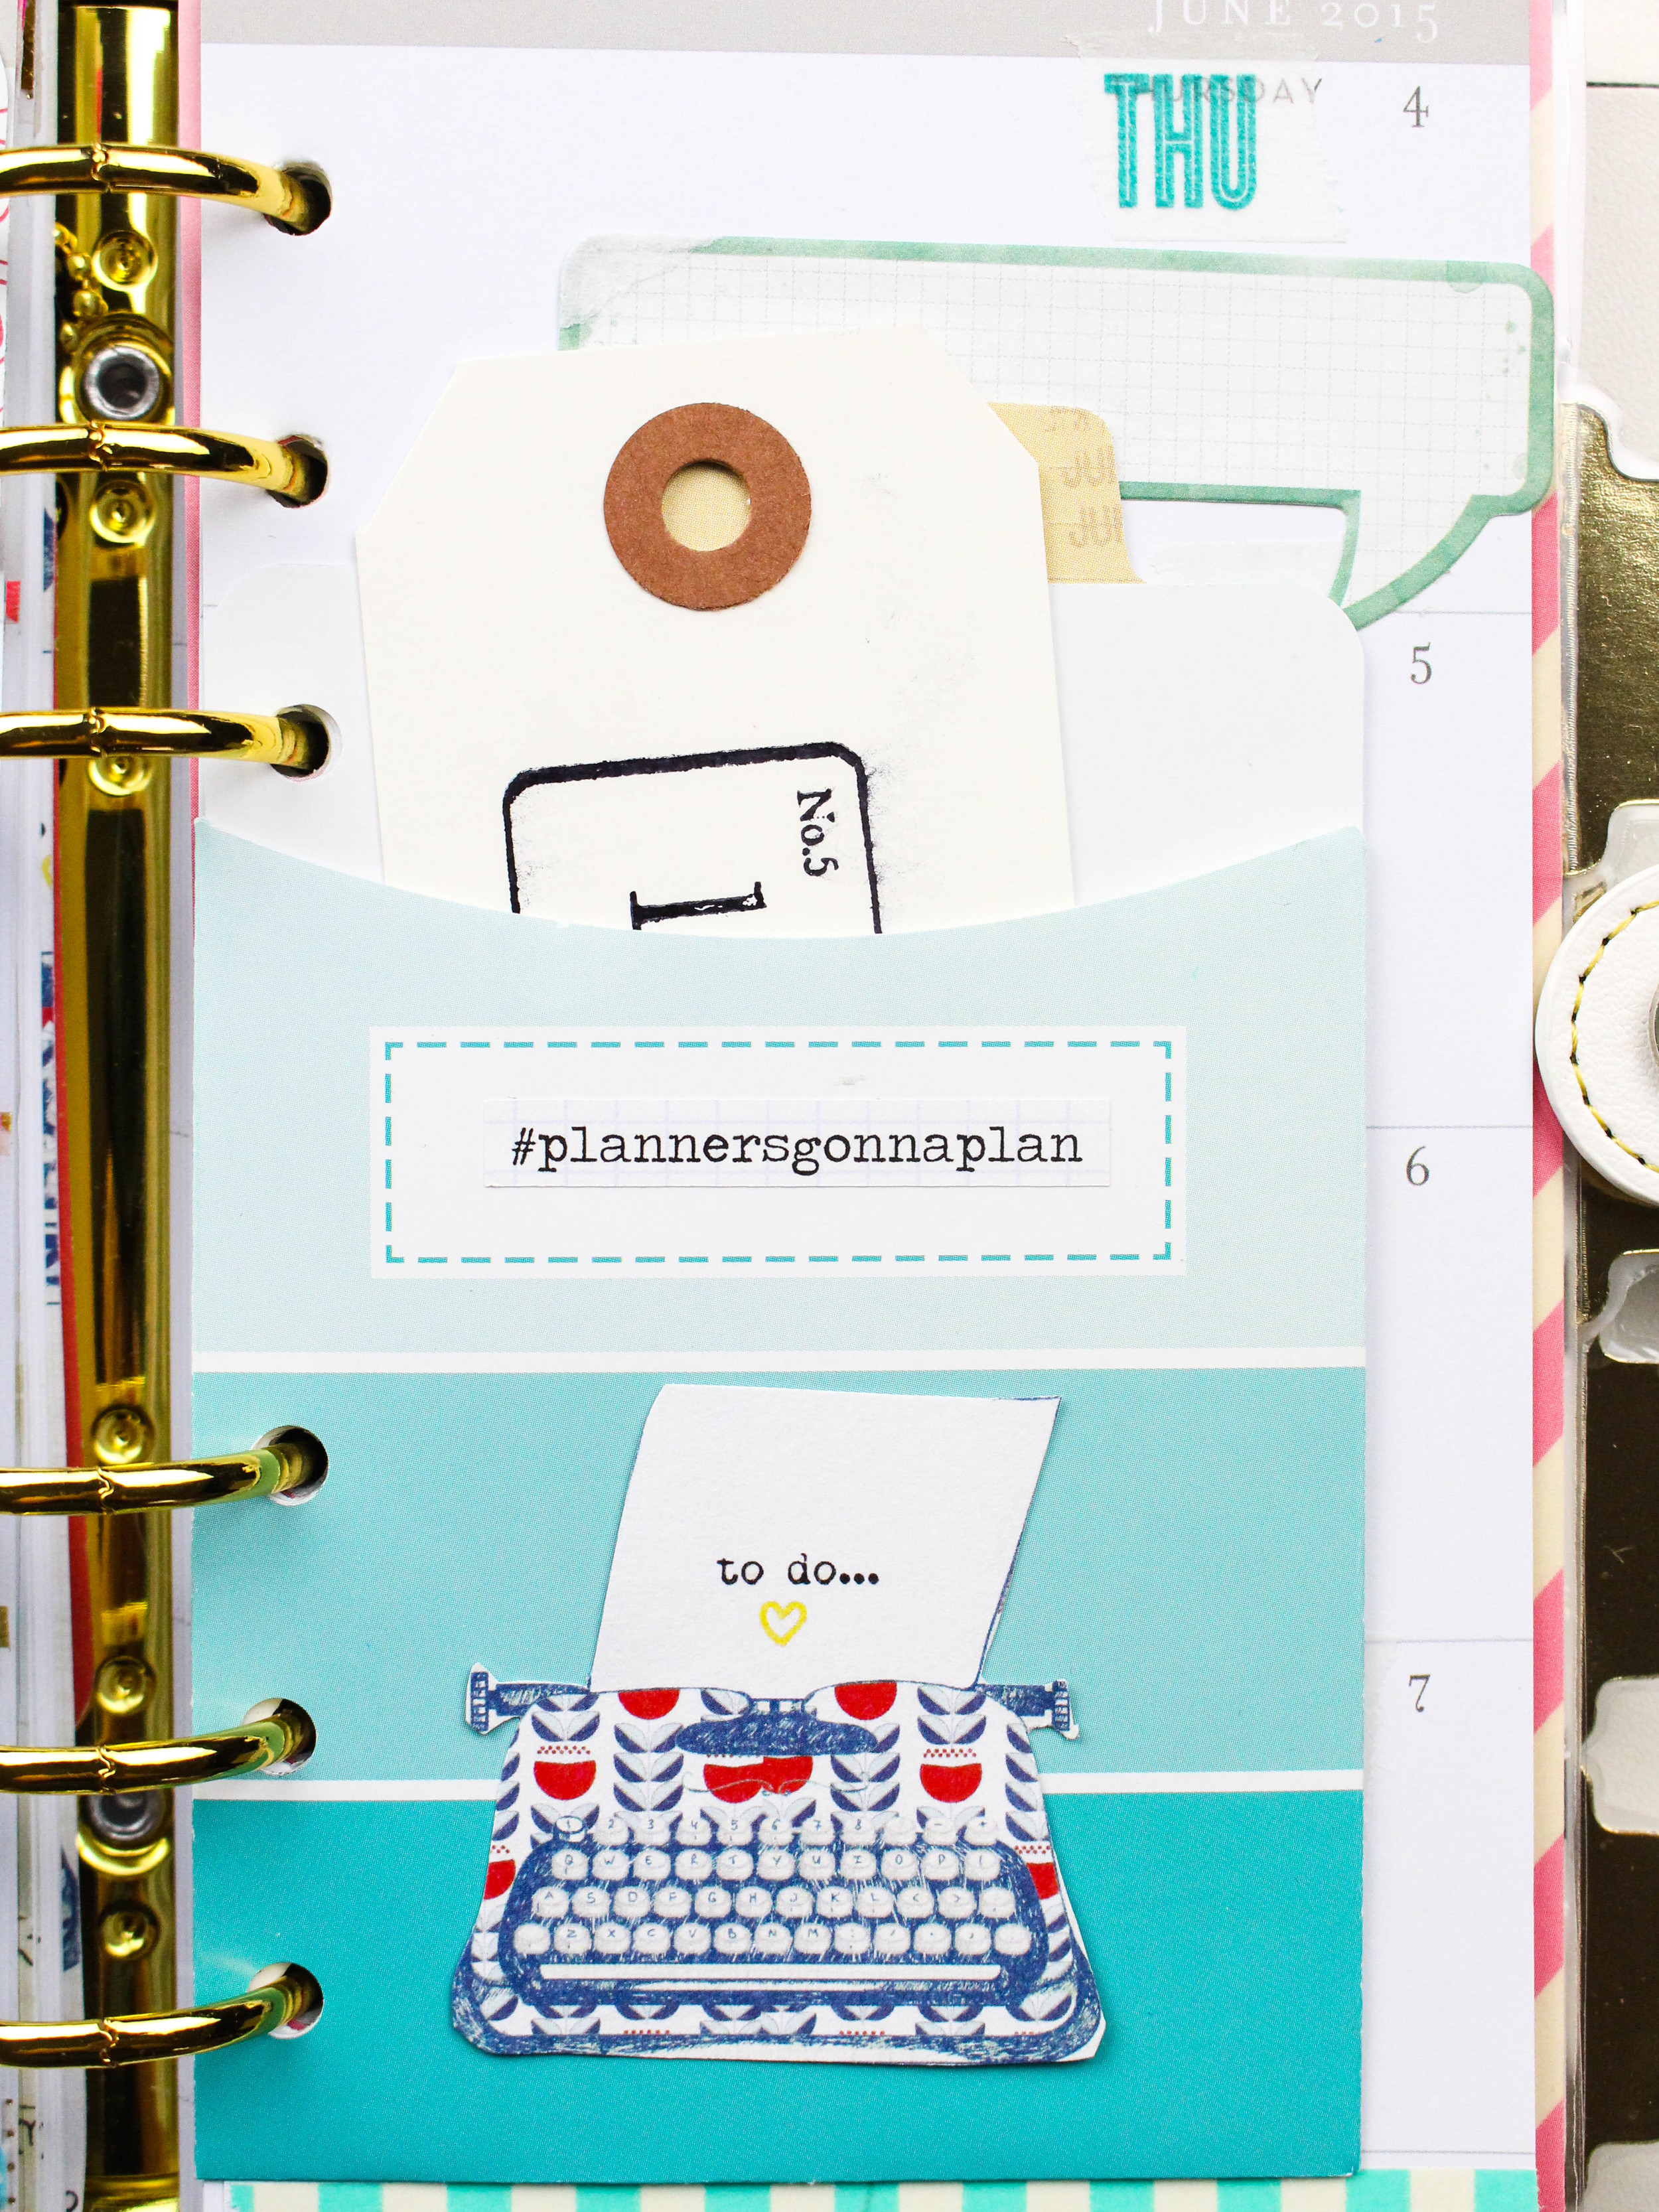
Here are some pictures of what I created with the contents of the May Planner Society Kit. My favorite item would have to be the camera paperclips! I love em! The papers that Christy designed are to die for and really help bring all the content together. 

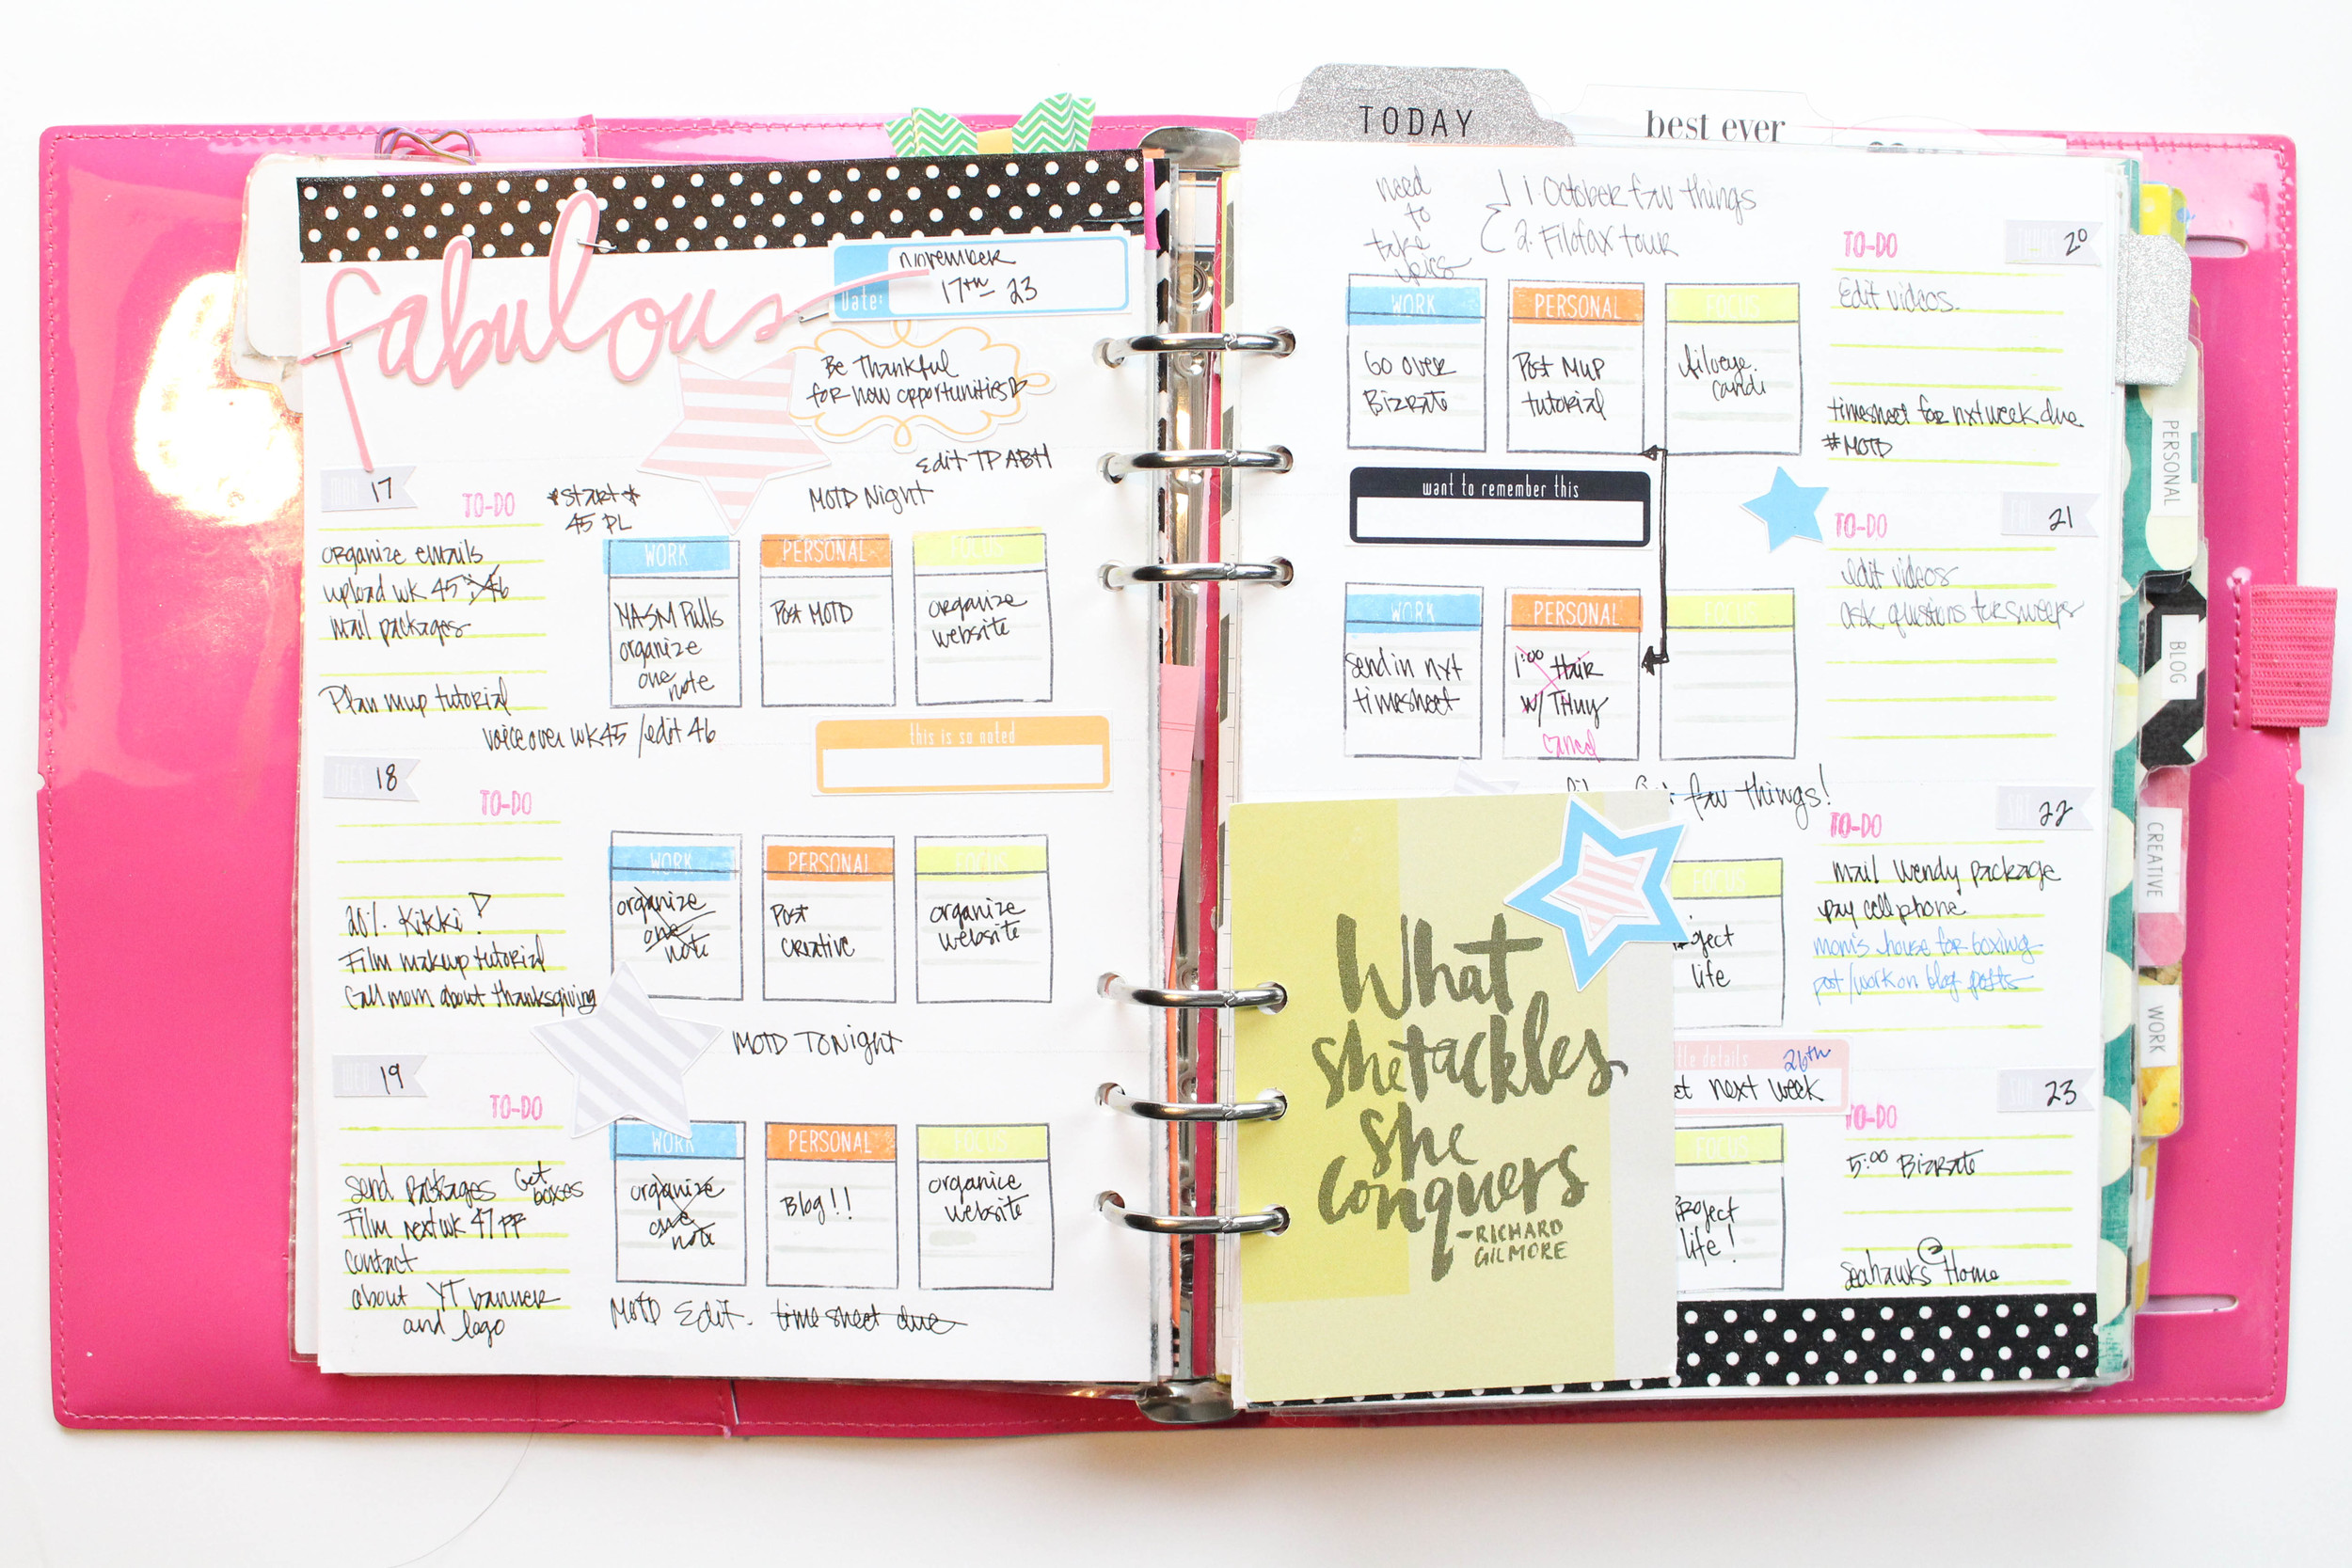
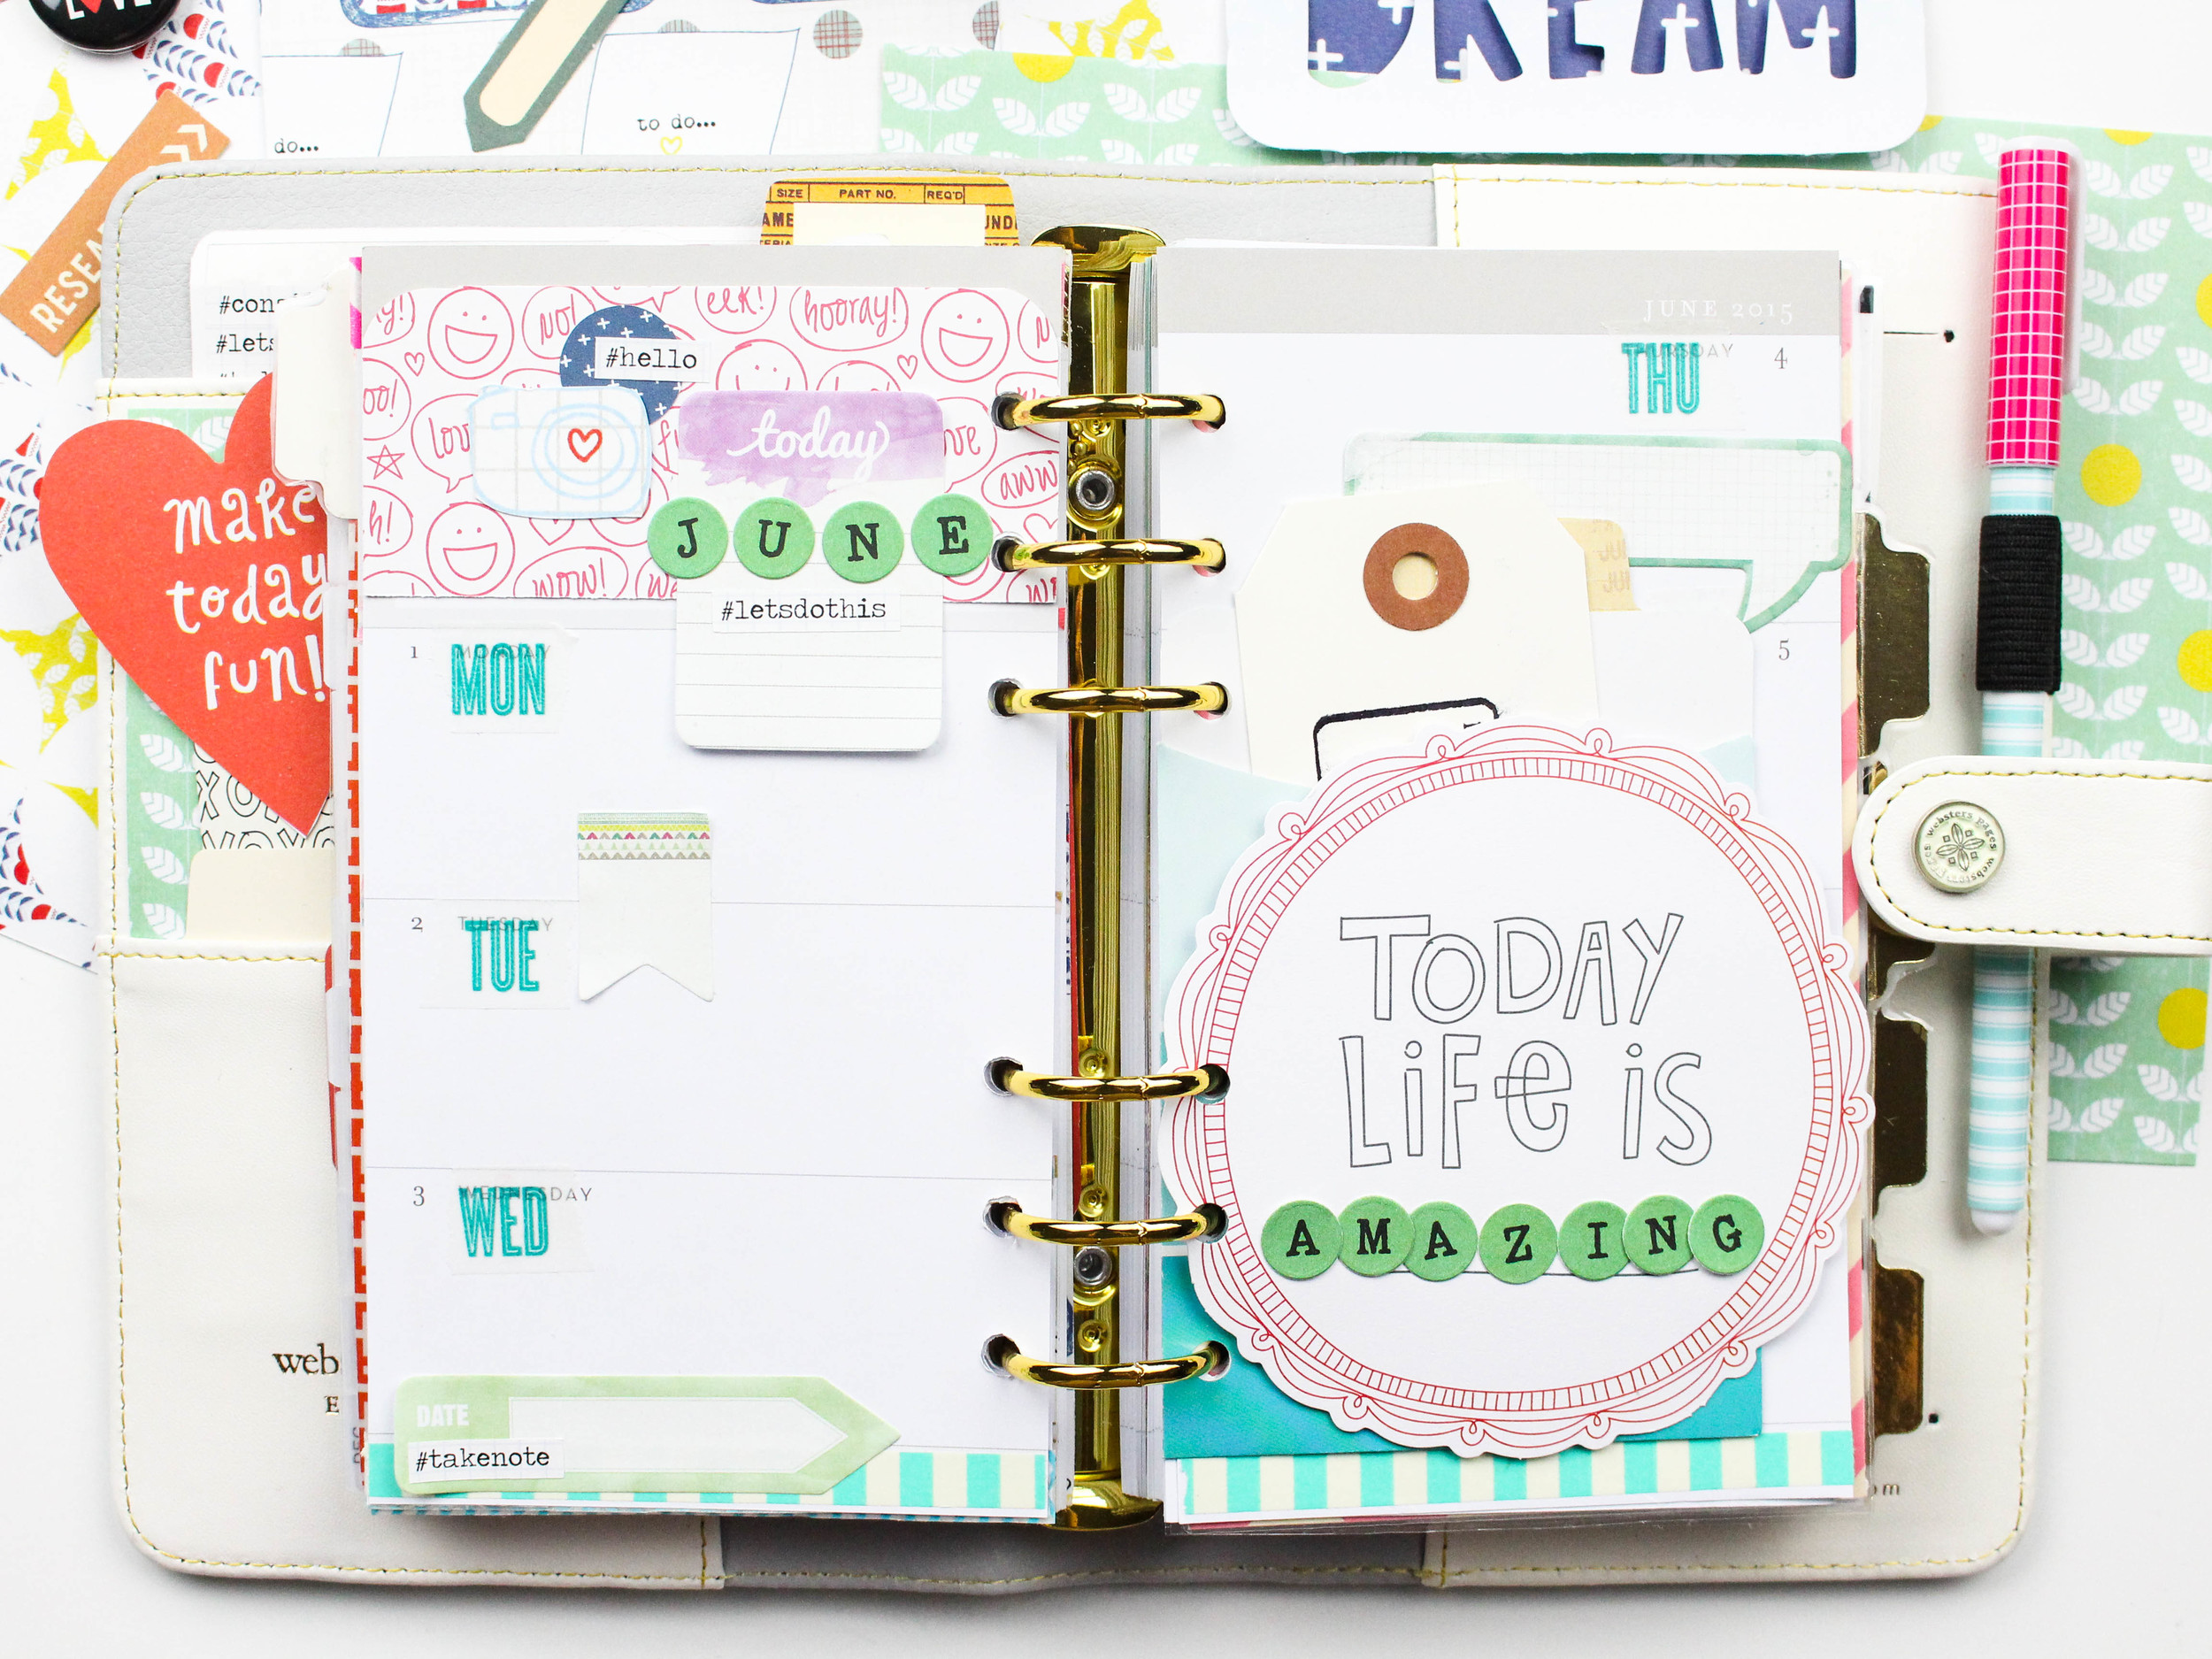
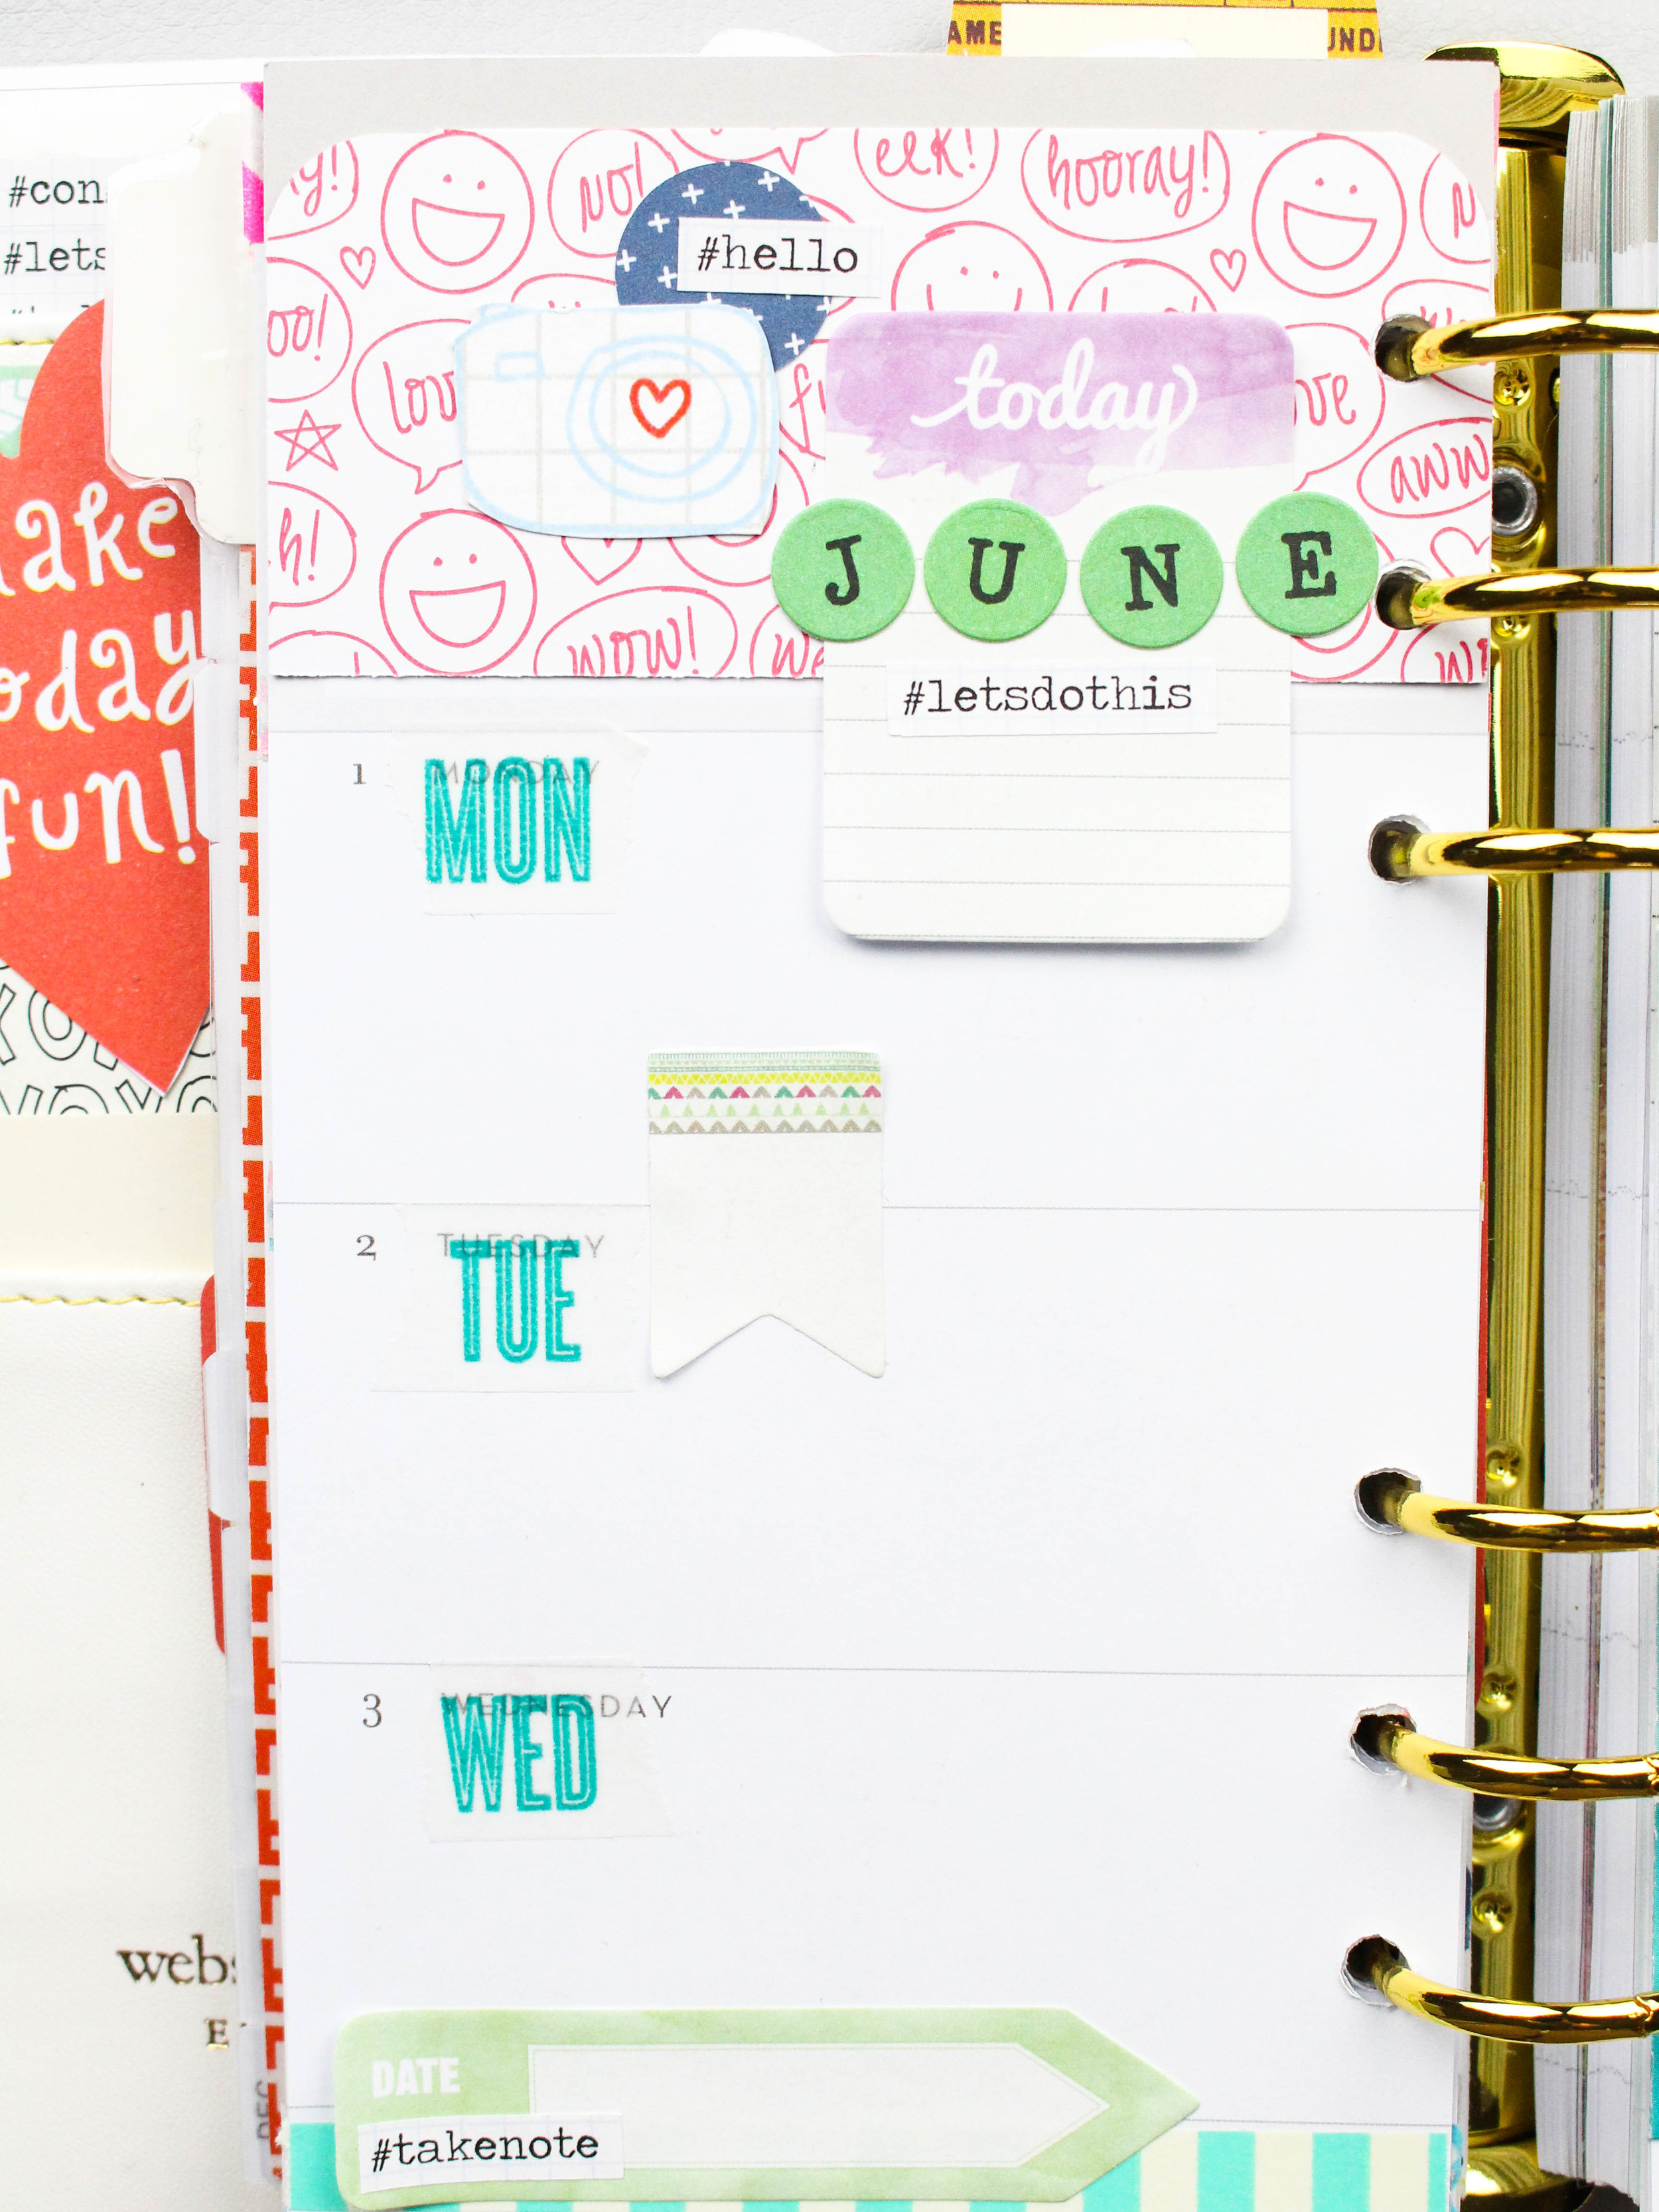
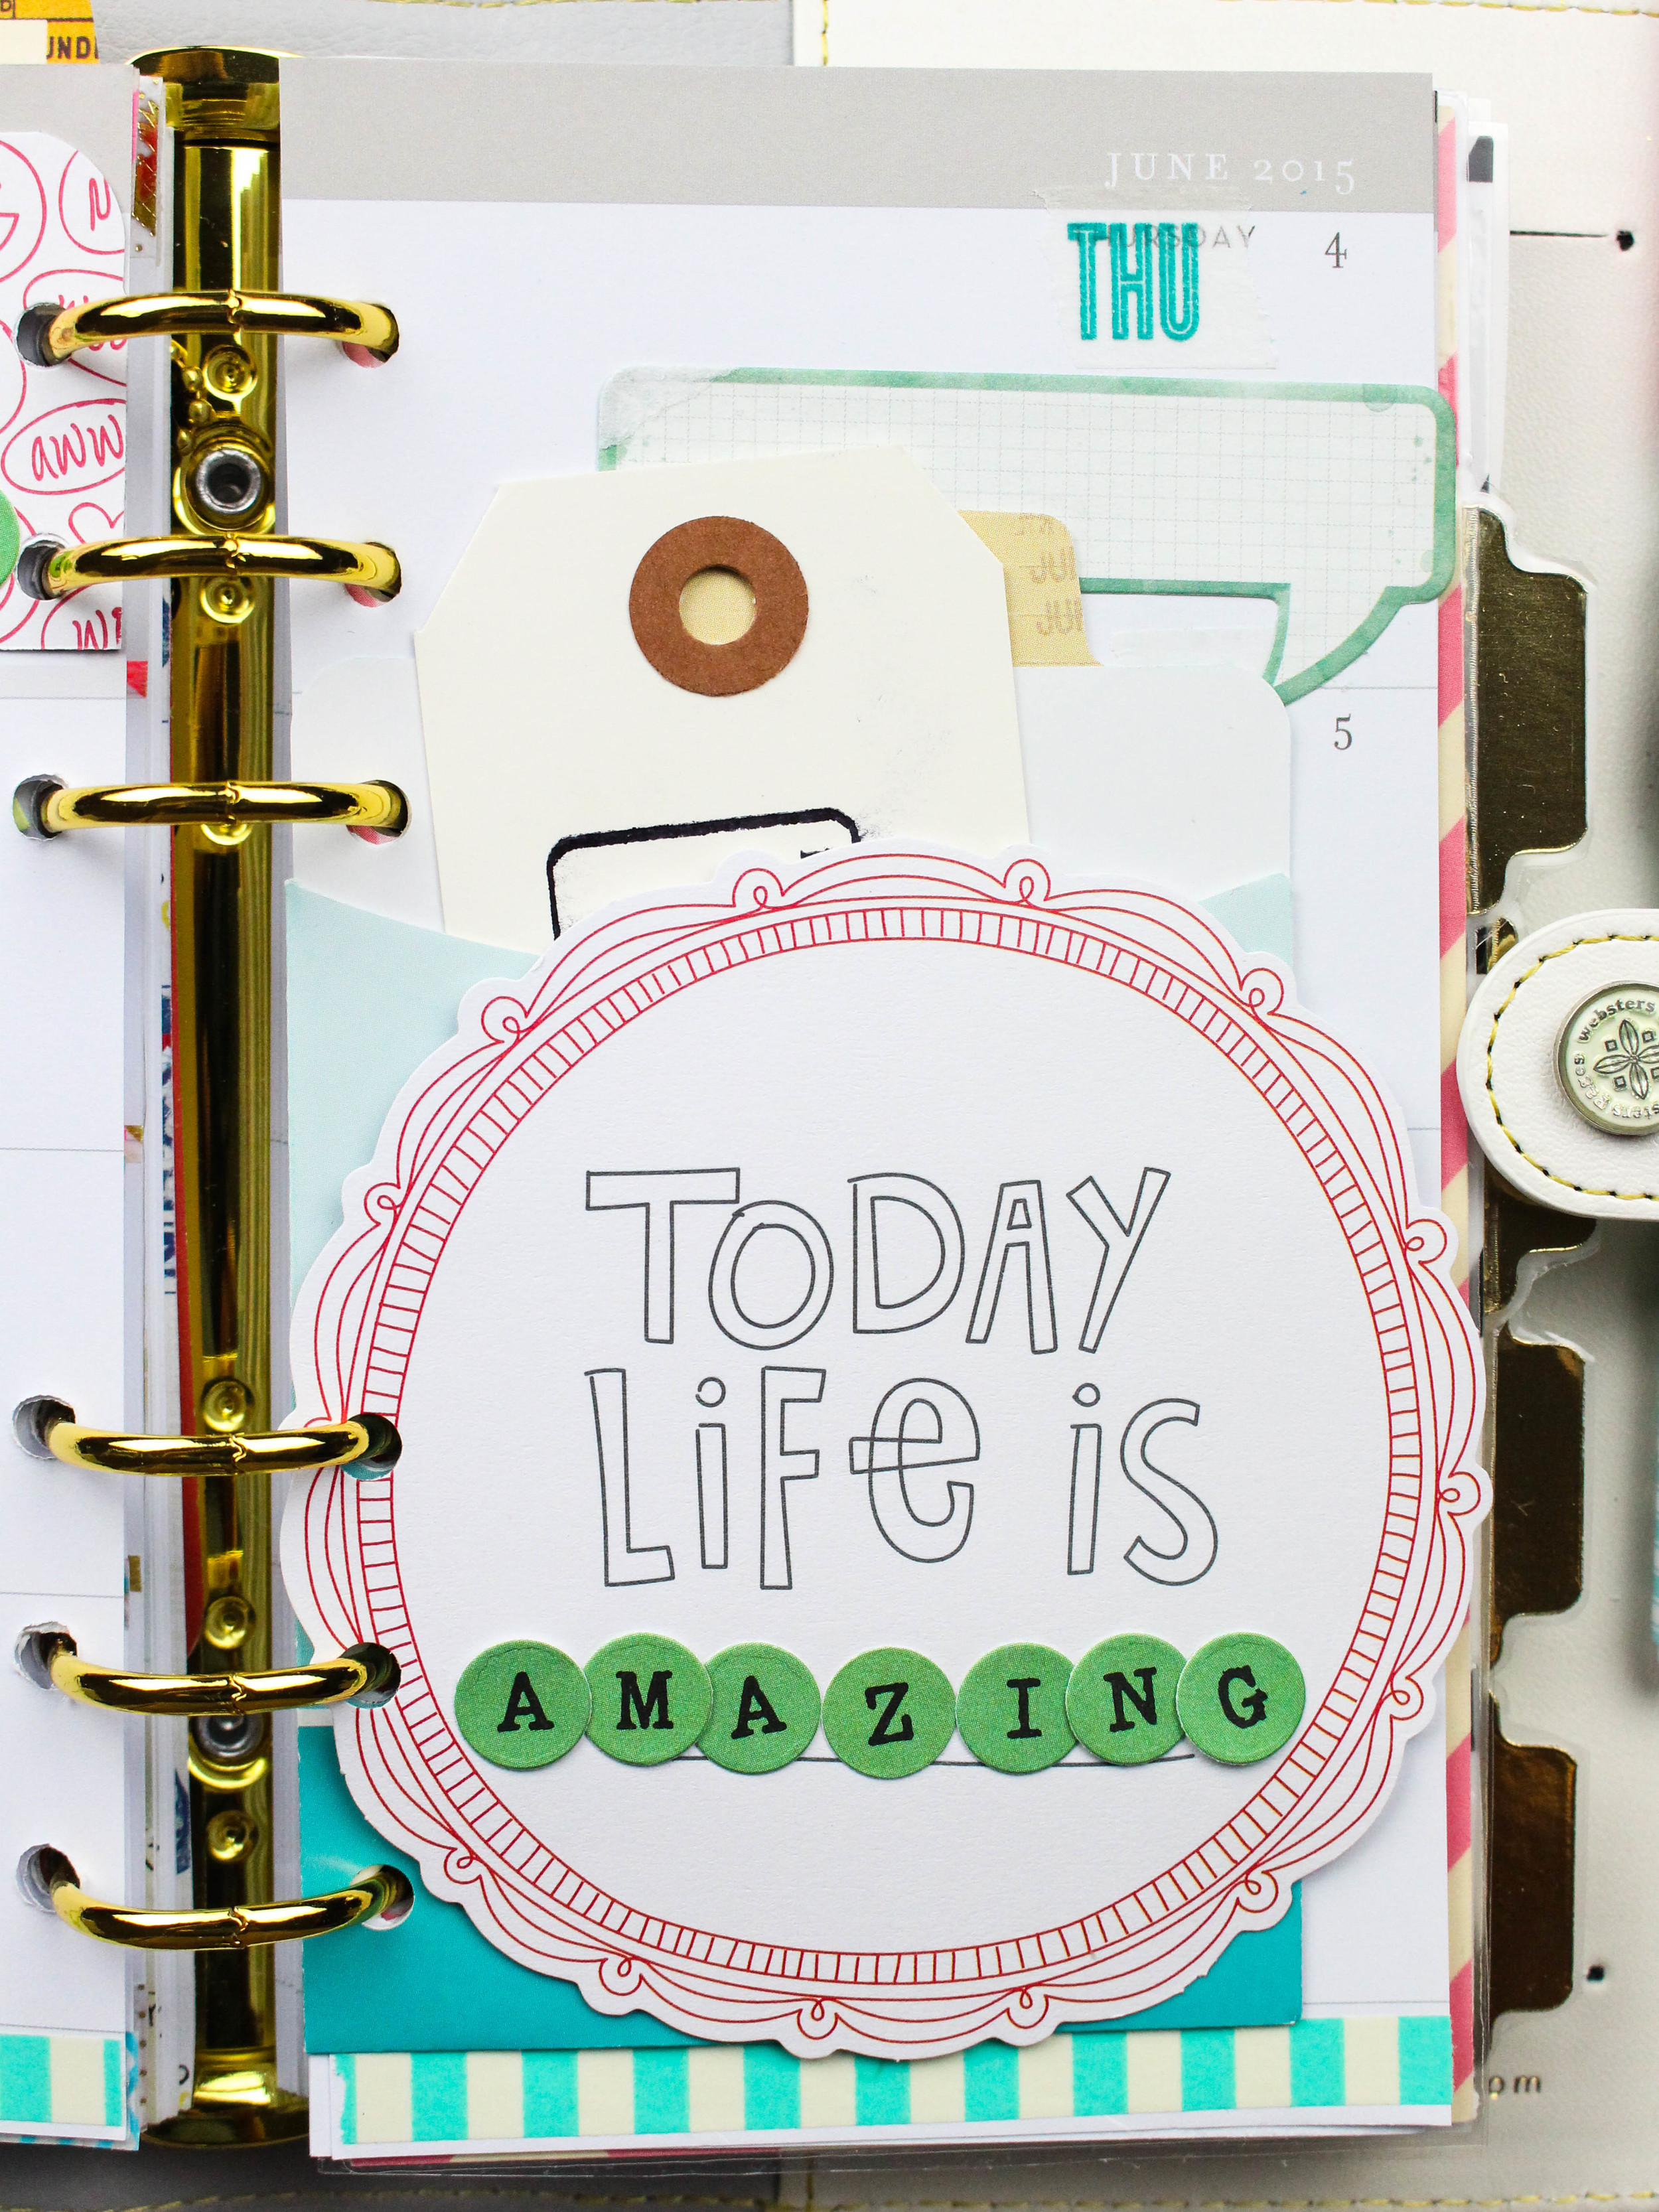
I also created a matching layout using the leftover supplies. Since I plan my weekly layouts about 2 weeks before the actual week this week will be for the end of the month to the first few days of June.  I really like the paper that comes with the Webster's Papers Color Crush Planner. The quality of the paper is great! 

I hope you guys enjoyed my photos and how I used the contents of the kit to create something amazing! Stay tuned for next month to see what I create with a brand new kit. Please tag me on Instagram so I can see what you create also! 

Review: Me and My Big Ideas Create 365 Happy Planner

MAMBI Create 365 Happy Planner Review

A look inside the My Life MAMBI Create 365 Happy Planner. This is my first time using a planner that's on a disc binding system. I love all the different accessories that MAMBI offers for this planner. You can really personalize this planner based on your needs- either for memory planning or for daily planning 

To see a photo comparison of the Erin Condren and the Happy Planner together click here. 

Take a look inside the My Life Happy Planner to see how cute the pages are! I also added pictures of the accessories that I purchased with it also.  

How To Plan A Planner Meet-up

PNWPlannerGroup

When I started this whole planner adventure I knew I wasn't the only one out there that is a true planner addict. I wanted to meet local addicts who shared the same interest as I do but how would I go about this? I bring you the Pacific Northwest Planners Group!!!! The group came about with a simple post on IG regarding a simple meet-up with locals and then turned into the Pacific Northwest Planners Group. 

PNWPlannerGroupFB

The group grew quickly and I was excited to start planning for the meet-up.  I didn't know how to plan a planner meet-up. I really didn't know what to do, or what to expect. I've been planning events for big cosmetic companies over the years so I knew how to plan a successful event- I basically thought it out as a party.  The Facebook Event tab made it easier for me to invite our members and help me keep track of the guests. I wanted to take advantage of the Owner's Lounge that is located in our building, this would be the location of our first meet-up. Easy access for me and it's free with a fab view! As soon as I got all the details taken care of, I enlisted help from members and friends. Emma was in charge of the guestlist- she helped me manage all the guests and what they were going to bring to the party.  I decided a potluck would be easier than having me provide all the food.  

As the hostess, I wanted to add my own little details to the party. I'm always keen on details and think that they always leave a lasting impression.  A chalkboard sign with the help from Emma (paperpanduh) greeted all the guests as they came in. Custom mason jars,  utensil holders, a small hostess gift from me were projects that I tackled leading up to the party (take a look at the pictures).  I always do things above and beyond and I really wanted this meet-up/party to be something special for this new group. 

Other than socializing, eating and chatting about planners I wanted to have the attendees leave the party with something that they made.  Thankful for Cori (theresetgirl) she put something together that everyone enjoyed- washi tape binder clips.  Super easy and fun to make! Now everyone in group decorates all of their binder clips. 

Another thing that I decided to have is a gift exchange/white elephant exchange. Everyone brought a gift worth $15 all wrapped up to the party. Emma (paperpanduh) handed out numbers to see who would go first. If there was a gift that you liked you can steal it! This was a lot of fun! You'll have to check out Emma's vlog (inspiredblush) below to watch how this went down! 

Looks fun right? Want to host your own planner meet-up? Here are some of my tips that I hope will help you get started

  • BE ORGANIZED! I created a notebook that would fit in my FoxiDori (fauxdori) all the ideas, things to do, and anything that had to do with the party went in here. It helped me collect all my thoughts about the meet-up and is a great source for the next one. 
  • ASK FOR HELP! You can't do everything! Your event will be smooth sailing and if you have a group of people to help with different things for the party. I wasn't even stressed because I had a great party team! Rhonda, Joysha, Amanda, Emma, and Emma- you girls rock! 
  • NAME TAGS! Since everyone is new and probably don't know each other this is a key thing to have. Emma (inspiredblush) made the prettiest name tags to match our Spring/floral theme
  • ICE BREAKER! To get the party started plan an ice breaker activity to have attendees mingle with people they don't really know. Rhondalei led this activity. She printed off some celebrities who are significant today and each person had to guess each other's celebrity that was taped to the their backs. 
  • SWAP EXCHANGE! In my opinion I think this is a staple for any meet-up. Planner addicts always love planner goods and stationary so why not share some of your favorite supplies with others. 
  • HASHTAG! Have all your attendees tag their event photos with a particular hashtag that you create ahead of time. Emma (inspiredblush) added the hashtag to the name tags so the attendees always remebered it. I also would tag it on my Instagram posts whenever I posted anything regarding to the party. 
  • KEEP TRACK OF TIME! This is one thing that I wish I would have kept more attention to. I guess I got lost in meeting new people and the make and take I didn't realize it was almost time to go home! We didn't take a picture of all the planners but there's always next time. 
  • SHOULD I CHARGE? This is totally up to you. Since this was my first time planning a meetup I thought I wouldn't charge my guests. However, going froward I think a small fee should be good depending on the type of meetup/planner party you are having. The fee would cover food, decor and supplies for the event. It does get pricey so plan accordingly on what you would like the attendees to pay for. 

I just wanted to say a big thank you to Cori for the make and take activity and for the goodies she gave out to the group. Another HUGE thank you for Kanani from Studio L2e who gave her newest March release stamps to attendees.  I am so thankful that I have so many giving ladies in this group! 

There you have it! Now go and watch Emma's Vlog.. it basically sums up the whole day!! It makes me smile every time I watch it! For more pictures make sure to check out the hashtag #PNWSPRINGMEETUP and our other hashtags to see what the #PNWPlanners are up to: #PNWPLANNERGROUP


Clique Kits Agenda 2015 Starter Edition Kit

Clique Kits Agenda Kit

The planner addict in me is in full effect! 

The Clique Kits Agenda Kit is a great way for new and veteran planner addicts to get into this huge craze and basically get in the routine of organizing your life. I remember when I first started with crafting that I was super overwhelmed with all the supplies you need to purchase and wish at the time there were kits to make my collection grow.  Now, there's kits for scrapbooking, pocket scrapbooking (Project Life) and low and behold a kit for your PLANNER! Yes, I did say a whole kit for your planning needs. Pre-made kits make everything so much easier- takes the guess work out of matching this with that. 

I am so happy to introduce to you the Clique Kits Agenda Kit! I instantly fell in love and was ready to plan and create.  You will see in my video below that kit is jam packed with a lot of embellishments and tools that you can use over and over again-   from bright colored pens, a to-do note pad and other planner must-haves.  One thing that I found unique was the motivational printable quotes that you get with your agenda kit.  I am always on Pinterest looking for free printables to use for my daily layouts to make them more fun and unique.  

Here are some pictures of what you receive in your Clique Kits Agenda Kit.  YES! All of that fit in the bag... Amazing right? What's my favorite item? It would have to be the Maggie Holmes Open Book Clips (super cute and I can totally see myself using these over and over again). 

 I packed the video with a little review on the kit, along with a set-up for the monthly layout (which comes as a printable doc with your kit) and a weekly layout that matches.  View it below and take a peek at some detailed pictures as well. 

The matching weekly layout incorporates the bright colors featured in some of the products.  I was inspired by the bright Sakura Pens.  I love stamps and just recently experimented with layering two different colors for an ombre effect.  The inks from the Colorbox Cat's Eye Fiesta Ink Set complemented the kit very well. 

Products used for the layout : 


View the kit on the Clique Kits website here for subscribers and here for non-subscribers. The value of the kit is amazing! Remember you get so much product that you can use over and over again. 

Thank you to Clique Kits for letting me play with the Agenda Kit! Stay tuned for next week for another layout using the same products! It's a different layout than what I usually do... if you ever wanted to try the Erin Condren Life Planners then keep an eye for next week's layout :) 

Filofax: How I Set-up my Filofax Planner

Here's a YouTube video on a little tour of my Filofax Planner- including how I set it up and organize everything in my life.  The video gives you a glimpse of how everything fits together to fit my lifestyle.  Remember everything is customized and made by me.   I am happy to answer any questions if you have any! 


Links for some of the things that I mention in the video

Filofax Domino Organiser: http://bit.ly/1FE8dvM

A4 size paper on Staples.com: http://bit.ly/1tpcDAQ

Heidi Swap Sugar Chic 12x12 Paper Pack: http://amzn.to/1zFvKdM

If you want to see some detailed pictures of some of the sections mentioned in the video of the  inside of my planner click the thumbnails below.

CALENDAR (including dashboard): Includes weekly pages, and monthly two-page spread with a notes section on the left side. 

PERSONAL: Online expense sheet, websites, contact list, and personal information 

BLOG: Yourtube/blog notes, MOTD notes, blog post planner, Youtube planner

CREATIVE: Weekly creative themes for planner and Project Life, Project Life layout sketches. 

WORK: Time zone chart, work notes

MUA: Client profiles 

MISC: Blank note paper