Review: Keurig 2.0 Brewing System

Keurig 2.0 Title

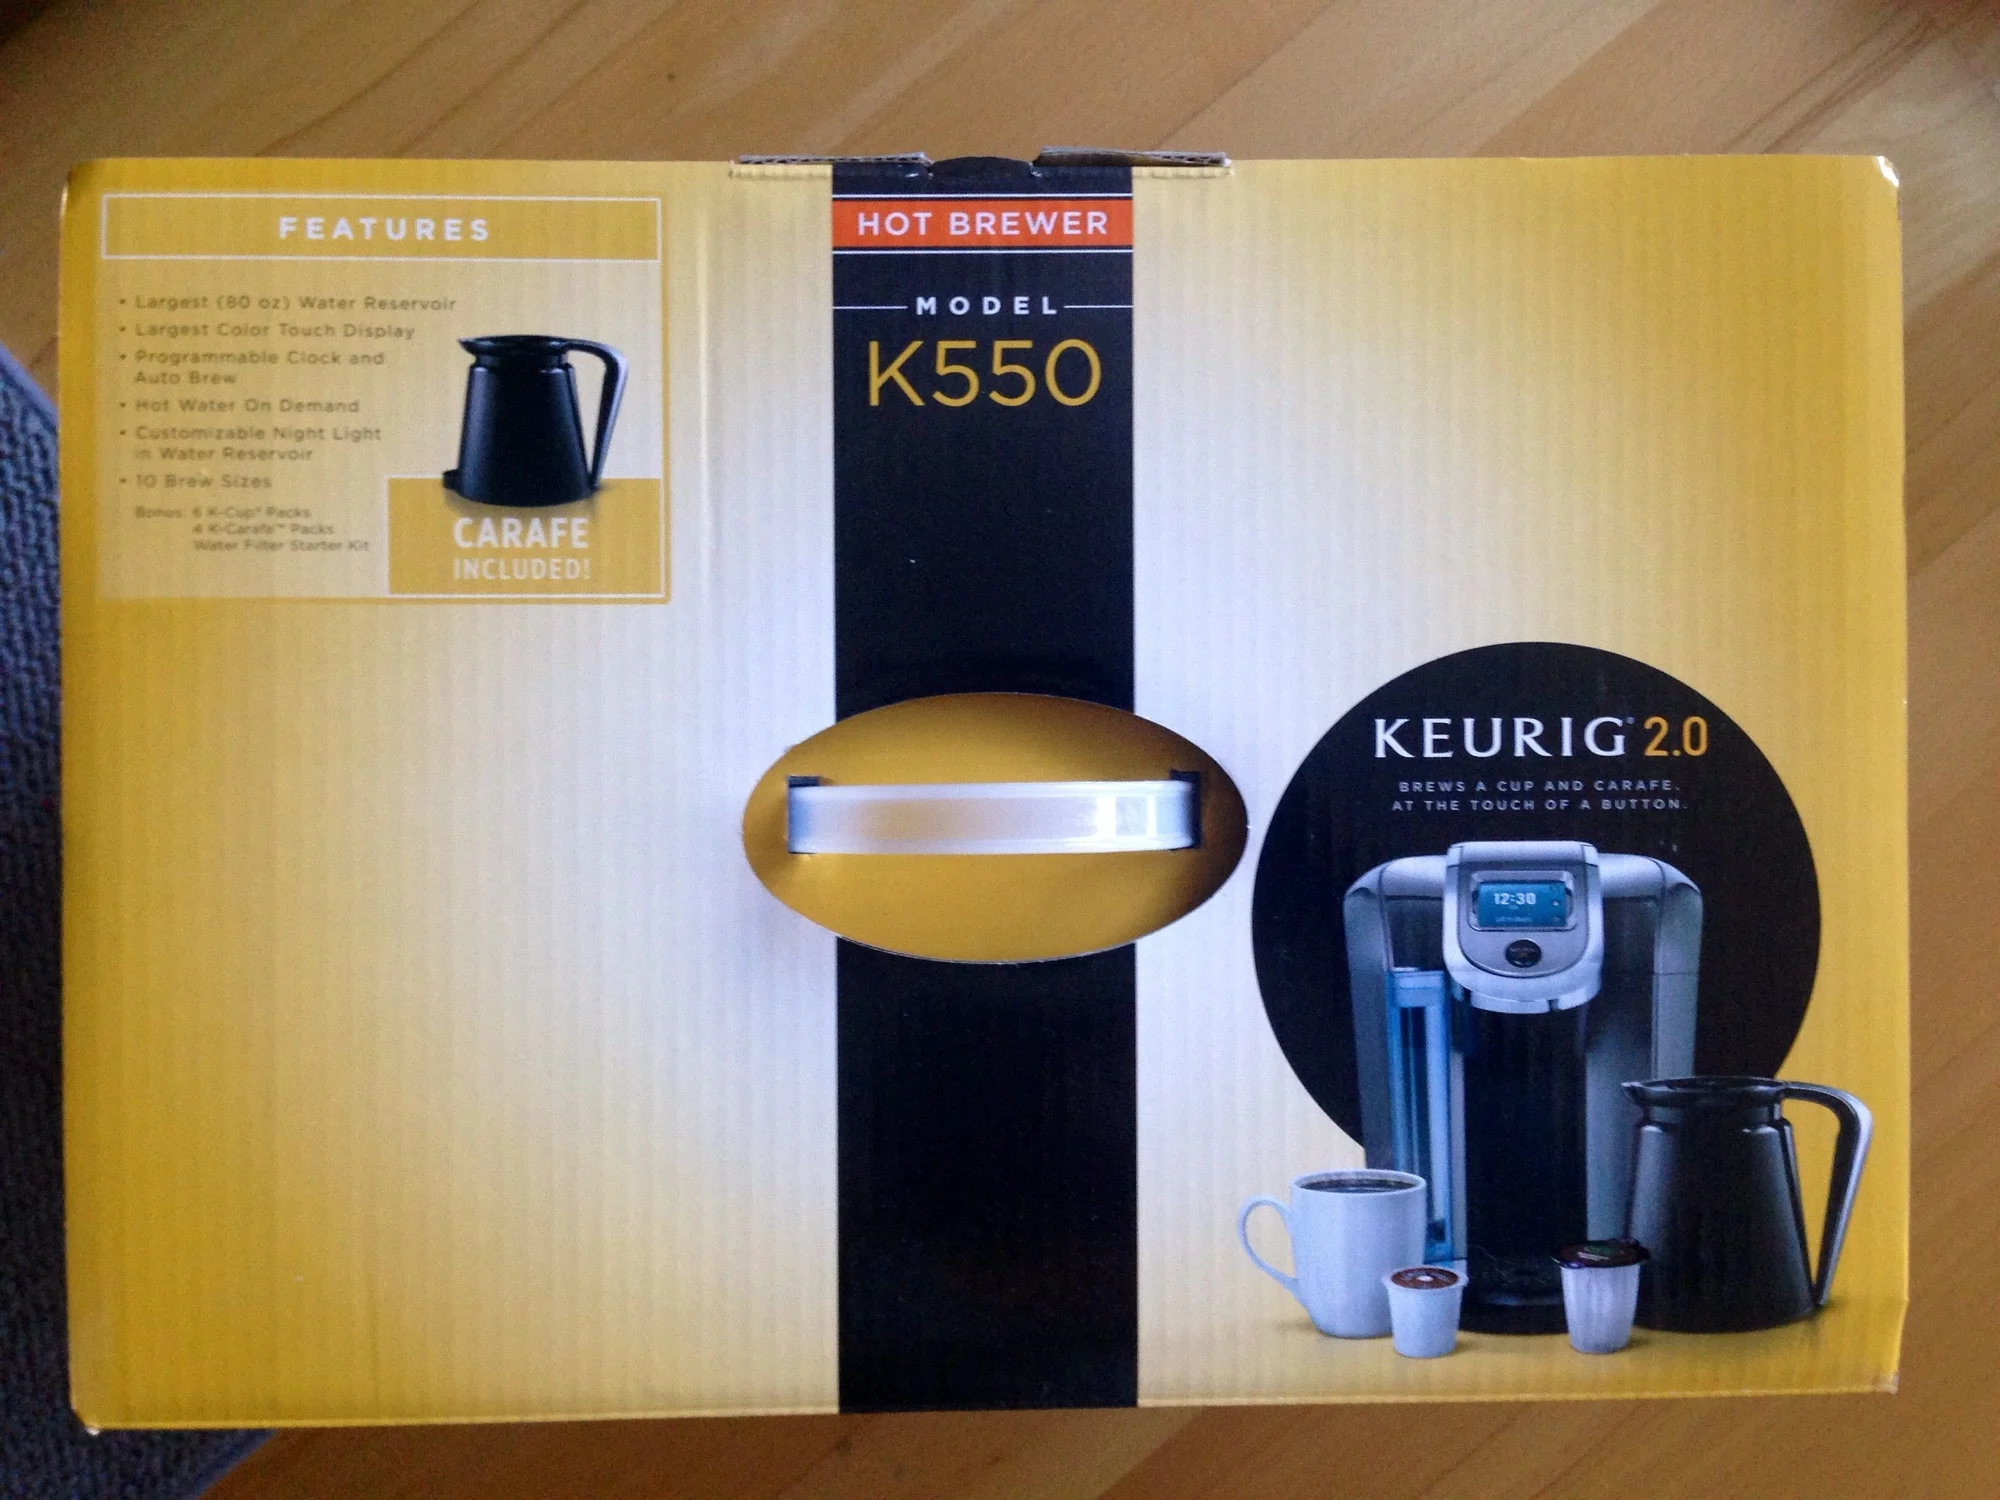
Say hello to my new best friend, especially in the AM - the Keurig 2.0 K550.   I (actually we- as in my husband and I) have been huge Keurig fans because of the K-Cup System (pods of coffee that you insert into the machine for an individual cup).  I like my coffee more on the light side but for me him he prefer more of a medium roast.  K-Cups are great because you can select your personal preference since they deliver a single cup ..... but not for long! The new Keurig 2.0 brewer allows you to brew a 4-cup carafe just as you would with a single cup.  I'll show you all of that with pictures below.  

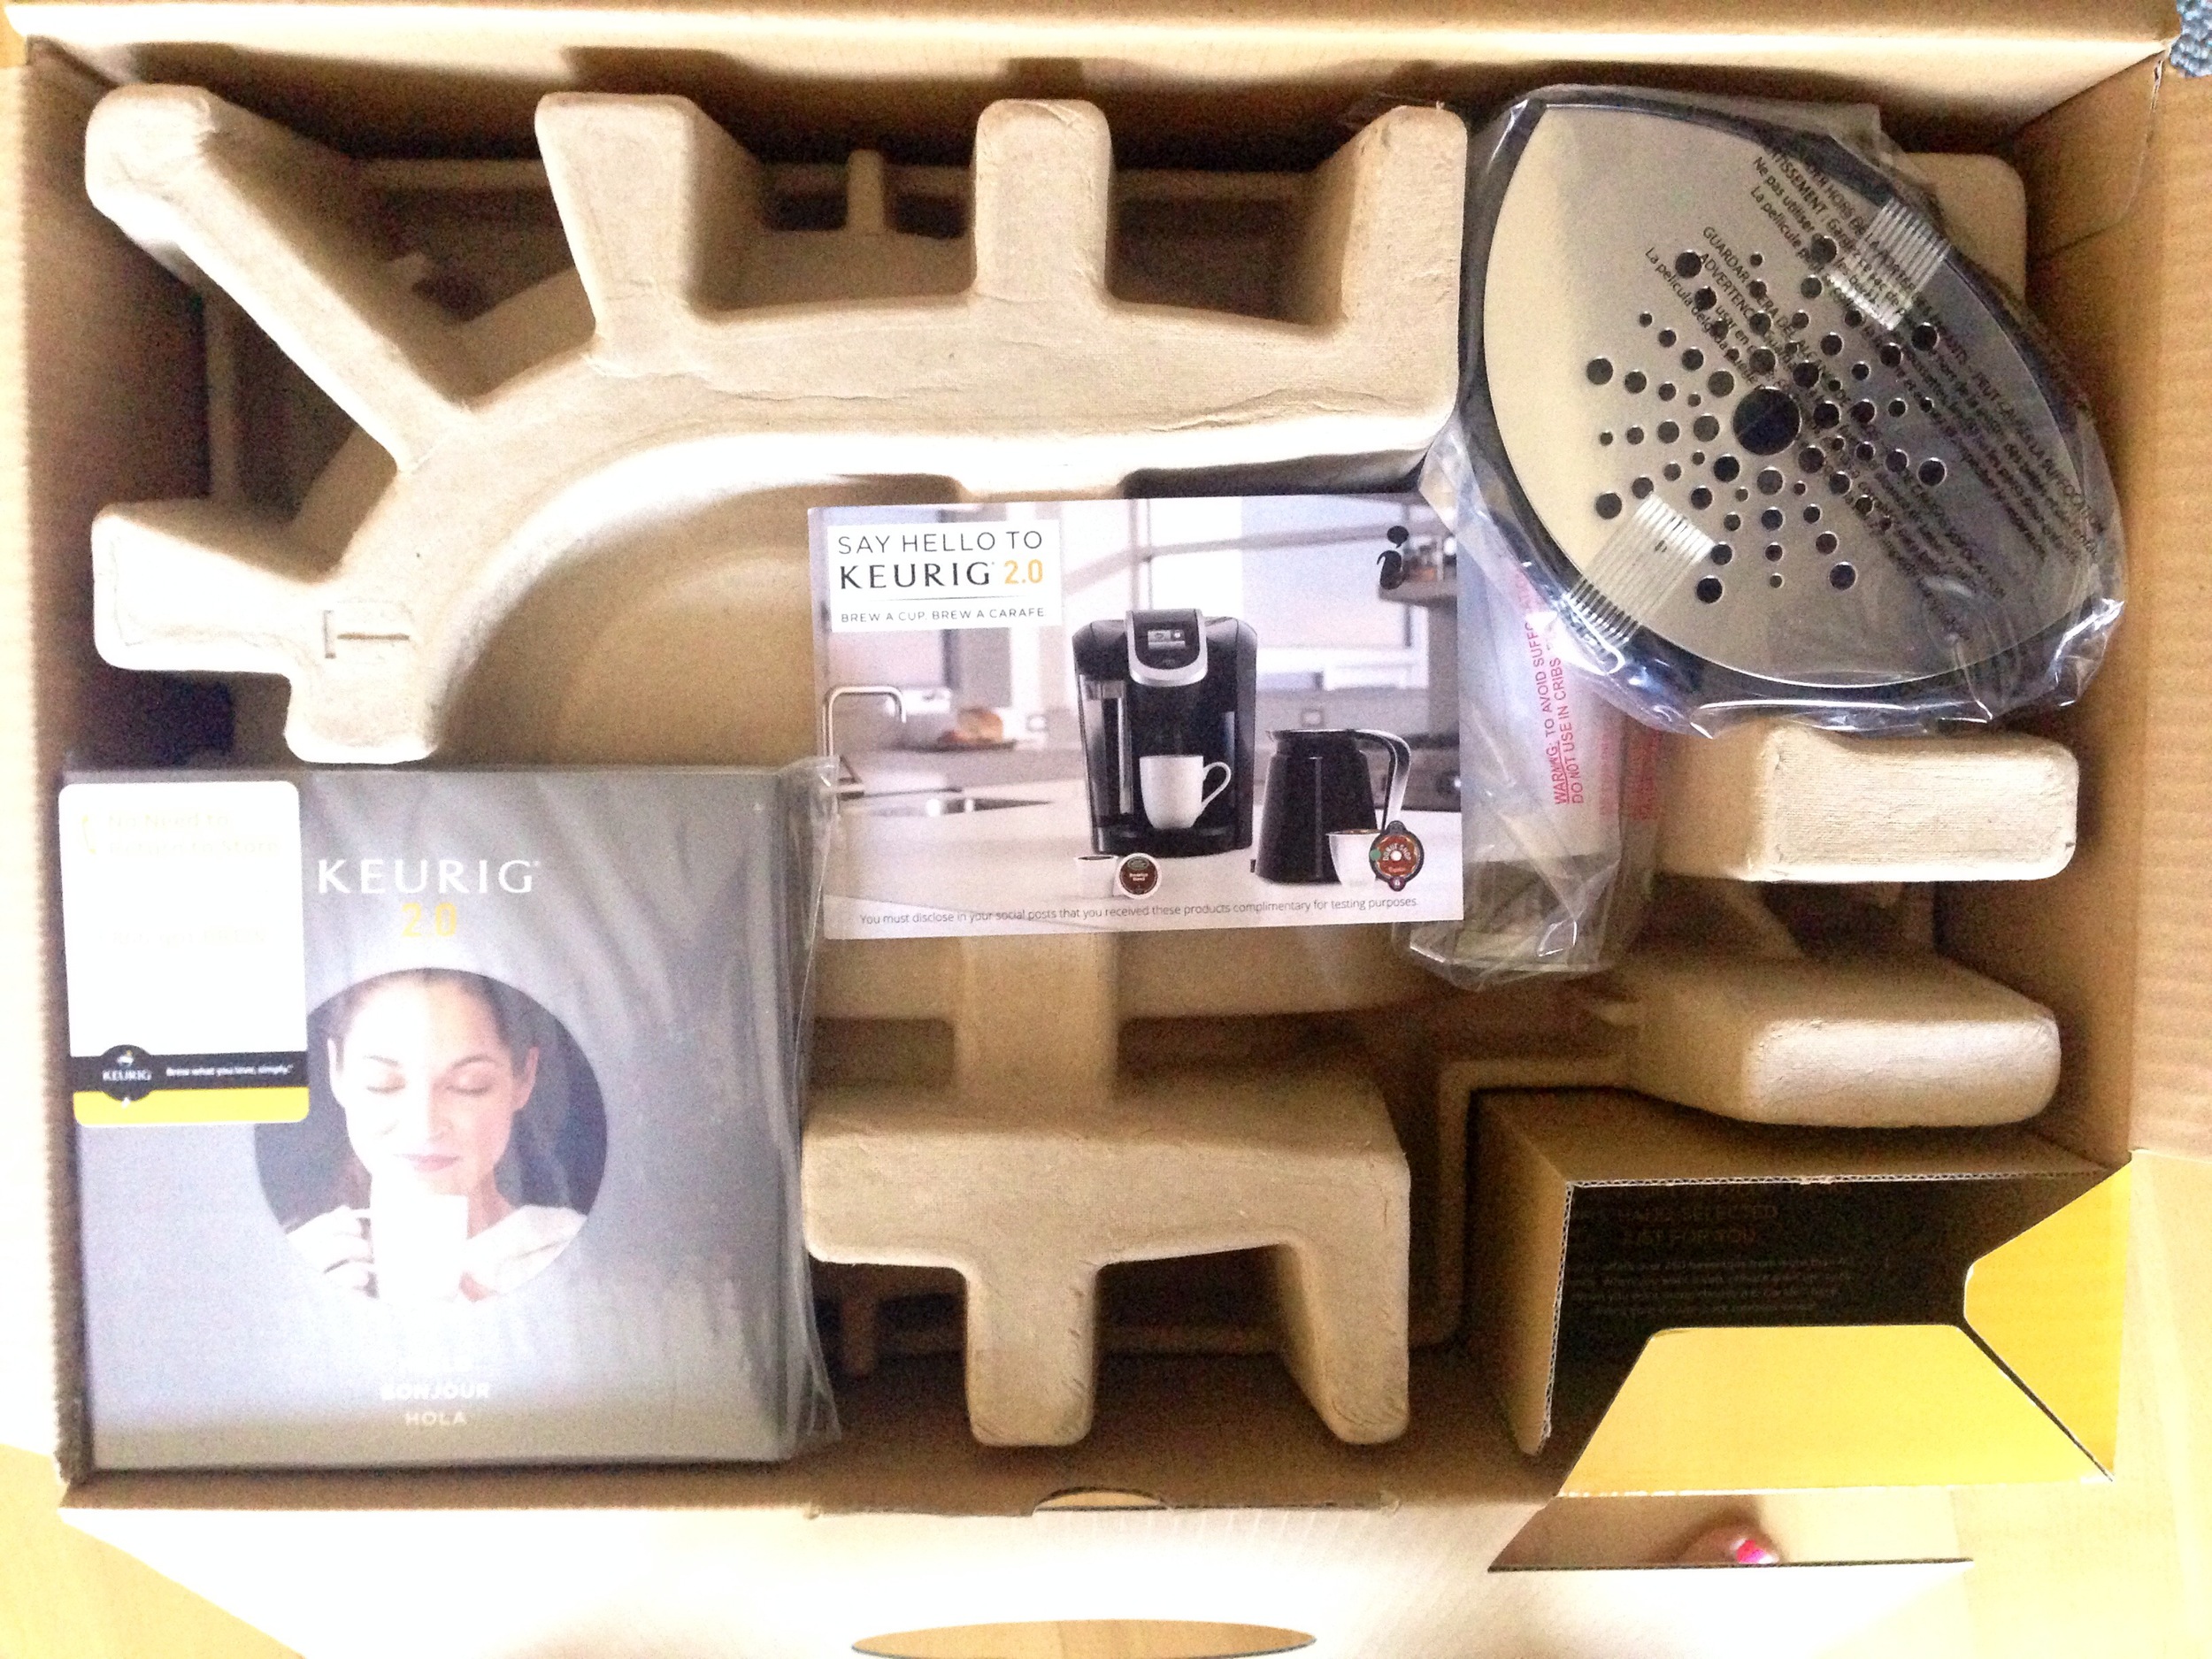
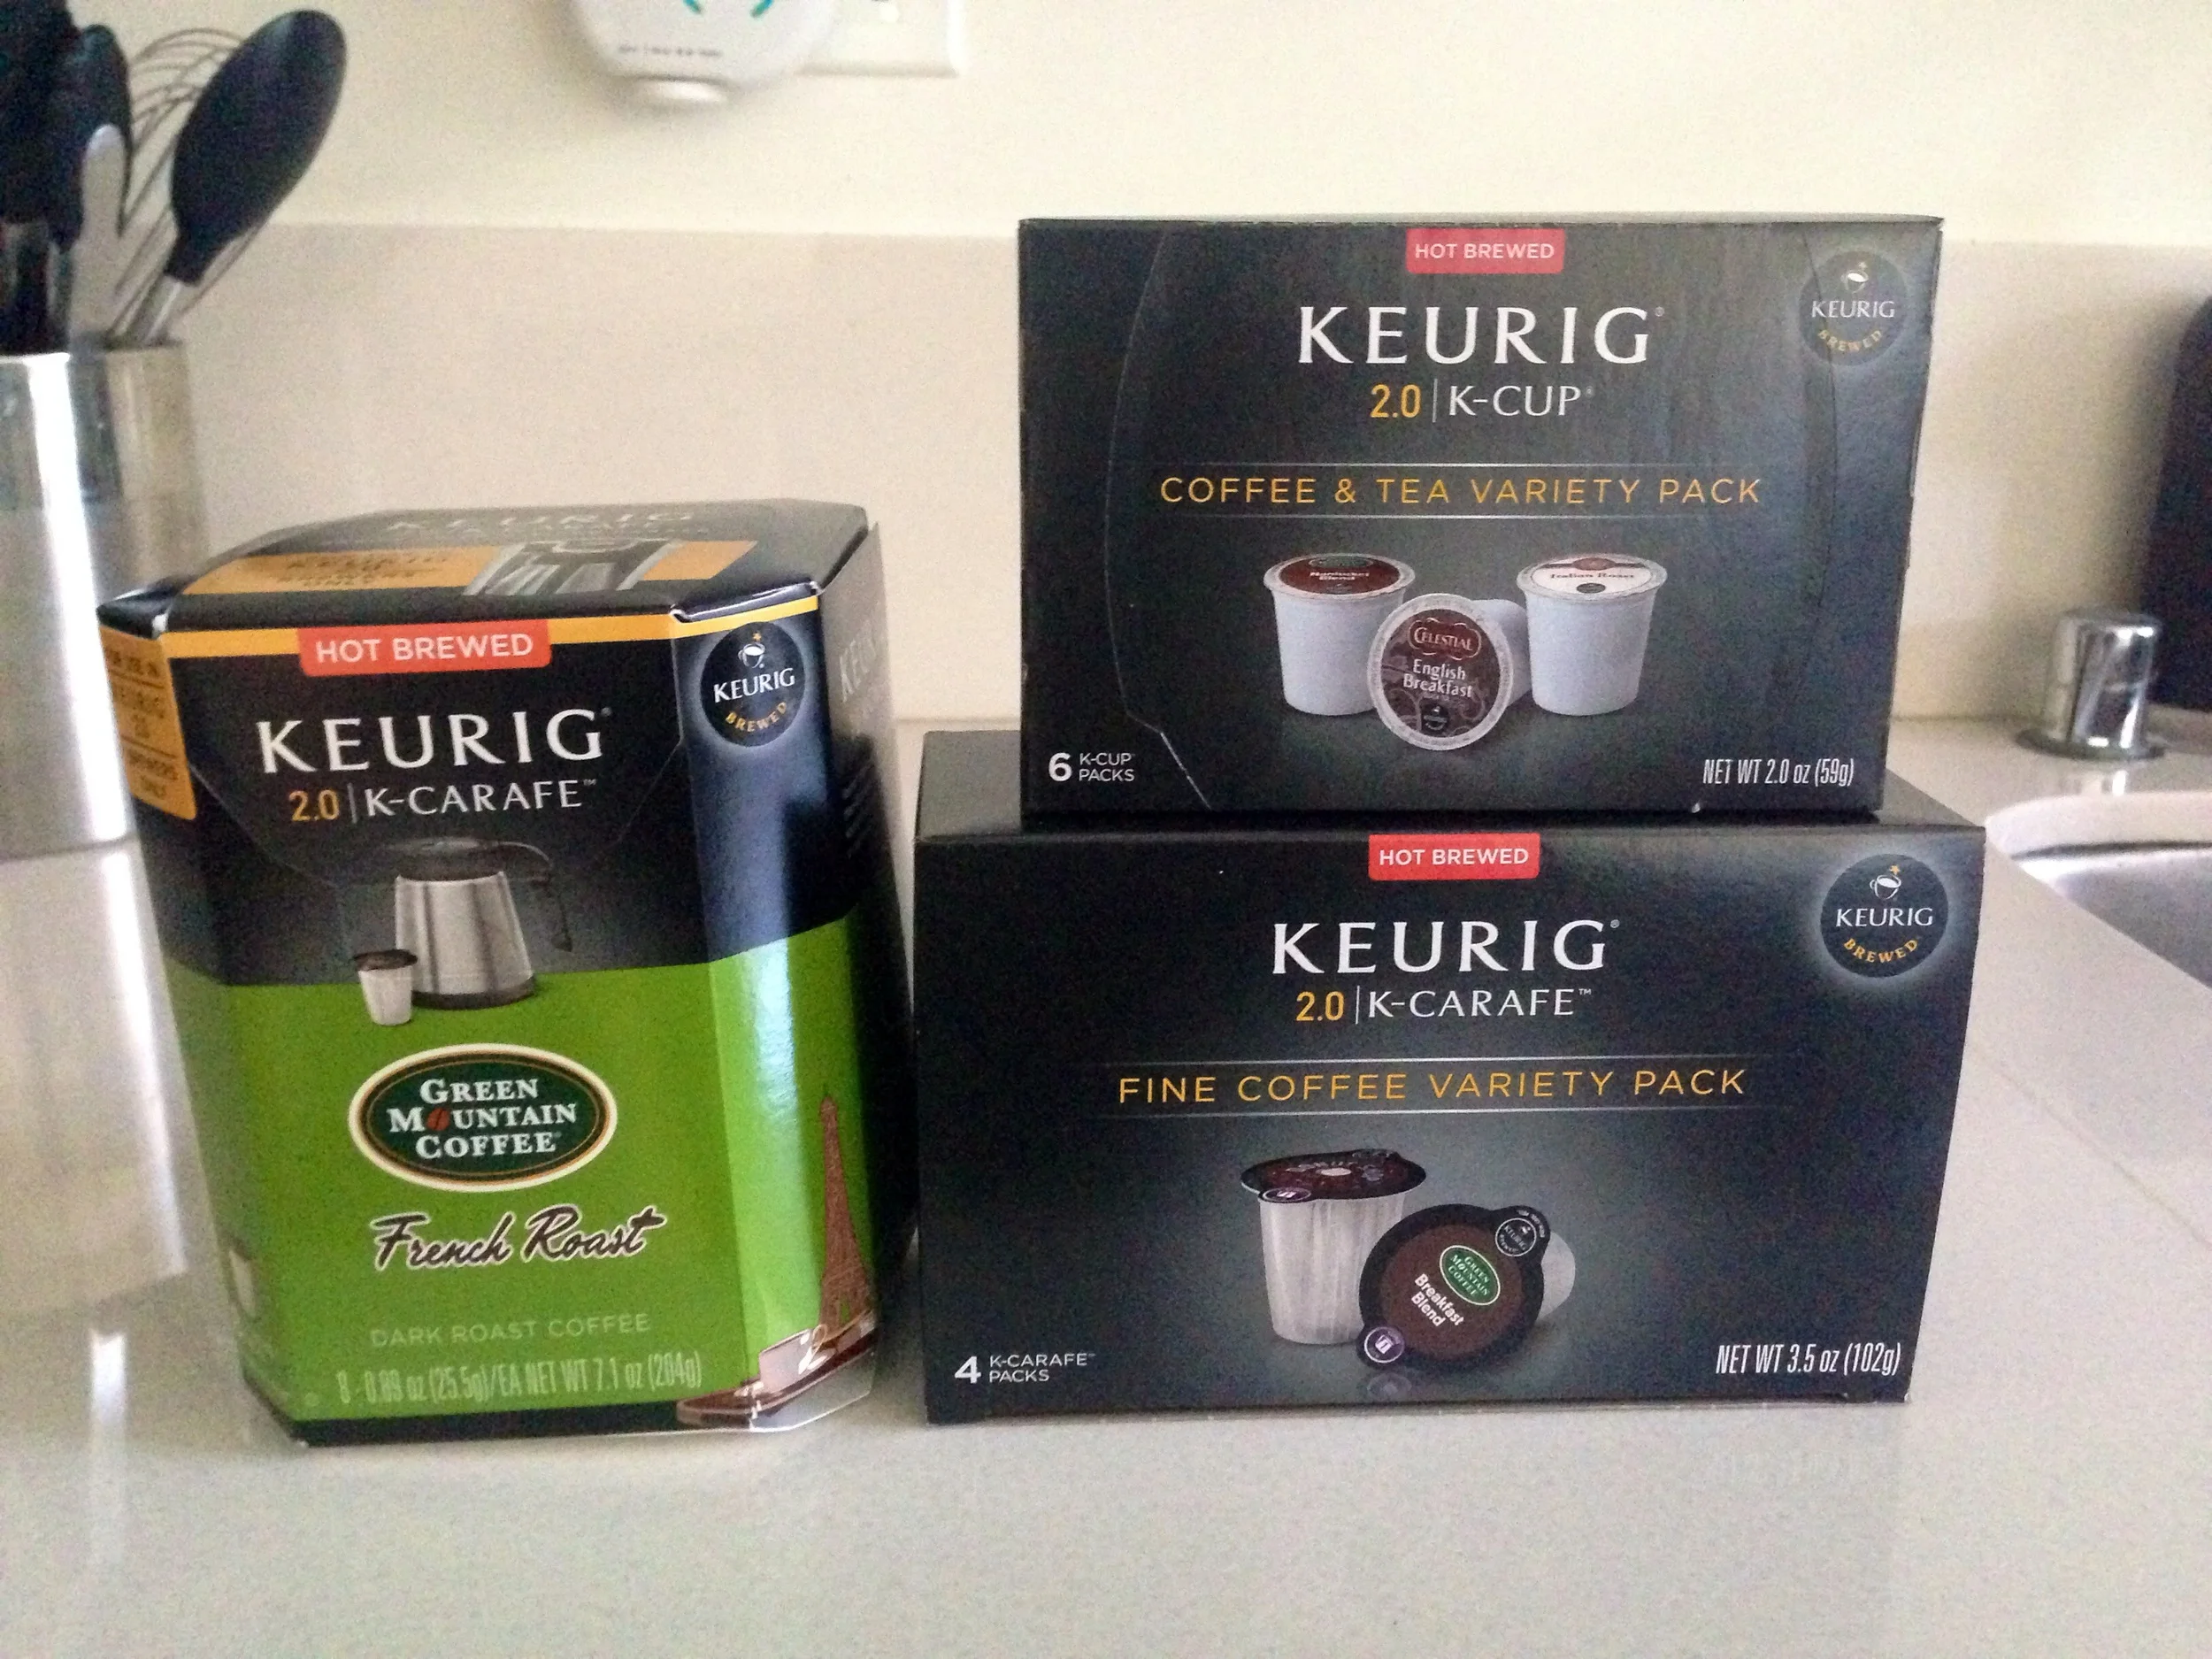
The K550 came in a hug box and was nicely wrapped and secured inside.  The instruction booklet is placed right on top for easy access to set up your lovely new machine. When you start to pull our your machine you will see a starter pack of 6 single  K-Cups and 4 K-Carafe (including the 4-cup starter carafe)  to get your coffee fix on right away! 

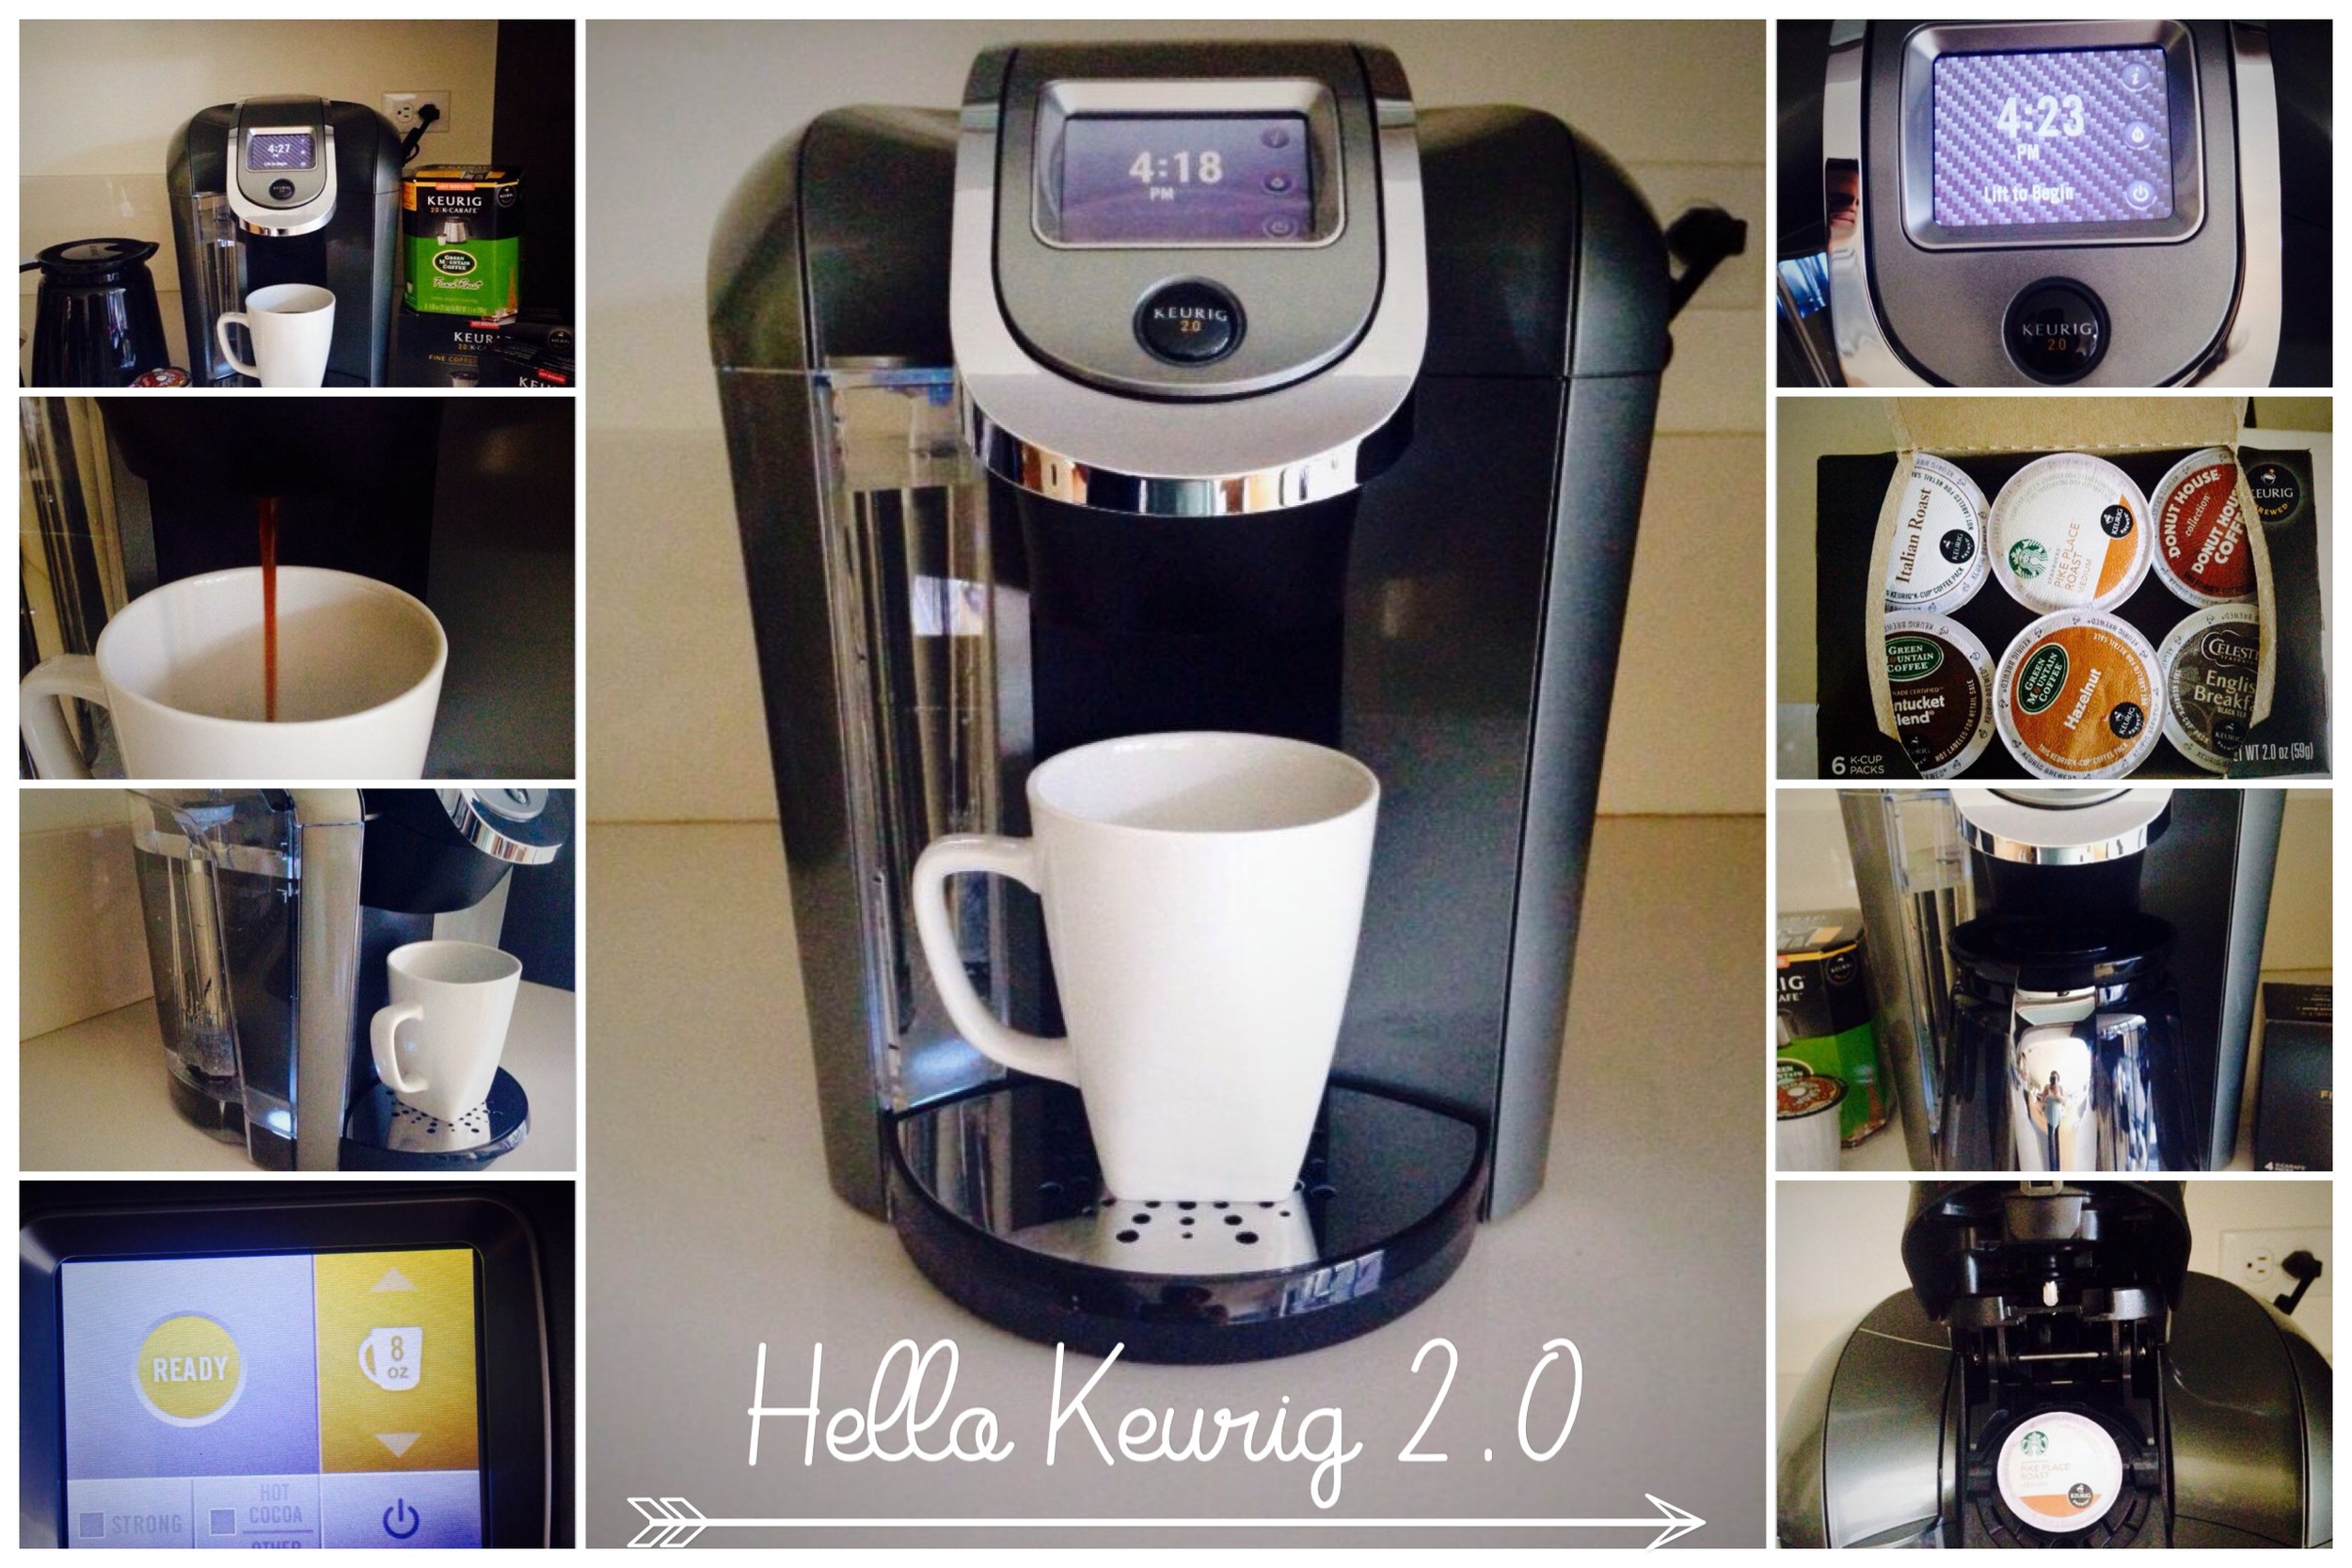
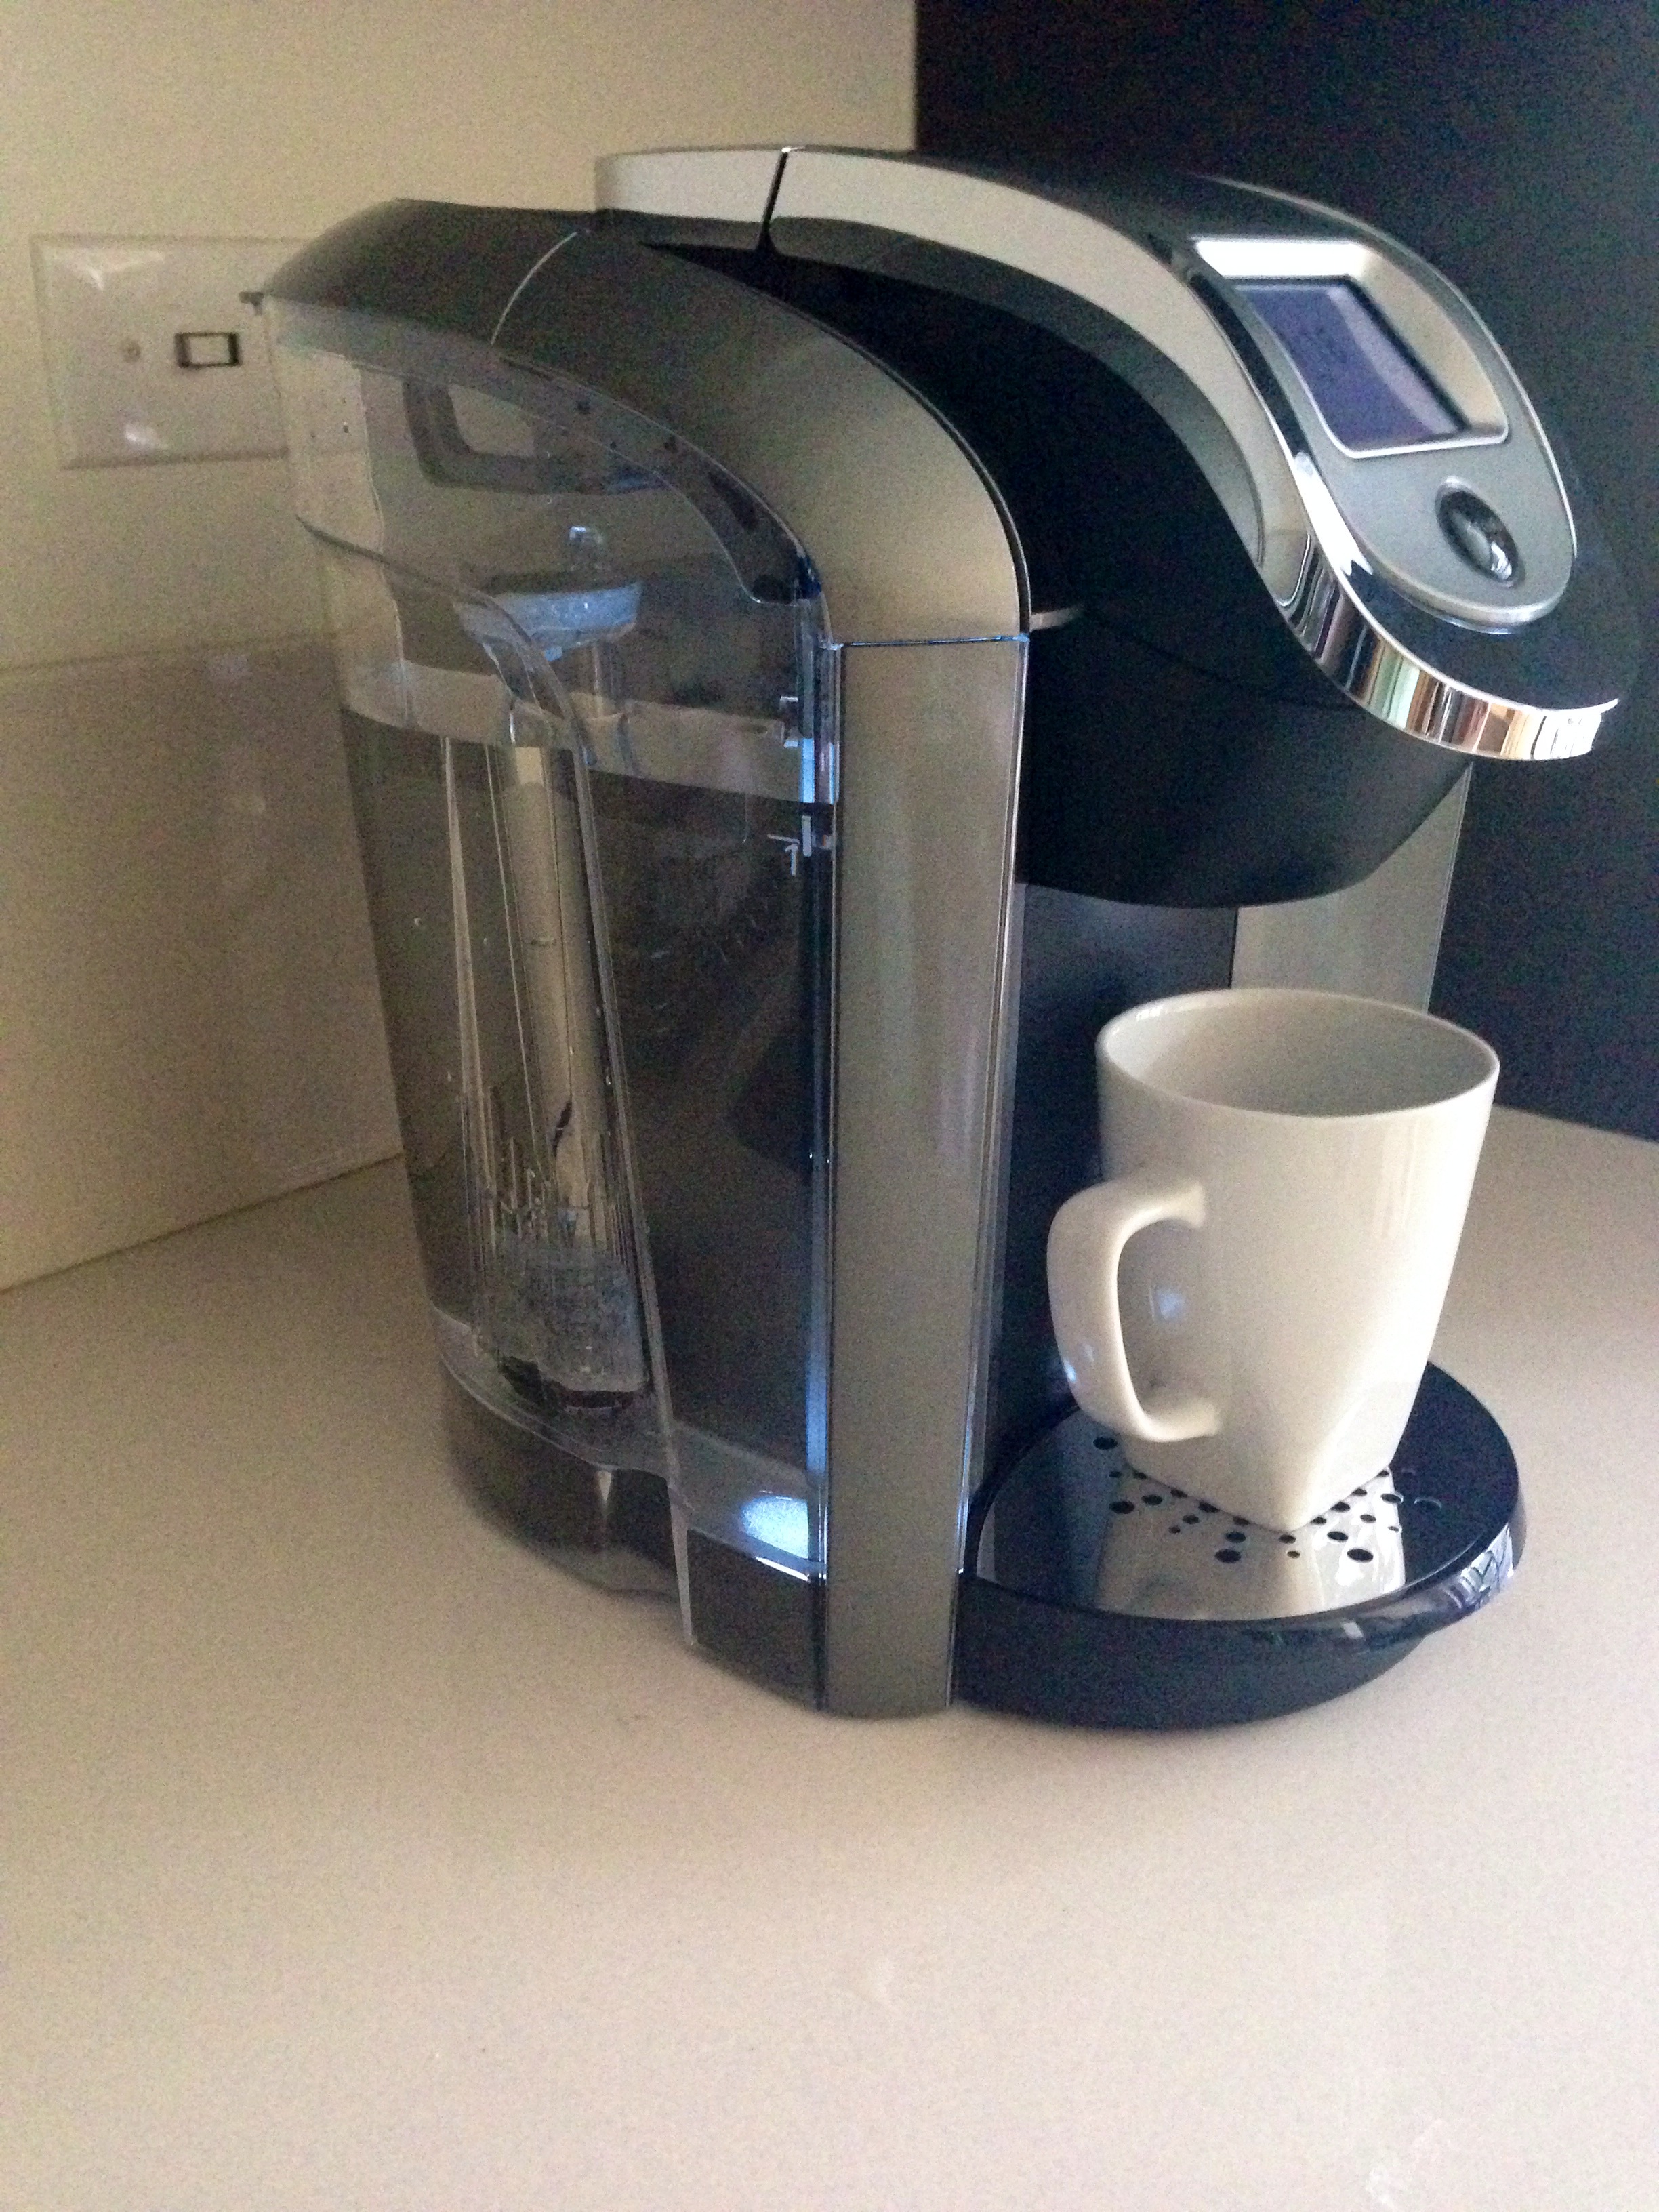
Here's a look at the overall machine- nice little appliance isn't it?  It's sleek, very futuristic-like design looks great sitting on your kitchen counter top.  The middle picture shows the carafe and how nicely it sits right under the drip without the little stand. I didn't test out the carafe because I didn't want to waste so much coffee but will definitely try it out when we have company over.  When brewing a single cup you will need to place the stand back for your favorite cup to sit directly under the drip.  Let me show you the main features of the Keurig 2.0

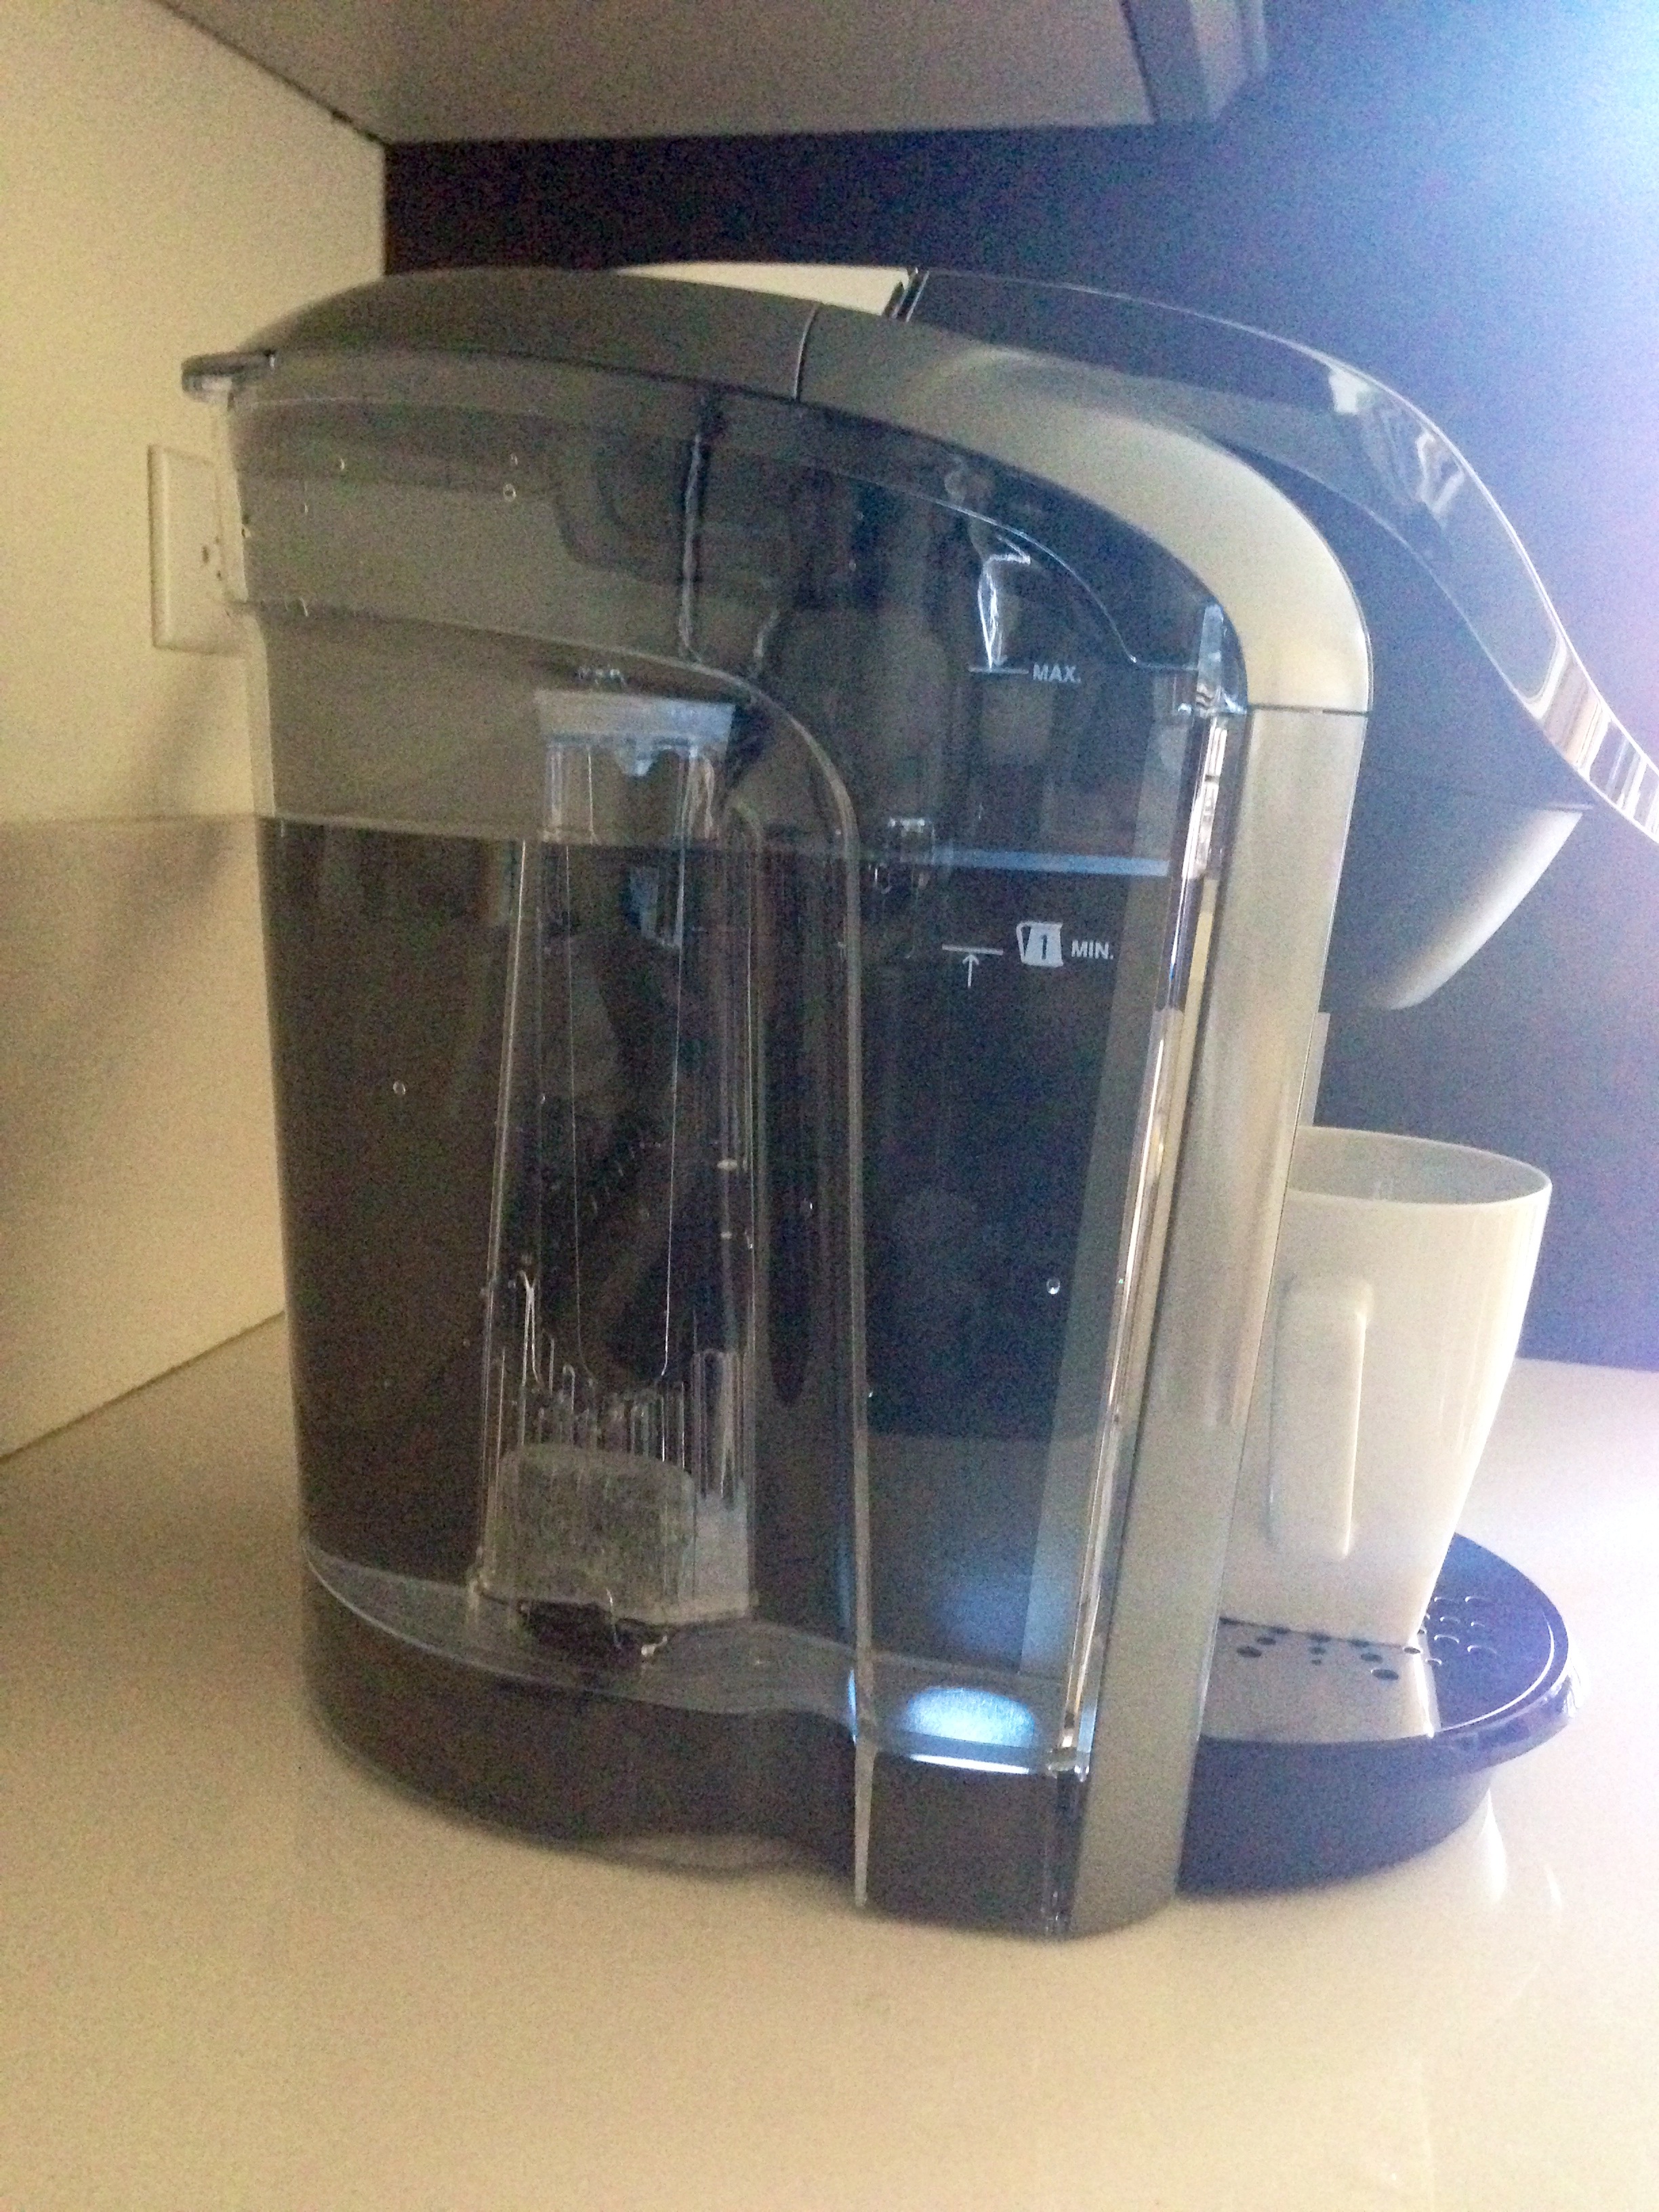
Here is a look at the extra 80 ounce water reservoir- it's huge! This system also has water filter to make it convenient to fill up the tank straight out of the kitchen faucet, if you prefer.  My first Keurig when I was back in college didn't have the water filter option and I was always filling it with my bottled water I had in my little mini fridge. One of the things that I love about this machine is the night light reservoir which is towards the front.  You see that beam of light? Cool, right? You can change the color from blue, red, green and white color.  I personally like the white, makes it look so trendy.  

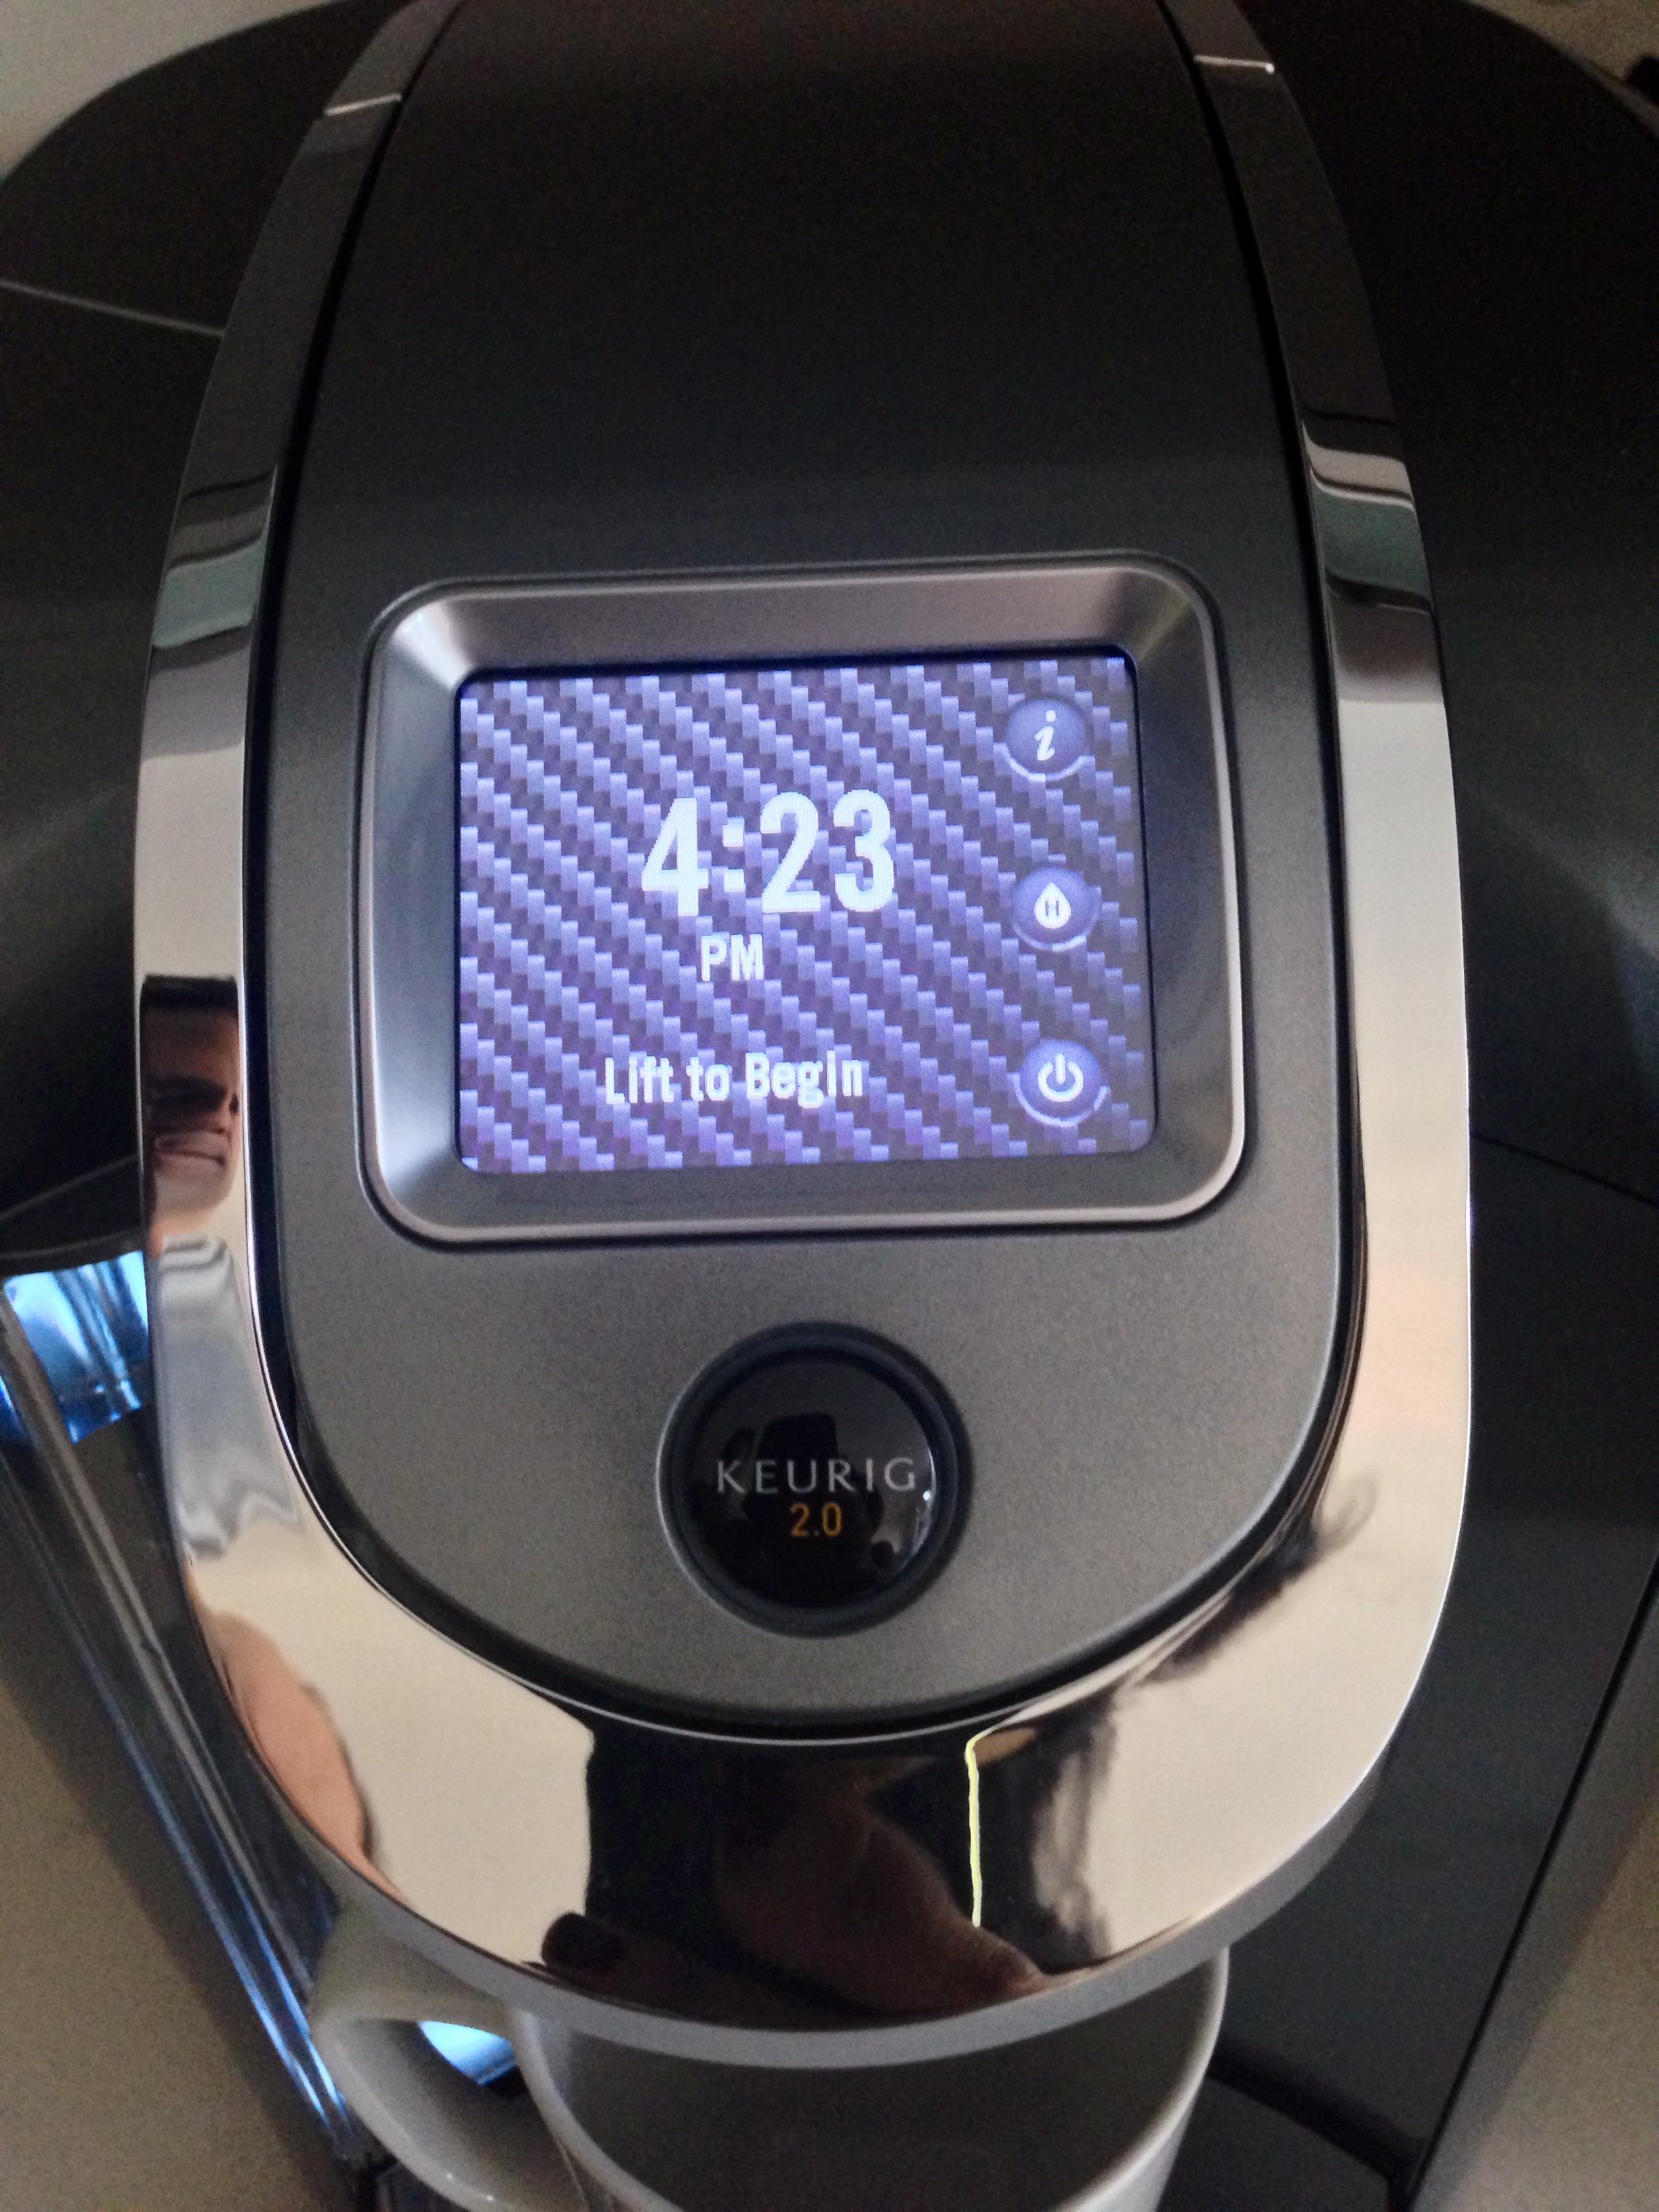
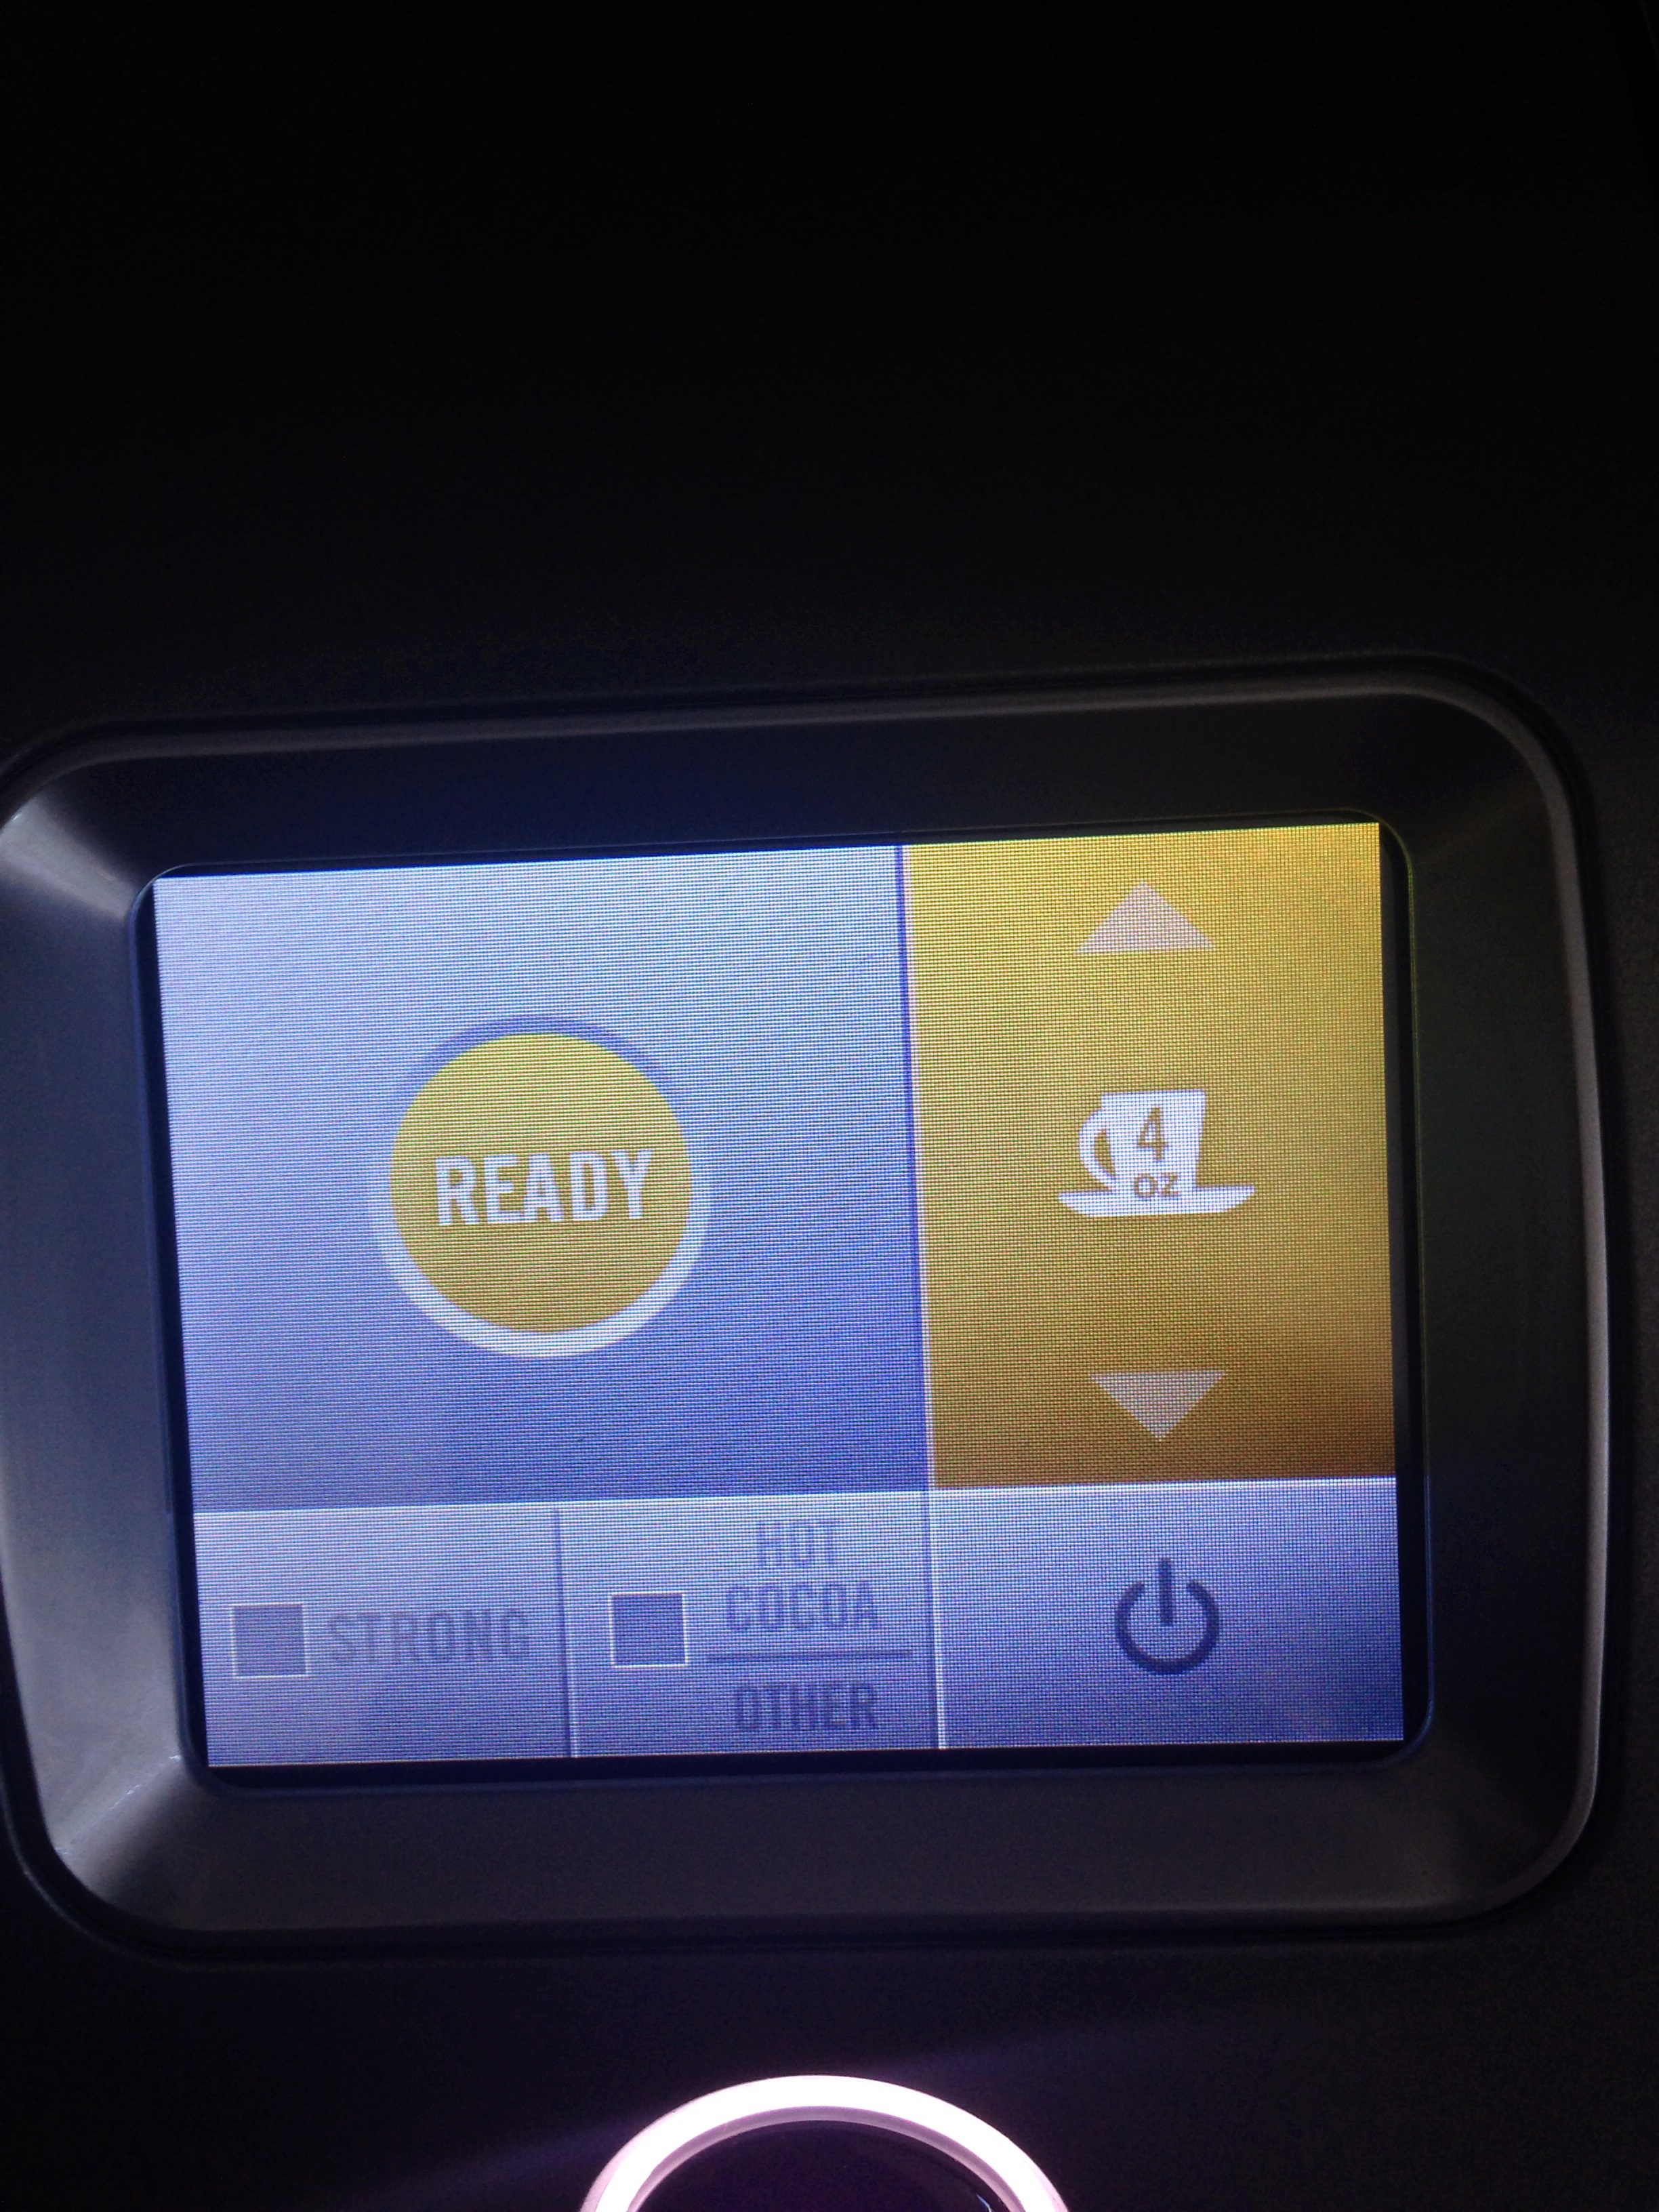
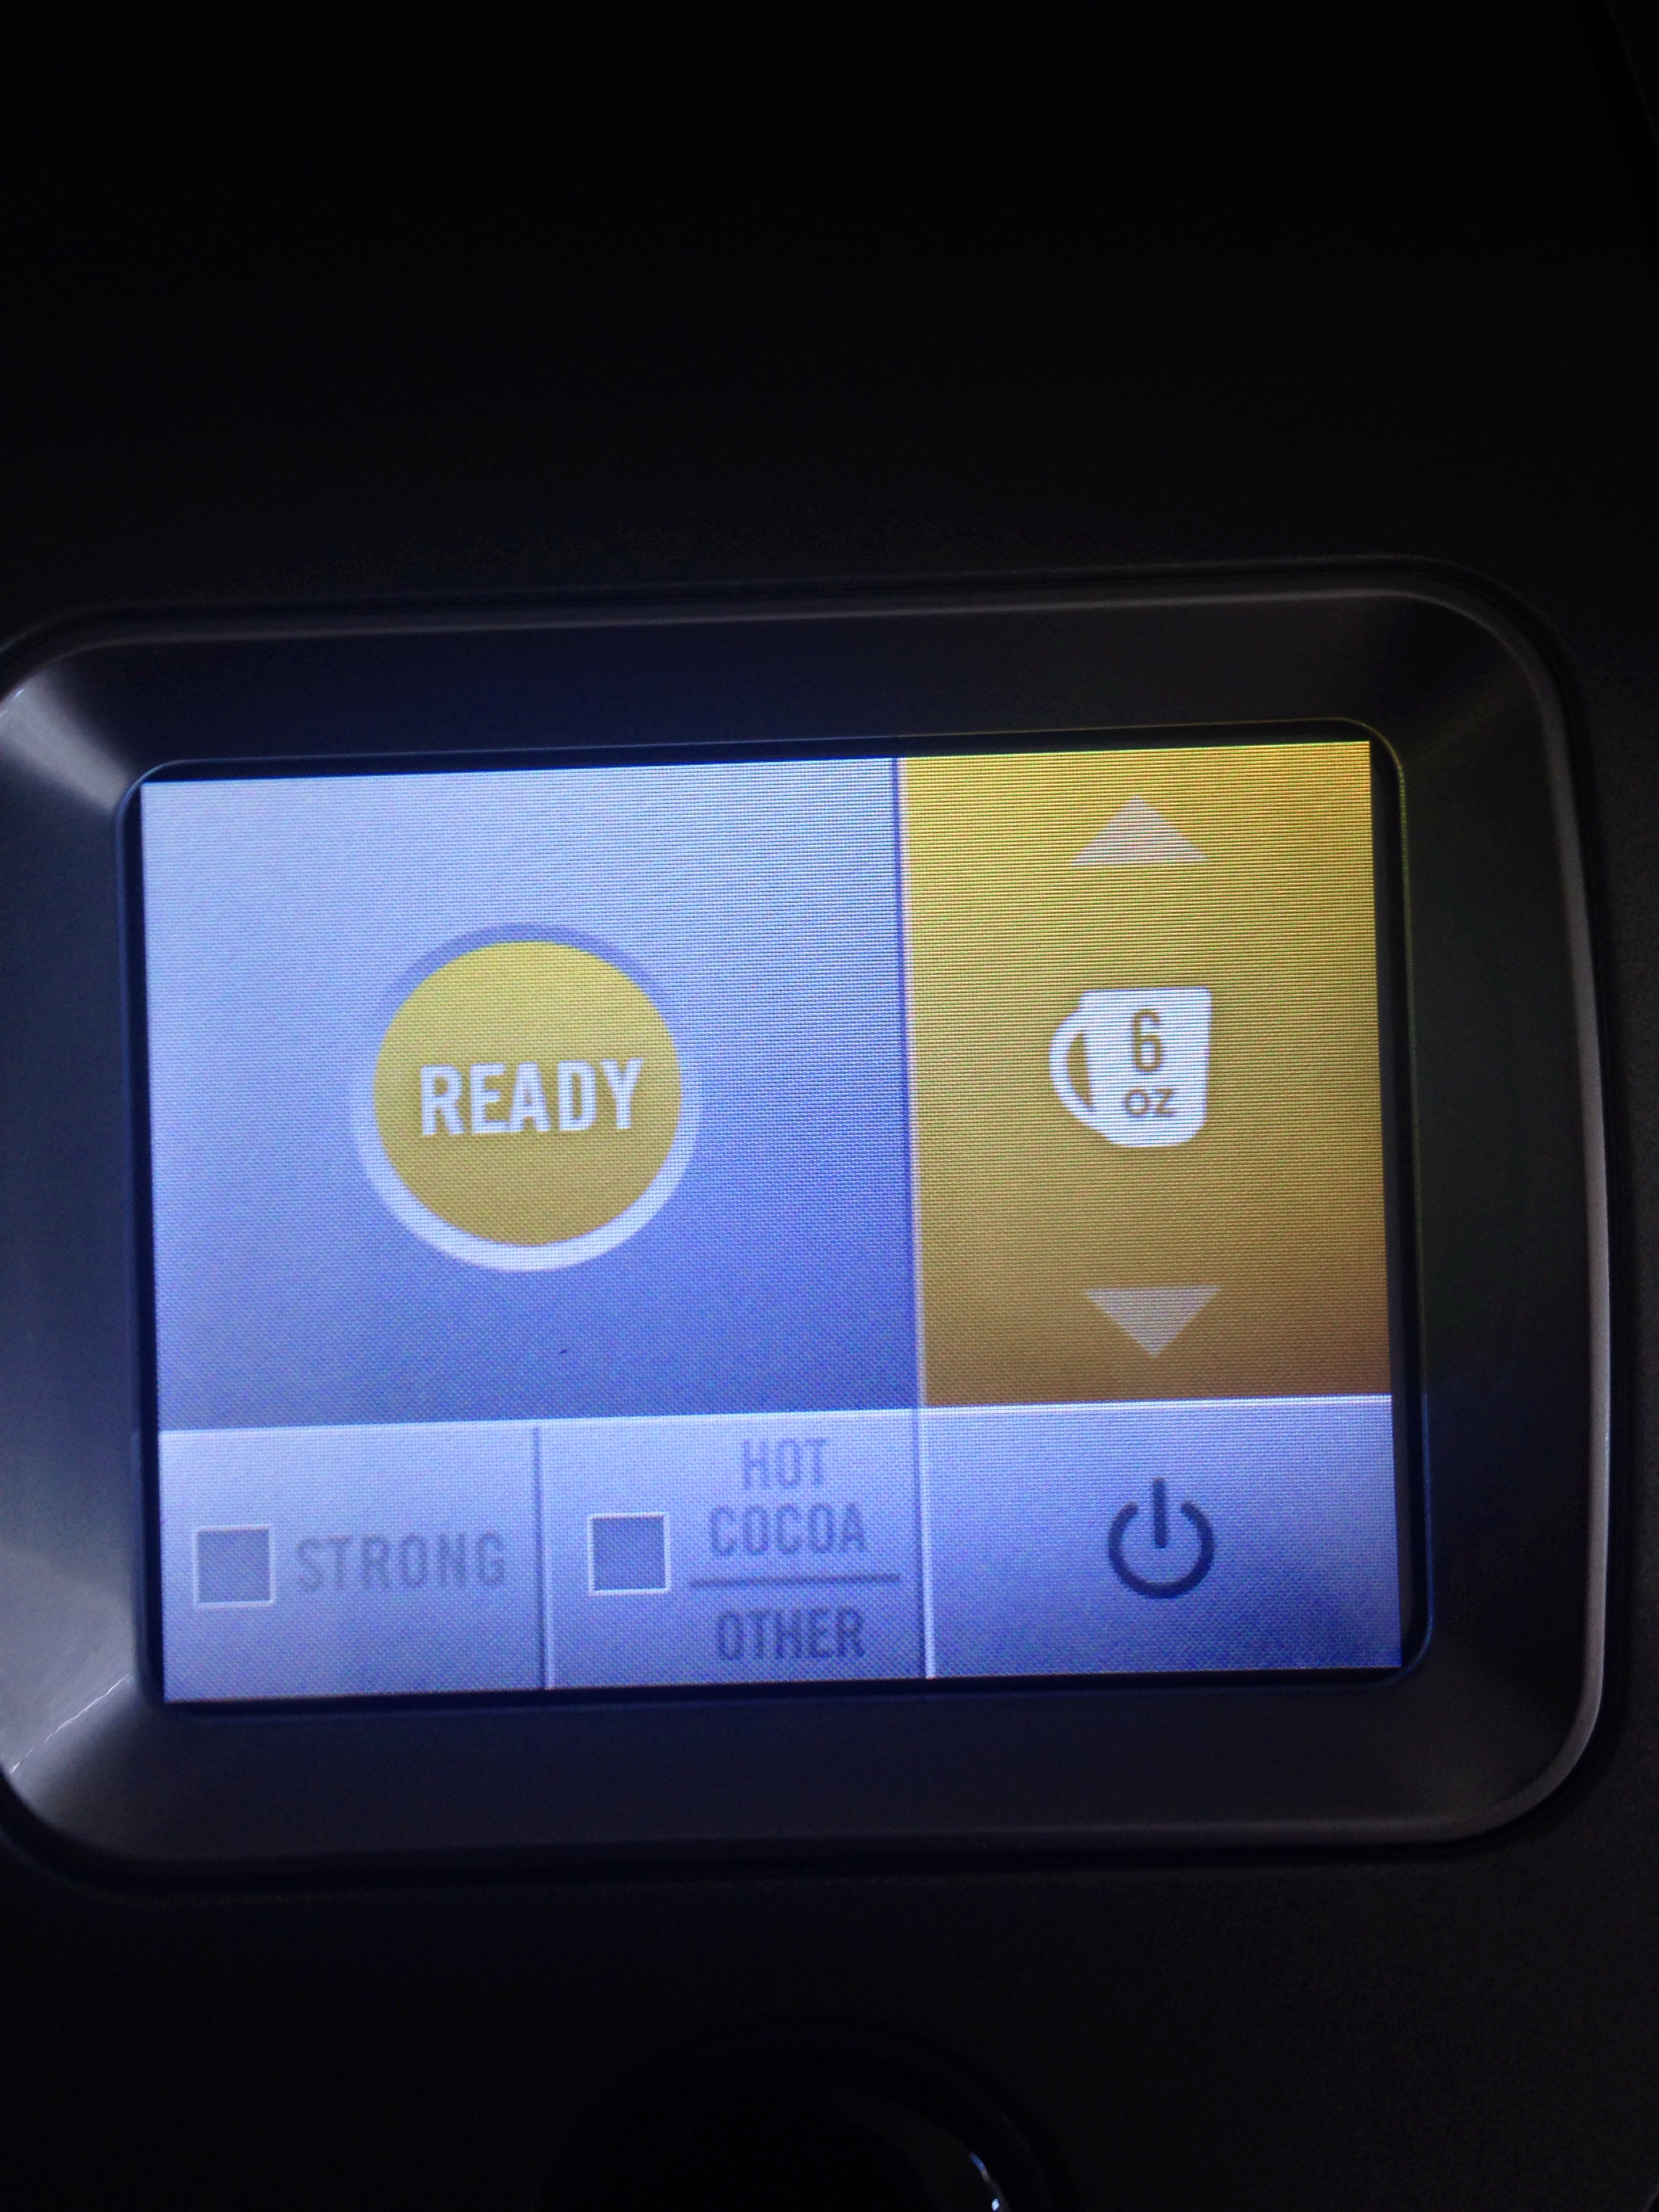
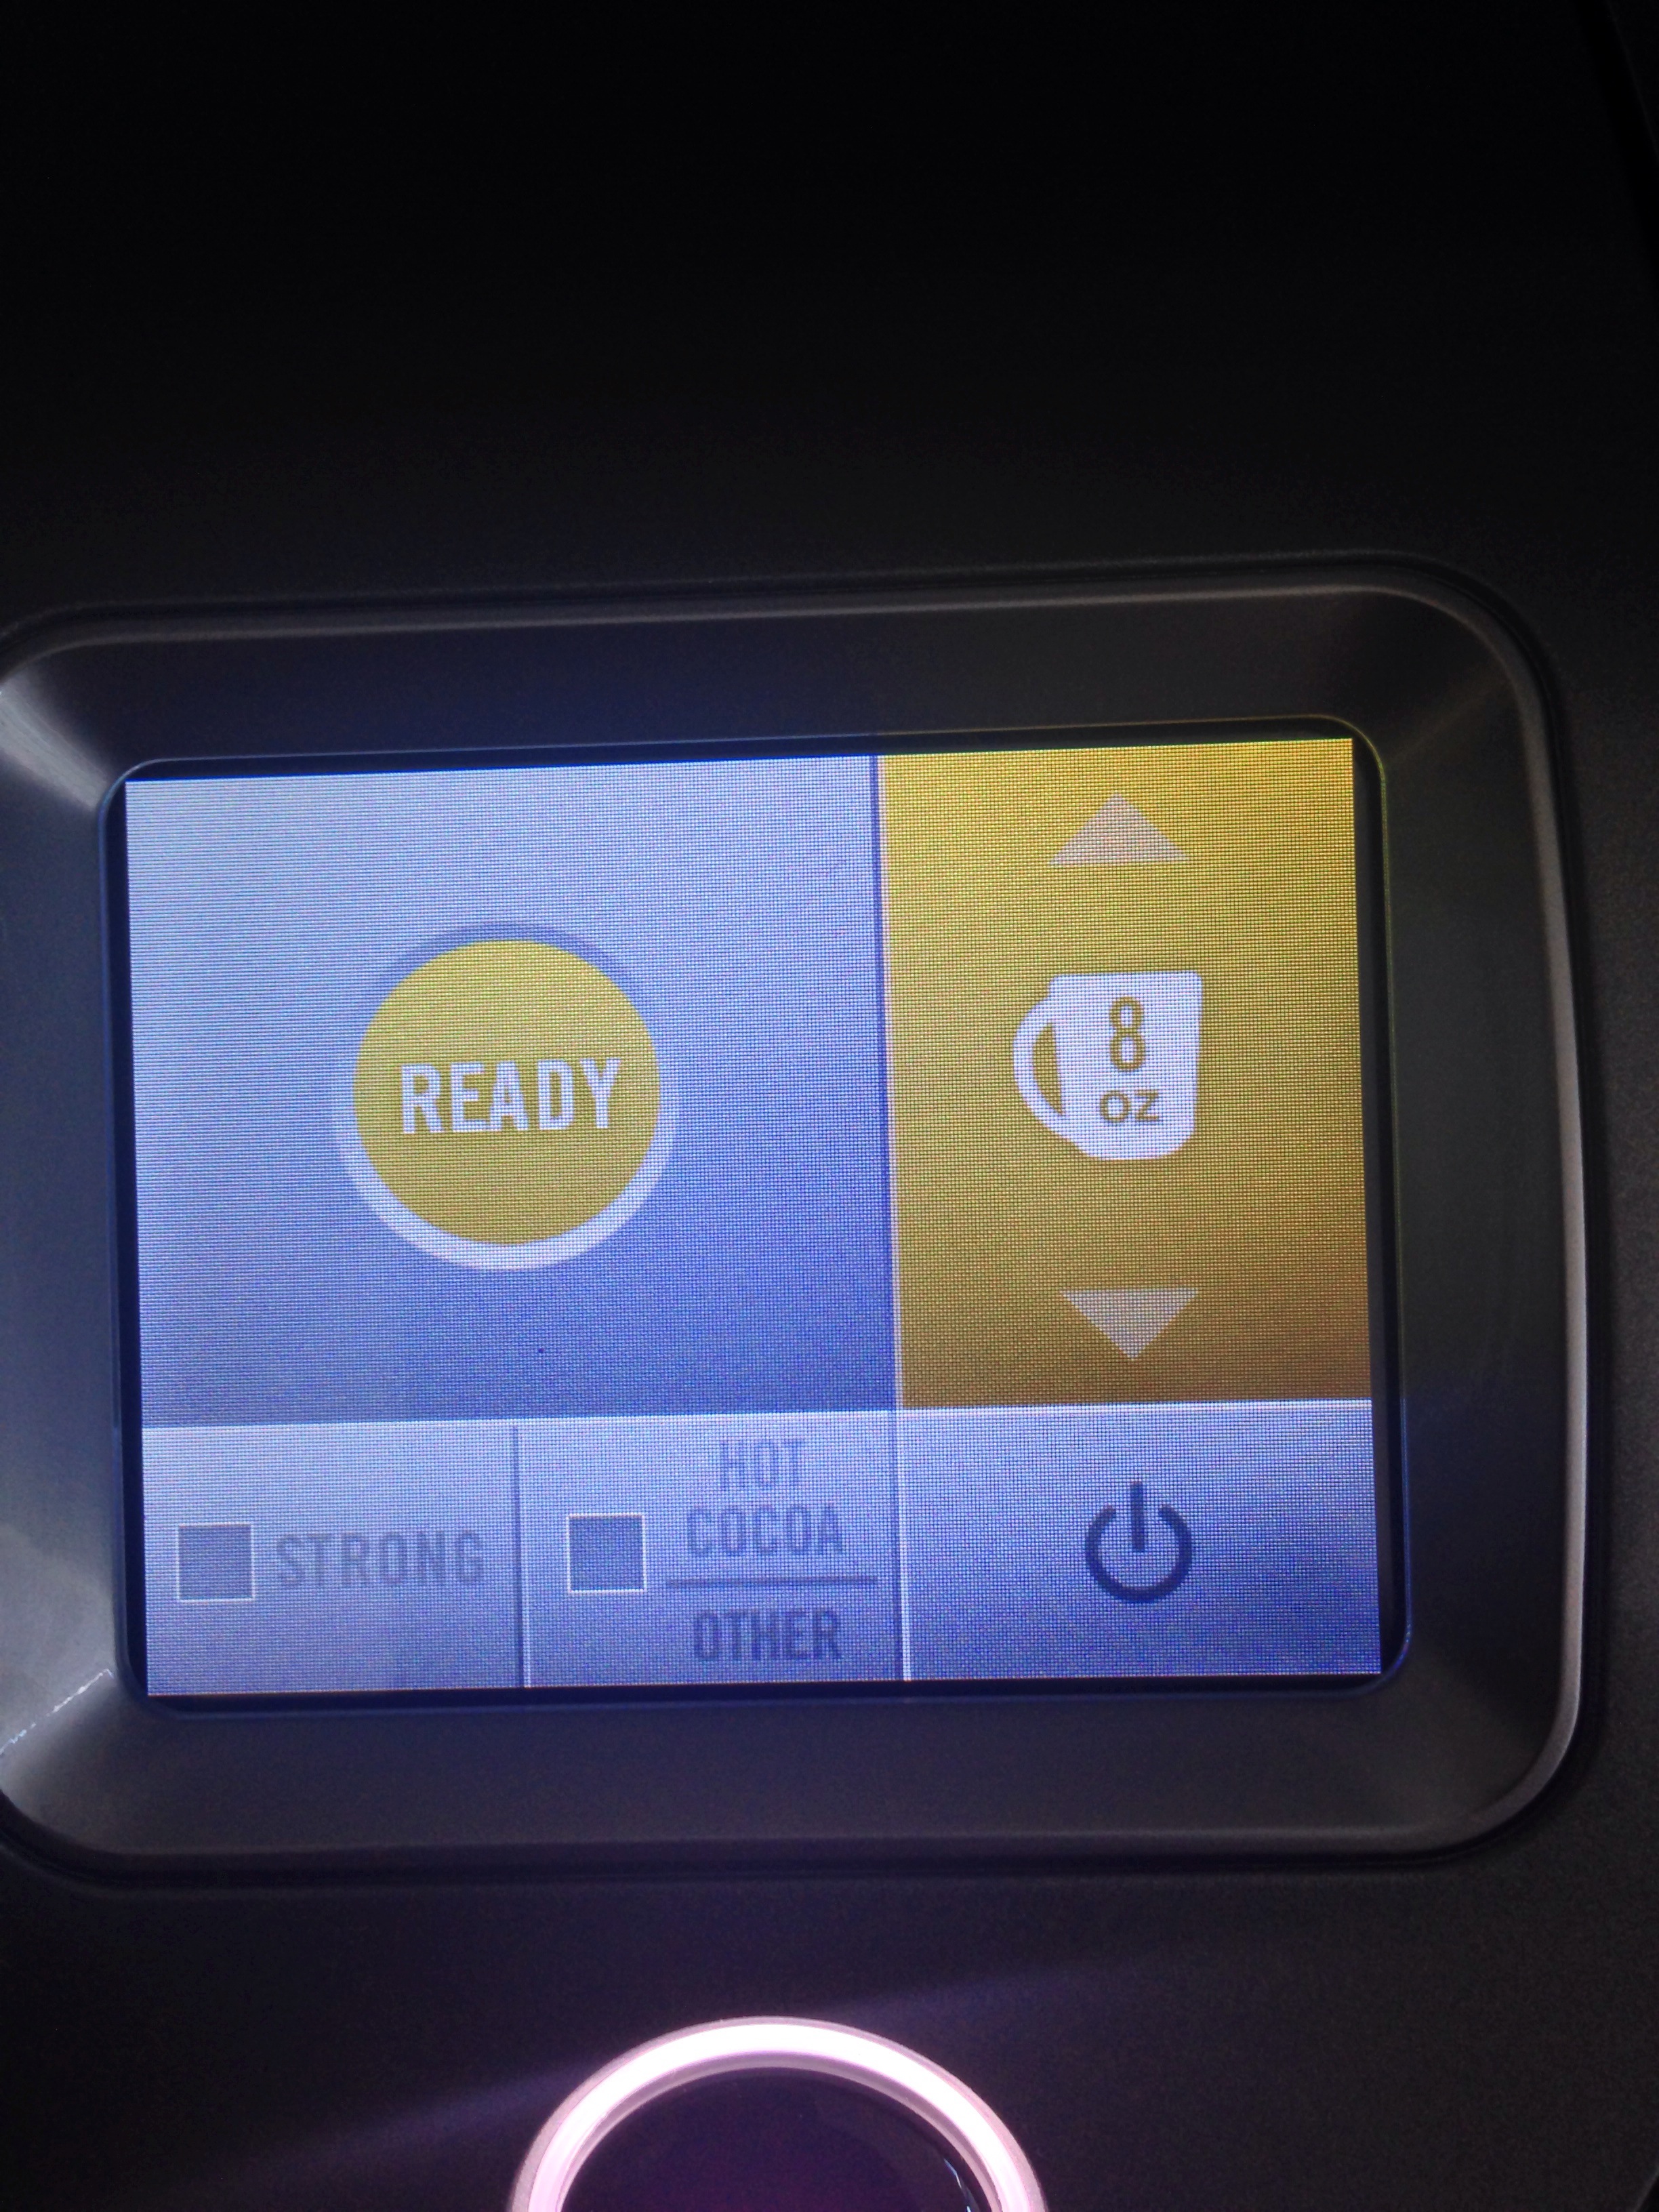
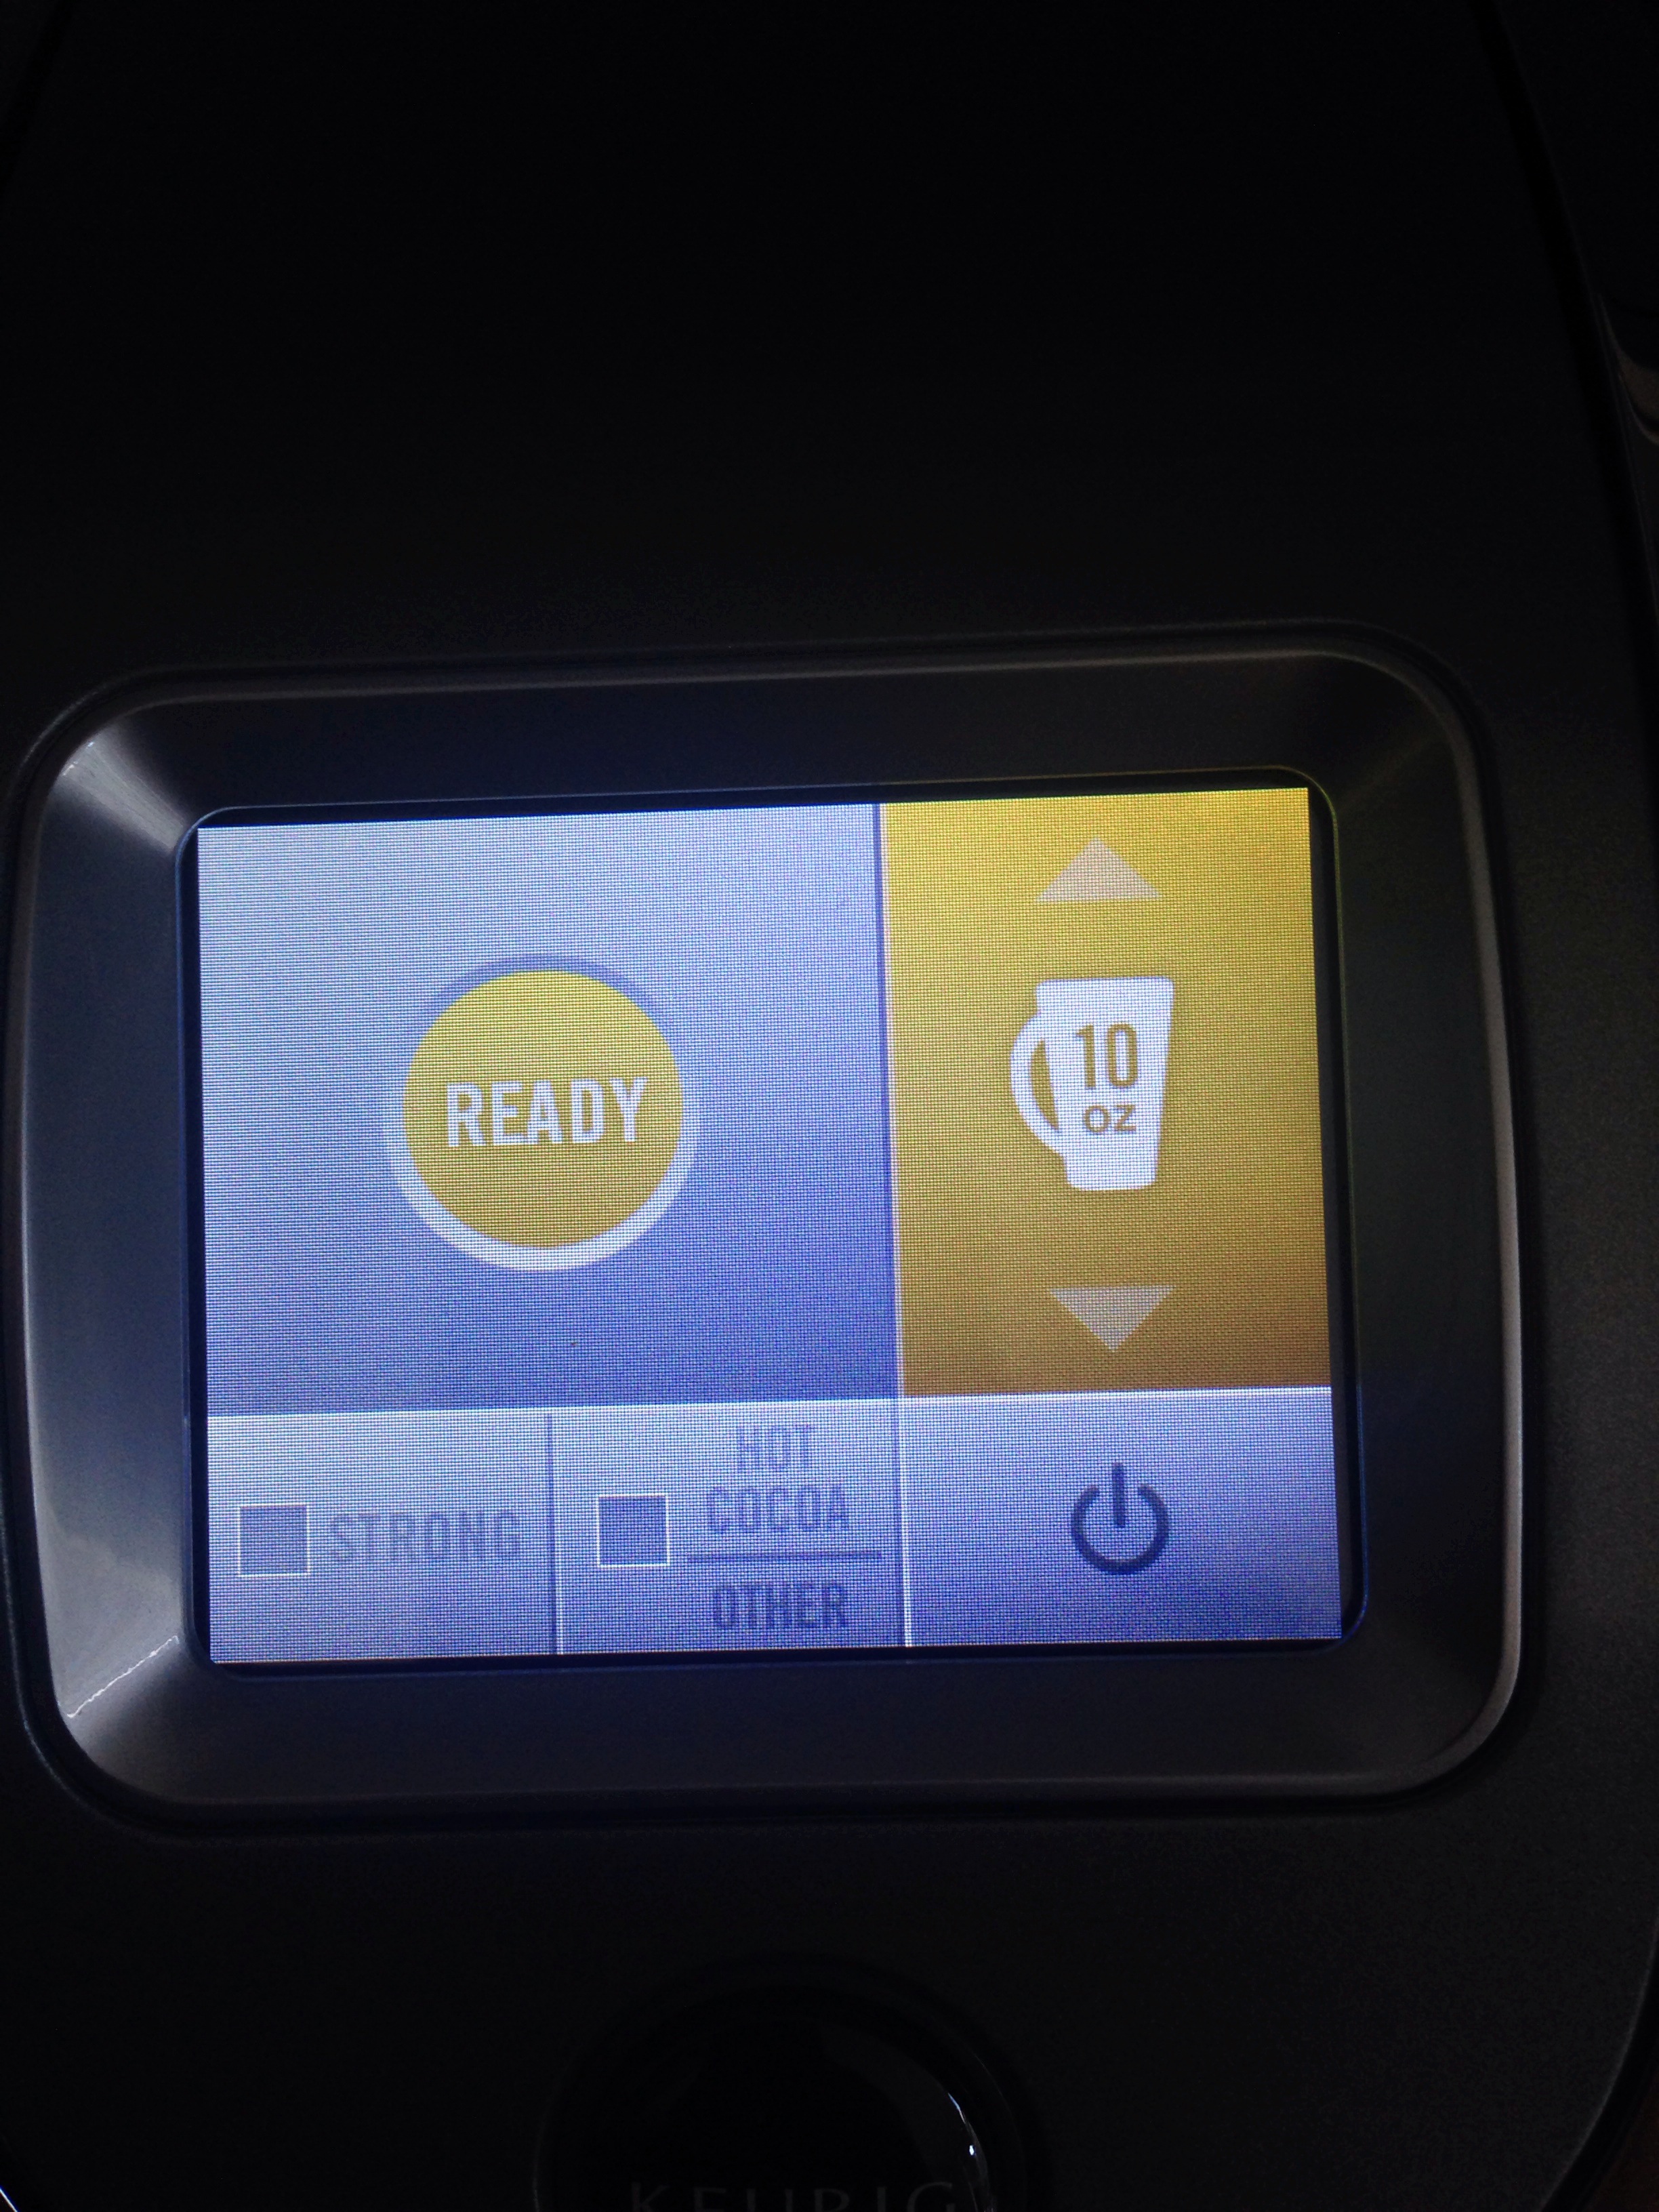
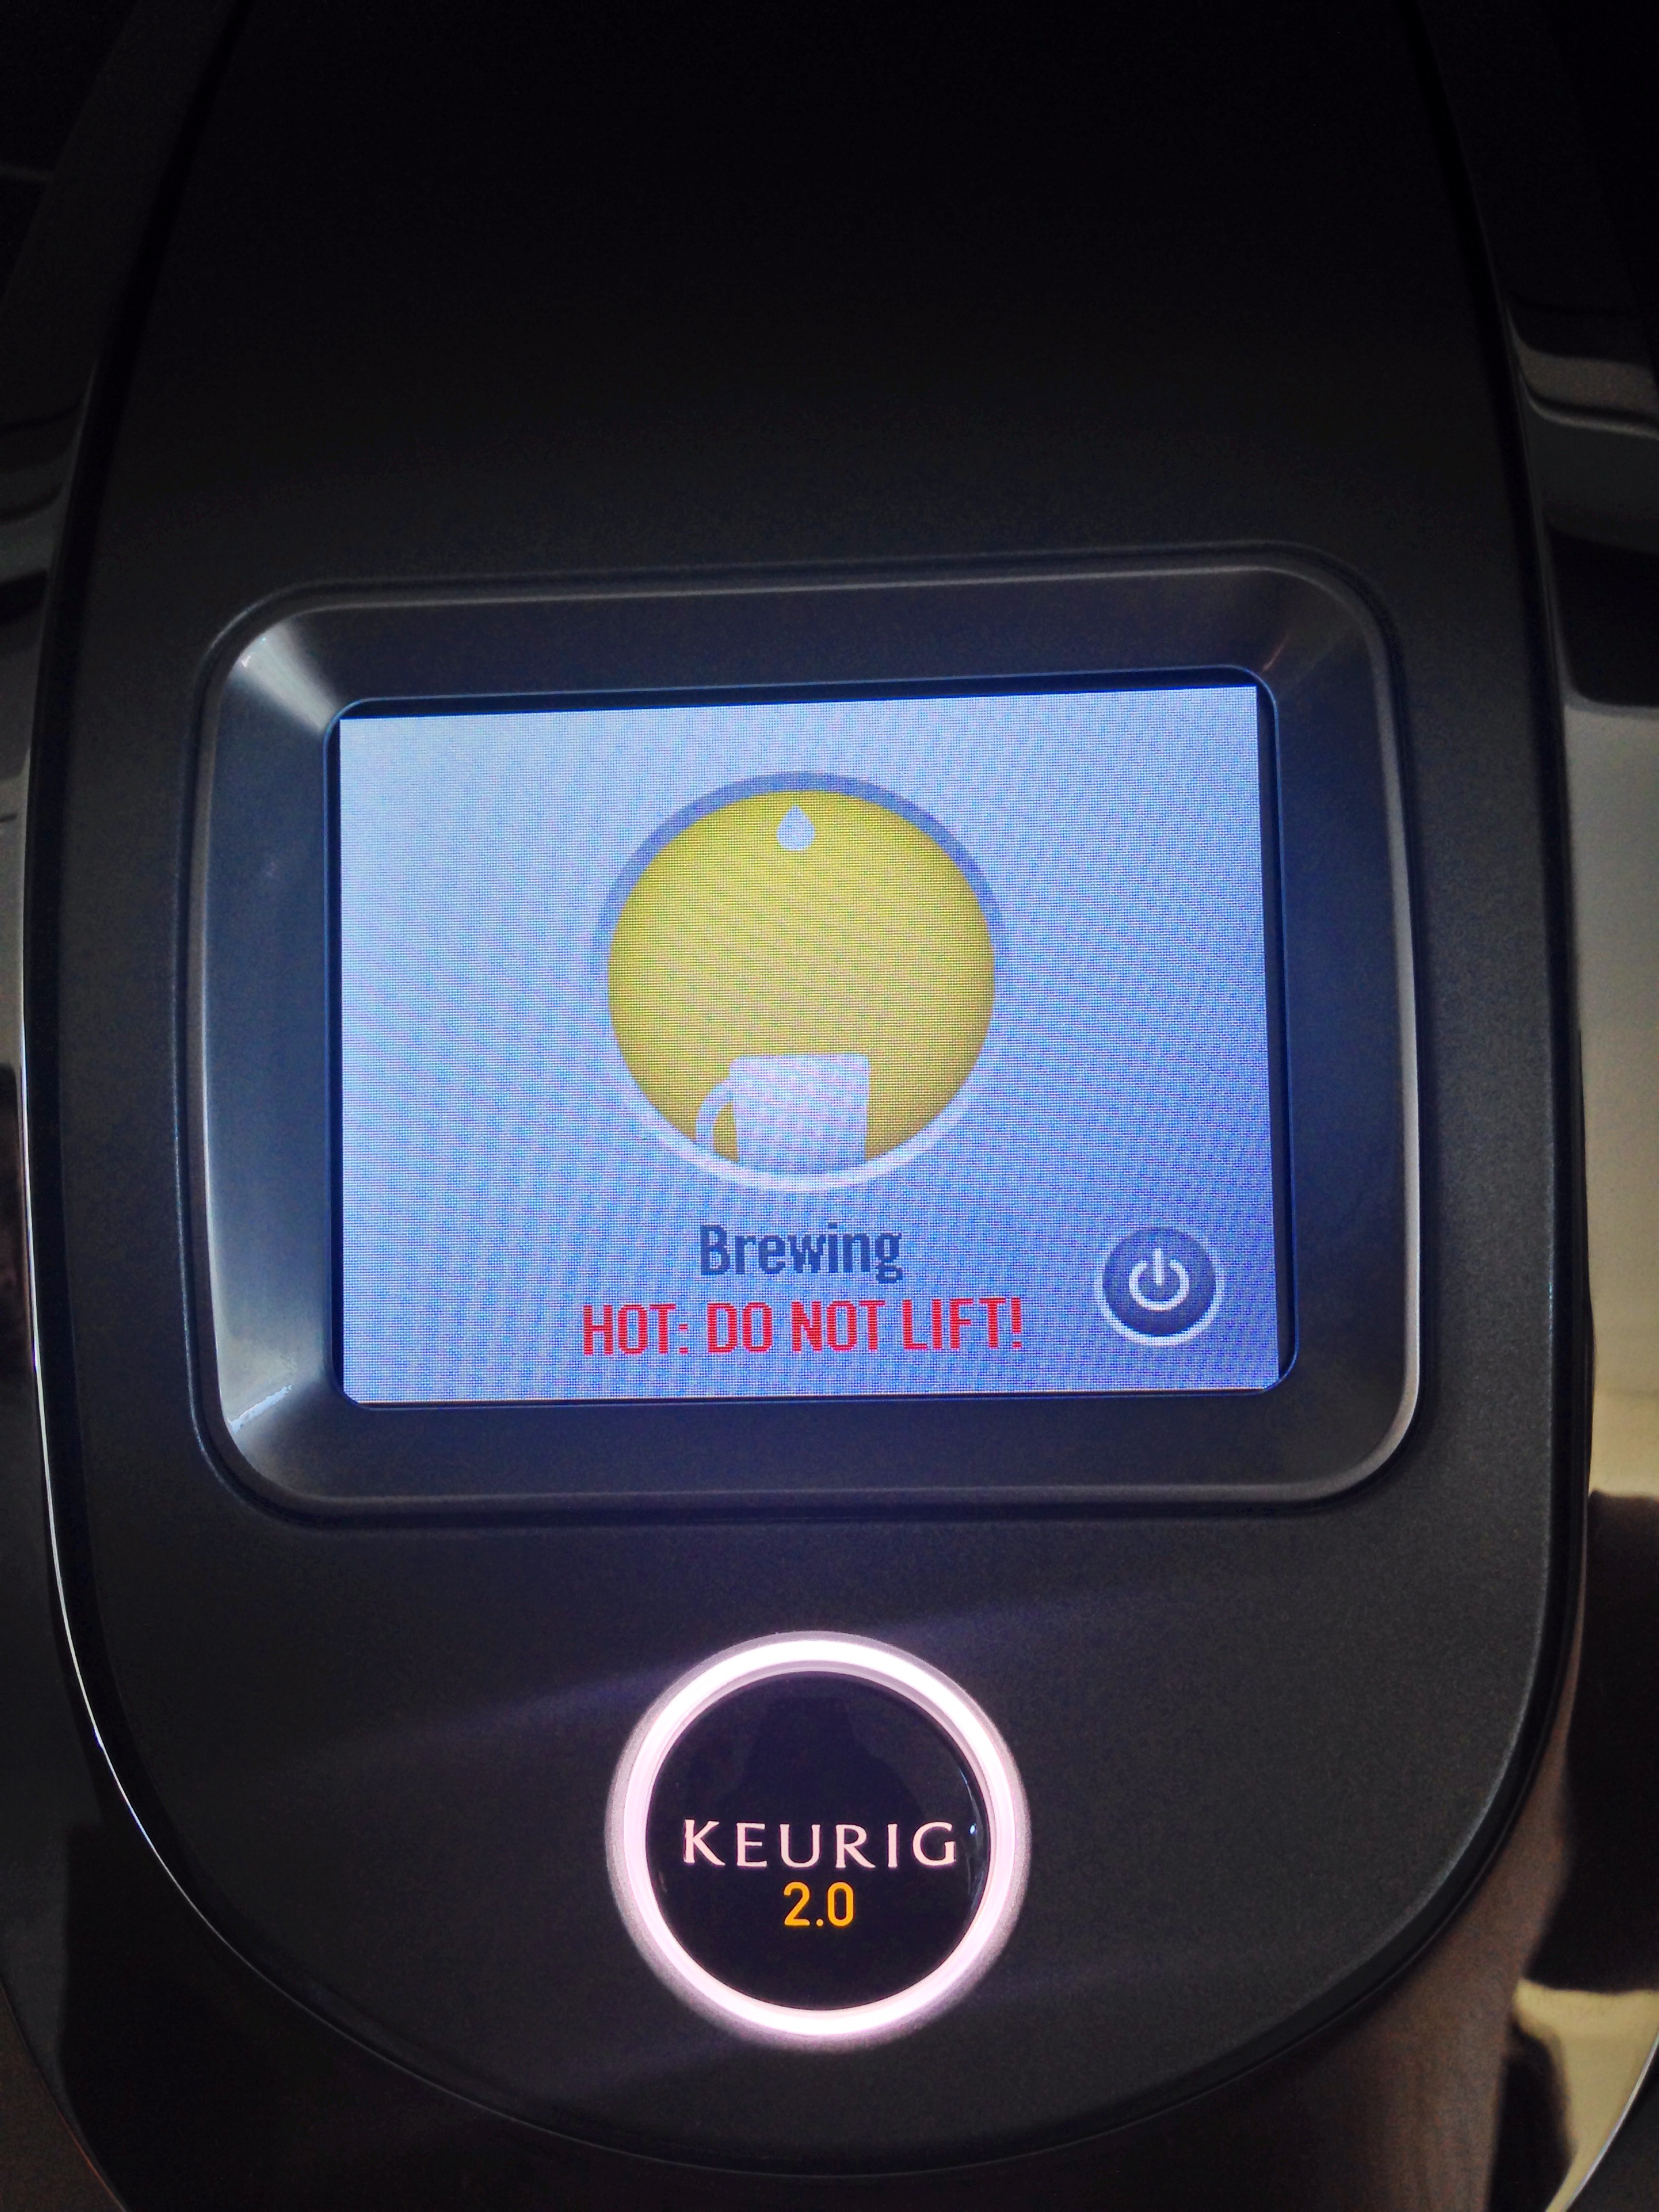
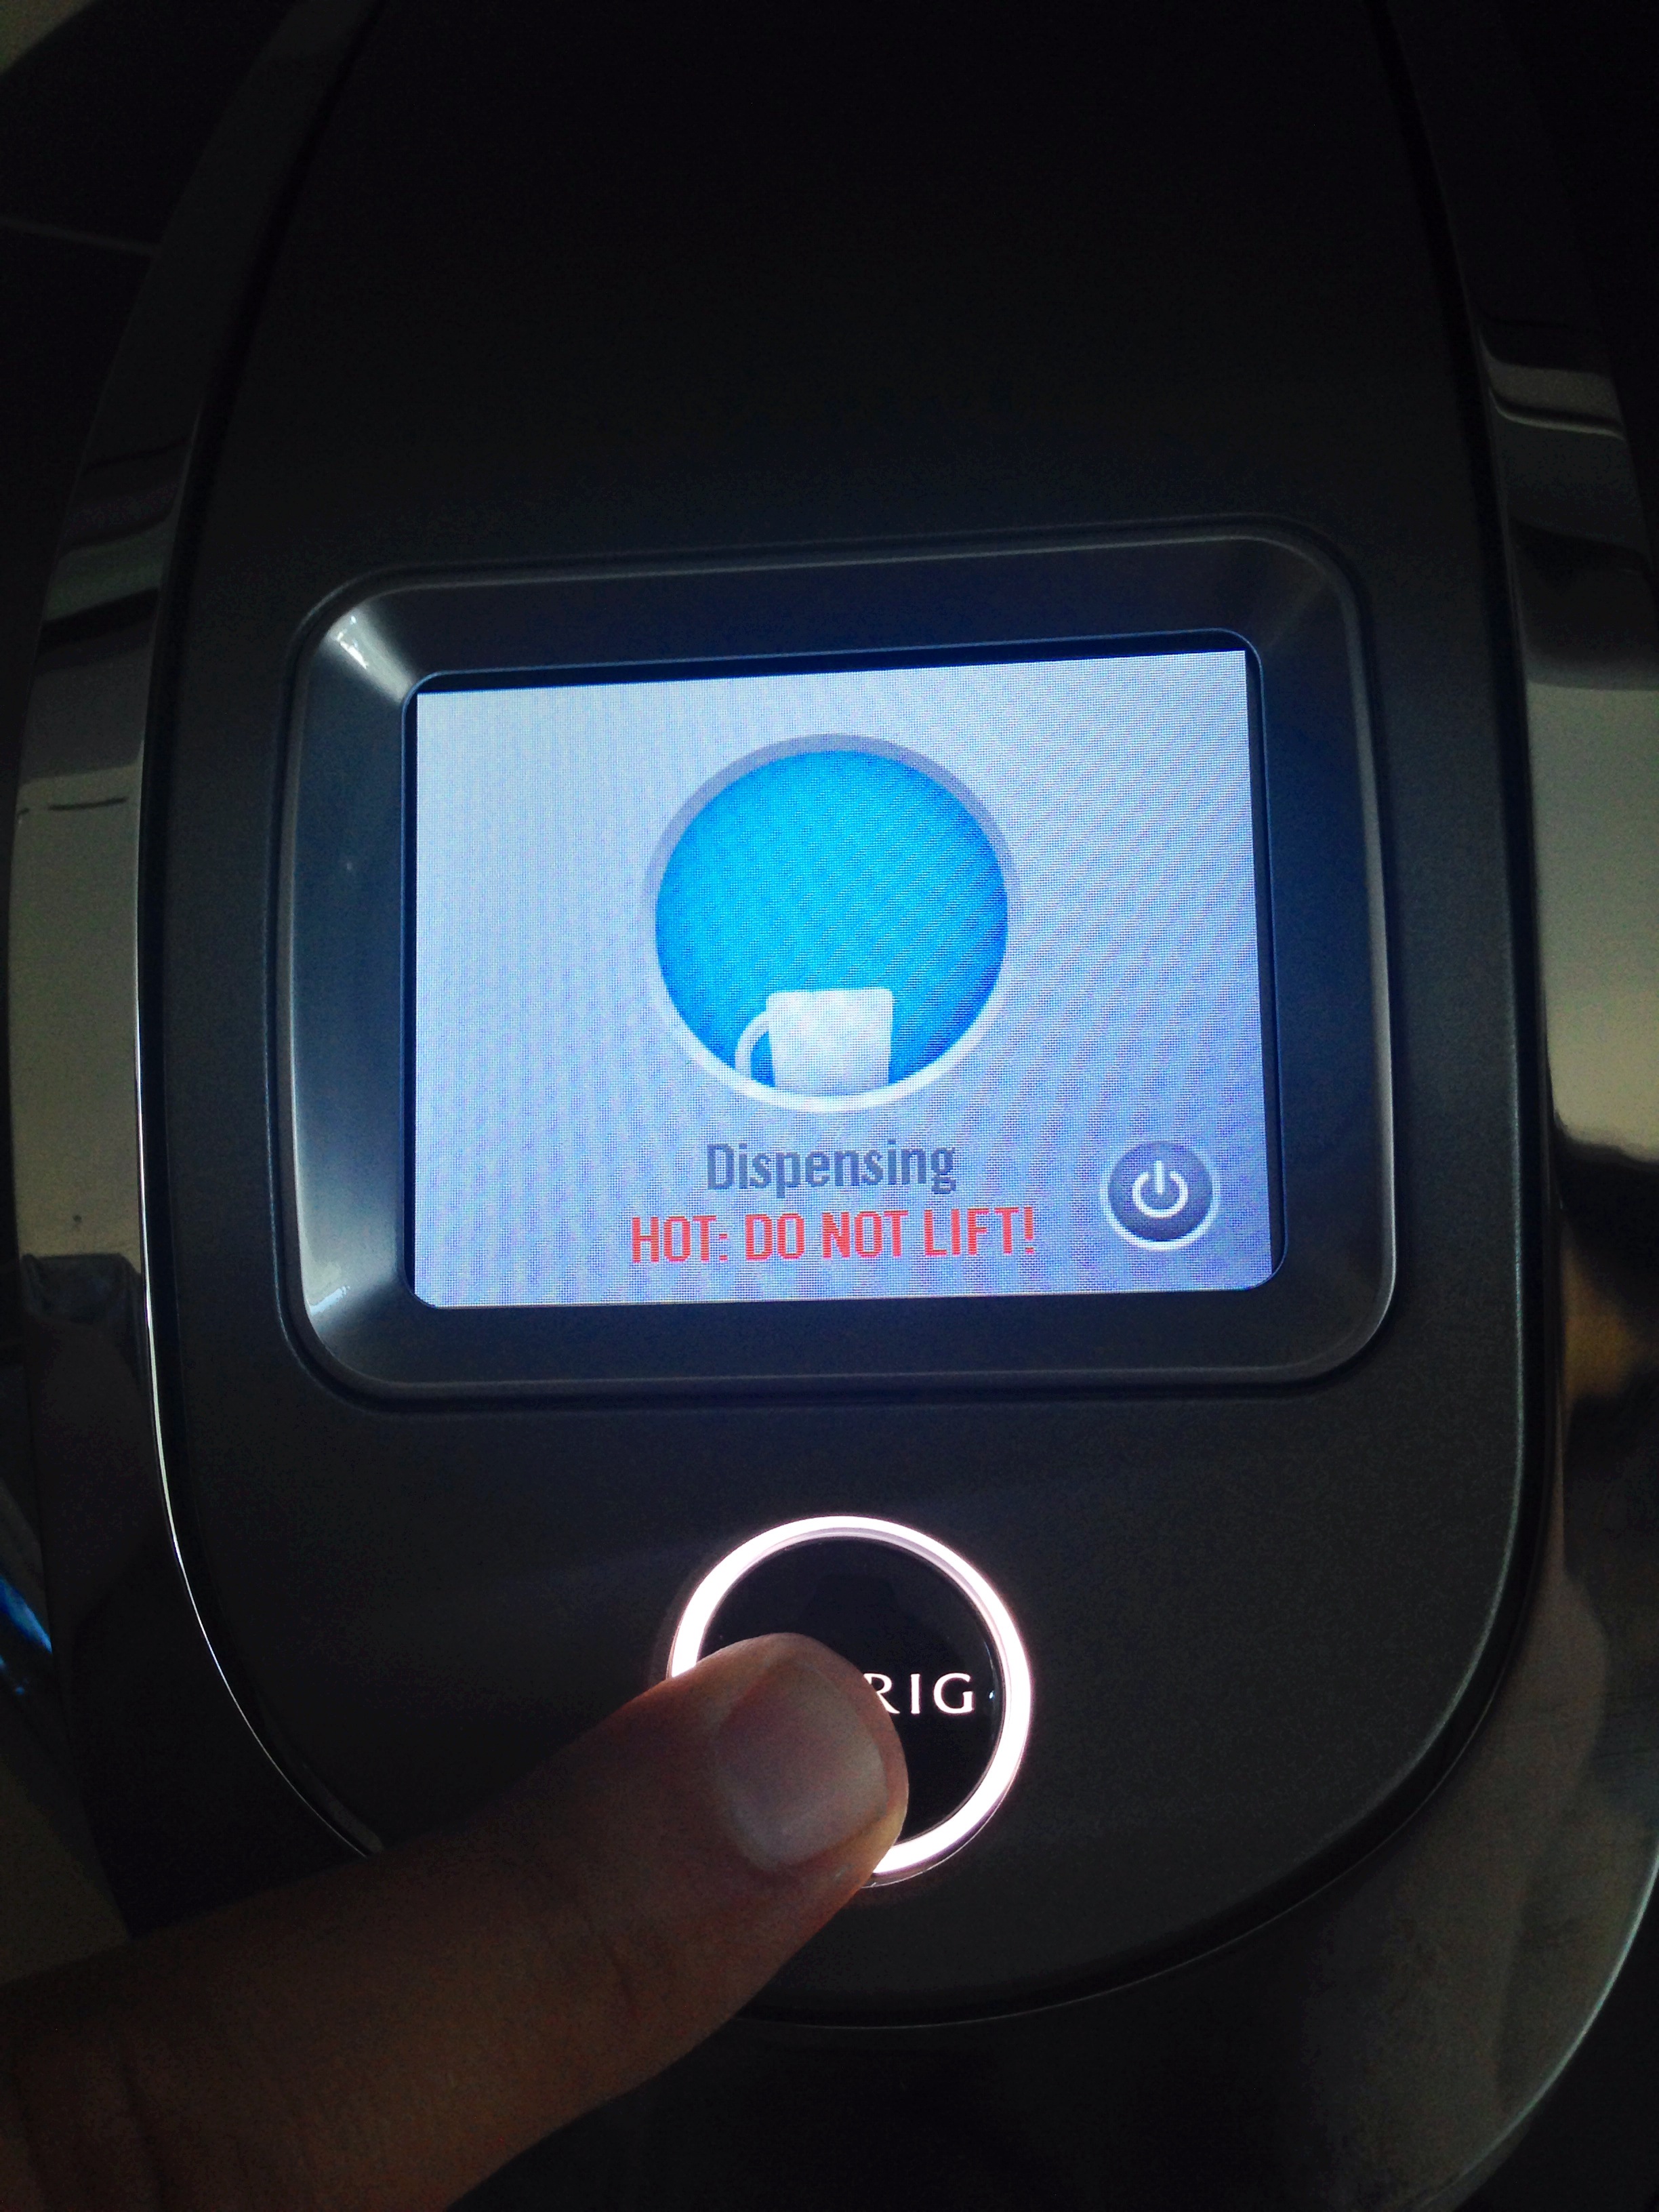
You will find the touchscreen display right in the center of the brewer instead of the right hand side.  I like the display in the center it gives it more of a focal point.   The navigation through the menu is easy and very direct with an option to change the wallpaper to fit your style.  There are 4 different cup sizes (mine is usually at 8oz. it's perfect for me) and a separate setting for hot cocoa and other beverages like lattes and mochas. NEAT! I forgot to mention there is also a button for hot water if you need some right away for cooking, baking or really anything!  The only thing I wish was that you can decide how much hot water you need.  It will only dispense 6oz. of water and if you need more you need to open it and close and do it all over.  Wish you could just press the button in hot water mode to release more.  

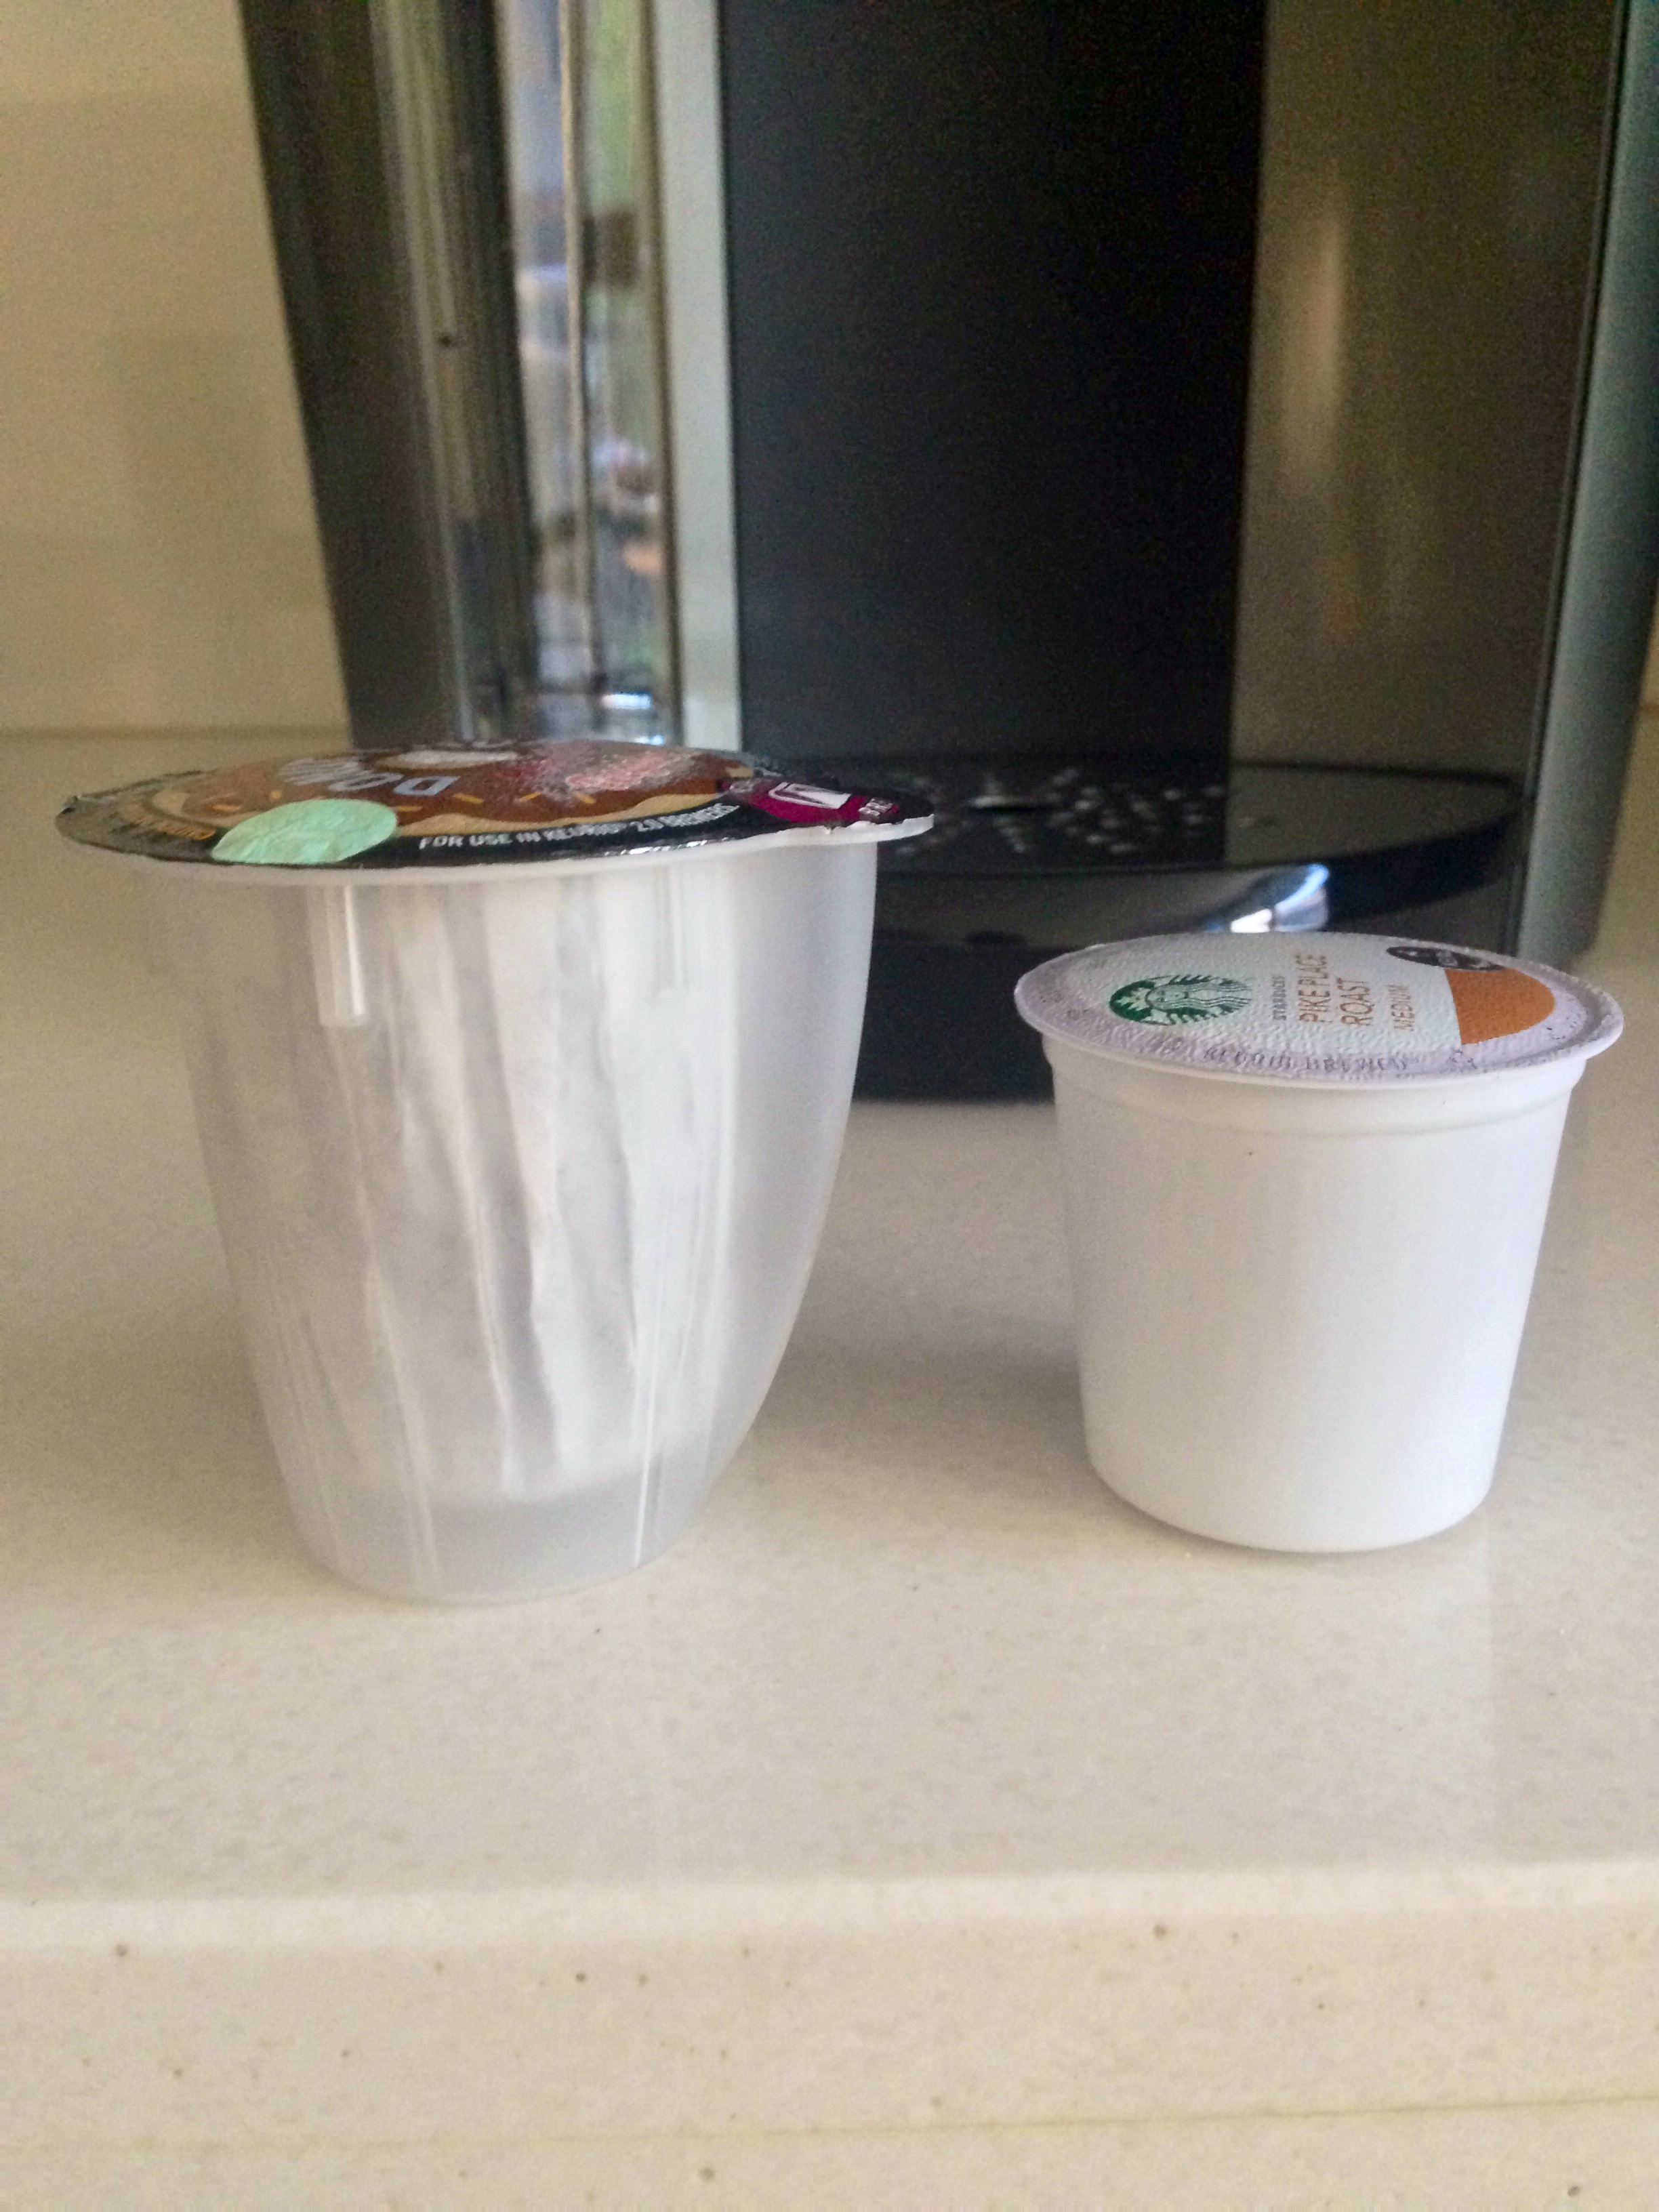
I want to go over the size different of the K-cups and something that both my husband and I noticed with the older versions.  As you can see from the picture the K-Carafe is significantly bigger than the regular K-Cup.  

New K-Cups

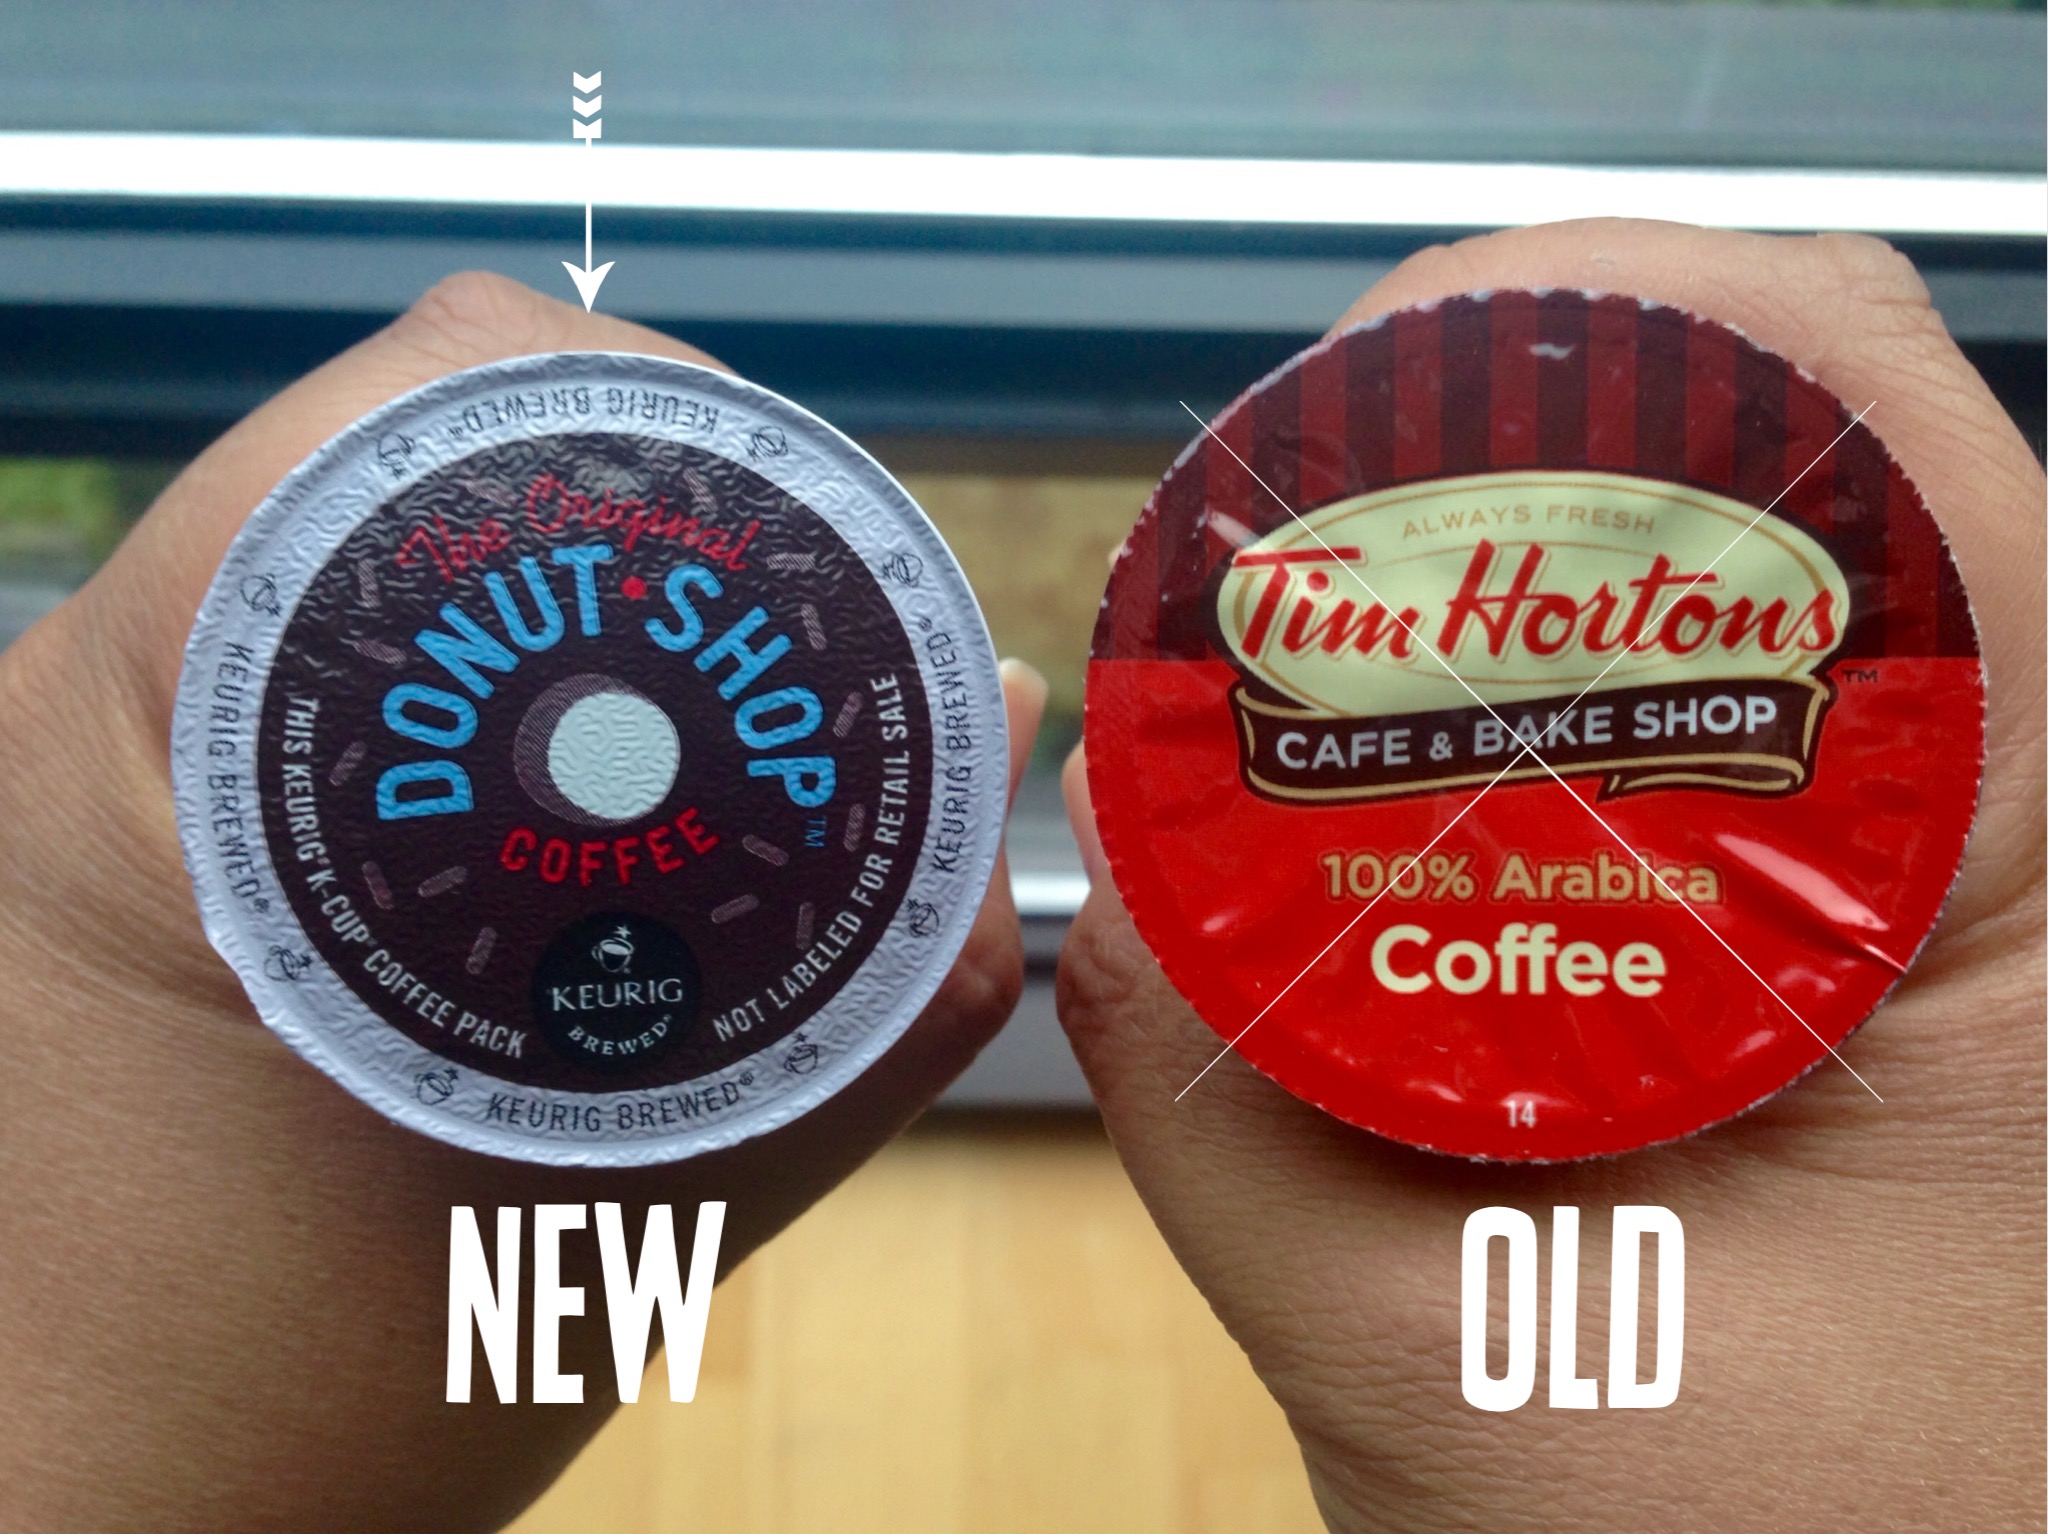
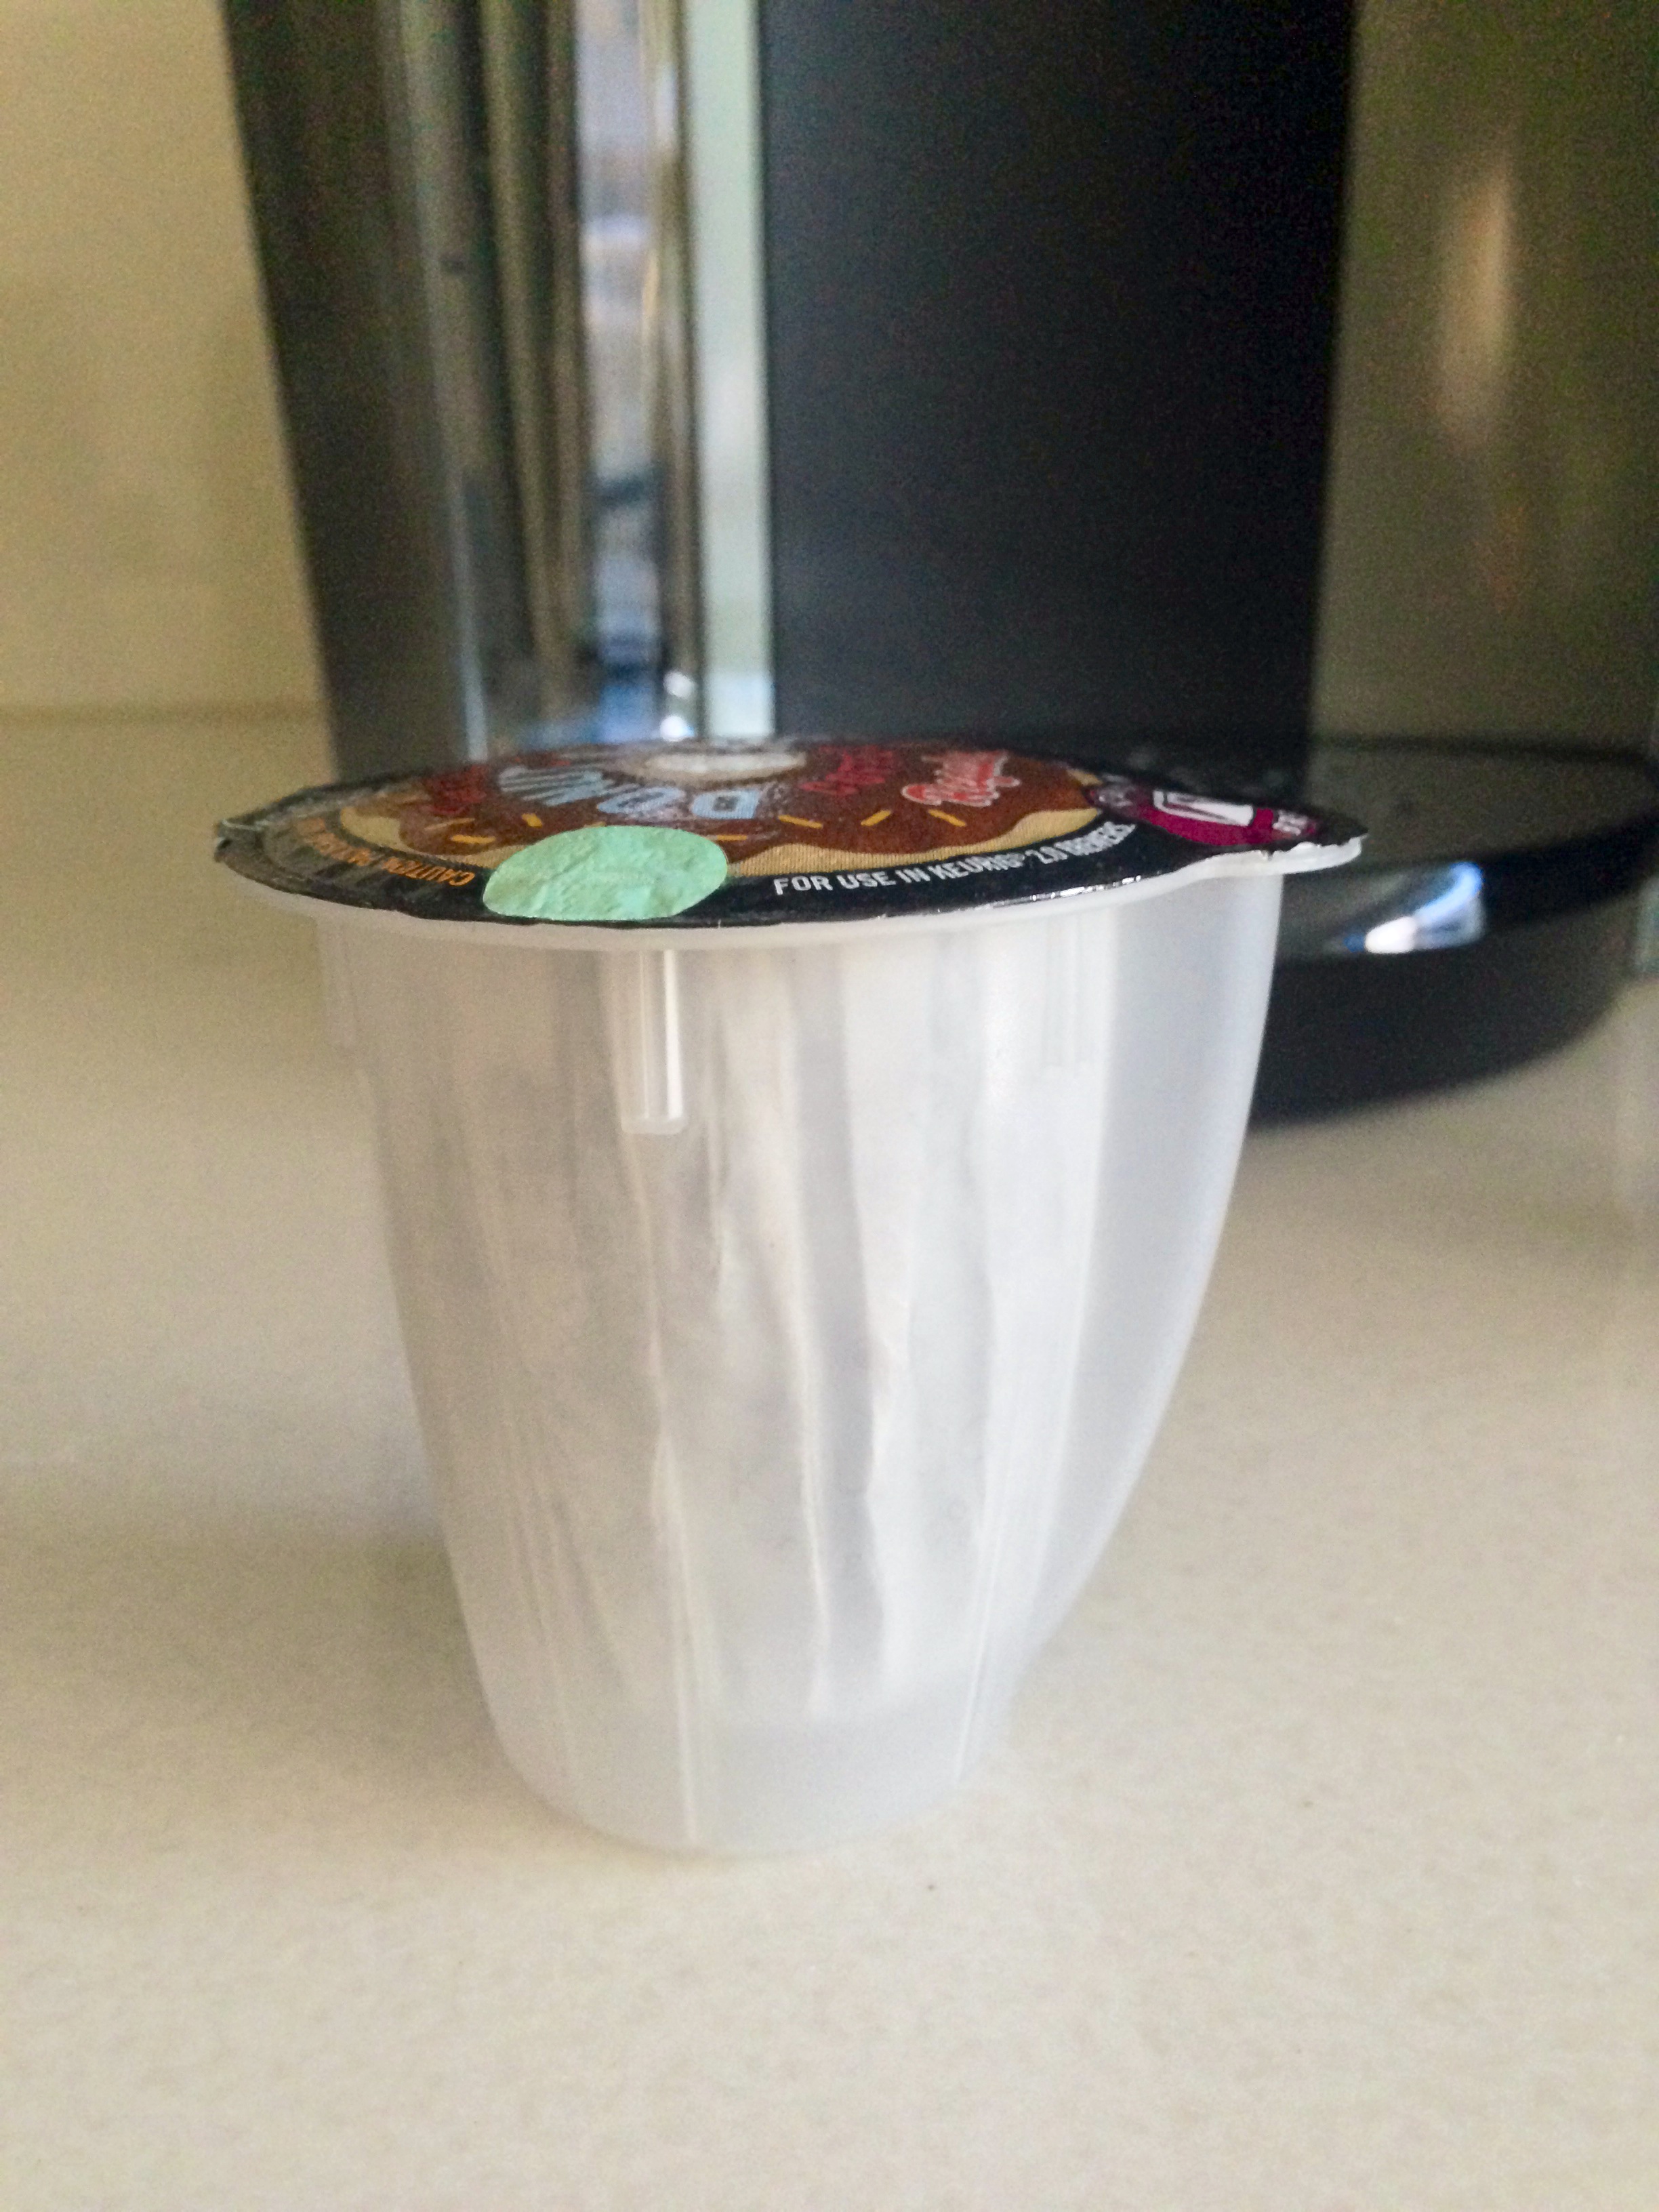
I wanted to show you the difference between the NEW K-Cups that will work with the newer brewers compared to the older K-Cups.  My husband and I were so excited to purchase some of our favorite K-Cups from the past that we didn't pay attention to the newer versions.  You can see from the picture that there is a big difference- the new one has a ring around it and a black circle with Keurig in the middle located on the lower center of the K-Cup seal.  When we were shopping at Bed Bath and Beyond for some new flavors it didn't dawn on us that not all of them have the new design.  The Tim Horton's K-Cup said on the box "used with all Keurig machines." Well, it didn't work for ours.  I told my husband to contact Keurig after I was on their Facebook page to see if other customer's had the same problem- yes there were a few.  He called the customer service # that was displayed on the touchscreen letting us know that our K-Cup wasn't compatible with with the new Keurig 2.0 Brewing Technology.  After 10 min. our new machine was registered and a coupon for a  free replacement box to order from their website.  EASY and great customer service!  I think next time we purchase from Bed Bath and Beyond I'll keep the receipt just in case we encounter another pack without with the white rim.  

Overall we have been super happy with the Keurig 2.0 brewer! What are some of our favorite K-Cups?  Please share below so I can use my coupons from Keurig.com :) 


Disclaimer: I received  the Keurig 2.0 for testing/review for free from Influenster.com.  All opinions are my own. 


MOTD: Smokey Gold

Smokey Gold

I wanted to share this smokey gold eye look with all of you since I haven't posted a MOTD lately.  This photo was taken with my husband's Iphone, can you believe that? I am always in awe of the awesome pictures I get with a camera phone.  With the new Iphone 6 coming out- I can't wait to see how good my close-up pictures will turn out. 

I always have a love/hate relationship with my eyebrows.  You can tell when I have a good eyebrow day or a bad ( I usually don't post a MOTD if I feel my brows are not up to par).  I was having a very good eyebrow day in this picture.  I will definitely need to update my brow routine video! In case you are wondering what I use for my brows I define my brows with the Anastasia Dip Brow Pomade in Ebony with a thin slanted angle brush.  Enough with my brows lets get down with the details of the look.

Products used:

  • Motives Cosmetics Mavens Element Eye Shadow Palette
  •  Colour Pop Cosmetics  Super Shock Shadow Get Lucky on the lid
  • House of Lashes Noir Fairy Lashes
  • Violet Voss  glitter in Goldie.

Filofax: Week 32 Bows and Week 33 Blue/Green Pages

FILOFAX PLANNING PAGES WEEK 32 

BOWS


FILOFAX PLANNING PAGES WEEK 33

CAPTURE THIS BLUE AND GREEN

Lover.ly Dream Day Style Challenge

lover.ly dream day style

What's your dream day style? I remember asking myself this question a little over 1.5 years ago (ok maybe it's like 5) when I was planning my wedding.  It's a tough process and you want to make sure your style reflects YOU and your future mate.  What helped me determine my overall style (theme) of the wedding was my venue.  A Hamptons like vintage wedding placed in the Northwest was something that I wanted to capture especially since our venue was at country club setting (Seattle Tennis Club) located on Lake Washington.  Everything turned out prefect! To take a peek at my wedding click  TIFFCODYWEDDING818 (clicking the link will bring up a page with all the wedding related posts.  The professional photos are a must!).

Not lets focus on right now ... it's been over a year and couple of days since our wedding day and we recently celebrated our 1 year anniversary (Aug. 18th) and I still think about our wedding.  I was approached by lover.ly to create a styleboard featuring one of their dresses in their shop that would be appropriate (and of course fit my style) to a selected venue.  

Set Your Scene

Which venue would you have chosen? The beach wedding was my 2nd choice and we actually planned on getting married in Hawaii.  However, I  just wasn't feeling it, it wasn't calling my name or saying PICK ME PICK ME.  The rustic wedding, well it's just not me.  So the city wedding was it!  This venue totally reflected my style and us as a couple.  I'm a city gal and we (Cody and I) actually live in the city so it was natural for me to be drawn to the picture.  

As I was scrolling through the beautiful dresses on Lover.ly to find the "perfect" one for my city soiree I came across a dress from Claire Pettibone.  If you know your wedding dresses- Claire Pettibone is the queen of lace back dresses and I bet you have seen her dresses all over Pinterest.  If my wedding dress wasn't custom made I would have totally gotten one of her dresses.  They are detailed and oh so lovely, elegant and simply stunning.  The dress that I chose was the Eloquence dress with gold scalloped lace with platinum silk sheath overlay. It totally  yelled GATSBY GATSBY with a romantic feel.  OH then it clicked! City venue (art museum, penthouse, rooftop deck, trendy downtown hotel) with a Great Gatsby theme? YES please! If I were to get married again I would totally go for an art deco inspired wedding.  The 1920's were such a glamorous era that was chic and classy at the same time.  Wouldn't this be a great wedding for the fall time around Halloween with the rich golden and deep burgundy hues of the season? Or as a NYE celebration with all your close friends and family to bring in the New Year with a traditional black and gold color scheme and touches of glitter!  As soon as I picked the dress and the venue everything else fell into place with accessories, color scheme, and beauty.  I, of course, had to add some beauty into the styleboard.  A deep red lip with lashes and neutral toned shadows- that is classic 1920's!

Take a peek at my evening city Gatsby wedding! You can find everything on Lover.ly as your one stop wedding BFF to help you plan your wedding! Browse through the thousands of dresses and bridal inspirations right here.

I made the styleboard on Polyvore.com ... I am an addict! Super easy and fun!  I will be creating some beauty styleboards.  Please let me know what you would like to see.  I am thinking of a bridal beauty styleboard, or a fall beauty trends.  Keep an eye for those.  

I hope you guys love my lover.ly Dream Day Challenge styleboard! Share your thoughts about wedding themes or how you incorporated your own style into your wedding.  Can't wait to hear all about them. 


MOTD: MAC Violetta Lipstick

MAC Violetta Amplified Lipstick is a creamy reddish-purple shade with a slight violet iridescent overlay with a glossy sheen.  I find this shade can be worn during the summer for a brighter lip and then during the fall/winter months paired with a deeper lip liner for a vampy look.  This shade use to be a MAC PRO only shade (only available at MAC PRO locations) but now it has been added to the permanent line for everyone to enjoy. 

Today's MOTD focus is based on how you can wear this lipstick to create two different looks. This was requested by one of my filofax buddies Jennifer from MY PURPLEY LIFE.  I remember going to her site when I first started with my filofax adventure.  It's full of useful information and inspiration! She recently won Violetta Lipstick from an Instagram giveaway I was hosting with Willow and Washi. It is the perfect lipstick for her! Lets take a look at the two different looks. 

Violetta Lipstick with Golden Natural Eyes

This look focuses on the lips making it the focal point of the makeup. If you are normally the type to go light on the eyes or usually wear a lot of makeup this will be a great look for you.  I love pairing bright and dark lip colors with golden or bronze shadows to complement the lipstick. 

Here are the products I used to create this look. 

  • Beletto Studio Airbrush Foundation F6 Yellow Dune 
  • L.A. Girl Cosmetics HD PRO Concealer Beautiful Bronze (contour) and Medium Beige (highlight)
  • Colour Pop Cosmetics Super Shock Shadows Girly (highlight), and Amaze (lid) with MAC Espresso Eye Shadow blended towards the outer corners. 
  • L,A. Girl Cosmetics Glide Gel Liner in Metallic Copper for the bottom liner and L.A. Girl Mark My Eyes Liquid Liner for the top. 
  • House of Lashes Temptress Lashes 
  • MAC Blushbaby Blush
  • MAC Cosmetics Quartz Lip Liner

MAC VIoletta Lipstick Dramatic Eye 

Now lets change it up a bit to something more dramatic with a touch of sparkle. Try this look if you are going for more of a bold look for an evening out, party or even a dance.  I kept my face products the same and only changed my eyes along with a brighter liner for the lips. 

To create this look take a peek at the products below:

  • Motives Mavens Element Palette - Birch (highlight), Shell (all over lid), Aubergine (first half of lid), Native (soft contour above crease) and Raven (outer corners for depth). 
  • L.A. Girl Glide Gel Eye Liner Royal Blue outer half of bottom eye.  Mark My Eyes Liquid Liner for the top. 
  • Elegant Lashes #148 Lashes 
  • Eye Kandy Cosmetics Marshmallow Glitter (highlight used for the lower bottom of the eye)
  • MAC Cosmetics Magenta Lip Liner 


I really enjoyed creating two different looks with one lipstick and will continue to make it a weekly post on my blog.  If there is a particular MAC lipstick (I have tons of MAC Lipsticks) that you would like to see a look for please leave a comment below!